6 Easy Steps: How to Shape Your Nails Like a Pro

Here, I’m going to show you how to shape your nails.
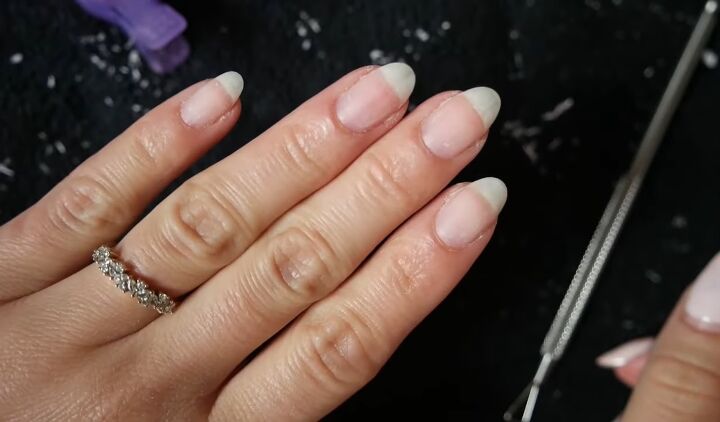
I actually like to shape my nails while they still have nail polish on them, so that’s what we’re going to do. I want my nails to be a bit shorter and a little less pointed toward the top.
Let’s get started!
Best cuticle oil!
Tools and materials:
- Nail file
- Buffing cube
- Grit file
- Optional: nail clips
- Nail polish remover
- Cuticle oil

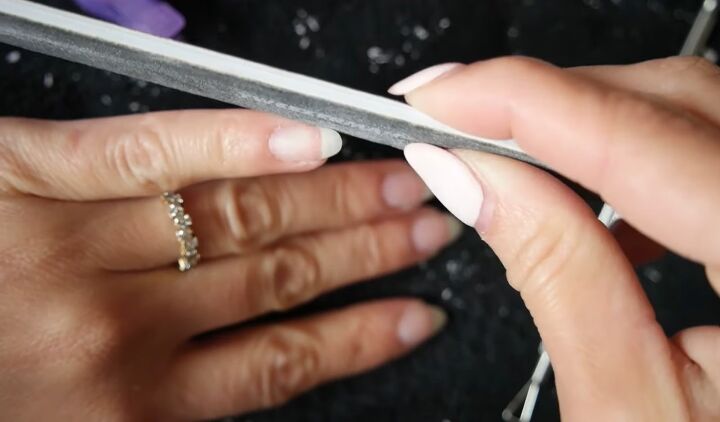
1. File your nails
Tip 1: Go in one direction
My favorite tool to use when reshaping and filing down my nails is an emery board nail file.
Crystal and glass files are also options, but an emery file, in my opinion, is much better when you're trying to get rid of some of that length.
Since it's a harsher file, we want to make sure that we're really careful when we use it and only file in one direction. Filing your nails in two directions can cause splitting and peeling.
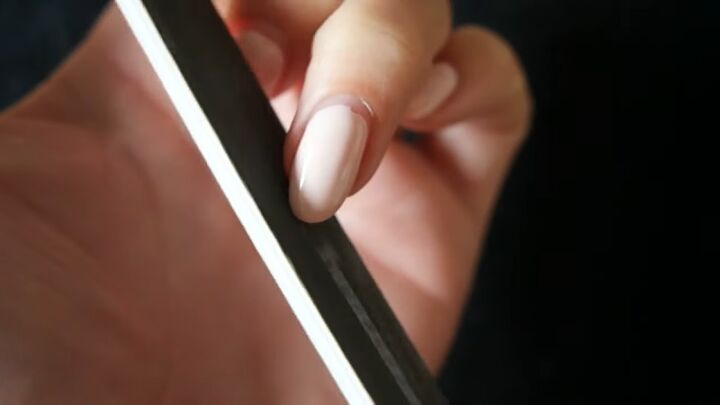
Tip 2: File toward the center
Start on one side of your nail and gently file it towards the center.
Make sure you put a little oomph into it because you do want to remove some of that nail.
Continue to do this on both sides, always ensuring that you’re filing towards the middle and never going back and forth.
Tip 3: Get the right position
Bend your fingers, flip your hand over, and do whatever you need to do to make this easier and more comfortable.
Really take your time with this process, give each finger a little bit of individual attention, and just file it to your liking. Don't be afraid to go a little bit harder to take down some of that length.
We are not using a clipper here, so we are fully relying on this file to make these nails shorter, but as long as you go in one direction, you should be fine.
Just keep rotating your hand in different positions to really see how the nails are looking.
Once we take this polish off, we'll get a better idea of how the nails look. We can always tweak them again at that point, but this is where we want to do the bulk of our work.
Here my ring finger is completely reshaped.
You can see how it looks next to the other unfiled nails. It's got a better shape, it's more rounded and it's pretty symmetrical.
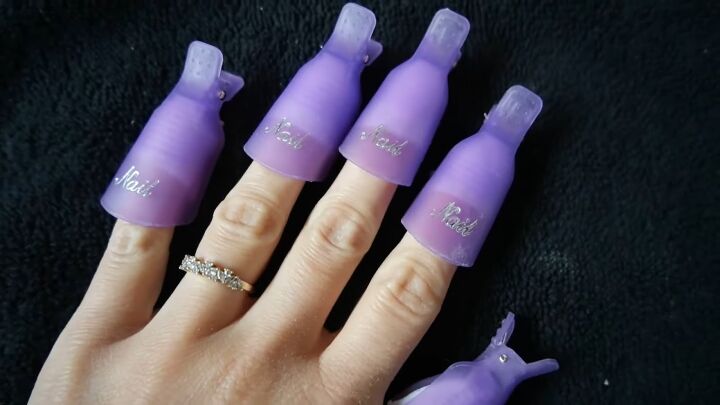
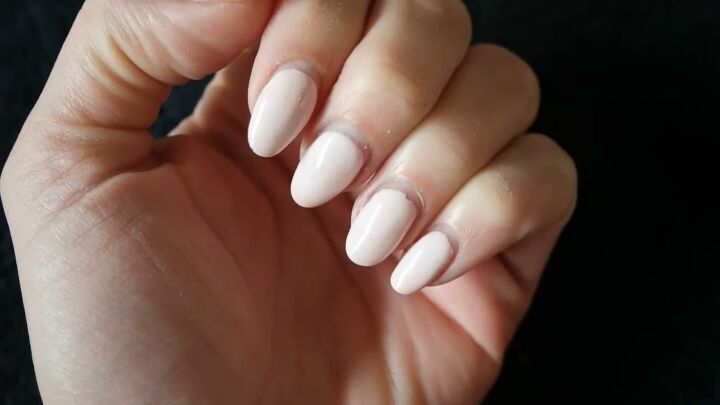
2. Remove the polish
When you’ve touched up all of the nails, remove the polish.
I used gel removal clips to do this but you can just use regular nail polish remover if you prefer. Then you can take a peek at your naked nails.
I think they look pretty great. They're completely bare, all of the polish has been removed, and they have all been reshaped, and filed down.
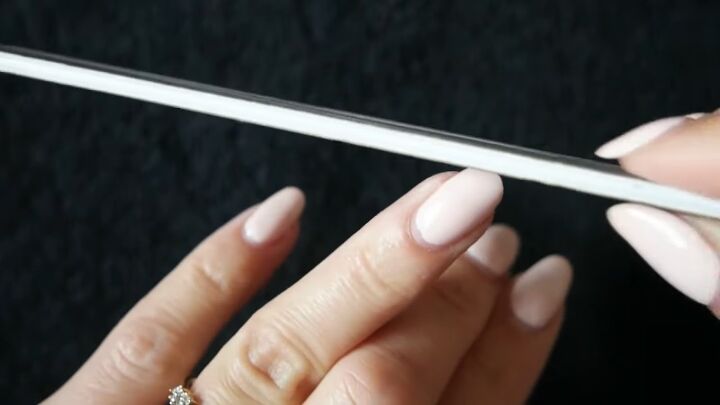
3. Touch them up
Now just go in and lightly touch them up.
You can do this part with a crystal file or use the gentler side of an emery file, but you’re basically going to do the same thing as before. File towards the center to perfect that shape.
This is where we really hone in on the shape we're trying to create. In my case, I'm trying to make some smaller almonds which is my preferred nail shape.
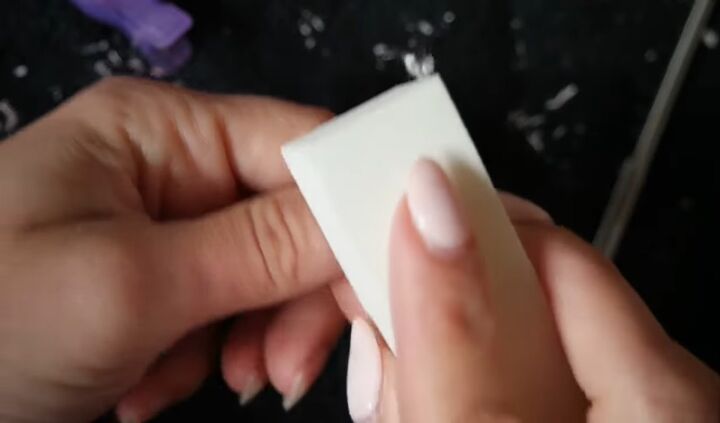
4. Buff the nails
Once your nails are at their desired shape, we're going to lightly buff the surface with a very fine buffing cube.
The clips removed the gel polish with basically zero damage to the nail, but there are some areas that can afford to be smoothed out.
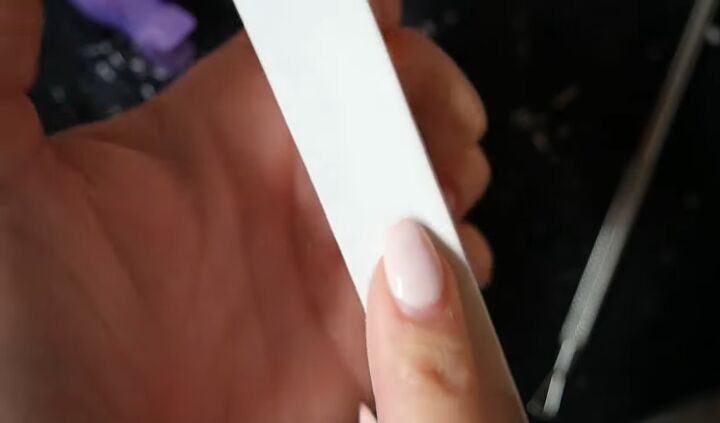
5. Smooth the nails
Then take a 400/4000 grit file and shine them up.
This buffing is really minimal, but it does make a big difference. It makes the nails look absolutely perfect.
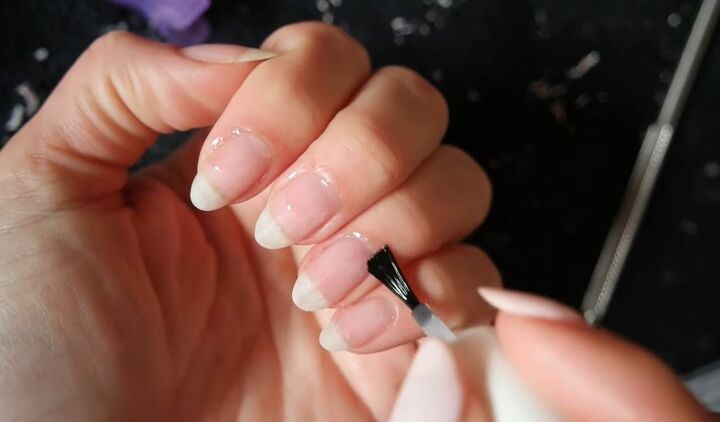
6. Apply cuticle oil
Finally, we’re going to go in with some cuticle oil. I’m using my own formula.
Apply a little bit of oil to all of your nails, and rub it into the cuticles and the skin around the nail.
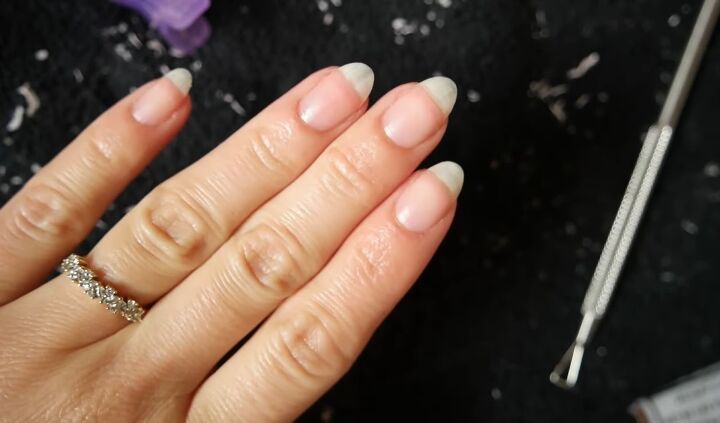
How to shape your nails
Just look at how refreshed, reshaped, and perfect my nails look. I am so happy and they are in a gorgeous oval shape.
It's really not that hard to grow, shape, and perfect your nails at home on your own.
If you enjoyed this tutorial, leave a comment and check out my post on How to Do an Easy Reverse Half-Moon French Manicure.
The author may collect a small share of sales from the links on this page.


Comments
Join the conversation
I have been told that I have egg shell nails. (they turn under at the tips) Does anyone have any suggestions? Please! All I have been told is to keep my nail short... I want long nails..... Can anyone help me?
That was awesome thanks