How to Make Your Own DIY Fizzy Bath Salts
Do you or your kiddos love bath bombs? I’m sharing a DIY fizzy bath salts tutorial that is so much easier than bombs, and works just the same. These salts eave your skin super moisturized and smooth.
We love it and the best part is it’s a wonderful kid activity!

Let's gather our supplies!
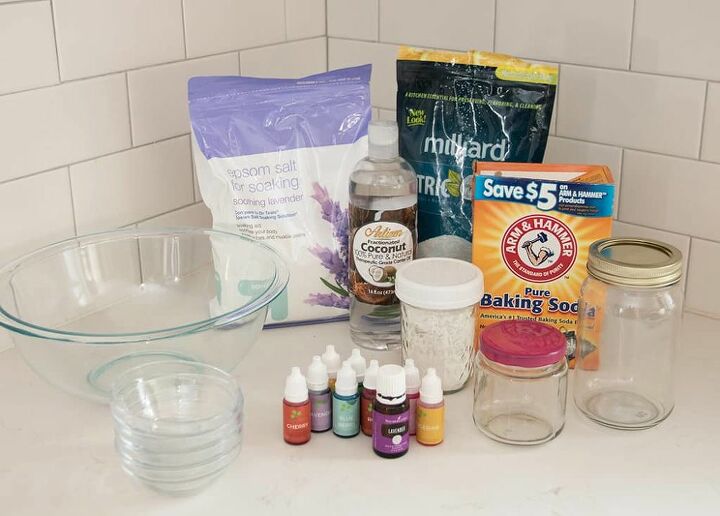
- Large mixing bowl
- 4 medium bowls (you will want to go larger than the ones shown here)
- Wisk
- Spoon
- 1 cup baking soda
- 1 cup epsom salts
- 1/2 cup citric acid
- 1/2 cup corn starch
- 3 tablespoons fractionated coconut oil
- 3-6 drops essential oil
- 4-10 drops soap colorants
- Glass mason jar (or similar)
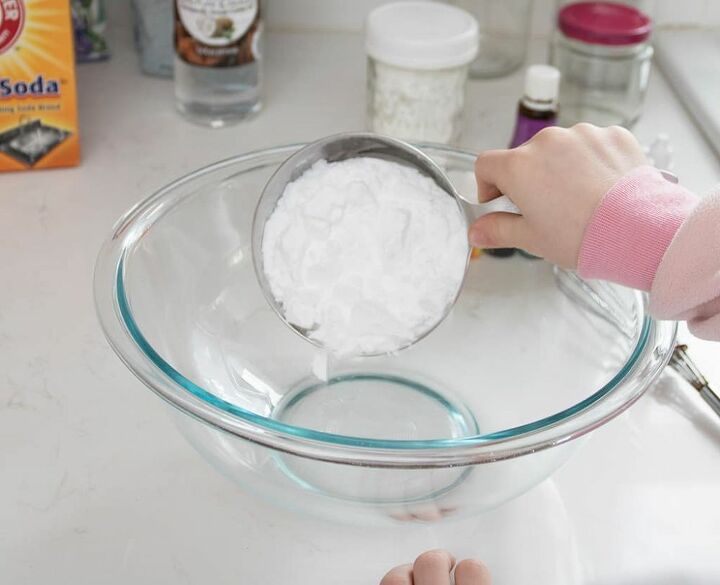
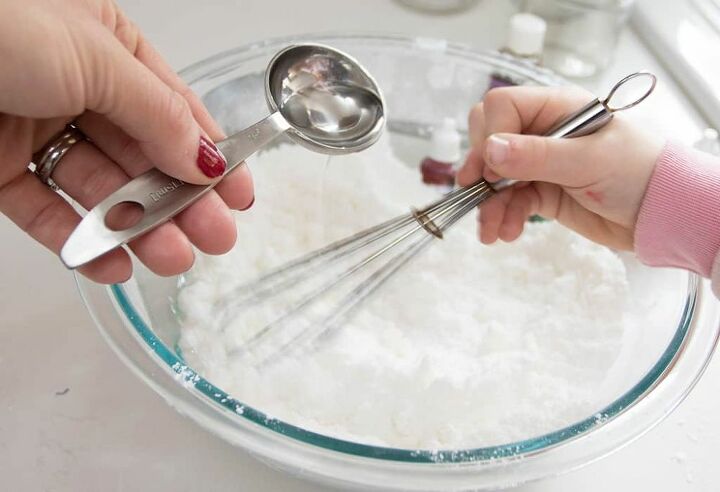
In your large mixing bowl add your dry ingredients starting with 1 cup of baking soda.
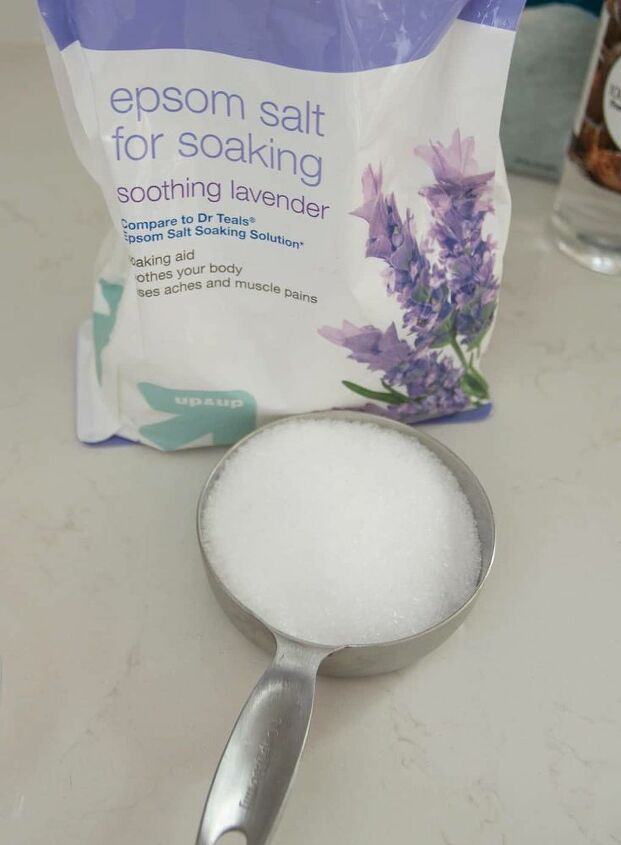
Add in 1 cup epsom salts. I love lavender, but you can use unscented if you prefer.
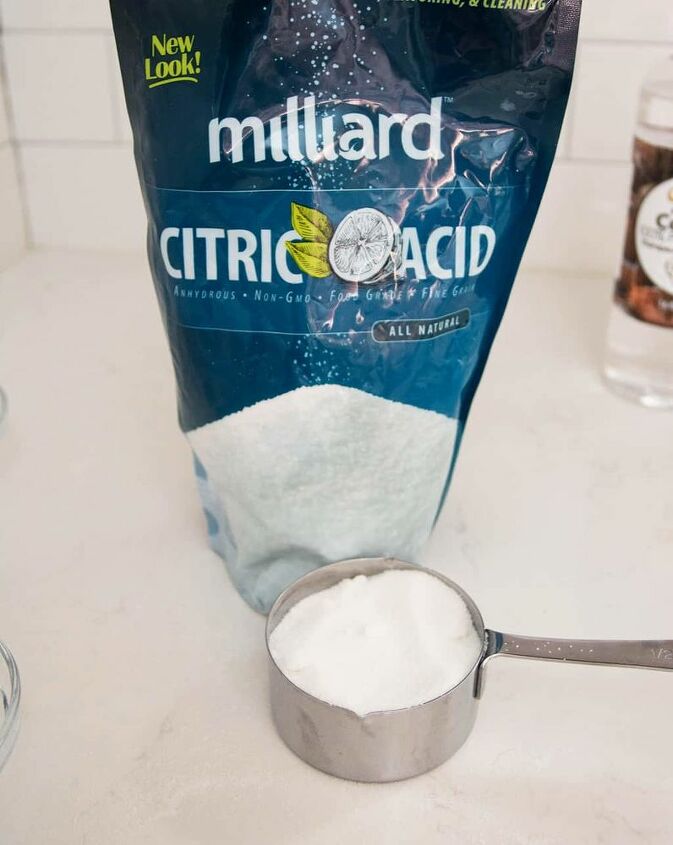
Next you’ll add one of the most important ingredients for your DIY fizzy bath salts – 1/2 cup citric acid. Citric acid is what gives the bubbling effect of bath bombs and salts. It’s my kiddo’s favorite part.
Finally add in 1/2 cup corn starch and gently wisk all dry ingredients together.

Now you’ll want to slowly pour in 3 tablespoons fractionated coconut oil – one tablespoon at a time, wisking slowly.
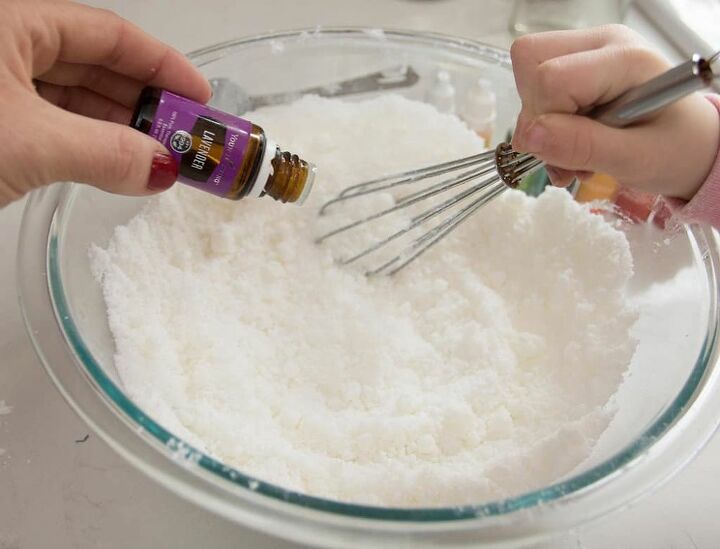
Stir in 3-6 drops of your favorite essential oil. Again, I love lavender, but you can use any scent you’d like.
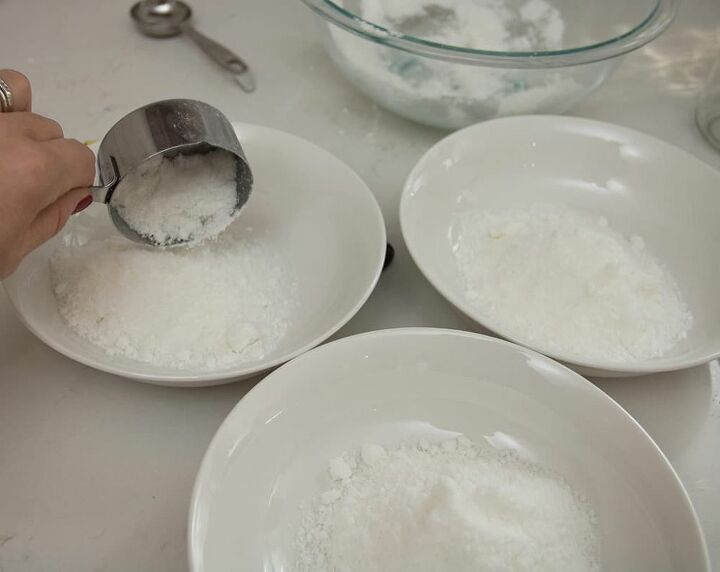
Now, gather your 4 medium sized bowls and divide the mixture from the large bowl into the smaller bowls as evenly as possible.
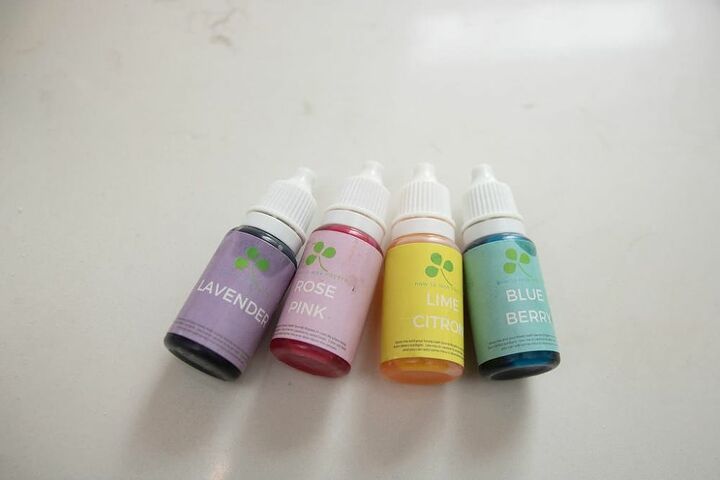
Now it’s time for the fun part – adding in your coloring! Pick 4 colors. You’ll want each bowl to be a different color.
Add in 4-8 drops and wisk together.
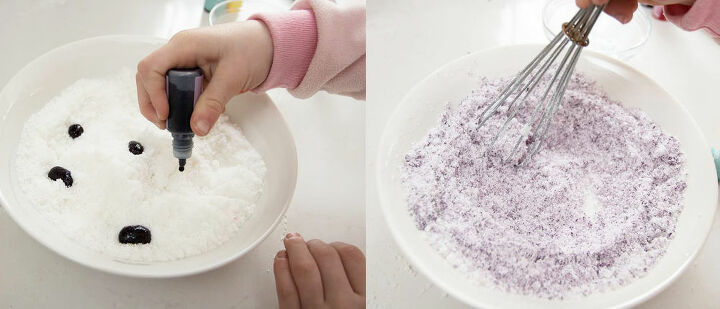
This part takes some time, so be patient. You can add in more color if needed. We added about 5 extra drops to get this color.
One tip I learned as I got halfway through mixing in the color:
Mixing in the color takes some time, so I after I wisk the color in for a minute, I added the mixture to a lidded plastic container and shook for about 30 seconds.
This method really mixes everything together much more evenly and speeds up the process.
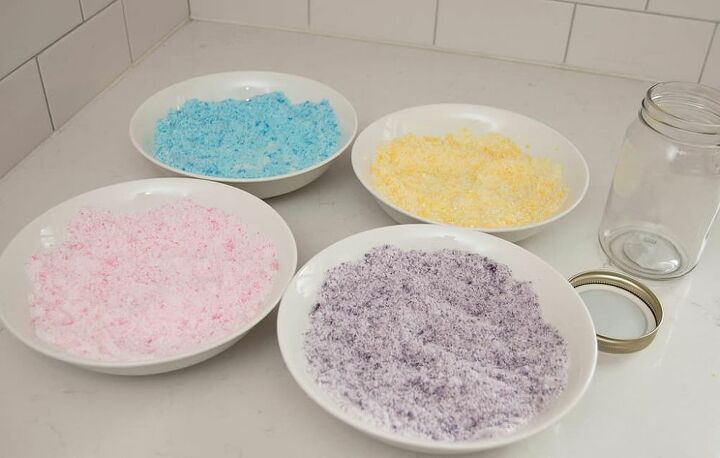
Repeat these steps until you end up with 4 bowls of colorful bath salts.
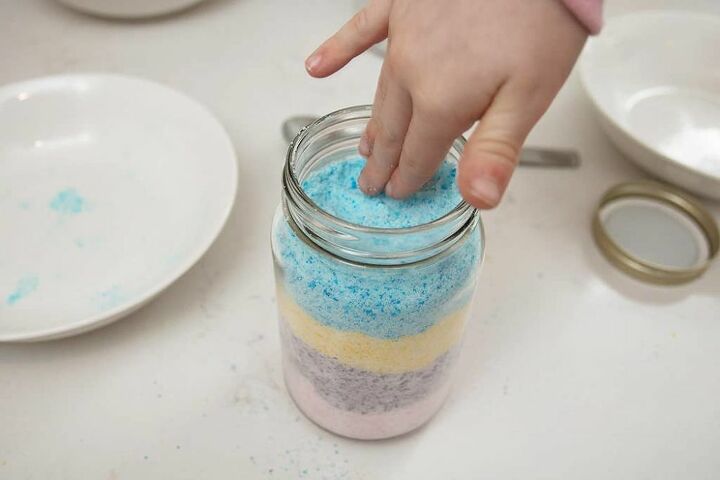
Finally, take your glass jar (or similar) and start to spoon one color into the bottom.
Layer in your next color. PS. We tried a funnel for this step, but it didn’t work very well, so we stuck with the spoon method.
Once that layer is full, add in the next color.
And finally, add in your final color and gently pack it tighter until the jar is full.
Add your lid and there you have it – your very own DIY fizzy bath salts! Aren’t they pretty?
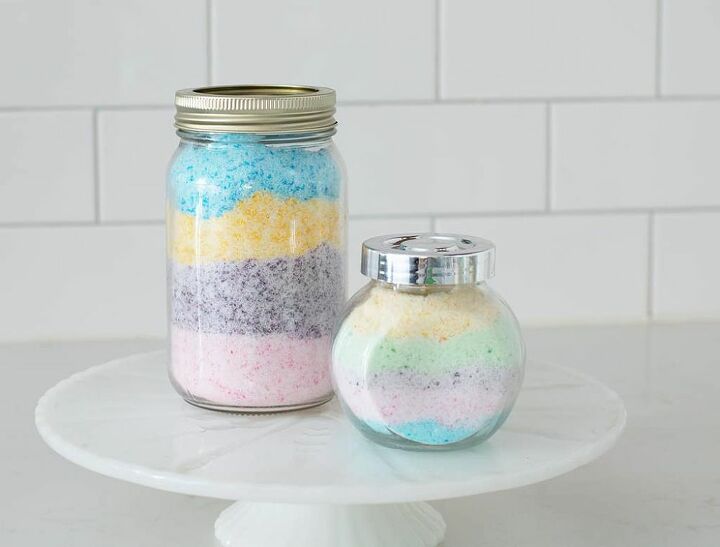
Vivienne tried the bath salts in the tub that evening and they left her skin feeling soft and moisturized. I can’t wait to try it out for myself! We made some for ourselves, but also made a handful extra for a few friends.
What do you think? Will you try to make some for yourself? I highly recommend it. You could even just do one color if you don’t want the layered look. So many options!
Resources for this project:
See all materials


The author may collect a small share of sales from the links on this page.


Comments
Join the conversation
I am really inspired to do this I could use the skin softing and maybe it will help with the Wrinkles, you never know!
Why add cornstarch?