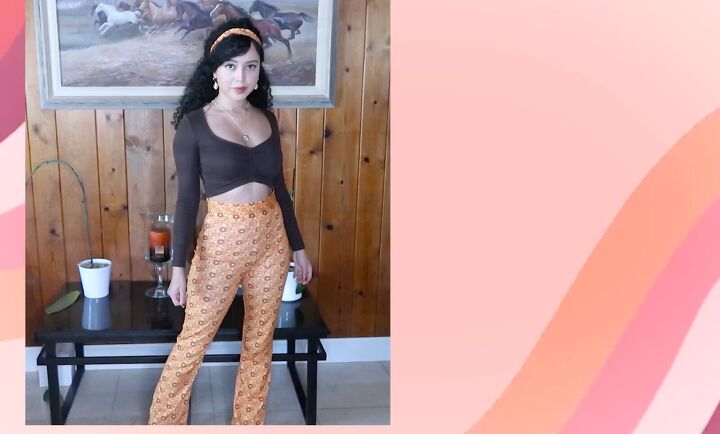
How to Make Your Own Flare Pants: 70s-Inspired DIY Sewing Tutorial

In this tutorial, I'll show you how to make your own flare pants. There’s something about the 70s style with flared pants that is just so flattering! I love them, especially with a high waist.
I never made these before and tried to make my own high-waisted flare pants sewing pattern using my own pants as a guideline. I think they came out pretty fantastic! Interested? Here’s how to make your own flare pants at home!
Tools and materials:
- Fabric
- Scissors
- Your own well-fitting flared pants
- Measuring tape
- Sewing machine
- Zipper
- Matching thread
- Pen/pencil
- Pins
1. Make the pattern
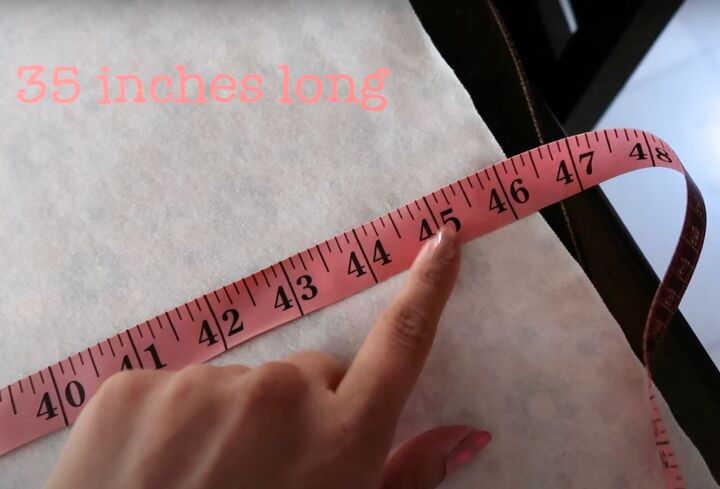
The fabric here is about 46 X 35 inches. Fold the fabric in half lengthwise with the ugly (wrong) side facing you.
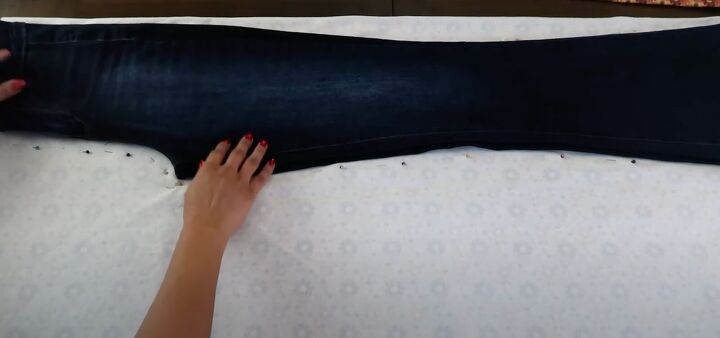
Lay down your own flared jeans or pants of choice as a template. They should also be folded in half lengthwise, with the crotch area pulled out as much as possible.
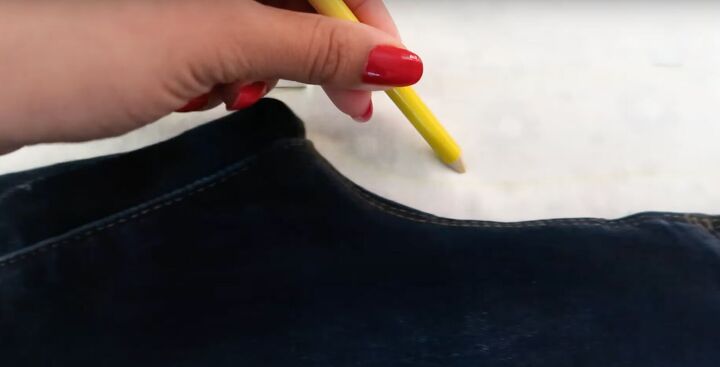
Outline the shape of your pants on the fabric starting at the top. You can use any writing implement or pins to mark the shape or use both for ultimate accuracy!

Flip the pants in the other direction and lay on the unmarked side of the fabric, just below the traced part. Mark the other side of the pants.
The most crucial part is to leave some extra fabric for seam allowance when cutting because you can always take excess in but it’s much harder to add!
Cut the fabric on the marked areas.
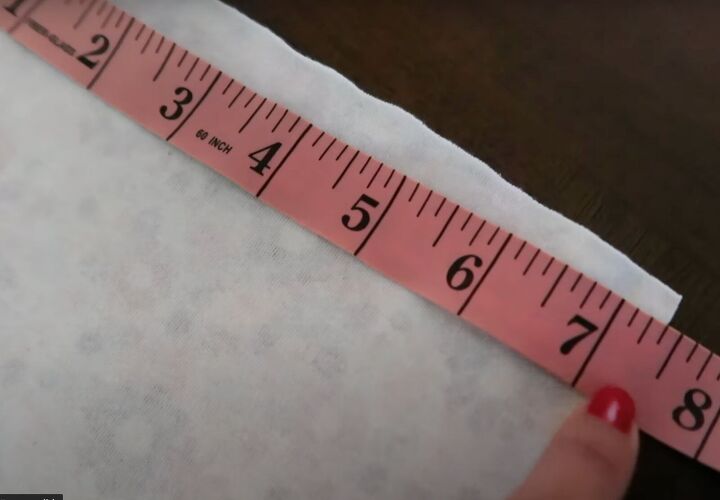
Each piece measures about ¼ of the total measurement, Here the waist came in about 7½ inches, inseam at the top 10½ inches, crotch area 3 inches, knee area at 8 inches, and finally the flare on the bottom at 10½ inches.
The entire length of the pants here came in at 46 inches.

2. Sew the pants
Start only by sewing from the crotch upward to the waist using either a straight or a zigzag stitch.
Next, open up both pant pieces and stack one on top of the other with the ugly sides facing you and the pants right sides together.
Pin the seams in place nice and sturdy. First sew the long outside seams on the pants. Then sew the shorter inseams. Use a zigzag stitch for these seams to allow extra stretch when putting them on.
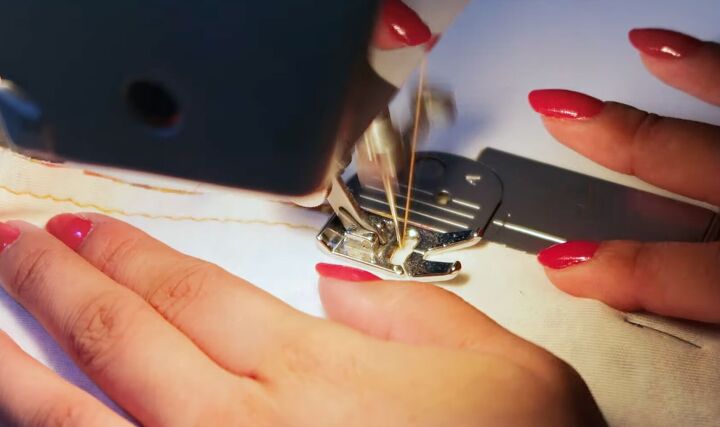
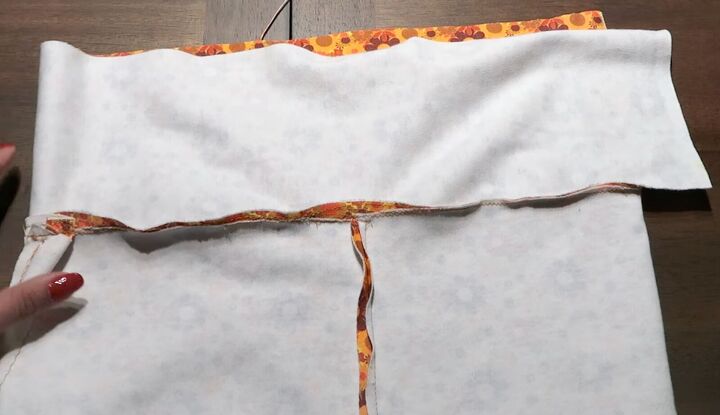
Hem the pants by double folding and then pinning the hem. Sew with a straight stitch for a nice clean seam.
Lay your jeans on top to see if they are sized similarly. In my case, the jeans waist is smaller so the flared pants need some taking in. Pin the waist in an inverted V from the waist down. Sew with a straight stitch.
3. Add a waistband
Nothing makes a waist look smaller than a high waistband! Use a piece of leftover fabric that is 5 inches wide by 28 inches long or adjust to your waist size measurement.
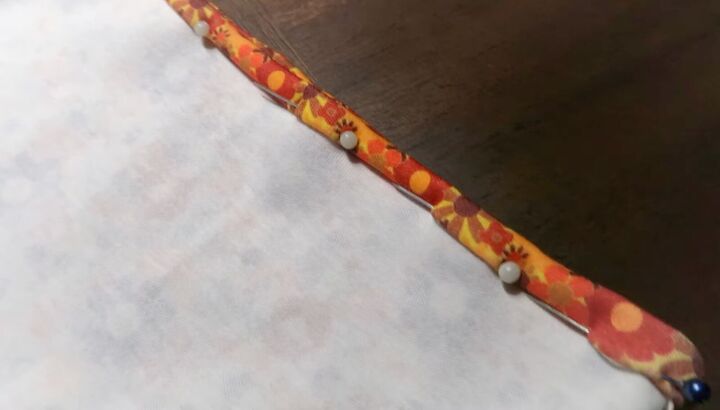
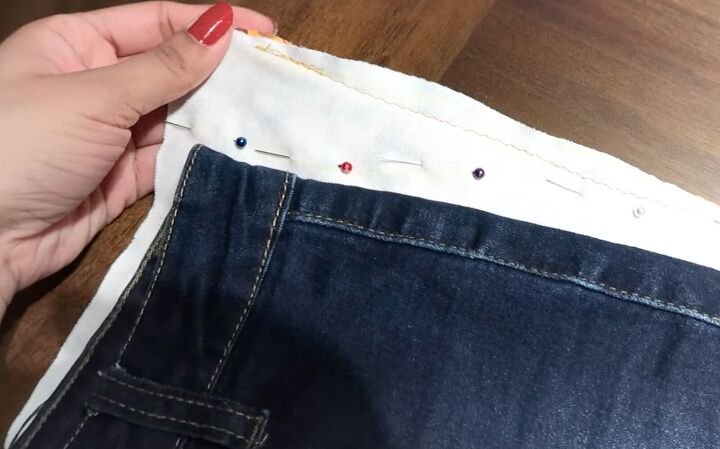
Lay the pants down with the pretty side up and the fabric for the waistband ugly side down. Pin across the edge of the pants, leaving a gap at the side for a zipper.
Continue pinning the rest of the waistband around so the other side meets back at the starting point.
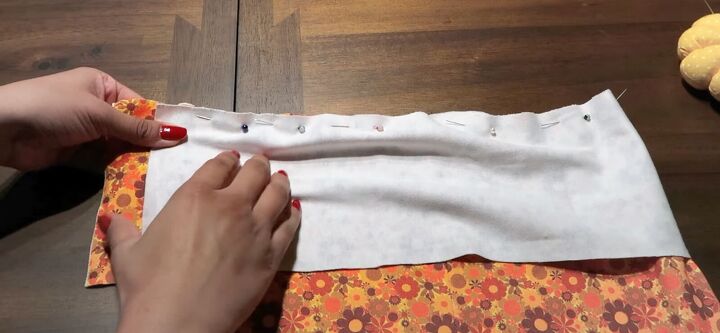
Sew the waistband, leaving the gap open. Flip the pants so the ugly side faces you. Fold over the waistband fabric and connect it to the original seam in the waistband.
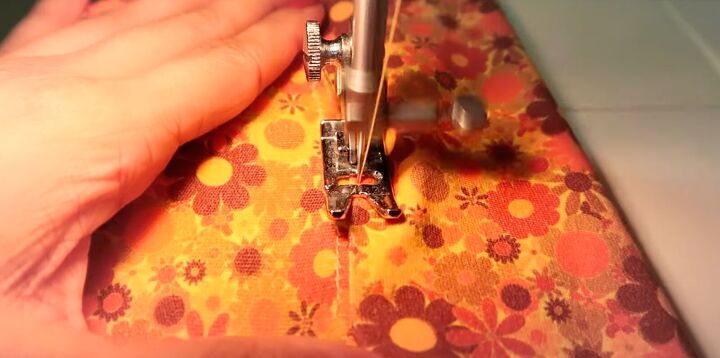
Sew using a straight stitch along the folded edge on the original waistband seam. This stitching will definitely show, so use matching thread!
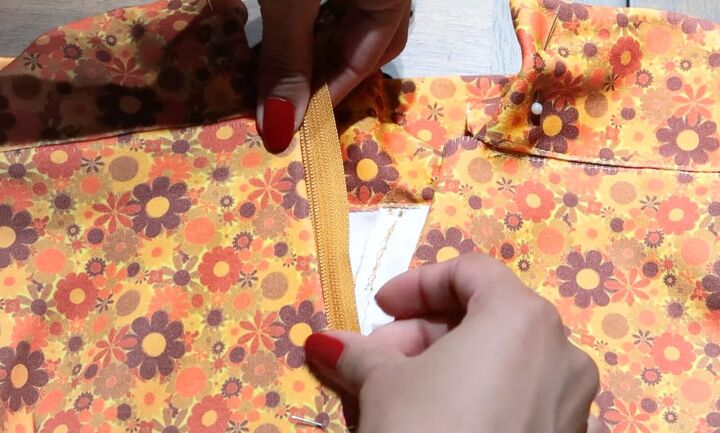
4. Add the zipper
You’ll install a zipper at the gap side you left open. Use a seam ripper to open the side seam to make space for the zipper.
This is not the expert or definitive tutorial on how to install a zipper. However, these steps worked for me!
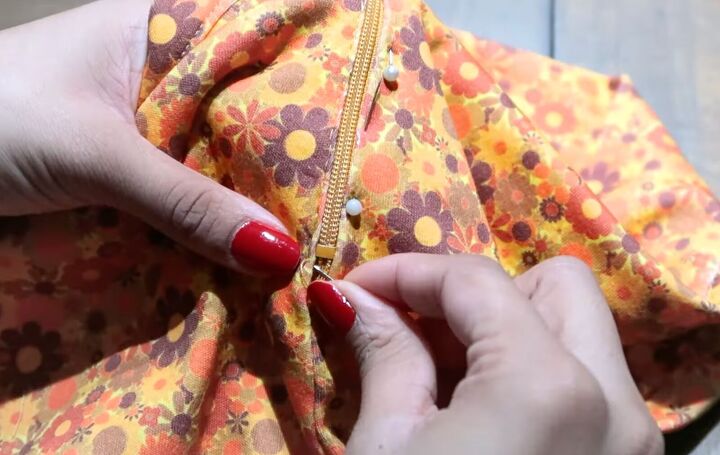
Fold the fabric edges of the gap and the newly-opened side seam for a clean edge. Put the teeth as close as possible to the edge. Hand stitch from the inside on one side of the zipper.
Do the same technique for the other side. Keep the fabric as close as possible to keep the zipper as hidden as possible.
Once you’ve sewn in the sides, sew the bottom of the zipper tape in place. Resew the outer seam for extra security.
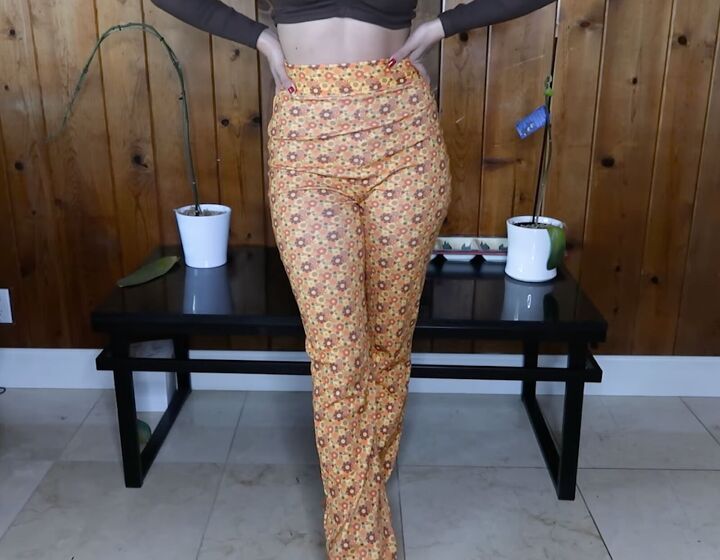
This was my first time making flare pants without any instructions! I think they came out pretty awesome!
How to make your own flare pants tutorial
I hope my tutorial helped you learn how to make your own flare pants with my DIY, on-the-fly high-waisted flare pants sewing pattern. Let me know in the comments what you think and if you tried it!
The author may collect a small share of sales from the links on this page.


Comments
Join the conversation
Thanks for answering. I missed the video entirely the first time. Well done!
Can you show me how to make the matching top!!🤩 I was born 7/7/70 This is what I love all the 70 styles ♥️♥️