Refashion a Fleece Blanket Into a Cozy Loungewear Set

These days, a lot of us are at home more than ever before. I’ve found that there is nothing better than wearing comfy and cozy clothes to lounge around the house in.
I got a cozy fleece blanket from IKEA and I decided to transform it into a very cute loungewear set. Check out this amazing upcycle!
Tools and materials:
- Fleece
- Scissors
- Measuring tape
- Chalk
- Pins
- Safety pin
- Sewing machine
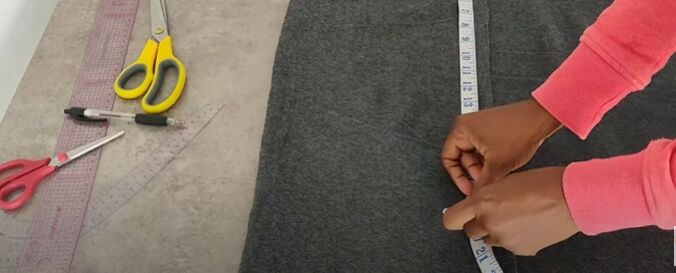
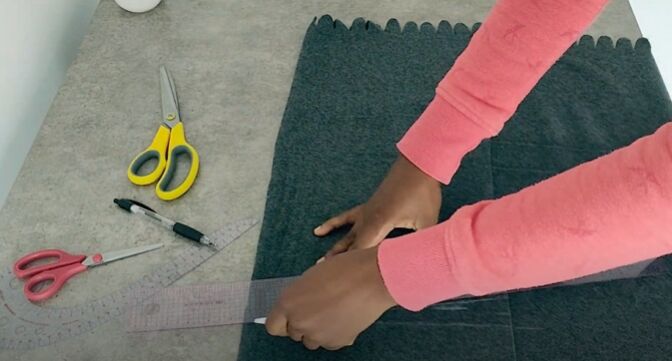
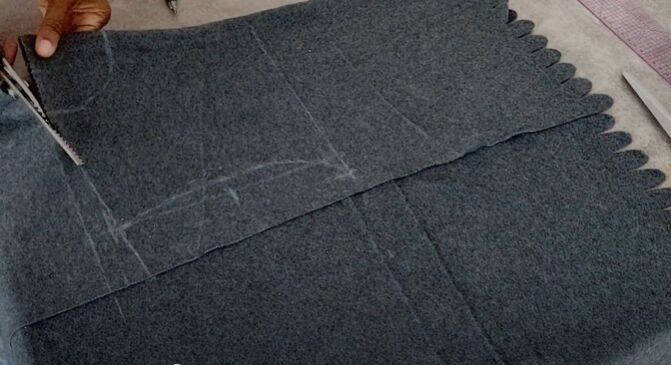
1. Mark the fabric
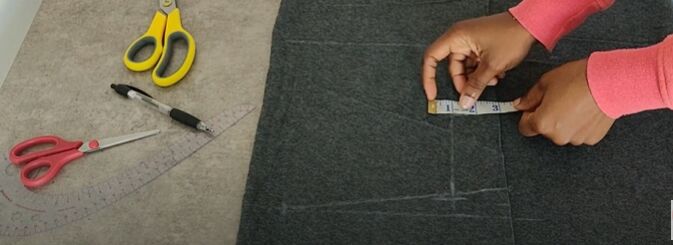
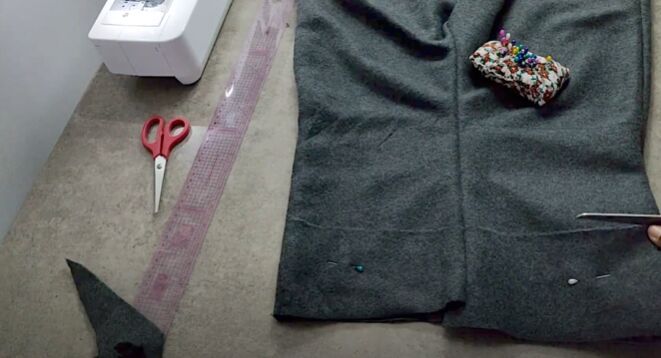
To start off, I folded the fabric over and then measured the length that I wanted which was 18 inches plus an inch for seam allowance.
I then marked the width of the fabric which was 10 inches including an inch for seam allowance.
Next, I went ahead and drew a line where I wanted the top of the piece to start.
From that line, I marked an inch downward.
I then marked two inches inward from the fold and connected the last two markings I had made with a ruler.
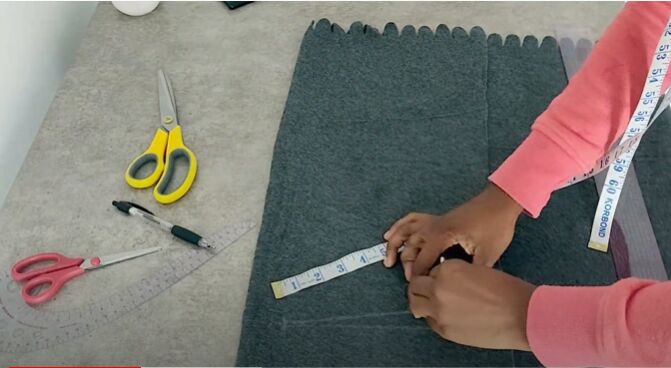
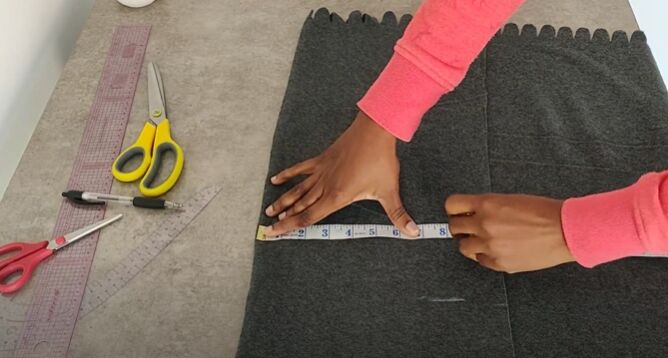
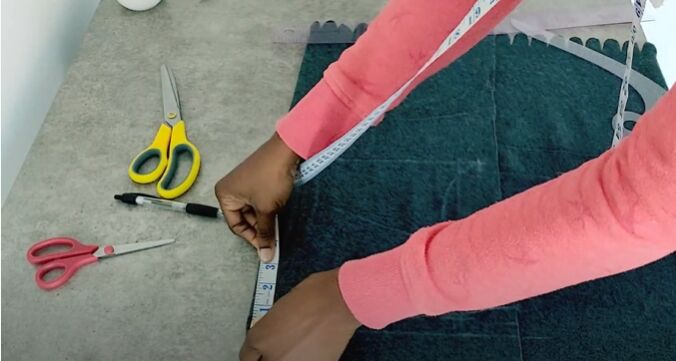
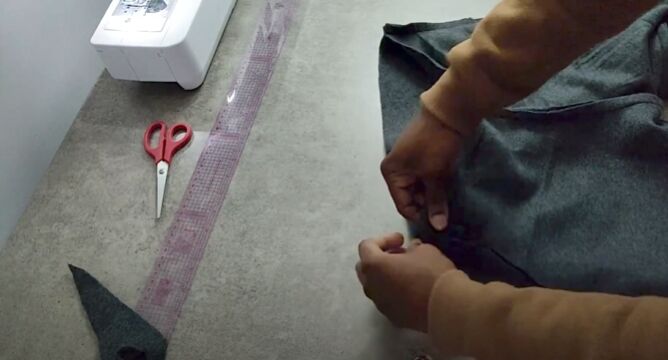
Next, I marked the shoulder measurement. Mine was 16 inches which I then divided by 2 and marked on the fabric.
From that shoulder measurement, I went down 8 inches to mark my armhole.
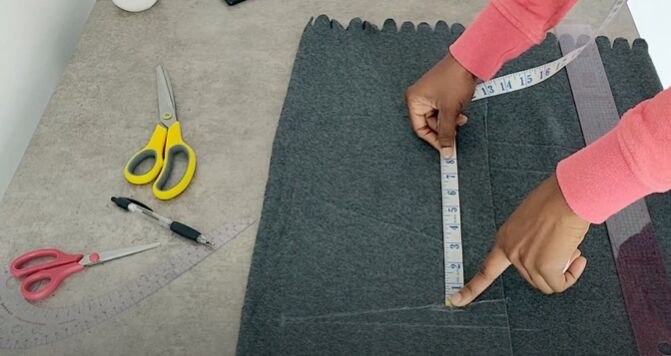
I then took my ruler and drew a horizontal line from the armhole marking.
I also drew a vertical line from the shoulder mark to the armhole mark.

For the bust, I measured along the horizontal line I had drawn, dividing my bust by 4.

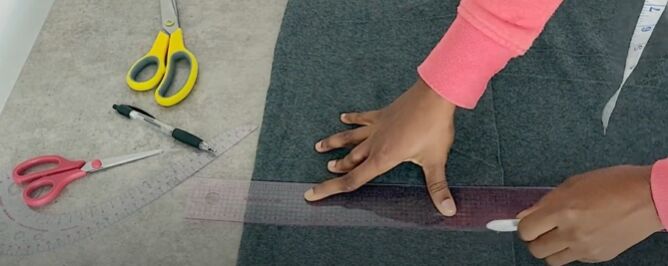
I also marked the midpoint between the shoulder and the armhole.
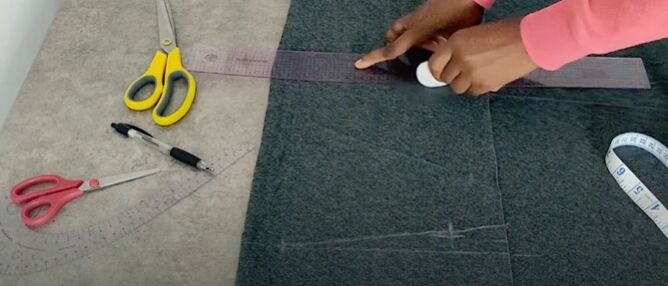
Next, I marked an inch inward from that midpoint.
I drew the armhole curve by connecting all the points.
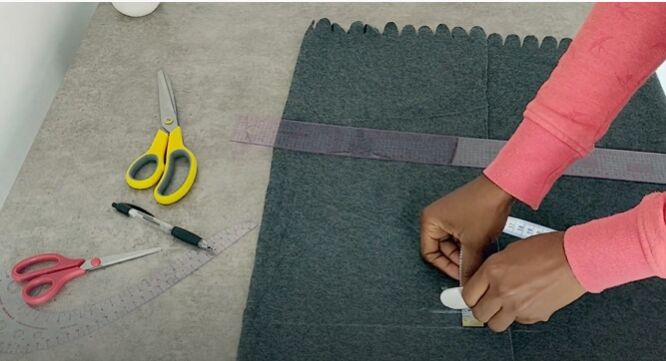
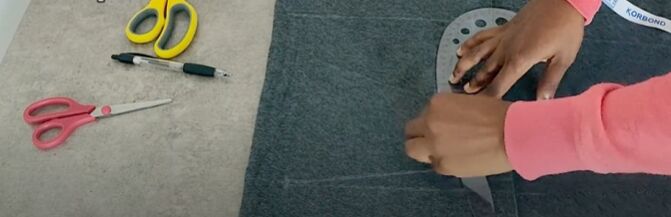
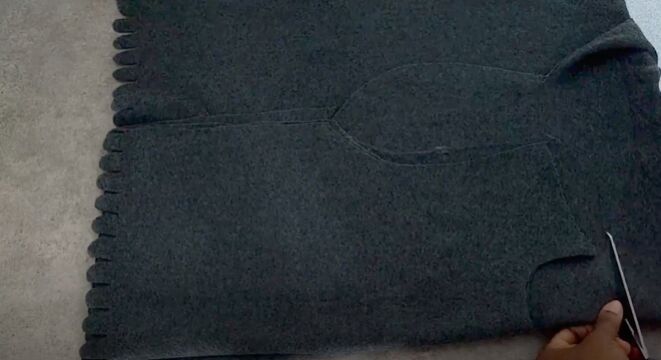
2. Work on the neckline
With the armhole ready, I moved on to work on the neckline. I decided to make the neckline 3 inches by 3 inches so that it wouldn’t be too low.
Once you have marked the two points, you can then connect the two markings with a curved line.
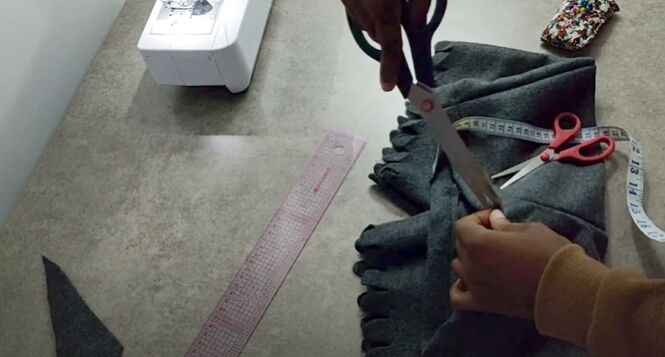
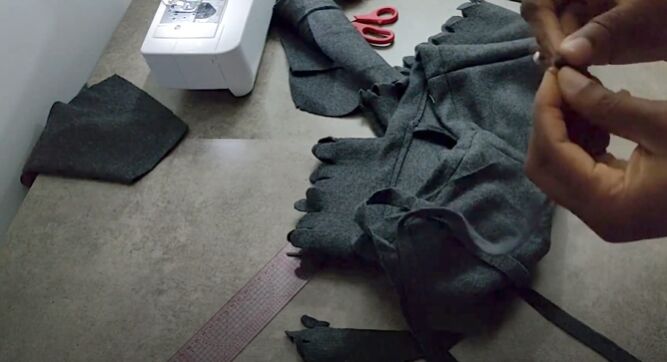
3. Cut the fabric
Finally, I could cut the fabric following my markings.
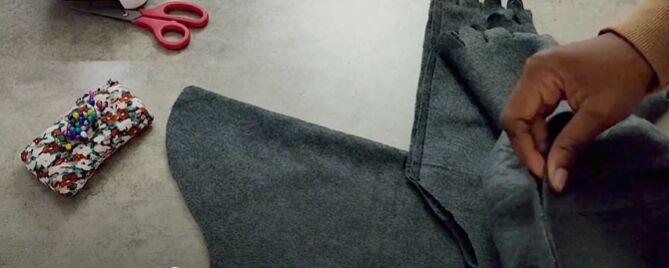
I used the front piece as a pattern to cut out the back pieces. The only difference was that I added an inch to the armhole of the back piece.
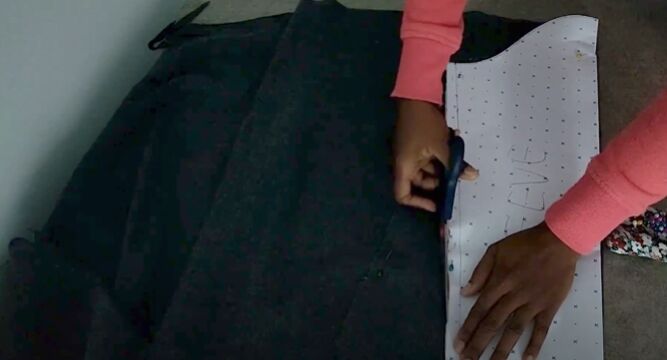
Once I had the front and back pieces ready, I moved on to the sleeves. I used a pattern for sleeves that I already had to cut out the fabric.
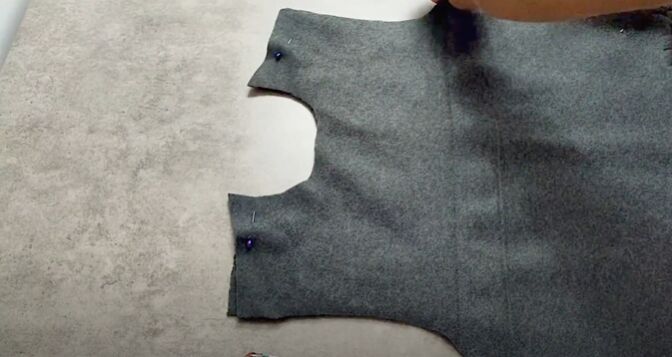
4. Sew the pieces together
To put these pieces together, I pinned and sewed the shoulder and side seams together.
I decided to leave the neckline as is because this kind of fabric doesn’t really need to be hemmed.
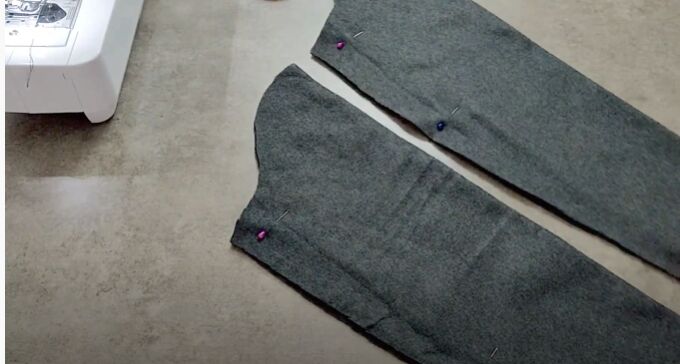
In this step, I moved on to attaching the sleeves.
First, I pinned and sewed the sides of each sleeve together.
I lined up the sleeves and the armholes and started pinning things in place. I then sewed the sleeves onto the bodice and it was complete!
5. Create the shorts
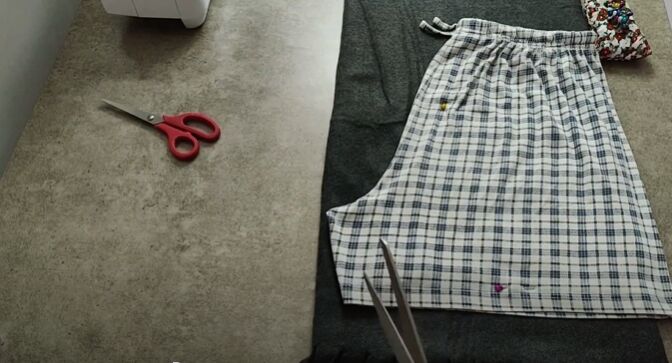
To make the matching shorts for this loungewear set, I used a pair of shorts I already owned.
I folded the fabric over twice and placed the shorts on the fabric. I then cut around the shorts adding fabric at the top and bottom because I wanted my new pair to be high-waisted.
Once I had the fabric cut out, I pinned and sewed the front seams and bottom part of the crotch seam.
I then matched the crotch areas of the two pieces together and pinned and sewed the two pieces together.
I measured and marked to get the desired length for my new shorts. I cut off the excess fabric that I didn’t need from the top.
6. Add a drawstring
I then folded over the top of the shorts to create a channel for a string to go through because I really wanted to add a drawstring to the shorts.
I folded the fabric in by about an inch and a half and sewed all the way around.
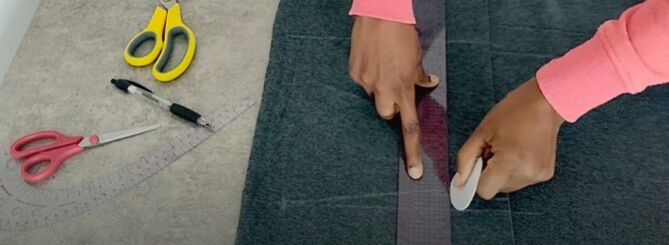
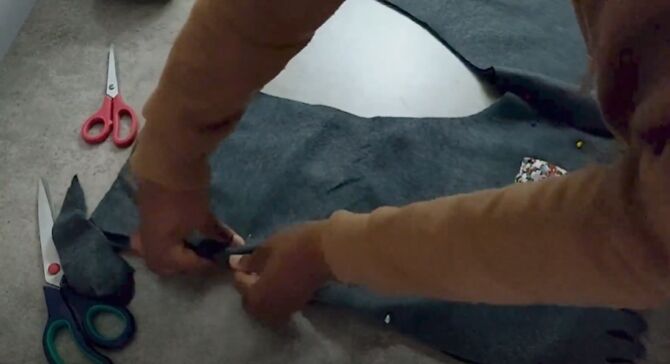
I used a pair of scissors to make two small holes on the center front of the shorts to thread my drawstring through.
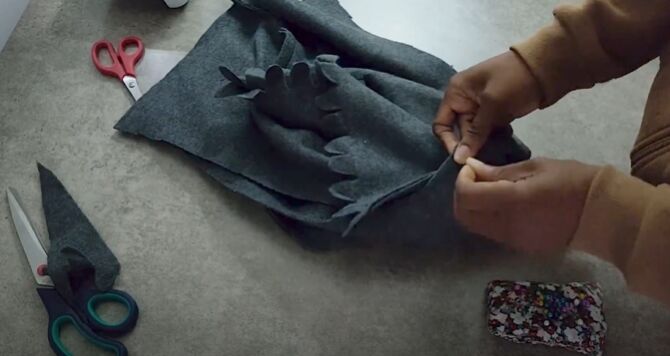
I cut a strip of the fabric for the drawstring and attached the safety pin to the end of the strip.
I then used the safety pin to help me thread the drawstring through the channel I had created.
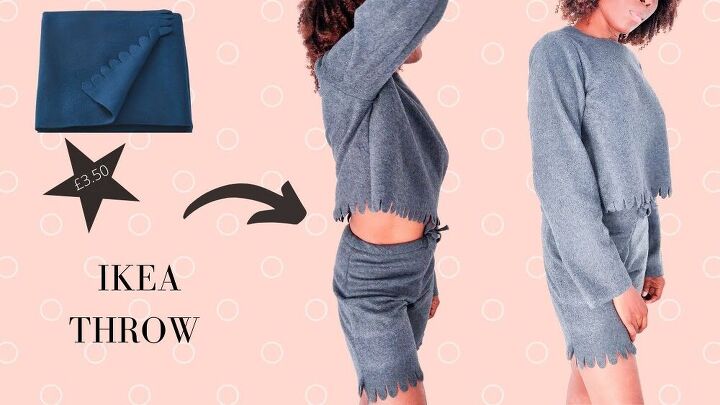
DIY cozy loungewear set
This was such a fun and easy upcycle! I am just obsessed with my new loungewear set!
Share your thoughts about this DIY in the comments below.
Sewing Pattern Tutorial for Two Cosy Loungewear Sets
The author may collect a small share of sales from the links on this page.


Comments
Join the conversation
That is sooo cute. I saved it and am going to make it.
Your materials say three items you did so much more and I would rather just buy the item