Upcycled Tin Can Earrings – Recycle Tin Cans
I have been on a tin can kick lately and my most recent project is upcycled tin can earrings.
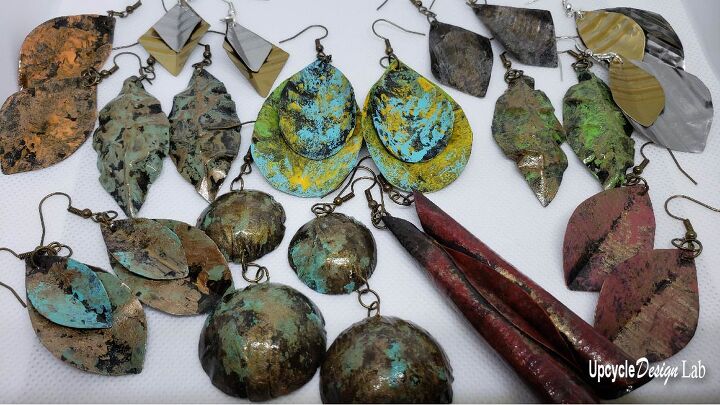
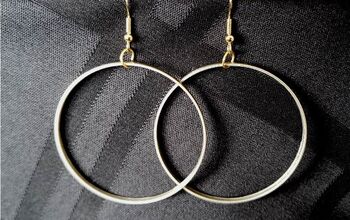
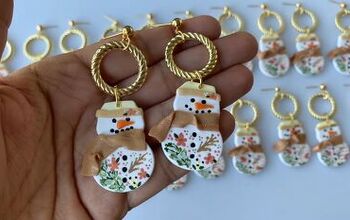
There are all kinds of things you can make with empty tin cans, including jewelry. In today’s post, I will share several different earrings styles that I made using recycled cans.
Don’t worry; you don’t need a lot of fancy tools, and you can find the downloadable earring templates at the bottom of this page, so you will have lots of shapes and sizes to choose.
You can find all the details in the tutorial video below. Or scroll down to the step-by-step directions to learn how to make your own upcycled tin can earrings.
First, you need a tin can. You can use a plain clean can for this project. However, I prefer to use the rusted metal version. You can check out this video for my quick three-step process to make cans into flat rusted metal sheets for crafting.
Advertising Disclosure: Upcycle Design Lab may be compensated in exchange for featured placement of certain sponsored products and services or your clicking on links posted on this website.
For my earring shapes, I also used the following.
- Tin cutters (I prefer this small scissor pair)
- Gloves
- Hammer
- Sharpening Stone
- Center Punch
- Gloss Mod Podge
- Acrylic Paint
- Needle Nose Pliers
- Earring Hooks
- Jump Rings
- Small Wood Blocks
- Small Nail
- Flat Head Screwdriver
- Earring Template – free download at the bottom of post
- Dapping Block (optional)
- 9 Piece Punch and Die Set (optional)
Step 1 – Cut out shapes
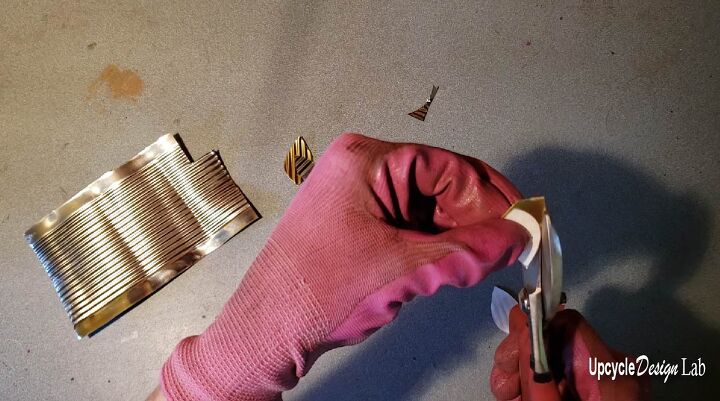
Use your designs or the templates at the bottom of this post to make your earrings. First, cut out the paper template and then use the tin snips to cut the shape out of a piece of the tin can.
Step 2 – Smooth edges
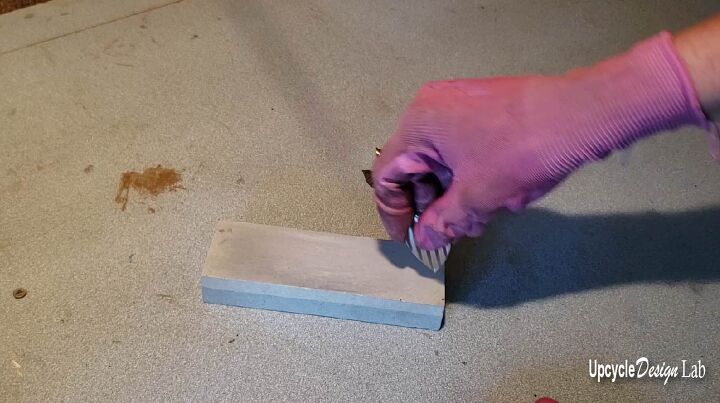
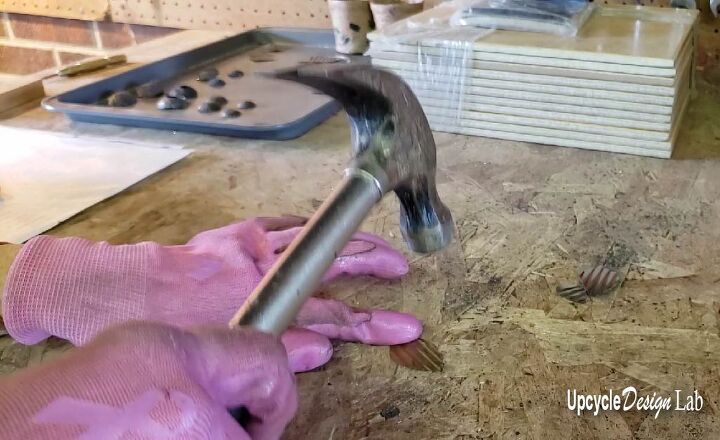
The next step is to smooth the edges and pointed areas. This is a two-step process first, use the sharpening stone to sand down the rough edges, and next, use a hammer on a hard surface to flatten and smooth the piece.
Step 3 – Punch hole
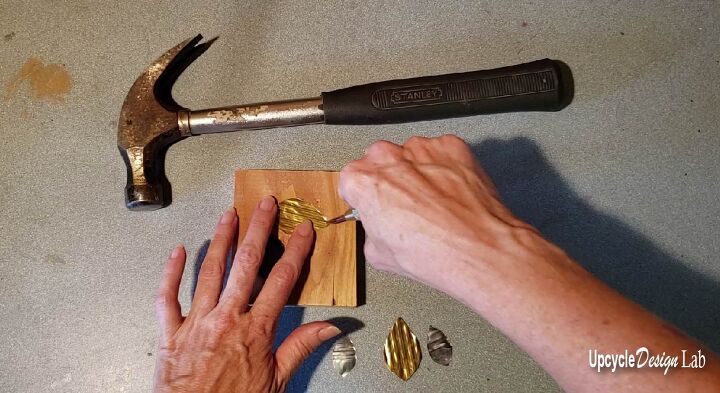
To make the hole for the earring hook, I used a tool called a center punch. You don’t have to have one, but it marks the hole position and helps to keep the nail or drill bit from slipping when making the actual hole. It is an inexpensive tool, and I use mine quite frequently. So if you don’t have one, I definitely recommend adding one to your toolbox. Once I marked the hole, I used a hammer and a small nail to make the hole.
Step 4 – Shape earrings
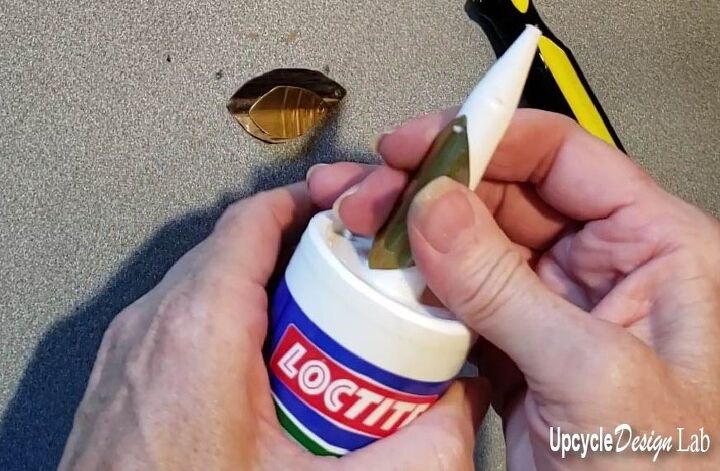
You can get imaginative with this step. Look around your house for items that might work to shape your metal earrings. For this pair of earrings, I used the tip of a Loctite glue tube. For some additional ideas on how to shape earrings, check out the video.
Step 5 – Paint and Seal (for rusted tin)
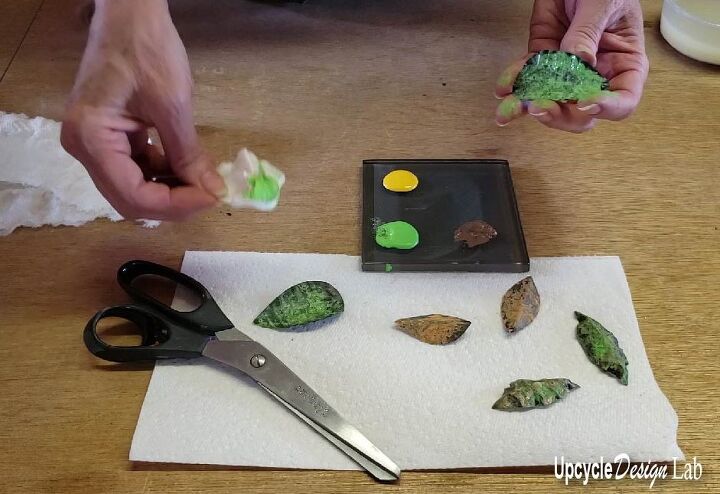
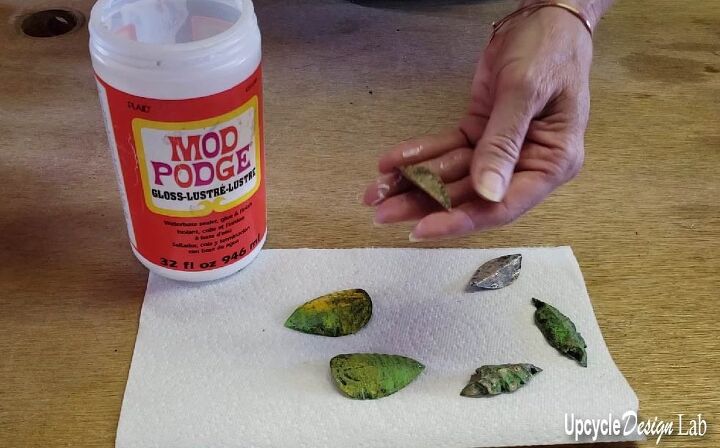
I wanted to add a little color to some of my earrings, so I blotted a couple of colors onto the rusted pieces to let some of the rusted finish show through. Once the paint was dry, I brushed on a coat of glossy Mod Podge to seal the pieces.
Step 6 – Finish
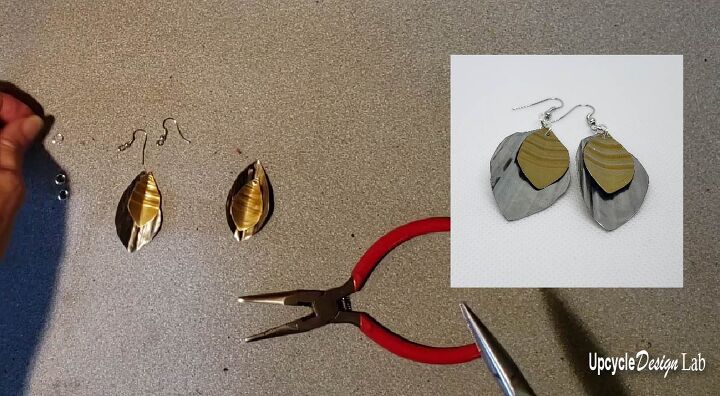
The last step is to attach the earrings to the hooks with the jump rings and needle-nose pliers, and they are ready to wear.
Be sure to check out the video for more ways to shape your earrings.
Happy Upcycling,
Cindy
If you liked this project you may also want to check out these other tin can projects.
Advertising Disclosure: Upcycle Design Lab may be compensated in exchange for featured placement of certain sponsored products and services or your clicking on links posted on this website.
Free Downloadable Earring Templates
The author may collect a small share of sales from the links on this page.


Comments
Join the conversation
FOLKS! your tetanus shots only last 10 years before you need another booster - and then another 10 years later! messing with metal & risking lockjaw is foolish! Get your boosters!
What about using soda cans? The metal is thinner and can be cut with shears!