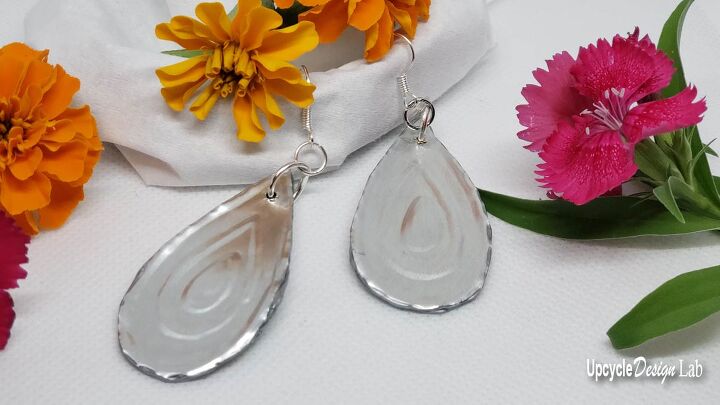
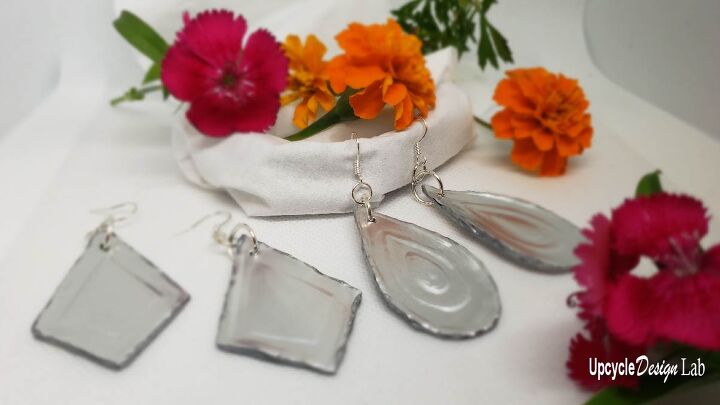
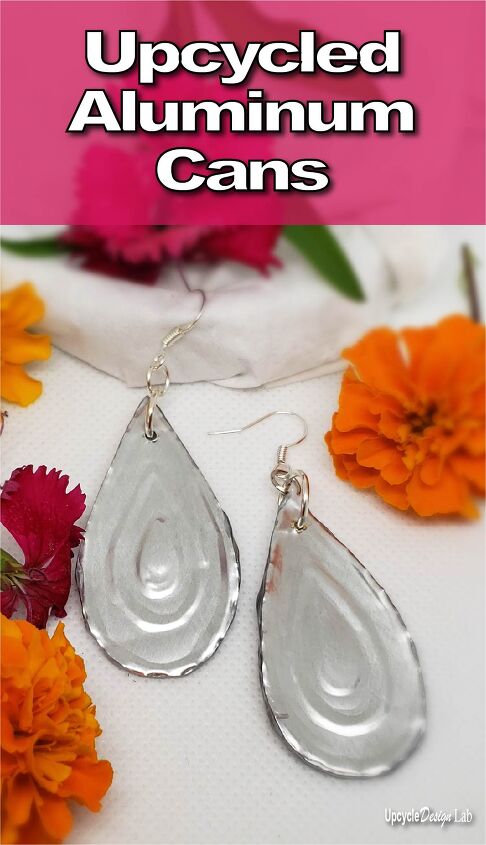
How To Make Upcycled Embossed Metal Earrings From Aluminum Cans
Here is something you may or may not know about me.
I am unapologetically trashy.
I am pretty sure I can say that at my age without any weird innuendo. But just in case I need to clarify, I am referring to trash literally. You know the stuff you throw in your recycling bin. You are gonna have to trust me on the age part because I am not going to get specific there. After all, this is a happy space, and there is no call for traumatizing anyone. Namely me.
It (I am back to the trash now, in case you got lost) is the source of inspiration for most of my projects. My age is more likely to inspire a nap, so back to the trash cuz, it is way more interesting than my sleeping habits. And while I imagine you are not excited about garbage or how long my nap time is, you are still here. So who knows what that could mean?
But if you don’t think of your recycle bin as a storage container for all your craft supplies, you might be a little lost. And it is possible that my blog will cause you to feel like you have fallen down the rabbit hole. But fear not, my world is kooky but pretty harmless.
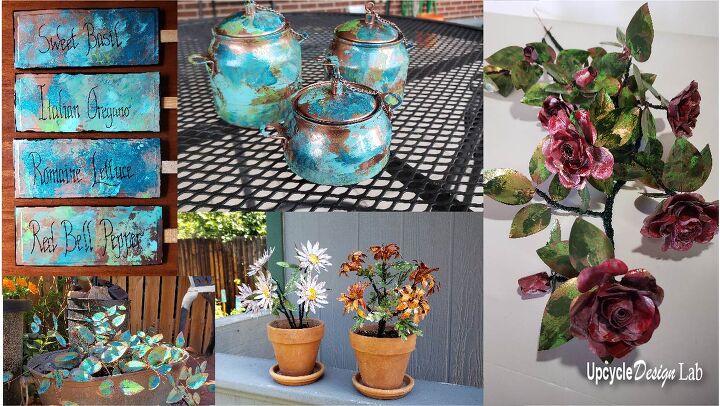
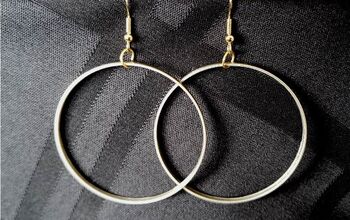
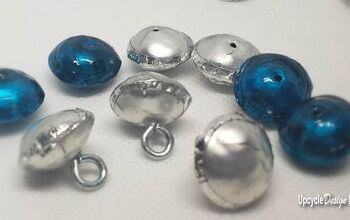
Recently, I have been exploring my affinity for aluminum cans. I have made all sorts of projects like garden markers and little faux copper pots. I have made mums, daisies, and a plant that I called a hosta but apparently looks nothing like one. I even made a rose bush from aluminum cans. I keep thinking it is time to move on to another medium, but I am just not ready for all the drama of a breakup. And besides, I am still falling asleep romanticizing about what else I can create from these ubiquitous little aluminum cylinders.
Here is a little photo montage to excite you about saving aluminum cans for your next project. Or maybe it will just motivate you to find a can with your favorite beverage. But hopefully, it will tempt you into checking out some of my other projects. Because even though I am not that kind of trashy, I am still solicitous.
And now, because you asked, what you didn’t? Well, anyway, more about me.
I spend a lot of time up in my head. Generally speaking, it’s a pretty great place to hang out. And on restless nights when I have watched too much news or other negative thoughts are occupying my mushy gray matter, I encourage myself to consider what I might make out of my current recycling bin romance.
If you could crack the top of my head open and peek inside, I like to think you would see Alice in Wonderland skipping around with a glue gun and a paintbrush while Oscar The Grouch tosses out pieces of trash from his can for inspiration. The white rabbit would be busy cutting cardboard shapes into bread and butterflies. You would find the Queen of Hearts smashing wine bottles with her flamingo croquet mallet being serenaded by Jack Johnson singing “The 3 R’s, Reduce Reuse Recycle,” and the cast of Monty Python……hum……. well, I don’t know what they are doing, but they are somewhere in there causing a little crazy.
See, I told you it was an awesome place to hang out. Ok, maybe it’s as weird as it sounds, but it explains a lot, doesn’t it? 🙂
Oh, you are just here for the earrings? Well, let’s get crafting then, shall we?
Step 1 – Cut and Flatten Can(s)
You will need one to two cans for a pair of earrings, but you may want to try more than one design.
This short video will show you how I cut and flatten my aluminum cans for crafting.
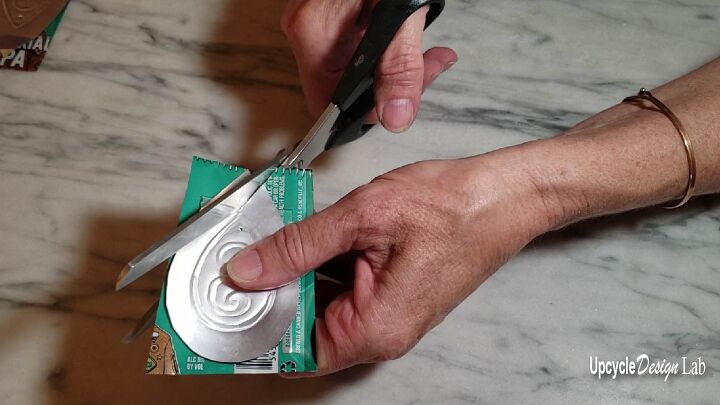
Step 2 – Cut Earrings
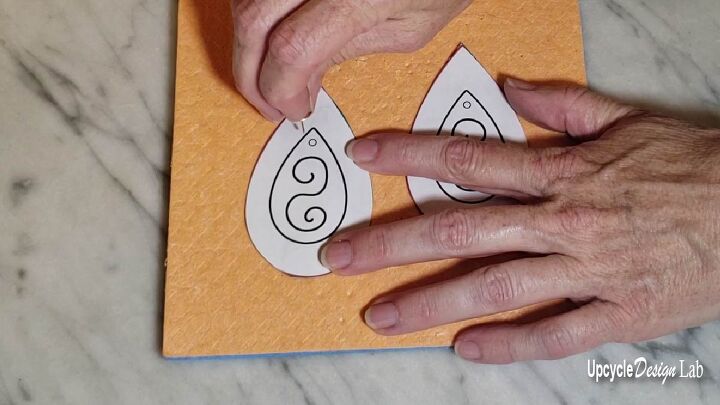
Once you have a flattened piece of aluminum, select your earring template. You can use mine or design your own.
***** FREE Templates are available on my home blog post. *******
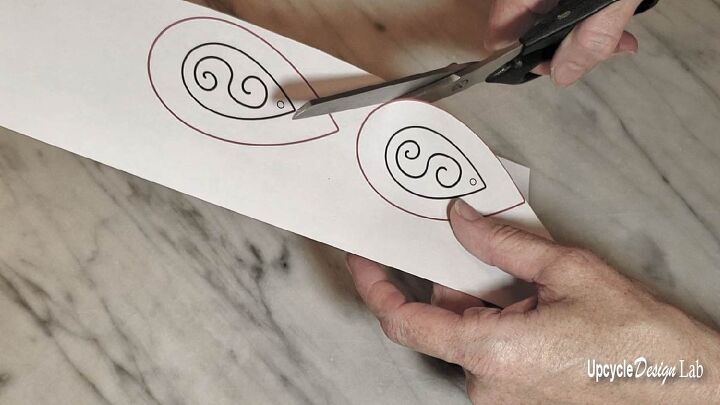
I used a piece of double-sided tape to hold the template onto the printed side of the can and then used a pair of scissors to cut out the shape.
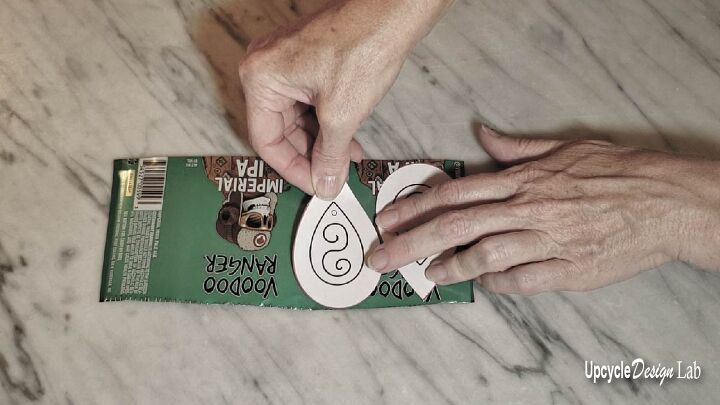
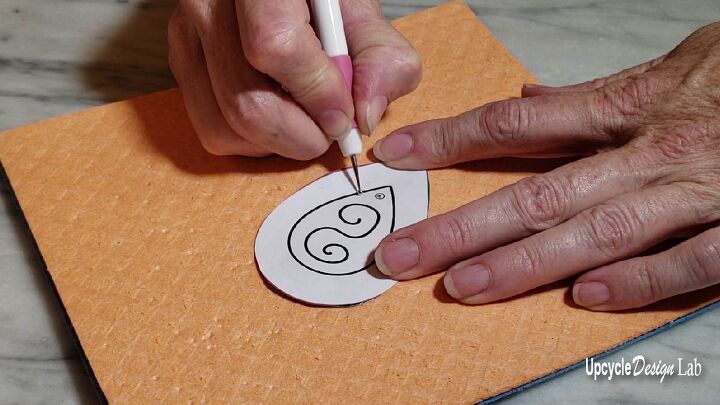
Then I used a thumbtack to make the hole for the jump rings.
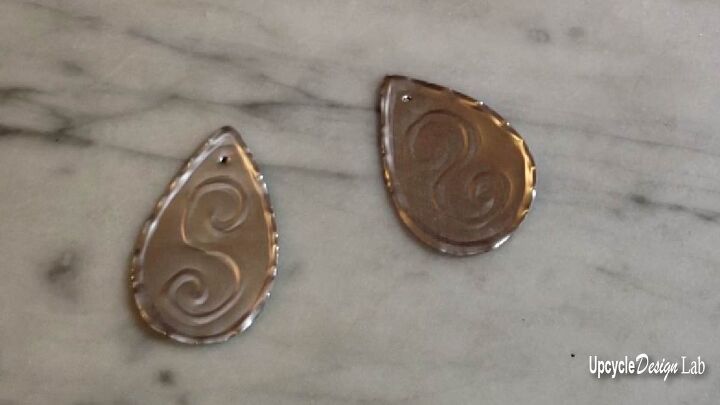
Step 3 – Embossing
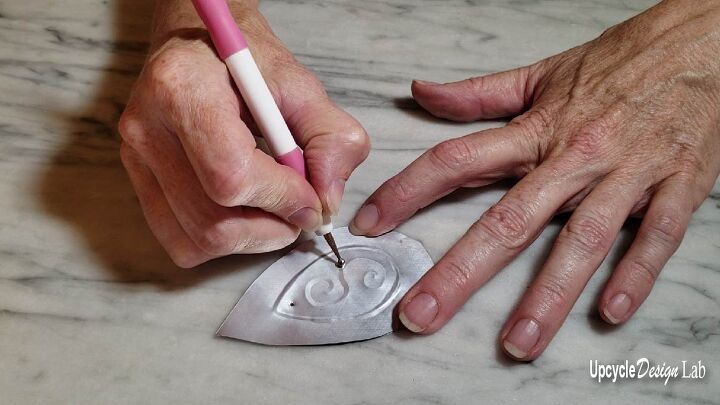
Next, I used a piece of felt and my embossing tool to transfer the template design to the aluminum. I am not an expert at embossing, but I enjoy experimenting.
First, trace all of the lines on your template with the embossing tool using the pad underneath.
Once the design is drawn, flip the piece over and work on a hard surface to reinforce the design.
Step 4 – Attach Back
The next step is to apply mounting tape to the back of the aluminum and then attach another piece of aluminum to the back.
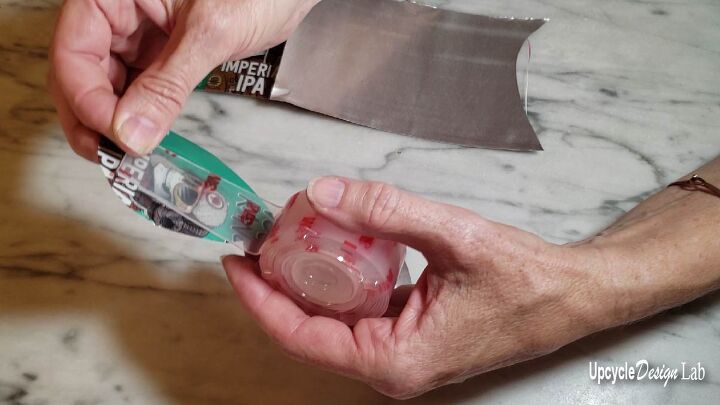

Once the pieces are sandwiched together, trim off the excess aluminum and tape and use the thumbtack to finish making the hole.
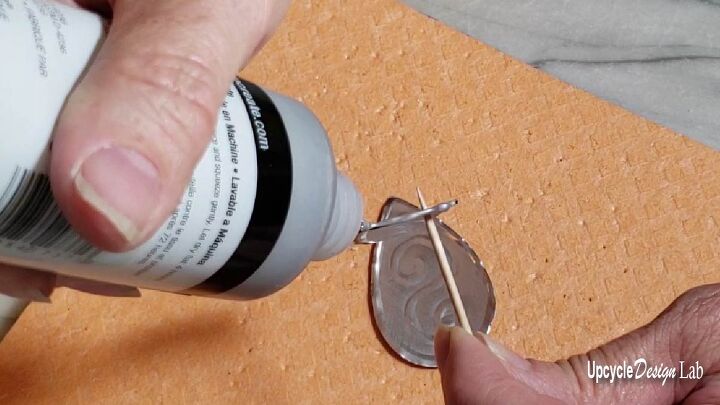
Step 5 – Finish Edges
To finish the edges, I used some metallic silver dimensional paint.
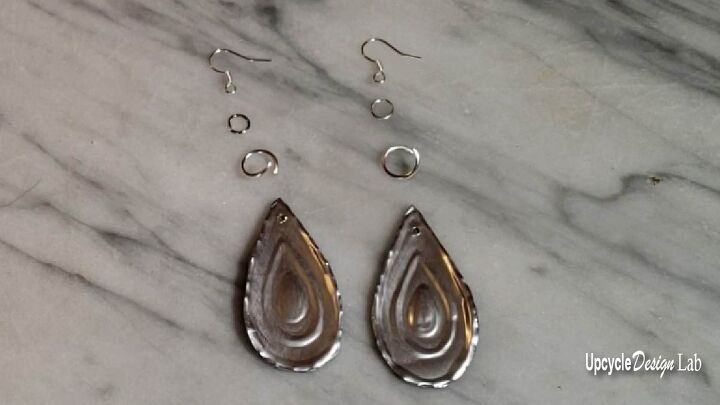
Step 6 – Complete the Earrings
Once the paint dried, I used needle nose pliers to add my earring hooks and jump rings.
Thanks for checking out my project.
Happy Upcycling,
Cindy
If you enjoy making jewelry from recycled materials, check out this video for 13 more upcycled jewelry ideas.
The author may collect a small share of sales from the links on this page.


Comments
Join the conversation
How do you keep the edges from being to sharp and cutting skin?
Thank you,