How to Make Metal Beads From Upcycled Aluminum Drink Cans (Style Numbe

Several months ago, I posted a tutorial on how to make rolled beads from aluminum cans. You can find the original post here and an updated version here. Ever since then, I have been trying to come up with another style of bead. And today, I have one to share with you. I am calling it an aluminum can pillow bead.
One aluminum can will make several beads depending on the size of the circle you cut. My circle disks are 3/4″, and each bead will use two metal discs.
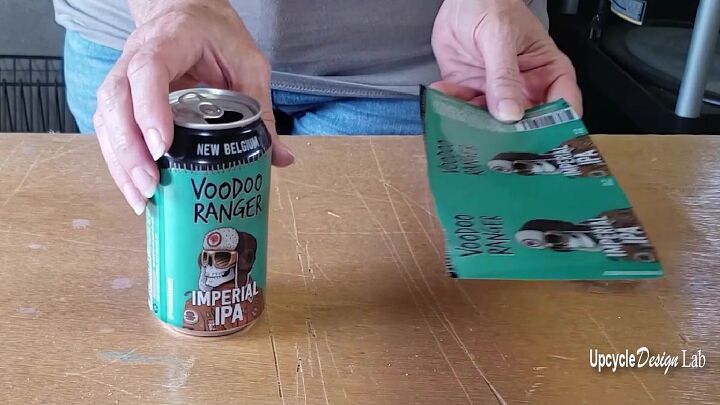
I used a flattened metal sheet from an aluminum can for this project. To prep the can, wash and remove the top and bottom of the can. If you would like more information on how I break down my cans into four usable parts, watch this video.
Next, I flattened the side of the can into a metal sheet. The video below will show you three different methods for flattening the cans.
Advertising Disclosure: Upcycle Design Lab may be compensated in exchange for featured placement of certain sponsored products and services or your clicking on links posted on this website.
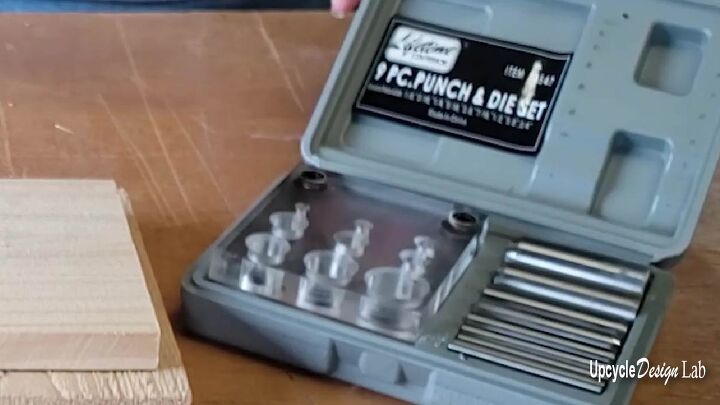
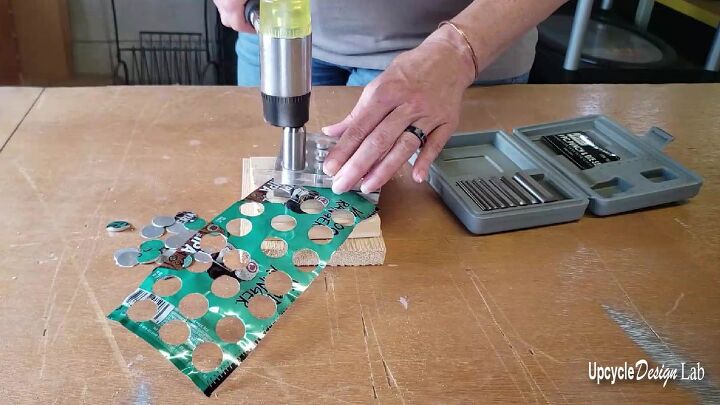
The next step is to cut your circles. As I mentioned, my circles measure 3/4″. You can use a template and scissors or a punch and die set to cut the aluminum.
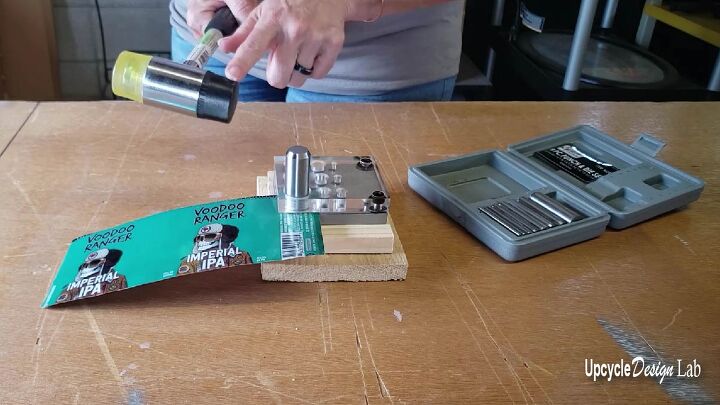
You also need a rubber mallet for this process. To use this die, it is best to use one firm strike of the mallet to punch the die through the metal.
If you prefer, you can use your Cricut maker cutting machine to cut the circles. Watch this video for more information on how to cut aluminum on a Cricut.
I chose to use my punch-and-die set for this project since it is the fastest method.
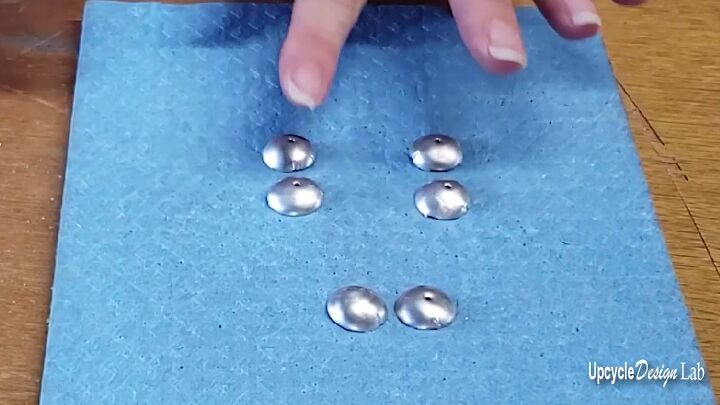
The third step is to shape all of the metal discs. To do this, you will need a dapping and doming set. Many different sets are available, but this is the dapping and doming set I used.
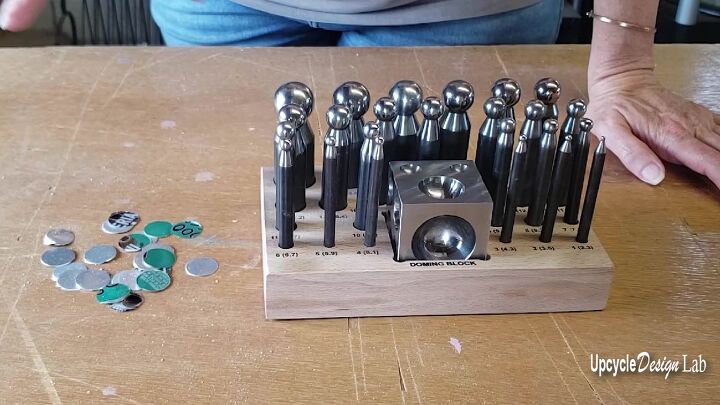
I started with the second largest cavity and the number 20 dapping tool to shape each metal disc.
It is important to work slowly and gently when initially working with the metal. If too much pressure is applied right away, the piece may buckle, fold or even break.
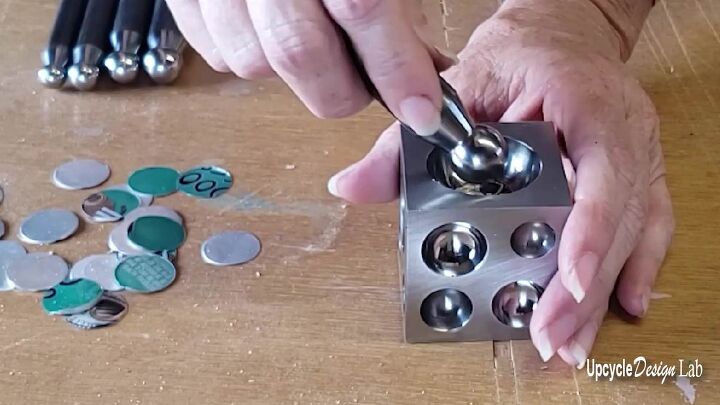
Once the metal disc conforms to the recess, it is time to move to the next smaller divet and the size 17 dapping tool.
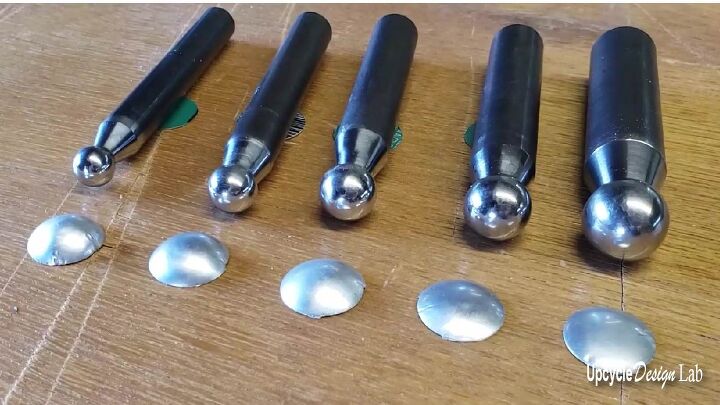
Keep working down one size at a time to smaller holes with smaller tools. I used the size 20, 17, 15, 12, and 10 dapping tools for the 3/4″ discs. If your circles are larger or smaller, you will want to adjust the divit and dapping block sizes accordingly.
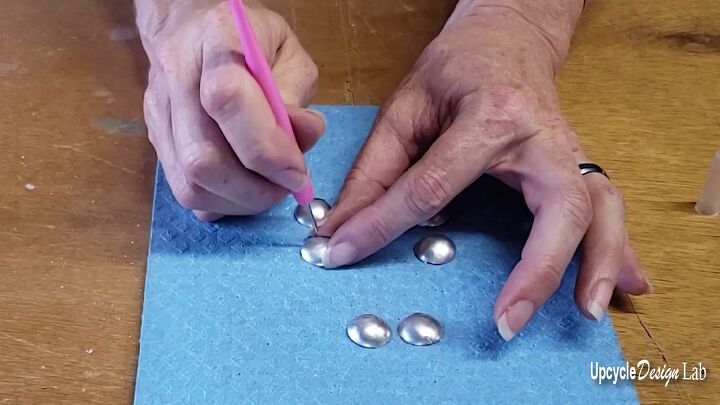
Once I finished shaping the pieces, I put them in pairs and used a stylus to punch a small hole in the center of each dome.
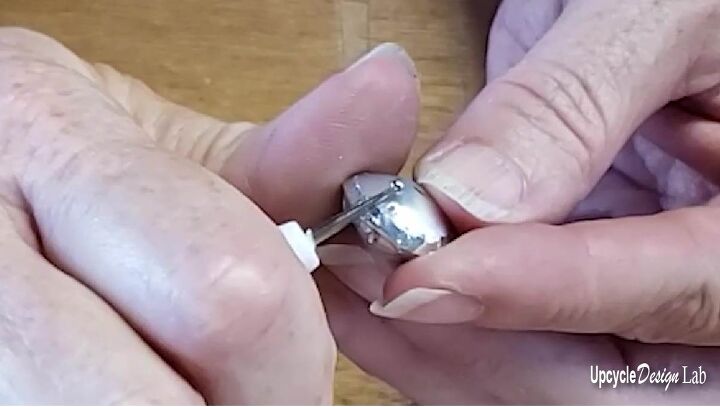
Next, I used a piece of metal tape cut 1/8″ wide to tape the two domed pieces together, gently pressing the tape onto both pieces.
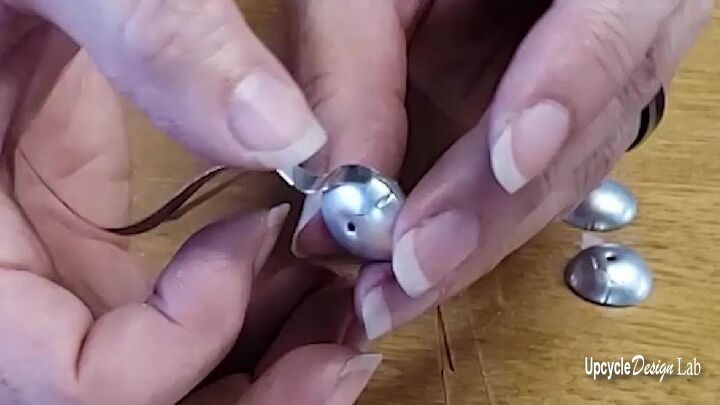
To further adhere the tape, I used my embossing tool to gently press the tape onto the metal domes.
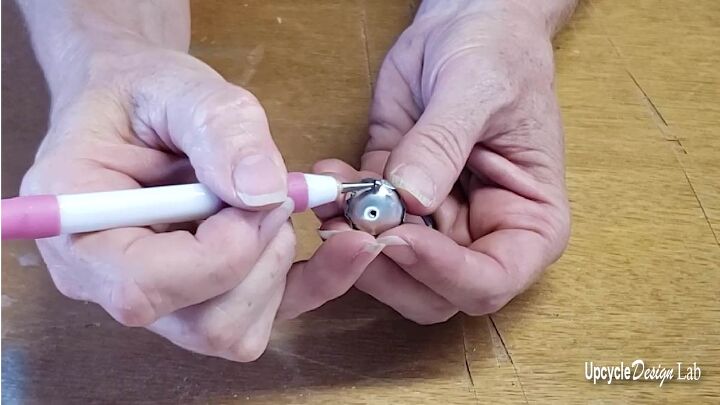
And then, I used the side of the embossing tool to burnish and smooth out the tape.
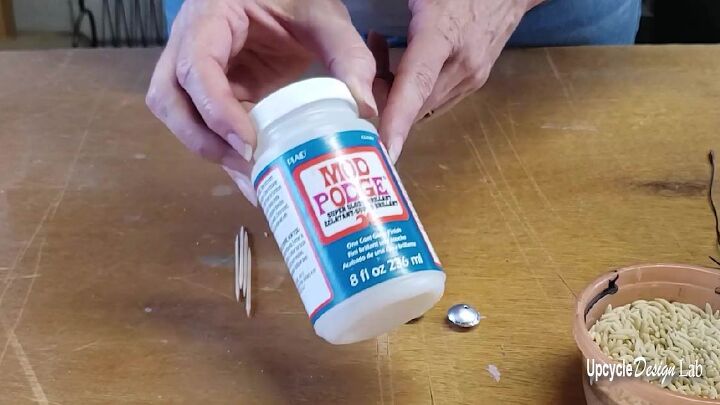
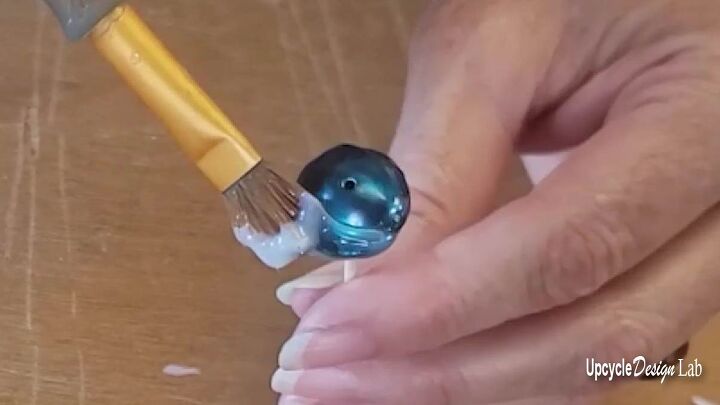
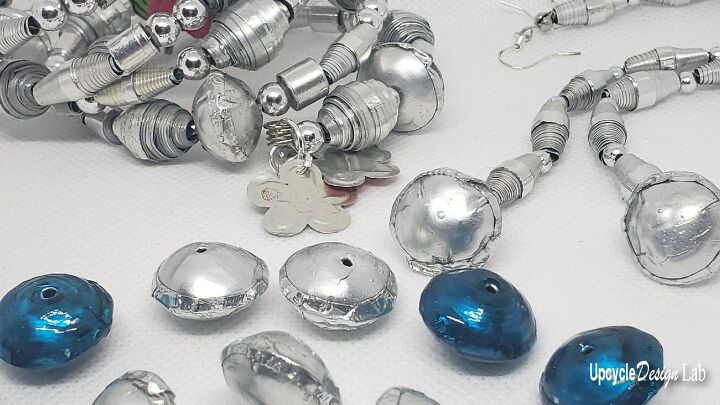
I like to use a coat of Mod Podge high gloss to finish the beads. It is a little thicker than the original mod podge, but it does take 28 days to cure fully.
I also like to add color to some of my beads by adding a few drops of alcohol ink in a small container. To cover the beads, shake the container and add additional ink as needed.
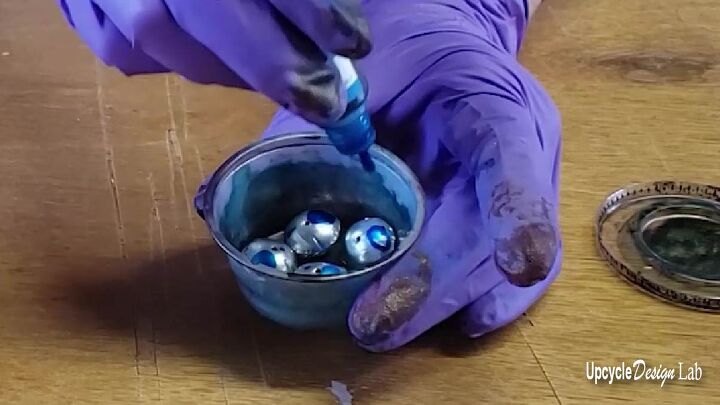
Once the ink dries, another coat of mod podge needs to be added to seal the ink.
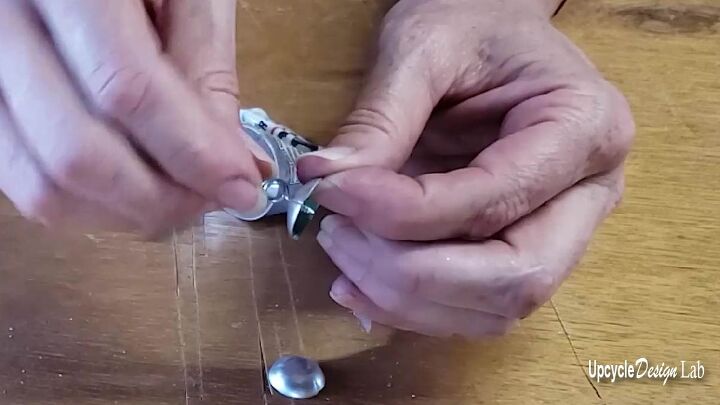
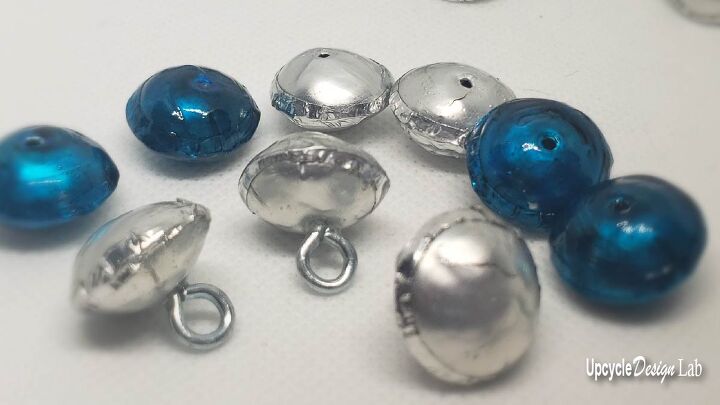
This shape can also be made into a charm by eliminating the punch hole in one of the domed pieces.
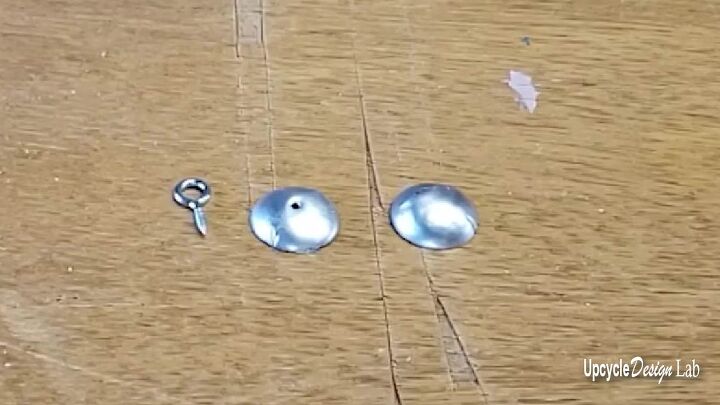
And inserting an eyelet screw or other type of hoop/ring in the hole of the other dome. I used some clear E6000 glue to secure my eyelet screw in place.
Once the glue is set up, the charm is assembled with metal tape, sealed, and colored as in the steps above for the bead shape.
Thanks for checking out my project.
Happy Upcycling,
Cindy
Advertising Disclosure: Upcycle Design Lab may be compensated in exchange for featured placement of certain sponsored products and services or your clicking on links posted on this website.
The author may collect a small share of sales from the links on this page.


Comments
Join the conversation