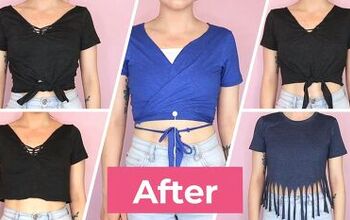
Here’s How to Make a Stunning DIY Shirt From a Rug

For this absolutely amazing DIY shirt tutorial, I am going to be working with a rug to make a DIY shirt. Yes, I’m serious. I got the rug at a thrift store and decided to make something special out of it. Surprisingly, I enjoyed this DIY tutorial so much, I had to show you how this lovely DIY shirt turns out. And, if you’re curious about how this upcycled DIY shirt turns out, I suggest you keep on scrolling to see the astonishing results.
Tools and materials:
- Rug
- Sewing machine
- Measuring tape
- Pins
- Thread
- Elastic
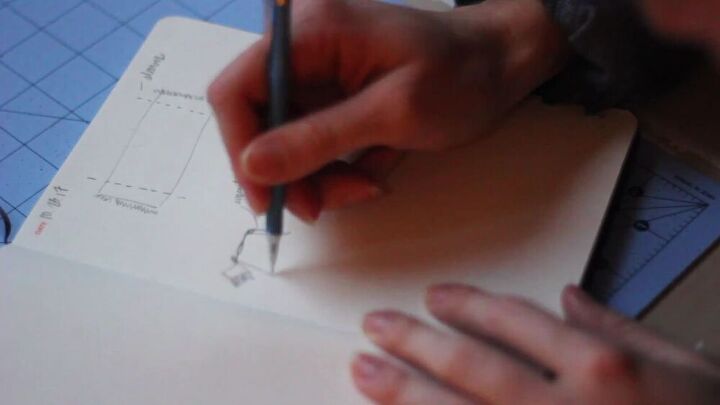
Draw the design
So, this is the rug that I’ll be transforming. I will make a strapless, off-the-shoulder DIY shirt. I’m going to make the DIY shirt a simple A-line and attach the sleeves at the side seams.
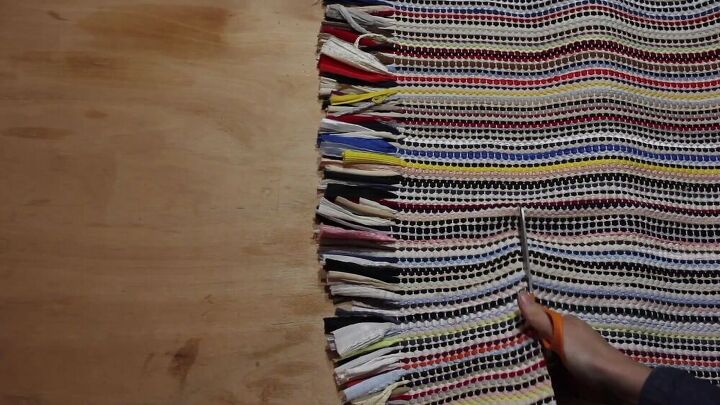
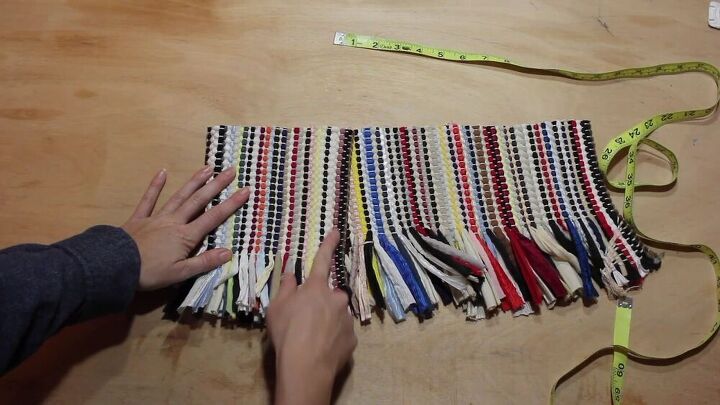
Measure and cut
Roughly measure how short you want the sleeves to be and cut the ends off of each side.
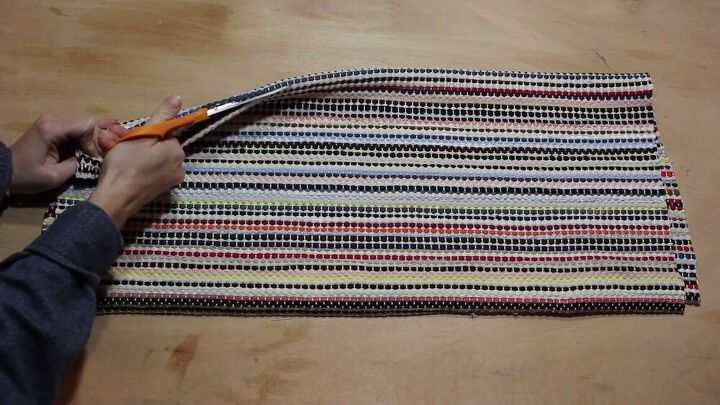
Then, with the bulk of the rug, I’m folding it in half and cutting equal pieces.
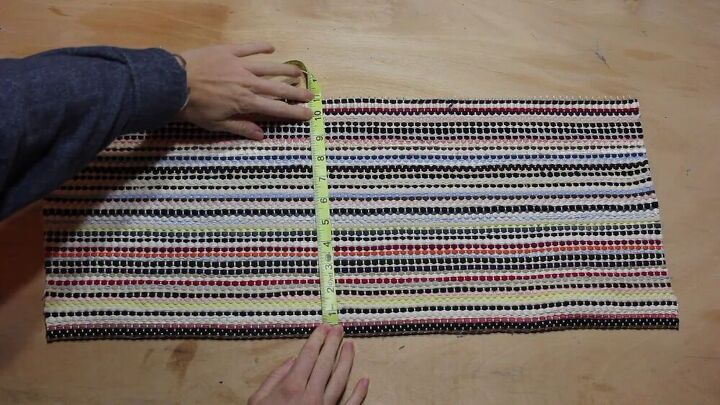
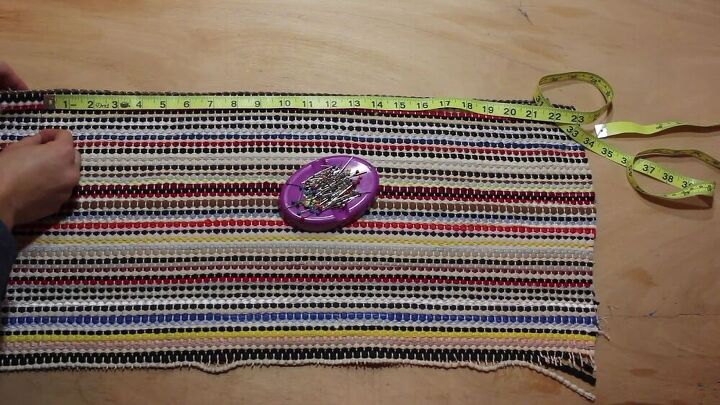
Now, measure the desired length of your DIY shirt and cut accordingly.
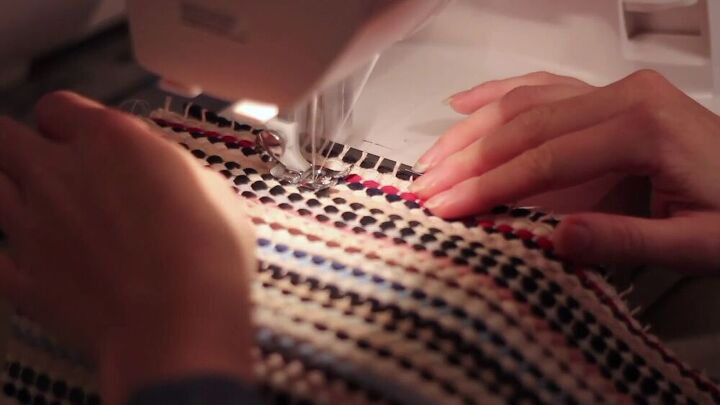
Since this is a woven rug, some pieces started falling out. So I cut where I want the length to be and stitched back the pieces that had fallen off.
Make the DIY shirt
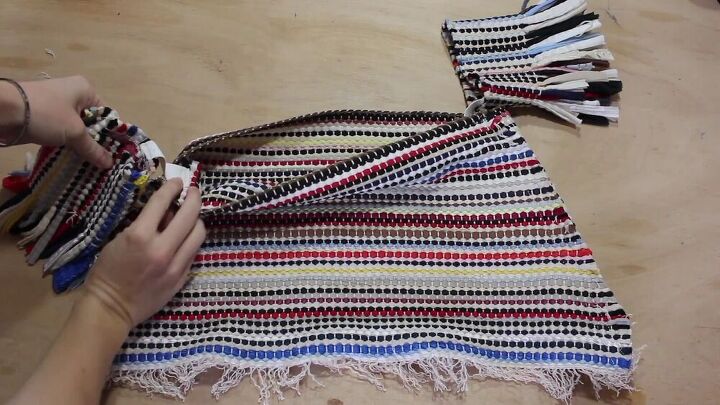
Next, measure above your bust to see how wide your DIY shirt should be. Divide the measurement by half, measure it on each piece, and mark each side with pins.
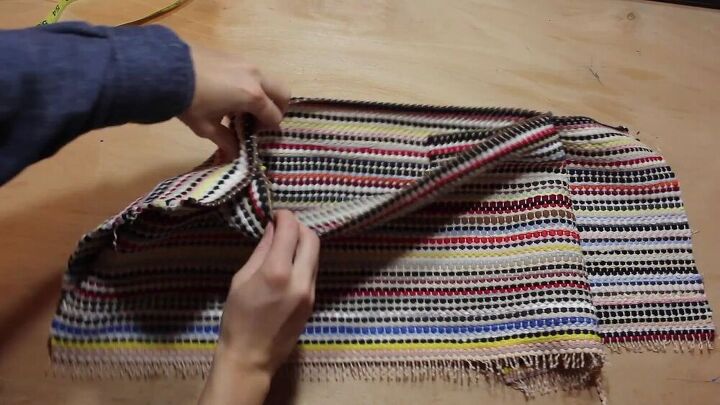
Then, flip the top piece under and pin it down; this will ensure a lovely overlapping look on the side seams. This is what it should look like.
Pin where the angle needs to be sewn down. Remember, we want an A-line style for this DIY shirt.
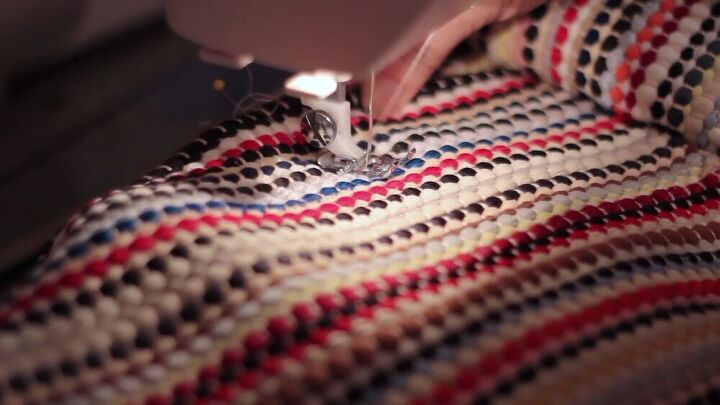
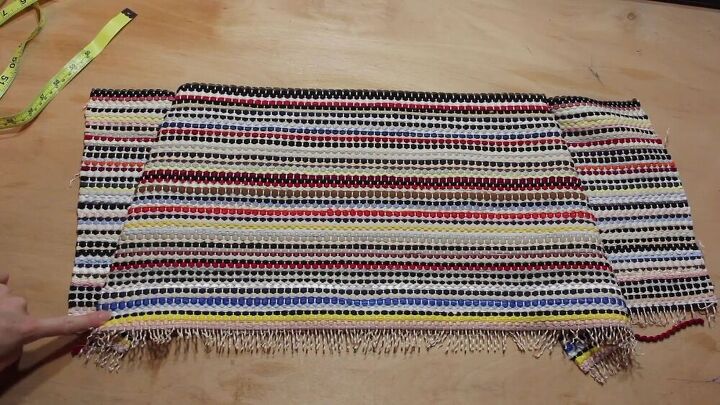
Sew the lines on both sides, and add a second line of stitching to make it more secure.
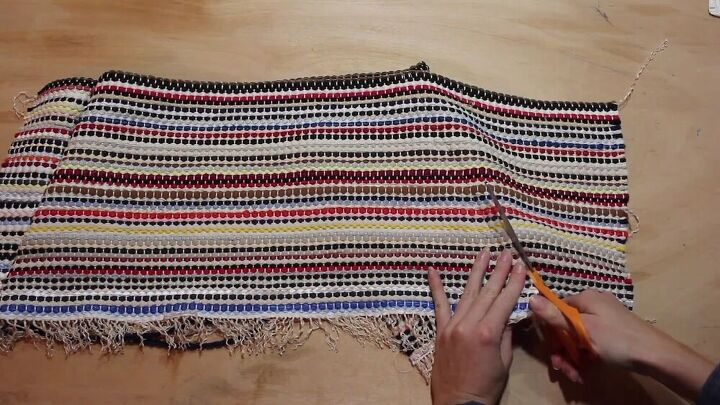
Now, trim off the edges.
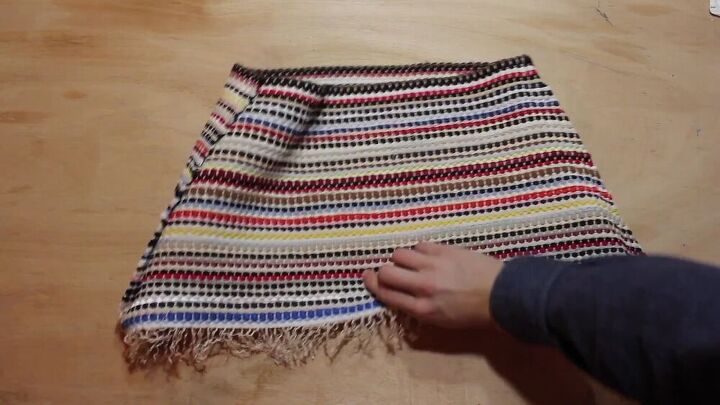
This is what it should look like.
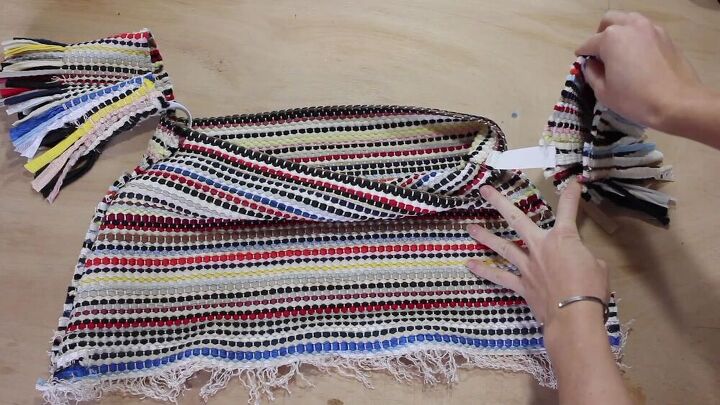
Create and attach the sleeves
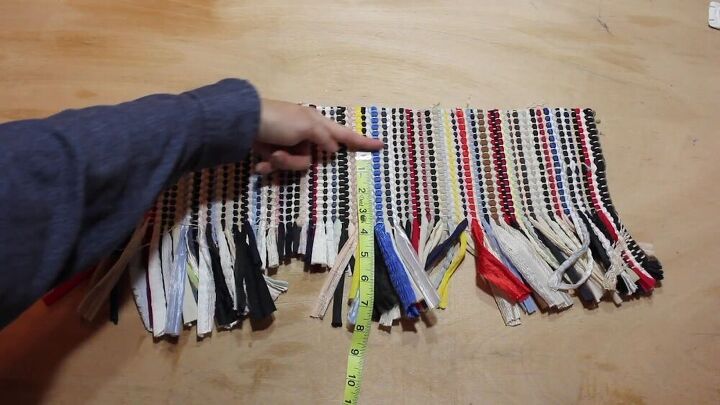
Take the sides that you cut, and measure how short you’d like the sleeves to be. Then, sew a line down that mark. This will prevent the fabric from unraveling before you cut.
Also, measure the size of your arm, pin, fold the fabric, and sew accordingly.

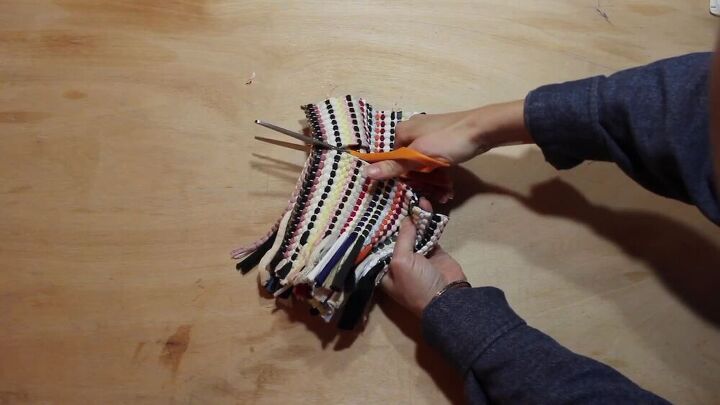
After you’ve stitched everything, go ahead and cut off the excess fabric. Repeat the whole process to make the second sleeve.
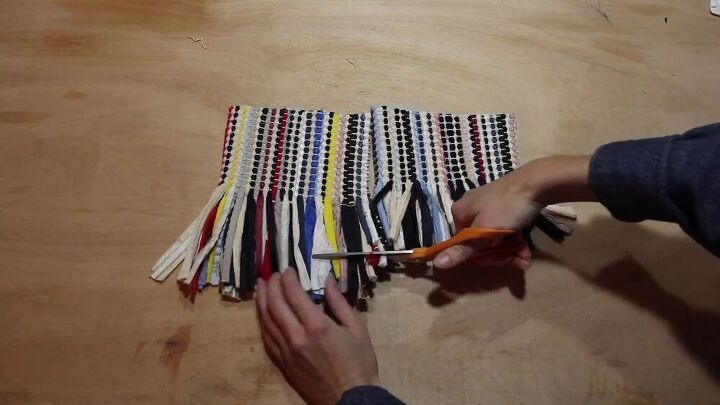
You may notice that the fringe between both sleeves is not level, so go ahead and trim where necessary.
Sew a small piece of elastic on the inside of the bodice and sleeves side seams. This will help you maneuver your arms when wearing this upcycled DIY shirt.
Do the same for the other side.

From rug to….. A stunning and unique DIY shirt. What do you think of the final result? I love how this is so special; it’s not a garment you see every day, never mind buy at a clothing store. It’s such a fantastic upcycle, and it just looks so fab. I hope you enjoyed this DIY shirt tutorial with me. Thanks for tuning in.
The author may collect a small share of sales from the links on this page.


Comments
Join the conversation
Why?
Surprisingly cute!