How to Make a Top From a Men's Shirt: DIY Vintage Blouse Tutorial

Want to know how to make a top from a men’s shirt? I got this oversized men’s shirt and decided to transform it into a fabulous DIY vintage blouse. The results are just amazing, so I hope you find some great inspiration from this DIY wrap top tutorial.
Tools and materials:
- Men's shirt
- Interfacing
- Ruler
- Scissors
- Pins
- Sewing machine
- Matching thread
- Flowy top as a guide
- Iron
- Buttons
- Seam ripper
- Pinking shears or serger
- Marker
- Rotary cutter
- Paper
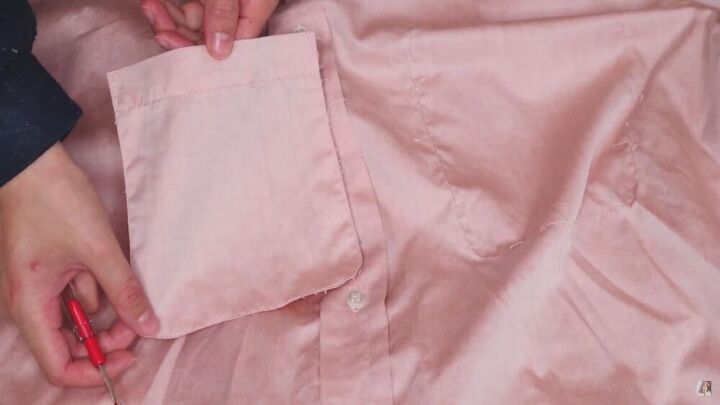
1. Seam rip the pocket
Using your seam ripper, seam rip the pocket to remove it. Be careful not to poke holes through the shirt.

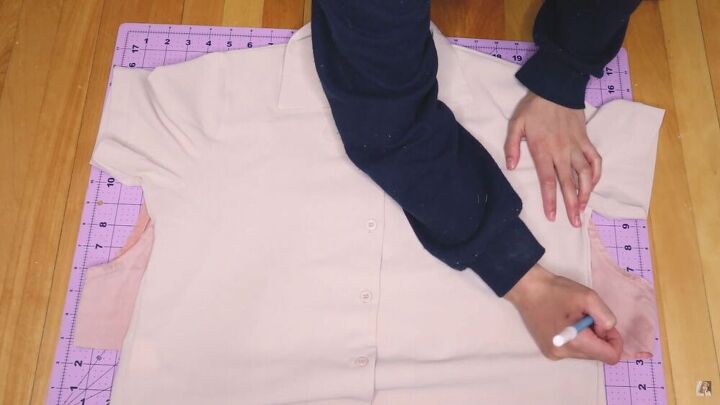
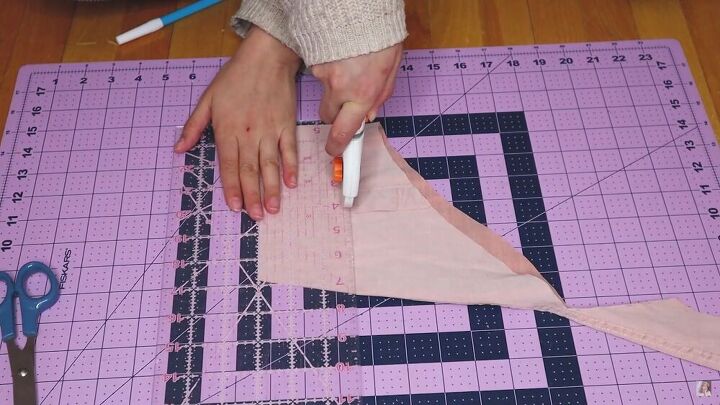
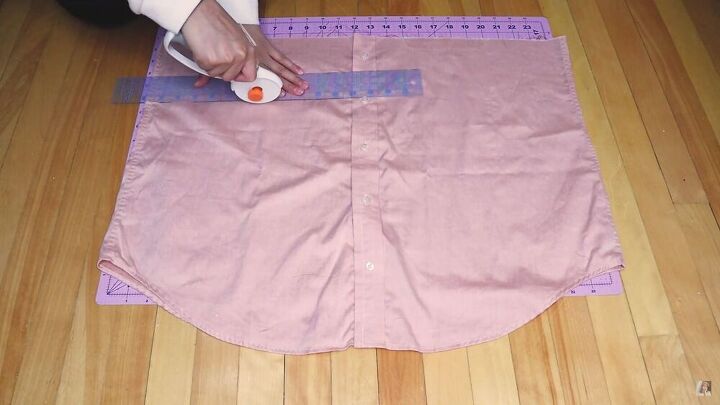
2. Make adjustments
Between the third and fourth buttons, draw a straight line and cut the shirt. Mark the line to make sure it’s straight. Put the bottom half aside for later.
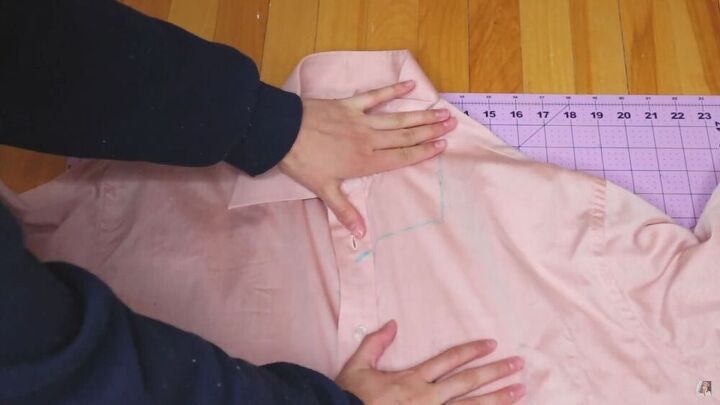
Now, hand mark where you’d like the new neckline to be.
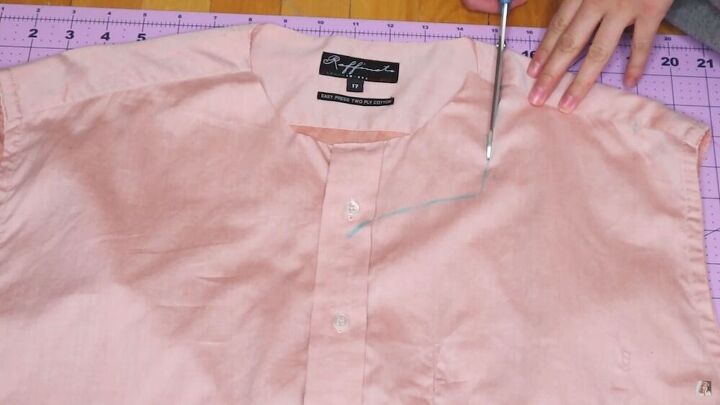
Cut off the sleeves and collar. After doing this, cut the neckline. It will be much easier.
To make the other side of the neckline identical and symmetrical, use the piece you just cut as a guide.

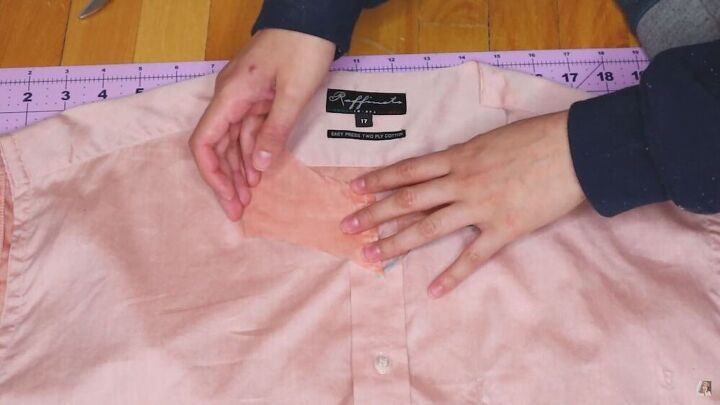
For the back neckline, hand draw a curve that connects the back necklines. Then, cut accordingly.
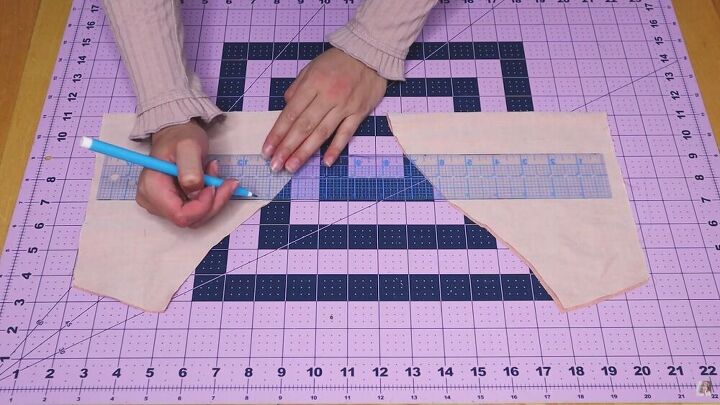
Take a slightly flowy shirt, and use it to trace the new side seam and armholes.
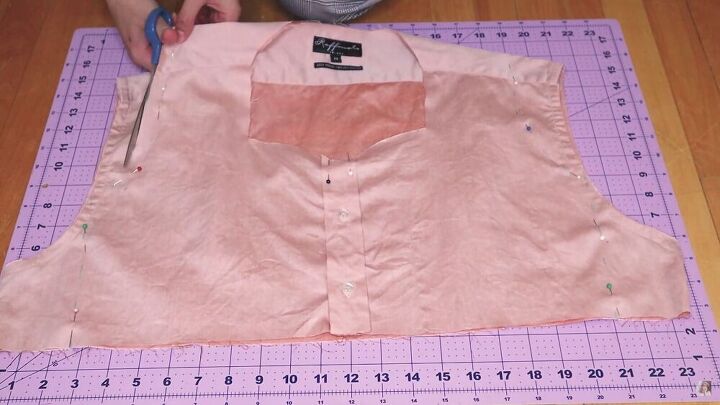
Cut off the extra fabric, leaving a ¾-inch seam allowance.
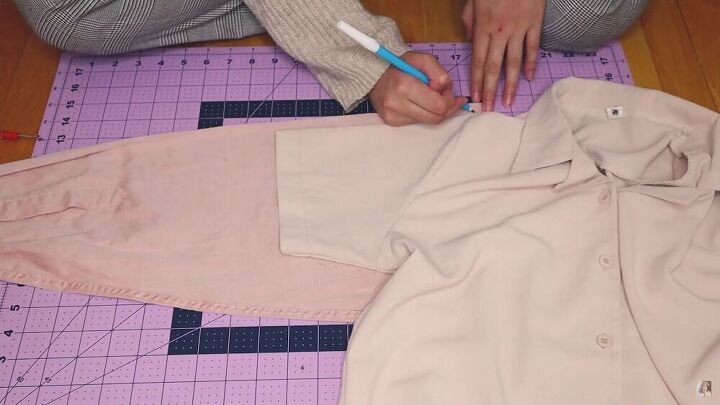
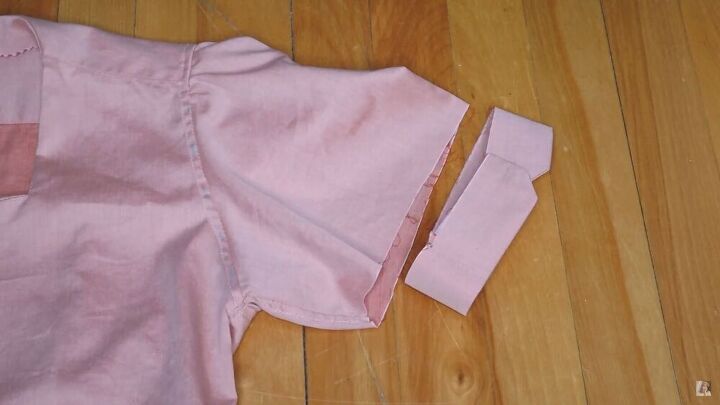
3. Make the sleeves
For the sleeves, place them 1 inch below the fold of the fabric so that the sleeves can ruffle. Then, trace accordingly.
Cut the sleeves, leaving a ¾-inch seam allowance.
Tip: Use the sleeve you just cut as a pattern for the second sleeve.
I wanted to use the original cuffs for the sleeves, but they were too thick. So, I decided to make thinner ones by cutting 3 inches off the bottom of both sleeves to make two rectangles 13 inches x 3 inches.
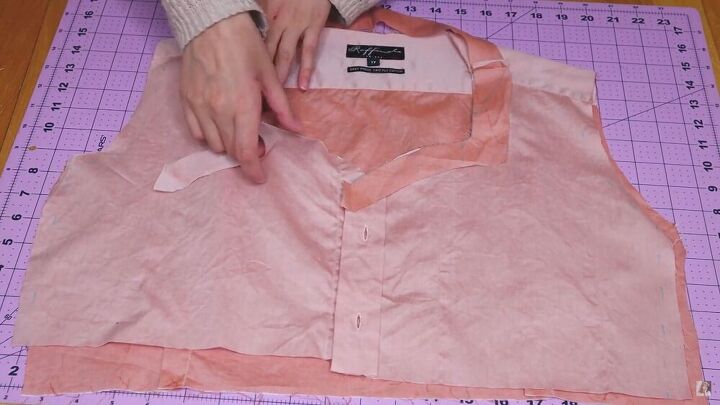
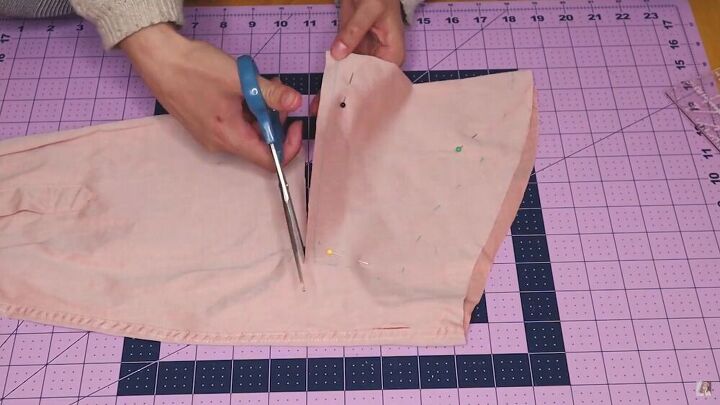
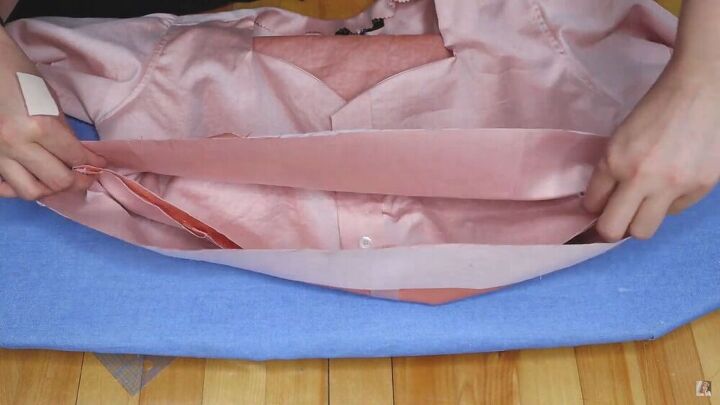
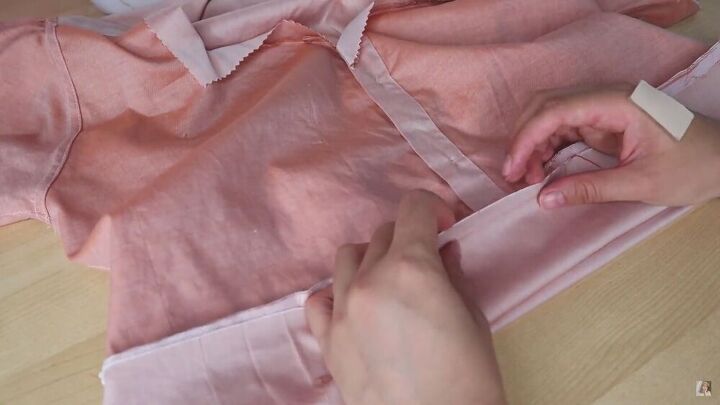
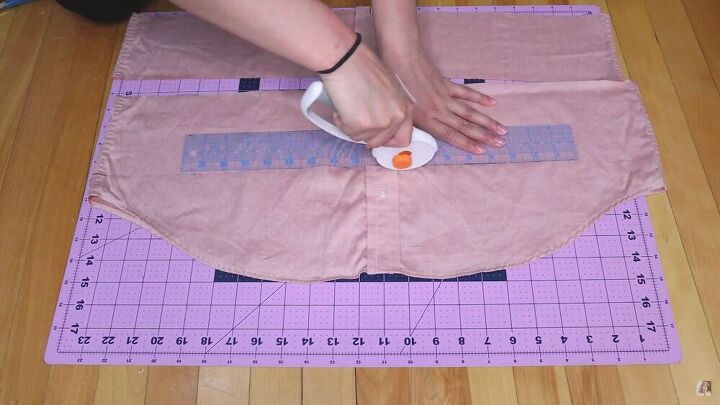
4. Make the facing for the neckline
Now, cut out some facing for the neckline. To do this, trace the neckline on a piece of paper and add 1.5 inches all around.
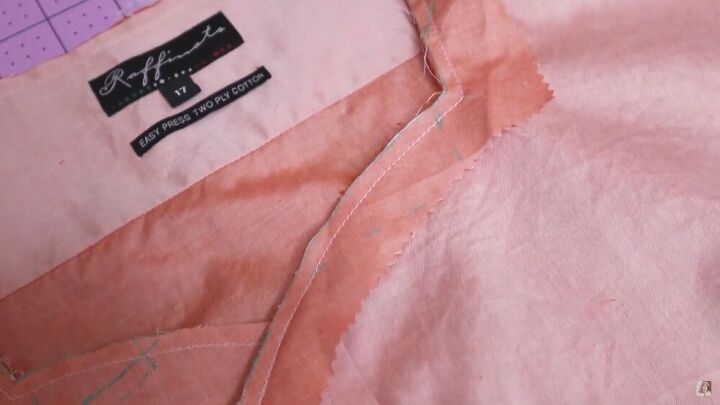
Tip: To avoid fraying, use a serger or cut the bottom of the facing with pinking shears.
Sew all around the edge of the neckline.
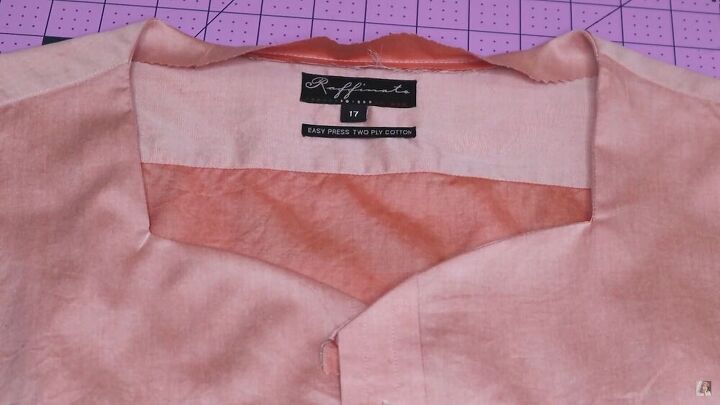
Snip the corners and fold the facing inside the top. Next, iron the seams. This is what it should look like.
Tip: To make the facing stay in place, hand sew it by the button placket and the shoulder seams.
5. Ruffle the sleeves
Add a marking at 4 inches below the top of the sleeve, at both sides.
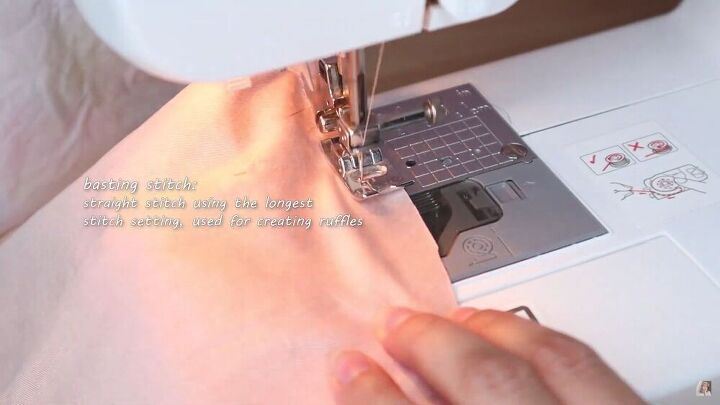
Then, sew a basting stitch between those two markings.
Before ruffling the sleeve, pin it to the armhole. Pin the fabric until you reach the basting stitch.
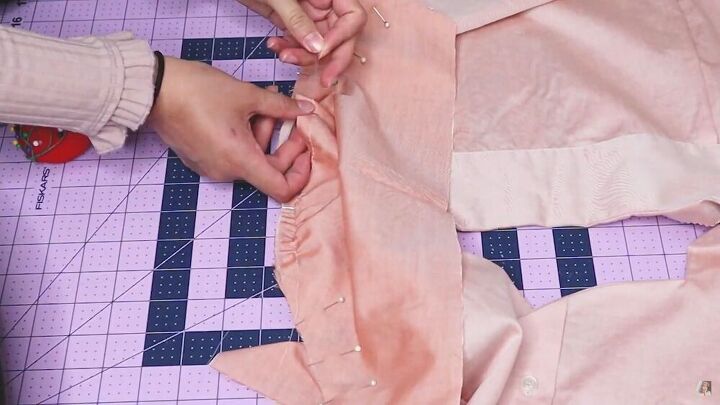
Pull at one of the threads to create ruffles. Do this until the sleeve fits the armhole, then pin it down.
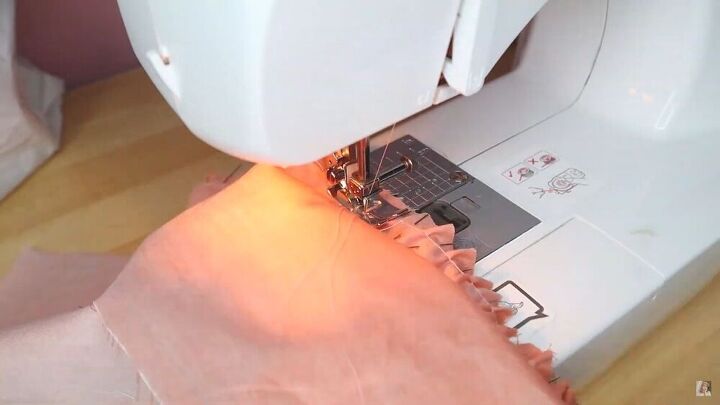
Sew to secure, and don’t forget to leave a seam allowance.
Tip: To see how I hide the raw edges, skip to 4:38 of my video tutorial.

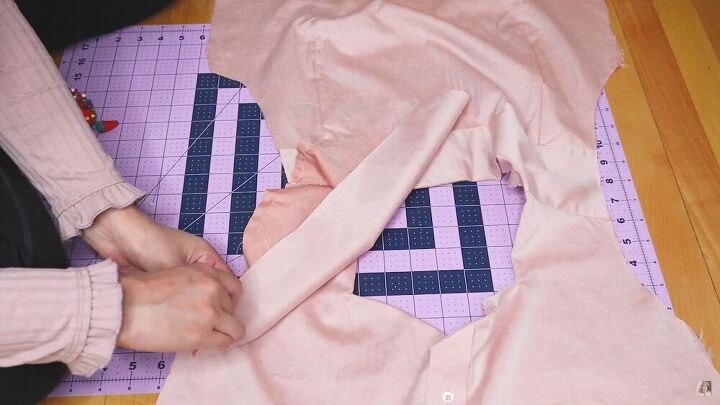
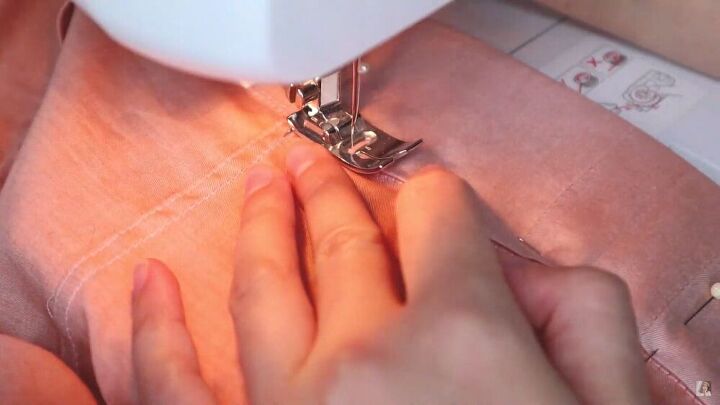
6. Modify the side seams
Fold the DIY vintage blouse right sides together and stitch along the new side seam lines. Again, leave a ¾ inch seam allowance, then hide the raw edges.
7. Make the waistband
To make the waistband, cut 5 inches off the remaining fabric.
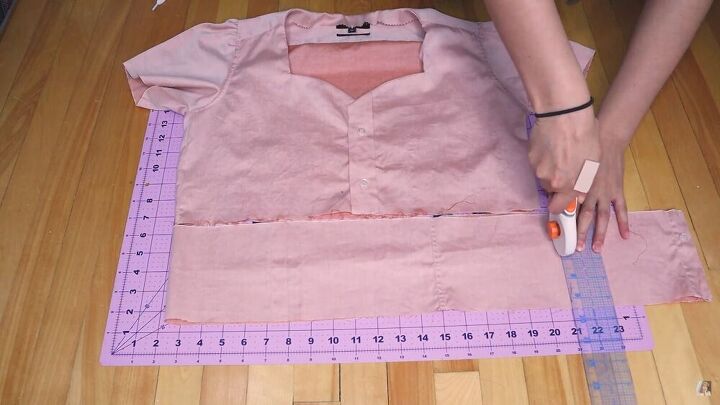
Put it next to the DIY vintage blouse and cut it to size.
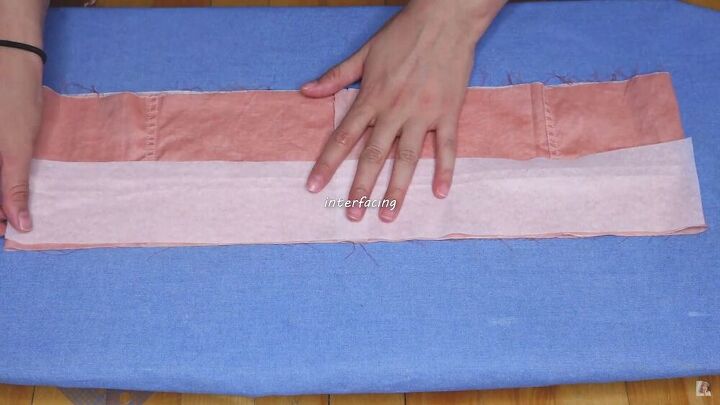
Flip it right sides together and sew. Then, add interfacing to half the waistband and iron in place.
Fold the waistband in half, and voila!
Sandwich the top between the waistband, making sure the interfacing is at the bottom. Then, sew the waistband to the top with a standard seam allowance.
Flip the blouse inside out, fold the waistband in half, and fold the raw edge accordingly.
Pin in place and sew to secure the fold in place. Make sure to sew as straight as possible.
8. Add the sleeve cuffs
Iron interfacing onto the new sleeve cuffs. Then, fold them in half lengthways, right sides together.
Mark the corners of the original cuff as a template and add a seam allowance to the sides. Sew the markings. Once sewn, flip them and adjust the corners. Iron them down so they stay flat. Overlap the ends and there's the cuff!
The cuff should be shorter than the sleeve so you can create some ruffles. Sew a basting stitch around the sleeves, gather the fabric until it fits the cuff. Place the cuff over the sleeve with the raw edges touching. Make sure the overlapping at the ends is at the top of the sleeve. Pin and sew down carefully.
Then, hand sew a button where the cuffs overlap (double your thread to make this quicker).
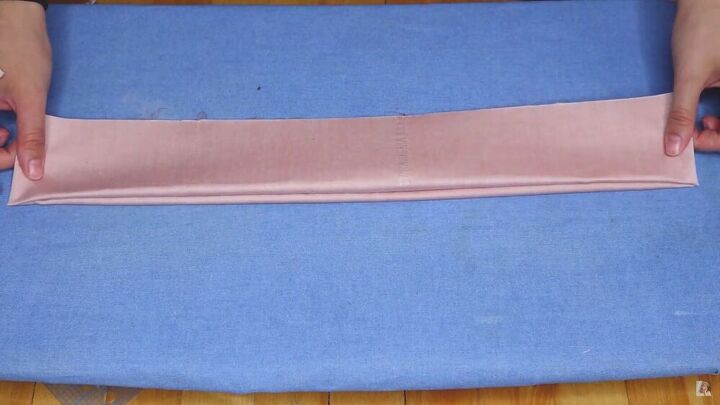
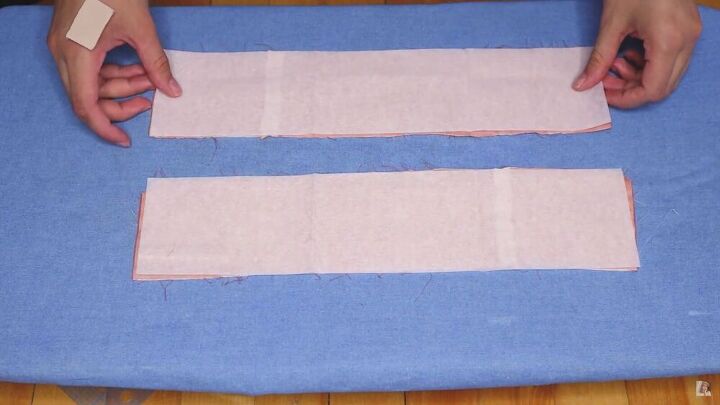
9. Make the waist tie
Cut two strips from the remaining fabric, measuring 4 inches x 26 inches. Fold them right sides together and sew the edges. Sew the end of the strips in the shape of a triangle. Then, flip the fabric (I used a barbecue skewer to do this quickly). Iron the waist ties to flatten.
To attach the waist ties to the shirt, first sew with the strip pointing towards the back. Then, flip to the other side and sew a rectangle shape.

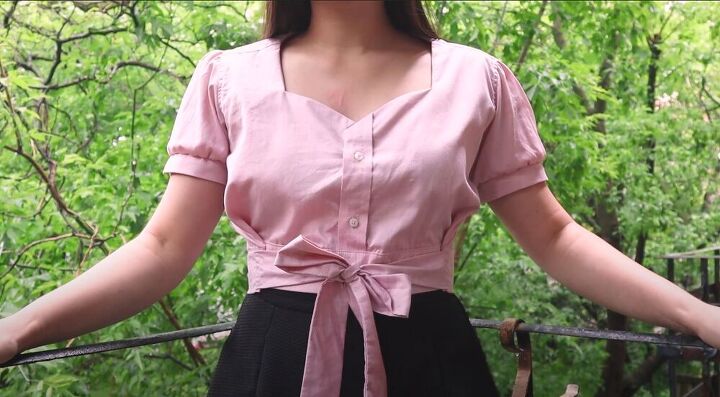
How to make a top from a men's shirt
Here’s the final DIY vintage blouse!
The author may collect a small share of sales from the links on this page.


Comments
Join the conversation
I love the top. thanks for the tutorial.
Great tutorial, easy to follow step by step instruction.