How to Easily Make a Cute DIY Bandana Tote Bag Out of 3 Old Bandanas

Everyone’s making tote bags, but have you considered making a DIY bandana tote bag? This is a really fun project and it really doesn’t take much effort to sew a bandana bag.
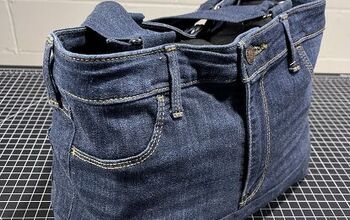
You can also do this with handkerchiefs or scrap fabric that you may have lying around from other DIYs. Let’s get sewing!
Tools and materials:
- 3 Bandanas
- Sewing machine
- Matching thread
- Scissors
- Awl
- Snap buttons
- Scissors
- Ruler
- Chalk
- Iron
- Pins
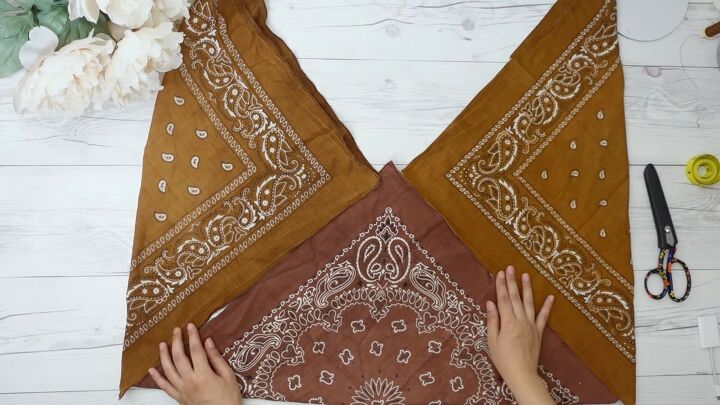
1. Bandana bag sew prep
This is basically how your bandana tote bag DIY will be sewn.
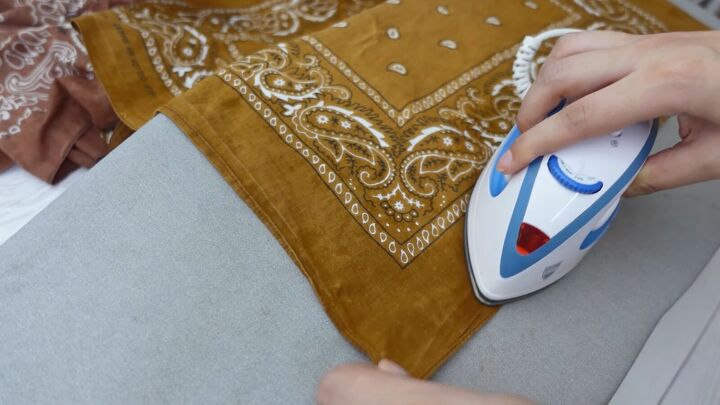
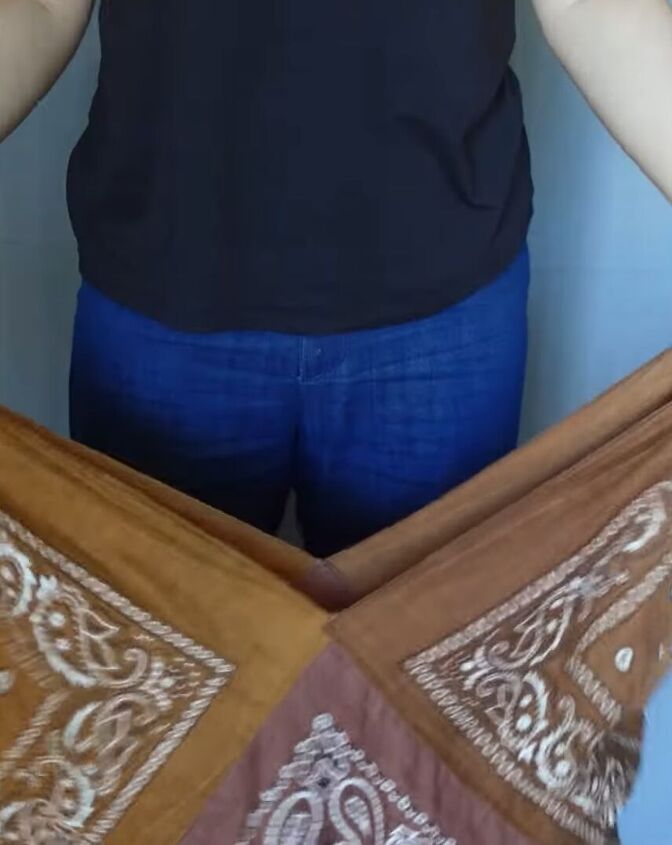
If your bandanas are wrinkly like mine, then go ahead and give them a good press first.
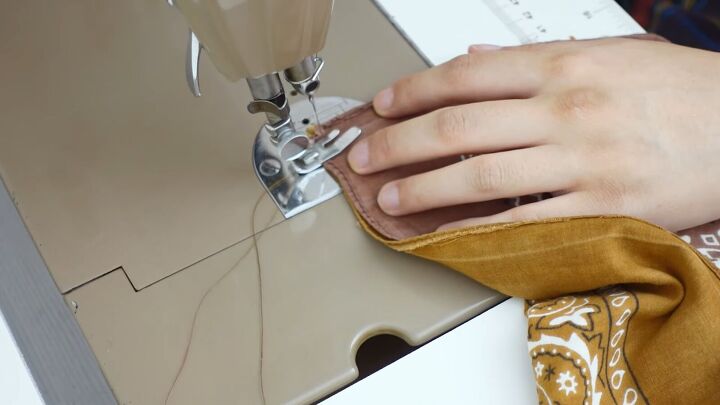
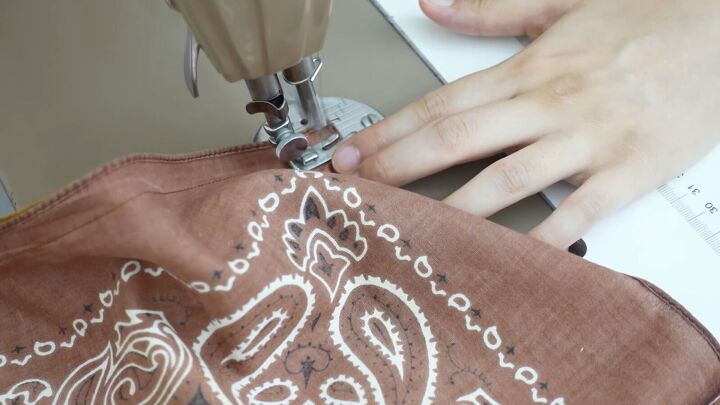
2. Sew the bandanas
Now, take two bandanas, align them at the seams, and sew two sides of the square together, continuously. Ensure that you backstitch when starting to sew. Also, use a ½-inch seam allowance.
When you come to the corner, lift up your footer, make a 90-degree turn, put your footer down, and continue stitching down the other side. This is called a pivot.
Backstitch when you reach the edge.
Lay the seam allowance toward the side of the bag, and topstitch along the seams, on the right side of the bag. Stitch as close to the edge as possible.
You may not be able to topstitch the corner, and that’s totally okay. Just make sure the seam allowance lays flat.
Now, topstitch the same way from the other end.
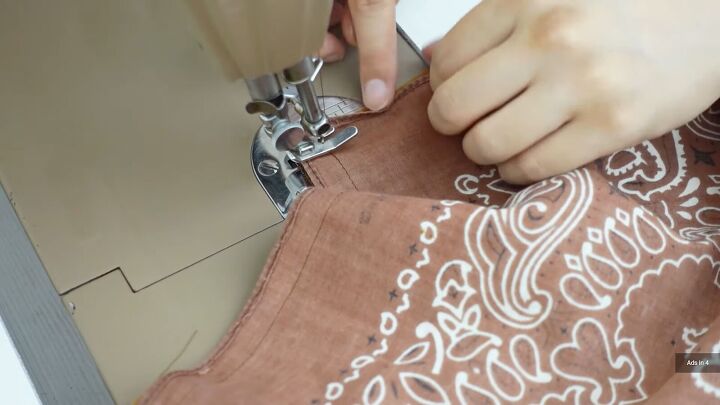
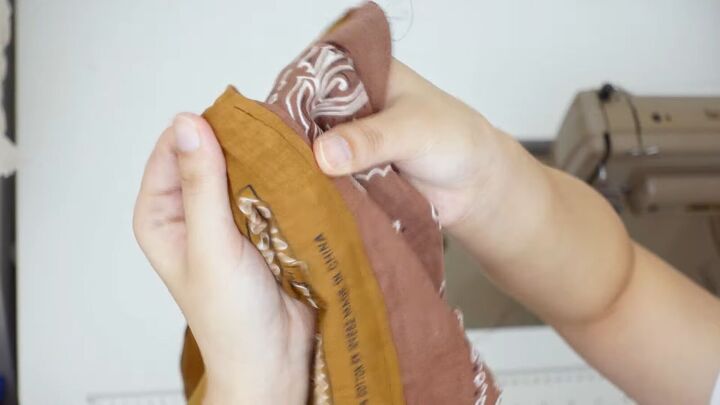
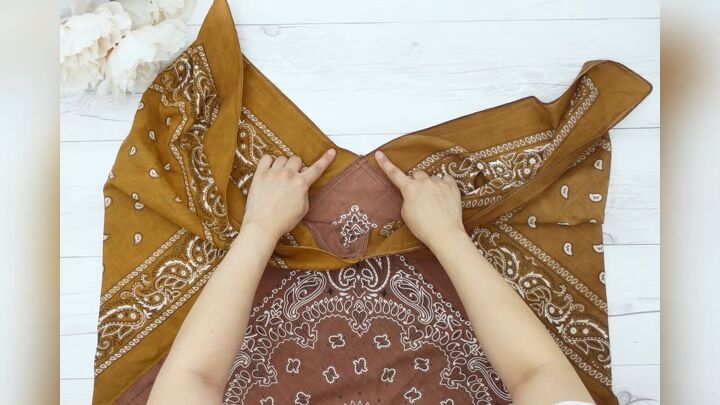
Place the third bandana to the base (red bandana) of the bag, align the two edges, and sew with a ½-inch seam allowance. The right sides should be facing each other.
Place the third bandana to the base (red bandana) of the bag, align the two edges, and sew with a ½-inch seam allowance. The right sides should be facing each other.

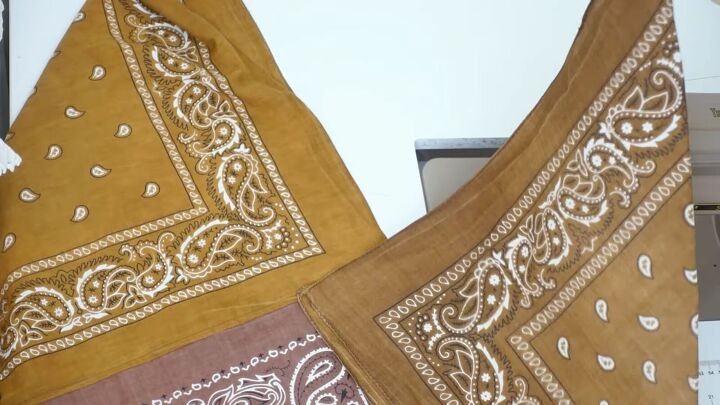
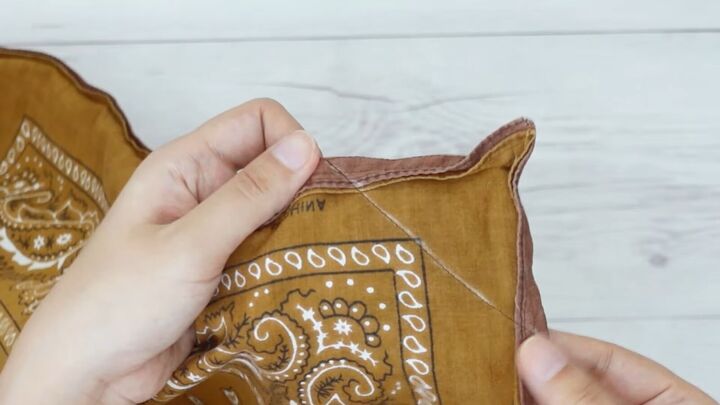
Turn the bandana right sides out. Lay the seam allowance toward the side panel and topstitch to secure.
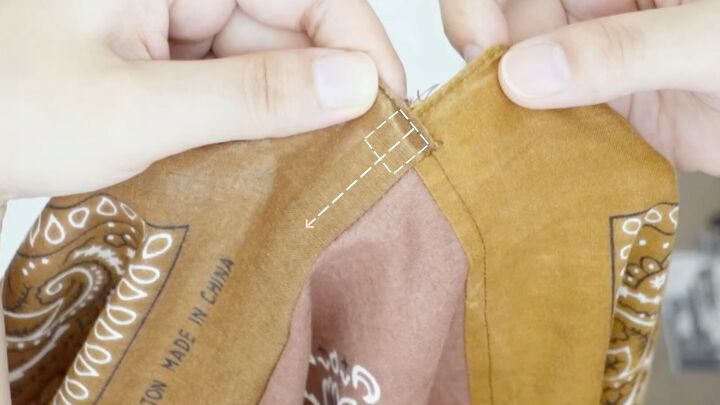
Also, stitch a square on this corner (using the pivot method). Then, carry on downward. See the illustration above for a better understanding. Remember to do this on the right sides of the fabric.
As you can see, all the seam allowances are facing toward the side panels.
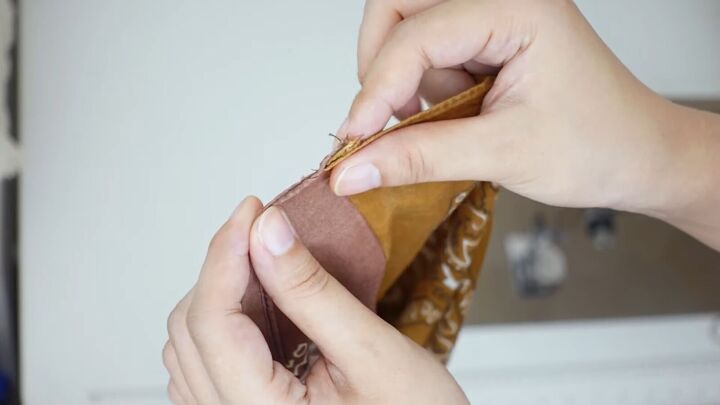
3. Sew the bottom corners
You might notice that the corners of the base stick out. If you’d like, you can turn the bag right sides in, and stitch the corners, as shown. This will give the bottom more shape.
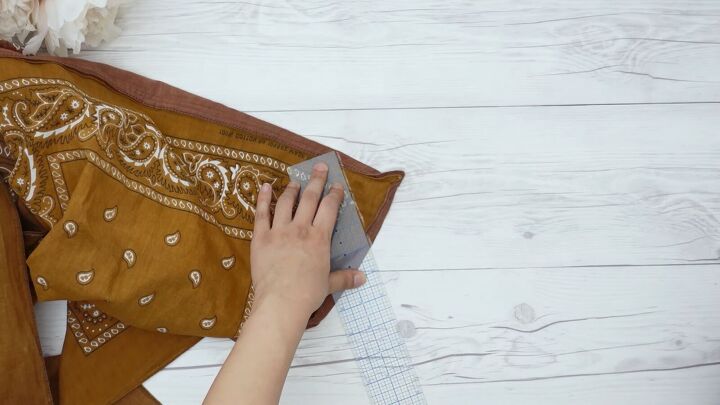
I marked 4 inches on each corner. This measurement is totally up to you.
When you’re ready, stitch a straight line through both layers.
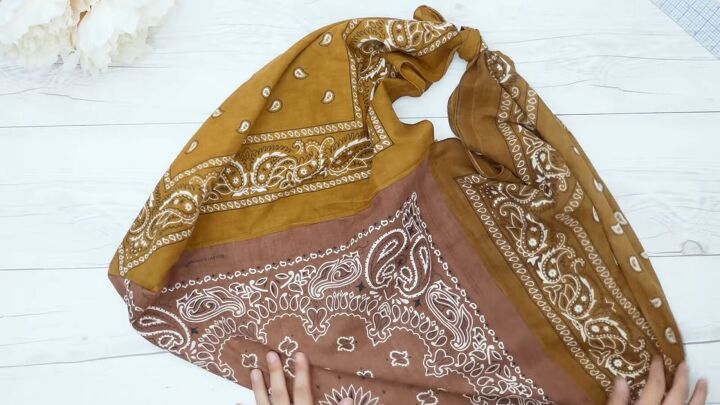
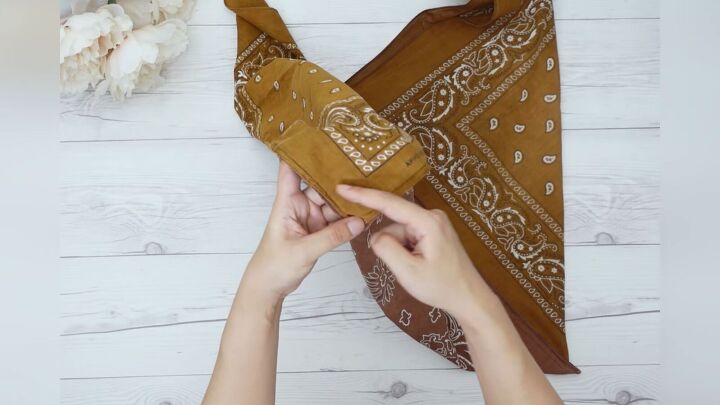
4. Tie the handles
Now, go ahead and tie the handles. You could sew them together but I like the tied-handle look better. Like this, you can tie the DIY bandana tote bag in many ways and fold it flat when not in use.
5. Attach a closure.
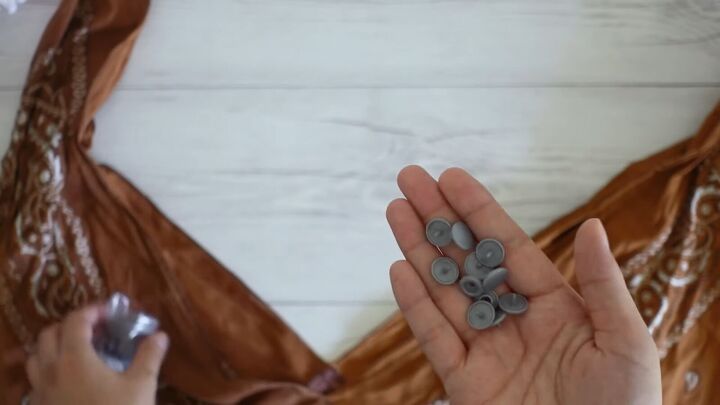
I decided that some kind of closure on either side of the bag would be pretty useful. You can use a button and loop, Velcro, or a pair of plastic snaps like I did.
I went for this gray color as it was the closest color I had for this color ensemble.
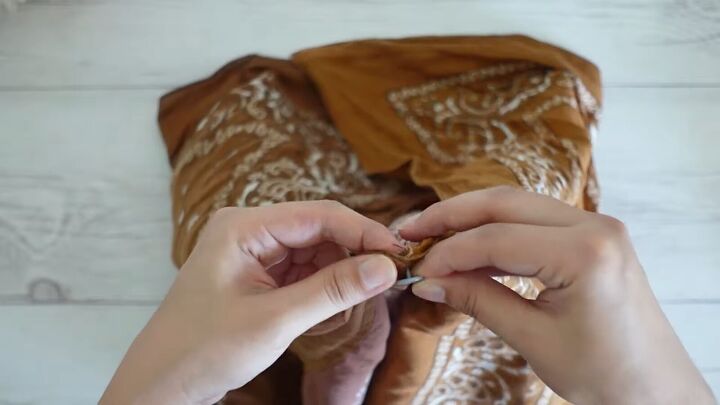
Simply pierce the outer part of the button snap through the fabric.
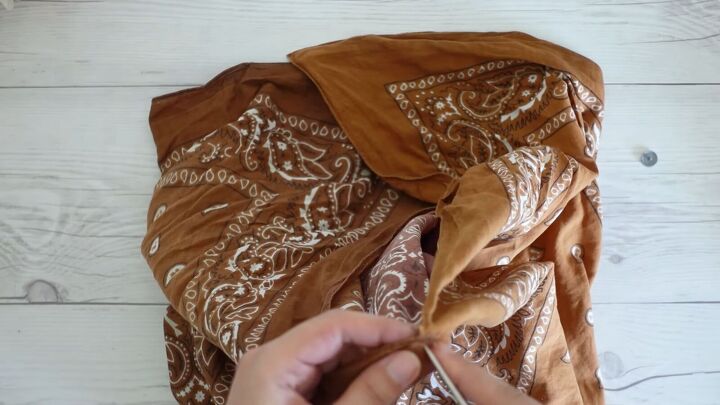
I had a hard time pushing the spikey part through, so I opted to use an awl to make a tiny hole.
Tip: If using an awl, ensure your hole is really small. Otherwise, the button will be loose and not fitted.
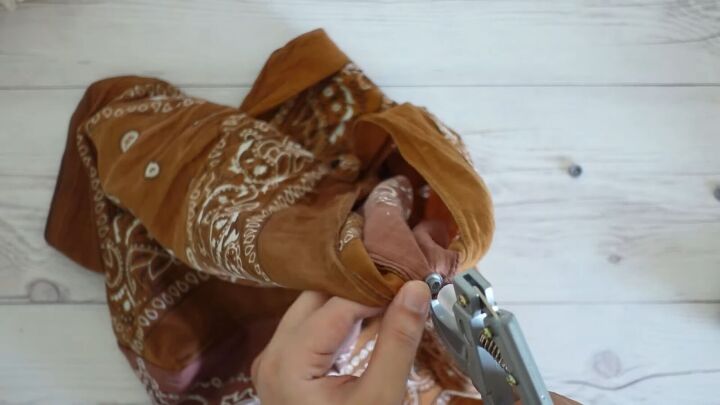
Then, place the back part of the snap button from the other side. Use an eyelet tool to press both buttons in place.
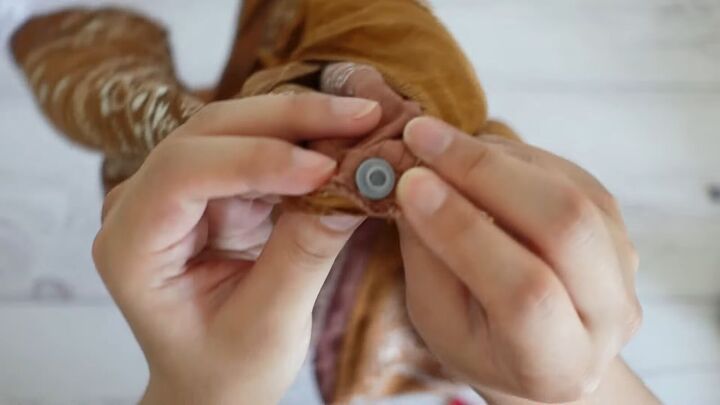
All done! Now, repeat this on the other side.
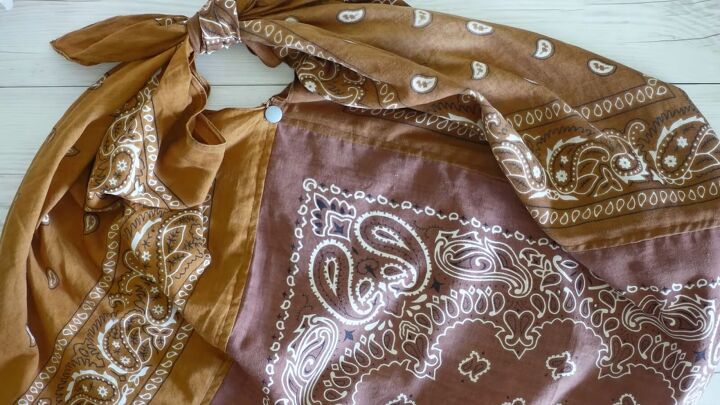
Now, place the button together, and snap! You now have a closure for your DIY bandana bag!
So, that’s it! You now have a unique and useful DIY bandana tote bag! I really like the fact that it opens up wide; it makes putting stuff inside so much easier and quicker.
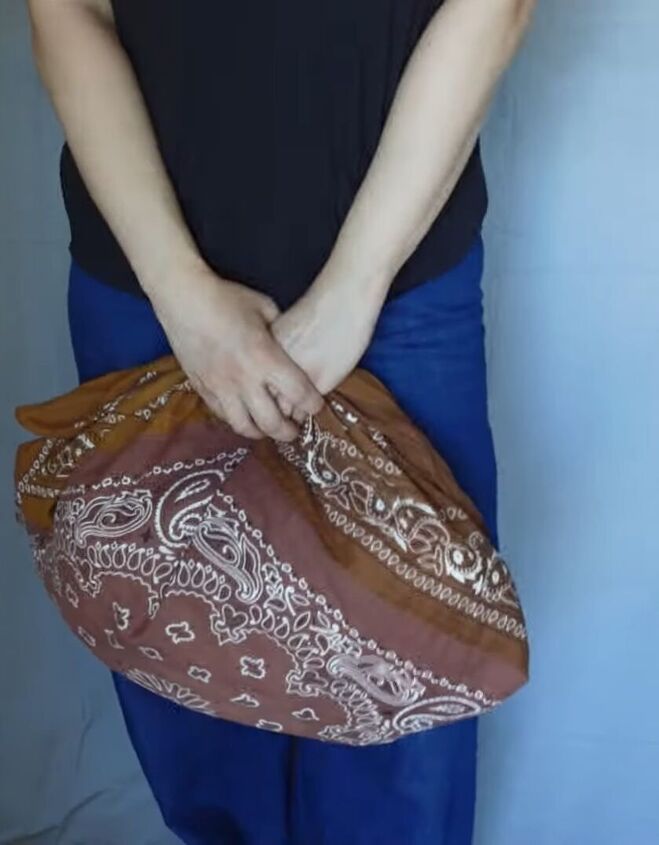
You can also tie the handle right at the opening and wear it like a clutch bag.
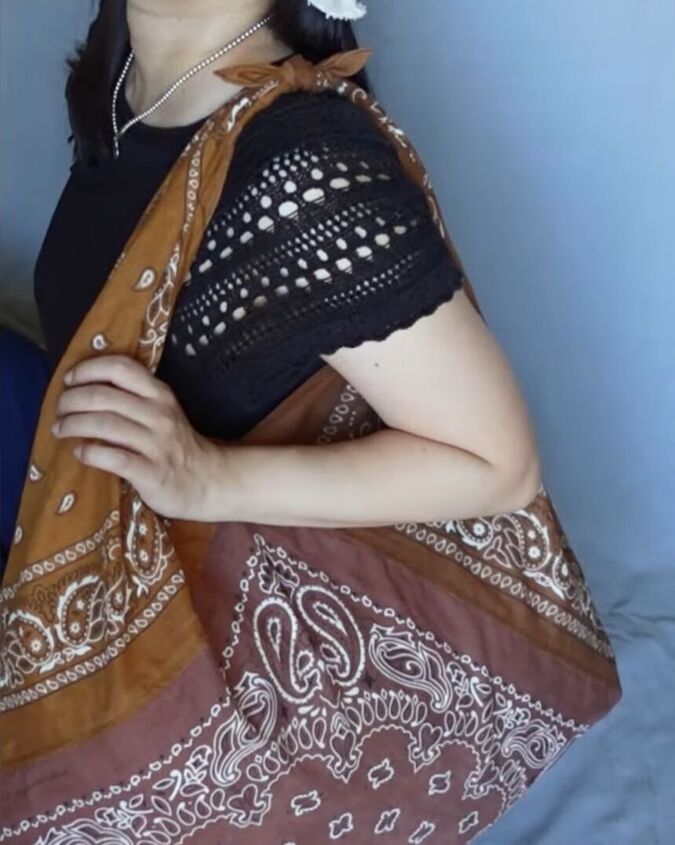
Or, you can make it a shoulder bag.
Bandana tote bag DIY tutorial
There are so many ways to wear this lovely bandana tote bag DIY! Now that you know how to make a bandana bag, what color bandanas will you be using?
I hope you enjoyed this awesome bandana bag tutorial and that you give this project a try! Thanks for joining me.
The author may collect a small share of sales from the links on this page.


Comments
Join the conversation
If I try out I will see it by hand . But love colors.😃
I made one 30years ago but I used stitch whitch