How to: DIY Tote Bag Using Pencil Cases

Today’s tutorial will teach you how to make a tote bag using pencil cases! I love the idea of using everyday items to make something a little more interesting. Pencil cases are fun, colorful, and super easy to come by!
Tools and materials:
- Cotton canvas
- 3D mesh lining
- Scissors
- Sewing machine
- Snaps
- Pencil cases
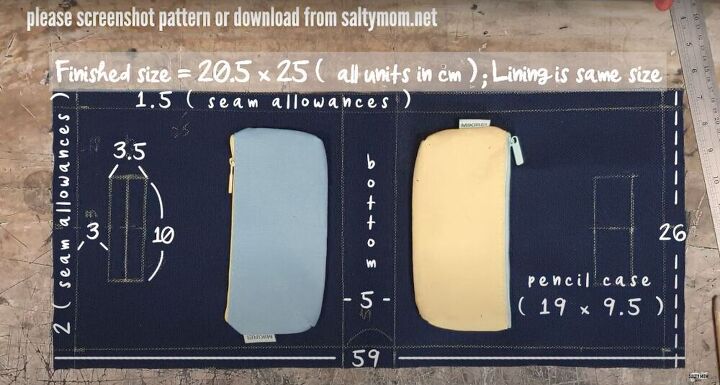
Create your pattern
Cut out a simple rectangle for the pattern piece (reference the image above) and mark off the spots where the (ready-made) pencil cases will go.
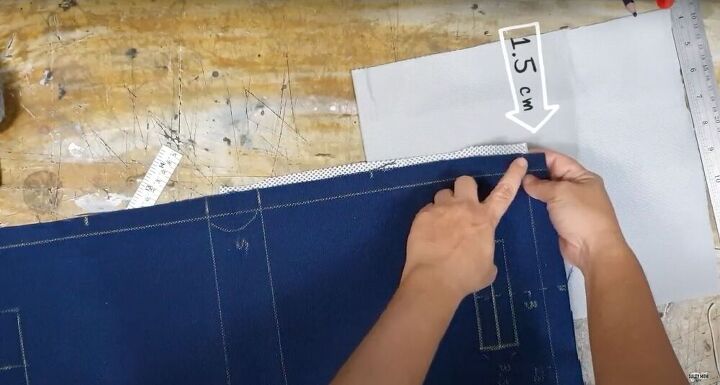
Position your lining
Take your 3D mesh and cut it in half so that you’re left with two equally sized squares. Next, place your lining piece beneath the canvas - right sides together - make sure the edge of the canvas is a little higher than the edge of the lining (about 1.5 centimeters, or a little over half an inch). Pin to secure and then repeat on the other side with the second square of 3D mesh.
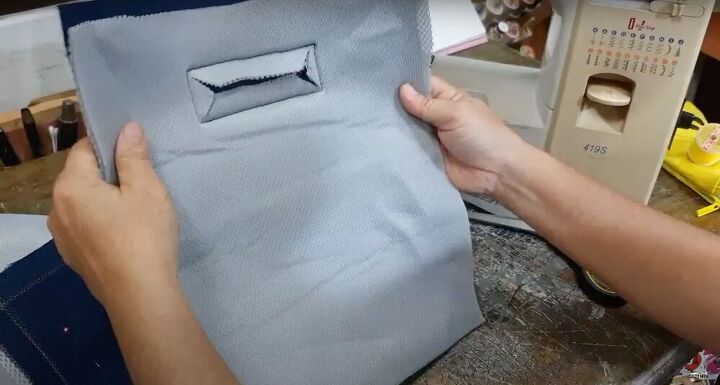
Create the handles
Sew along the lines in the middle of the fabric to create the cut-out handles of your bag. Next, use a pair of scissors to cut along the centerline (fold the fabric to make a small hole and then slide your scissors through). Cut about a centimeter on either side and then cut a short diagonal line to the end of the markings. To finish the handle, slip the lining through the handle to turn the bag right side out and smooth out the lining.
You want the lining to be as smooth as possible. You don’t however, need the lining to completely disappear from the handle - you can fold it away if you want to, but it is not vital. Once you’re happy with your handle, pin it down and use a top stitch to secure it.
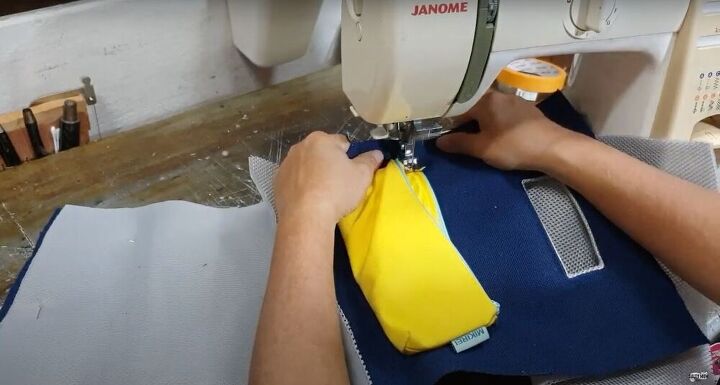
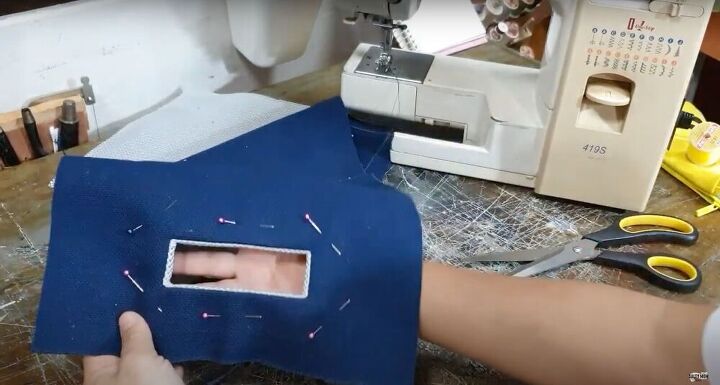
Add the pencil cases
Find your marking for the pencil cases and pin them in place. Once you’re happy with the placement, sew them on. If your sewing machine isn’t big enough to get the pencil case through, sew over the corner as well. I love doing this because not only is it a great way to add some color, but they’re so easy to remove and switch around. Once your pencil cases are secure, hand stitch the bottom corners so the pencil cases don’t flap around.
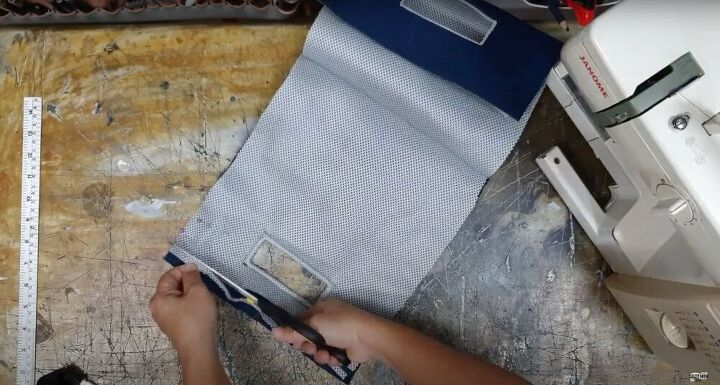
Connect the bottom
Match the sides and the bottom of the lining and pin them together. Next, sew across to secure. Snip off the corners to reduce bulk and cut off the top of the lining for a cleaner look.

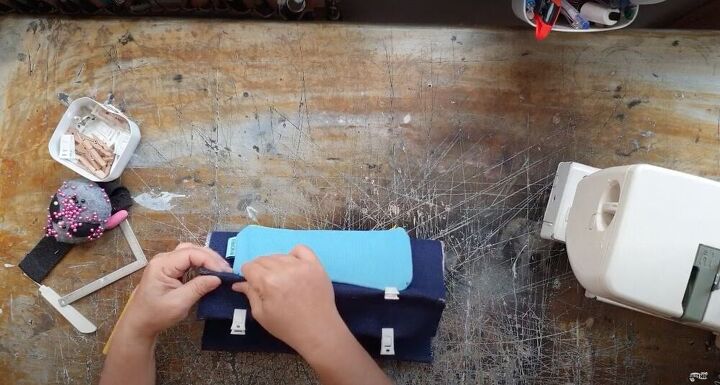
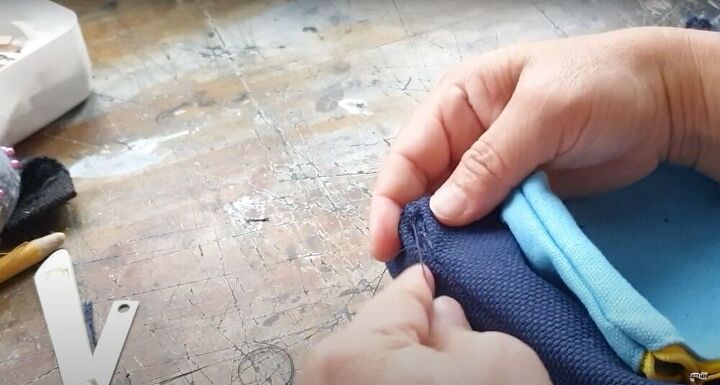
Add the snap
Once you’ve trimmed off the excess, double fold the top of the bag for a clean hem. Pin the folds down. Next, grab your snap and mark off the area where you will sew it on. Then, use a small blade to open up the lining and slip your snap inside. Secure it beneath the lining and repeat with the other half on the other side.
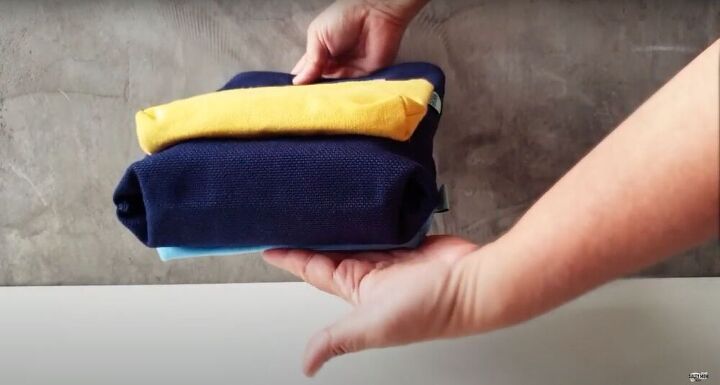
Mark off the bottom
Refer back to your pattern and mark off the bottom of the bag. Fold the bag to create a crease where the bottom goes and clip. Next, take a couple more clips and clip the edges together.
Sew the sides
Sew the sides down, one centimeter (or just under half an inch) from the edges. This will secure the bottom, making it look like the bottom of a brown paper bag. Next, snip off the excess seam allowance (to about half a centimeter) and zigzag stitch over the seam.
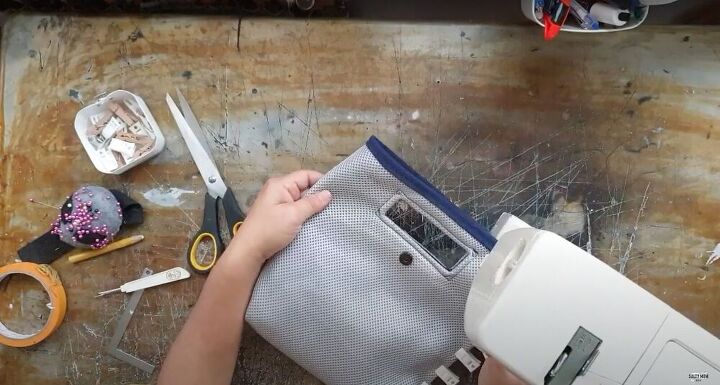
Finish the bag
Turn the bag inside out and sew along the sides to cover the raw edges. When you reach the corner, stop. The raw edges are on the outside and need to be hand-sewn. So, flip your bag back to the right side and stitch the bottom corners by hand using a ladder stitch.


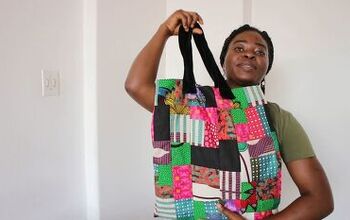
There you have it, an easy way to sew a tote bag using pencil cases. I love how this turned out. I think it looks super cute and casual. It's a really great bag and the pencil cases add a lot. Not only are they cute and colorful but they work as great pockets too!
The author may collect a small share of sales from the links on this page.


Comments
Join the conversation
Cool! I've done similar, but I put the zipper pocket (that I cut out of an old wallet) on the inside, near the top. Good place for putting your change, so you're not having to reach all the way to the bottom of the tote or purse. But wherever you put one, a ZIPPER pocket can save a lot of worry. A ready-made one, EVEN BETTER! I'll be looking for pencil cases now!
Had not thought of the pencil cases but like Gail Rendle, I had made a similar one. I added two 30" ropes instead of handles. That way the person could tie it around their waist or wear as a shoulder strap when they needed both hands.