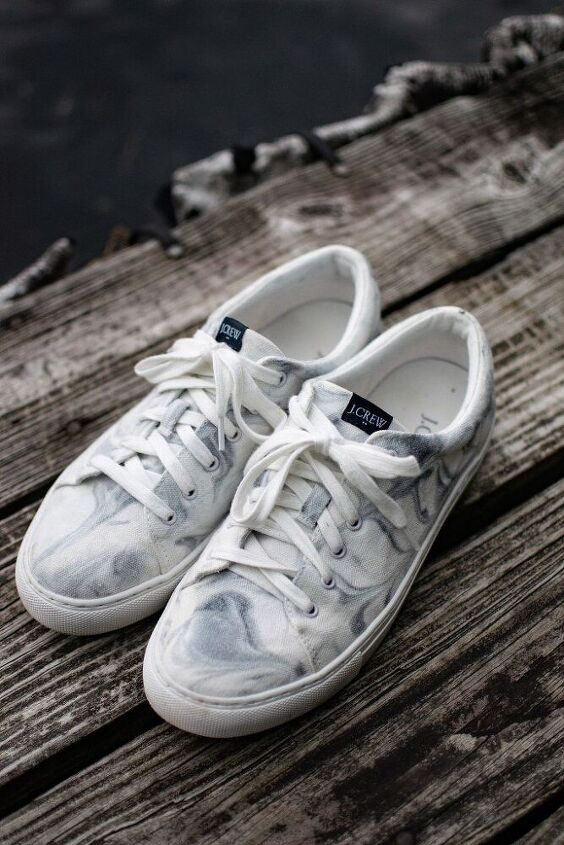
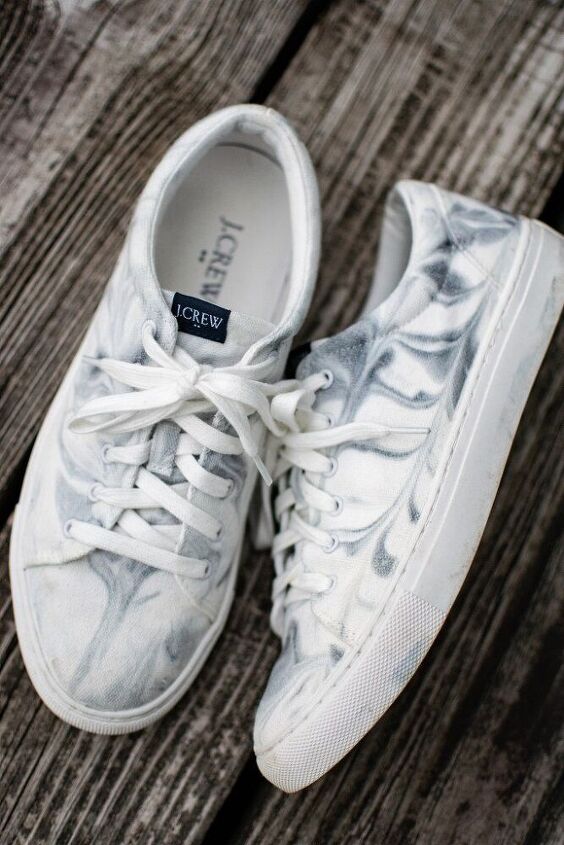
Marble Tie Dye Shoes – How to Marble Tie Dye
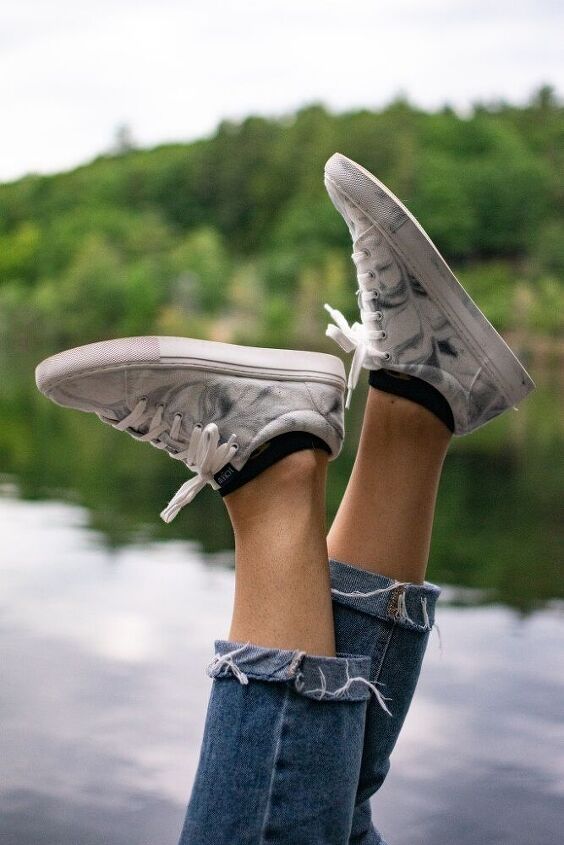
Let’s talk about these marble tie dye shoes and how easy they were to make. Like any love story, this obsession with creating the perfect tie dye shoe started with a facebook ad I clicked & could not afford. Also, I have too many shoes for my small Boston apartment and needed to find a way to upcycle my old shoes into something creative.
Best fabric dye!
While I’ve seen tie dye shoes using sharpies, fabric dye and paint, I’ve never seen a real, crisp pattern on a shoe. As you can imagine, the curved surface makes the standard dying technique impossible. However, after some deep diving I found an amazing technique that many crafters have used to dye paper – marble tie dye.
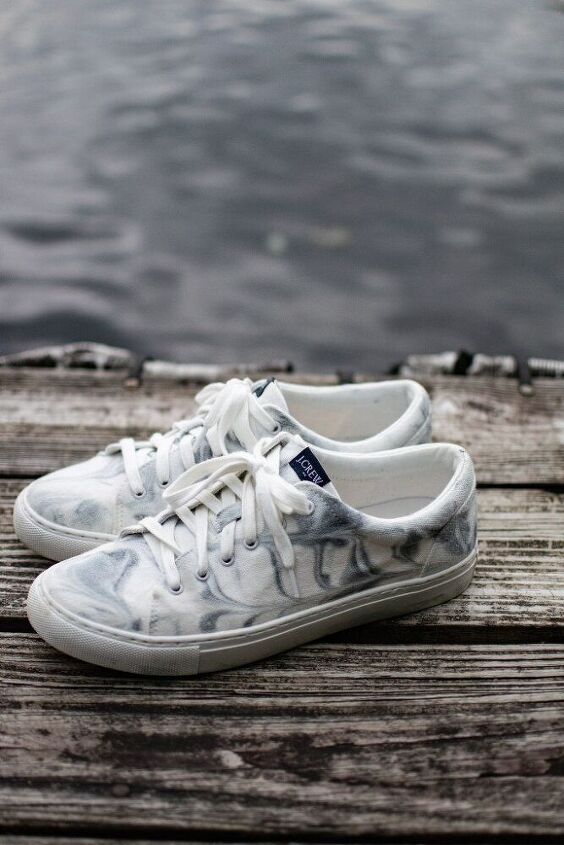
The marble tie dye technique requires a lot of a one common household item – shaving cream. I tried this method a few times on scrap fabric and then dove head first into reproducing it on these white, canvas shoes. These shoes were my first try with this technique on a shoe – so, it really is that easy.If you like this post – check out my crumble tie dye tutorial, the difference between dye techniques AND t his Camo tie dye tutorial.

Here is what you are going to need to create this same look on shoes, paper or textiles:
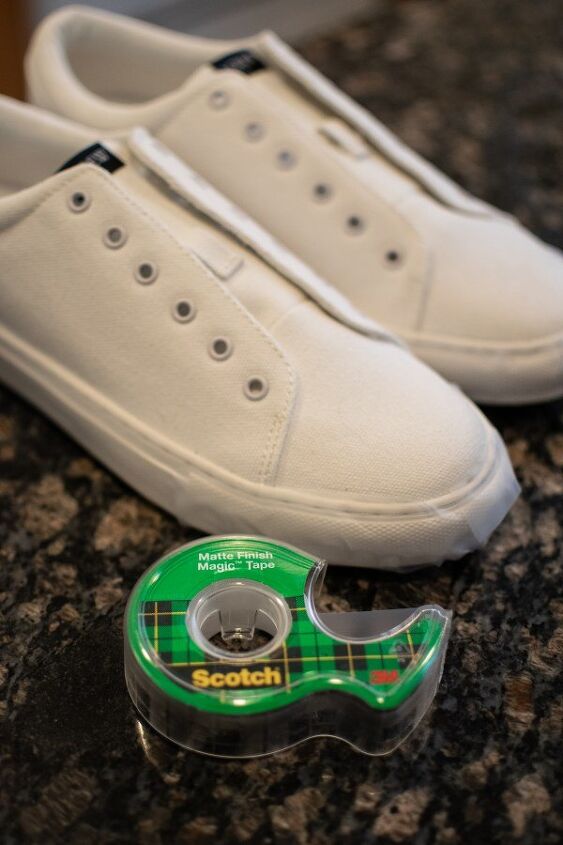
Materials For Marbled Tie Dye Shoe
- Rit Liquid fabric dye (pearl grey) Shaving cream Tub or tin baking dishWhite canvas shoes
InstructionsPrepare your dye per package instructions. I sampled this method with undiluted fabric dye. In other words, I tried putting the dye straight from the bottle into the shaving cream. It created a more streaked effect. I much prefer using the prepared dye for this project to get the nice smooth lines of the marble.Prepare your shoes by taping any areas you would not like to dye. I did not having painters tape to cover the soles of the shoes. However, I would highly recommend using that over the scotch tape. Scotch tape doesn’t like getting wet, so it peeled during the process. Additionally, unlike other techniques, this tutorial works best on a dry canvas.
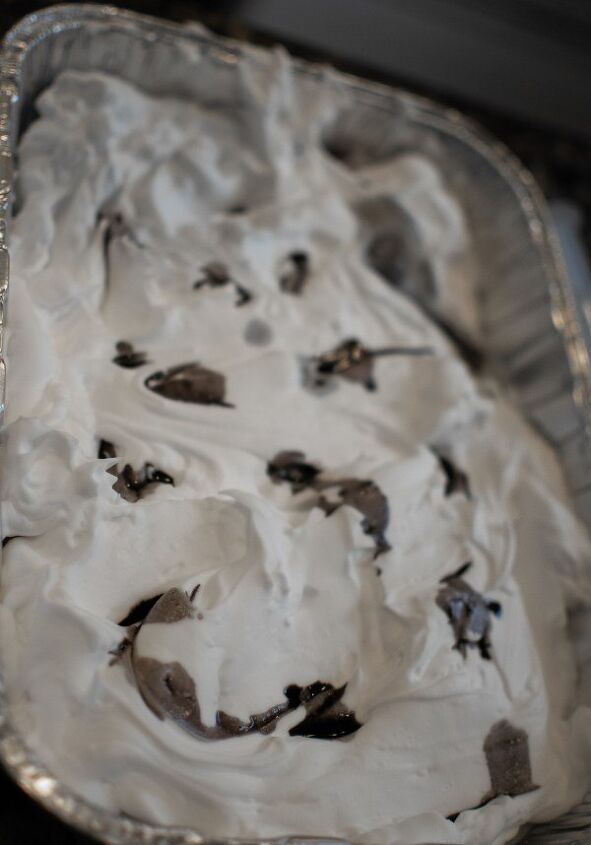
Spray your shaving cream into the dish or tin baking pan. The cream should be about 1″ thick. I found that 1 bottle of shaving cream allowed me to fill the pan twice. So, if you have a bigger project, stock up on that shaving cream. Tip: Use mens shaving cream. I often find its cheaper, better quality, and unscented.
Add drops of dye on top of the shaving cream. I smoothed my shaving cream (like frosting on a cake) to create an even surface for the dye. However, I don’t think that is totally necessary. Don’t be shy with the dye, I ended up adding more to get rid of white space.
Using a knife or tooth pick, move horizontally and then vertically (as demonstrated by this video) to create the marble design in the shaving cream.
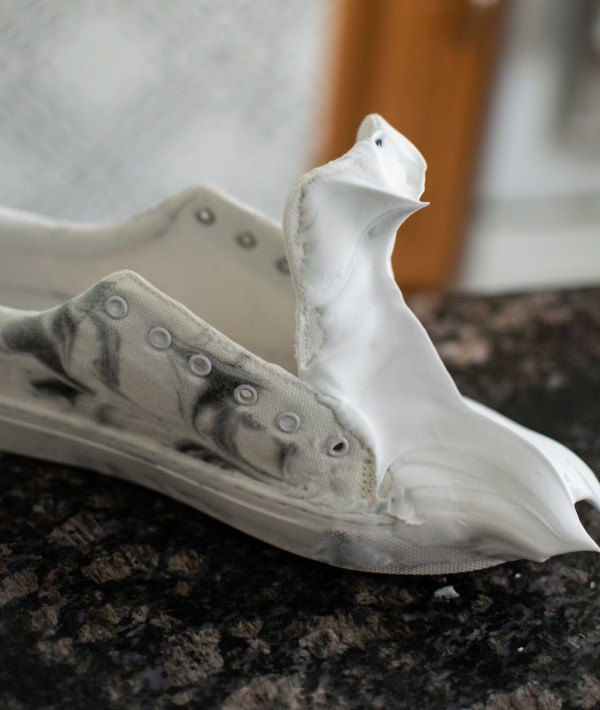
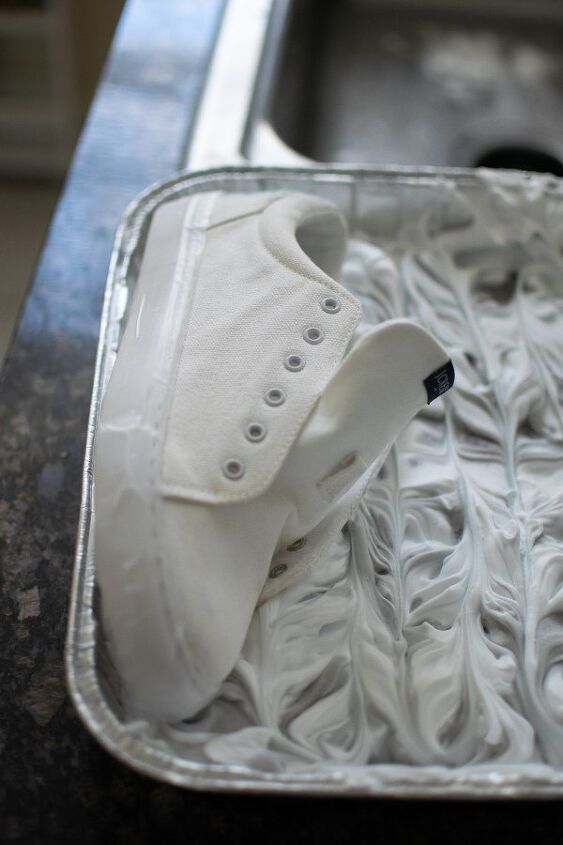
Here is the fun part – place the surface of the shoe you are dying firmly into the shaving cream. Press to ensure the entire surface is covered. Remove from the bin/dish. Allow to sit for 1-2 minutes. Scrap shaving cream off with a credit card to reveal design. Repeat for all sides of the shoe.
Allow to dry and seal with scotch guard or another shoe water repellant.
Marissa
The author may collect a small share of sales from the links on this page.


Comments
Join the conversation
Only one color?
Did you push the shoe all the way to the bottom, or do you just gently lay it in the mix? The video doesn’t really show that.