How to Ombre Dye Flannel Shirts

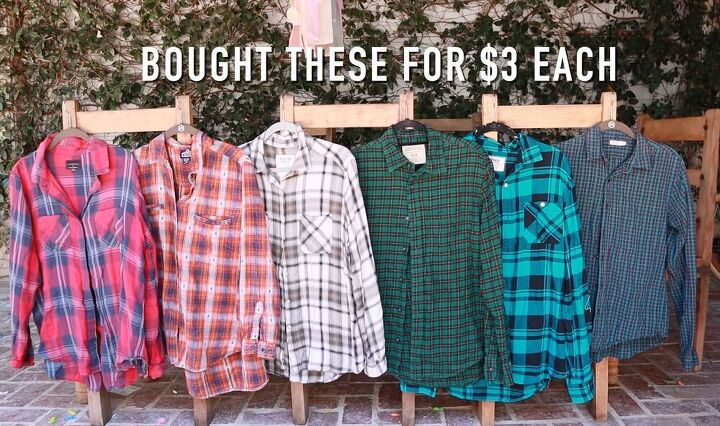
I love a good DIY project, and these ombre dyed flannel shirts are the perfect way to modernize boring flannel shirts. I would recommend going to a thrift store and buying a bunch of flannel shirts. There's no way to anticipate what's going to happen when you bleach them, so if you have a few, it's not like all of your hope is on one shirt, and it gives you some room to experiment and be creative. Let's get started!
Tools and materials:
- Flannel shirts
- Bleach (unless your flannel is black and white)
- Soda ash
- Squeeze bottles
- Measuring spoons
- Dyes of your choice
- Plastic gloves
- Plastic tub
- Wire grate
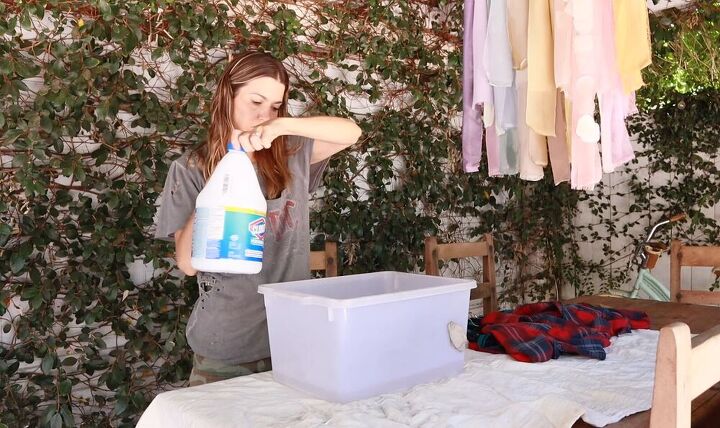
Prepare the bleach
Take a whole gallon of bleach and mix it with water (70:30 ratio) in a big plastic tub. Make sure that you’re wearing gloves for this.
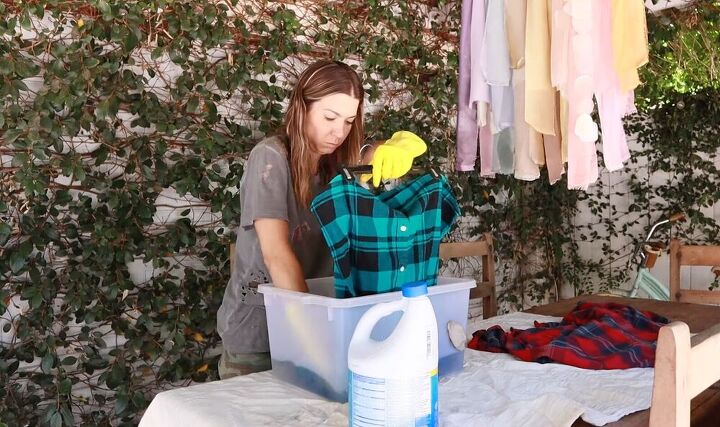
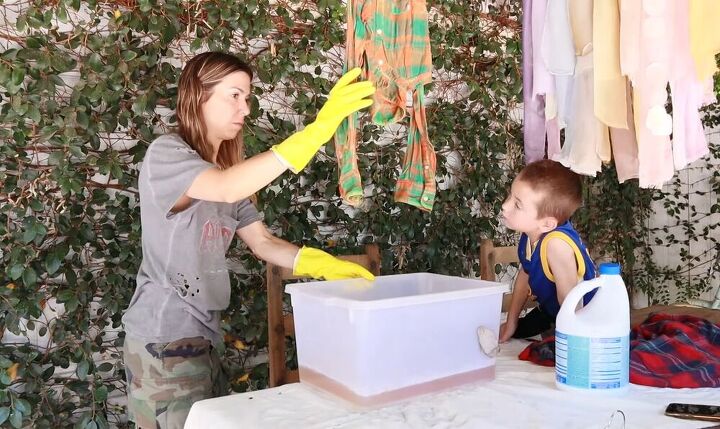
Bleach shirts
Submerge all or some of your fabric in the bleach, depending on what look you're going for. I thought I would do a dipped-bleach look, leaving the bottom half its original color and bleaching out the top. I put the shirt on a pants hanger; that way, I had an easy, level way to hold it and slowly dip it in.
Tip:
Make sure that you dip it in equally on both sides as you don't want to end up with an uneven finish.
With another shirt, I thought that I would do the opposite and bleach out just the bottom.
Tip:
If you're working with a really soft, lightweight flannel, then just know that the bleaching process might be quite harsh on it, and I would recommend only bleaching it for a short while as you don't want to damage the shirt.
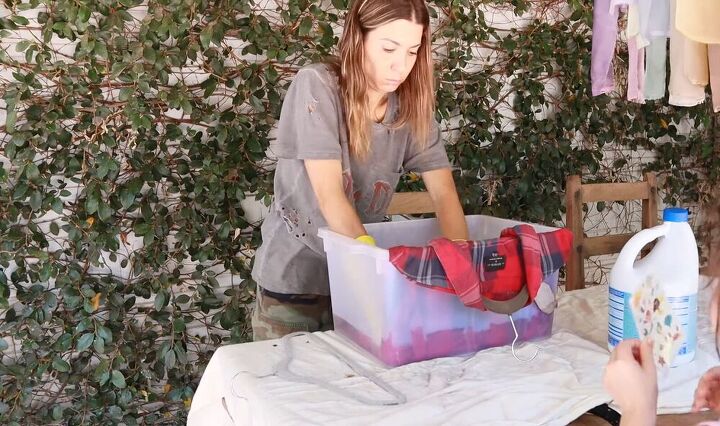
Remove the shirt from the bleach
Leave the shirts to sit in the bleach for about 10 to 15 minutes, and when done, squeeze them out and let them hang for a while. The bleach will continue to work and the shirt will become an even lighter color.

Soak shirts in soda ash
Once you've dissolved the soda ash in water, you're going to add it to fresh water in the tub (make sure you've cleaned out all the bleach beforehand). Soda ash is really important to remove any excess color that's left on the clothing. Let the shirts sit in the water for about 20 minutes. Then ring the shirts out and leave them damp.
Tip:
If you're working with a shirt that doesn't have color in it (i.e., white and gray) or is a very pale color, then you don't have to bleach it beforehand, and you can skip straight to this step.
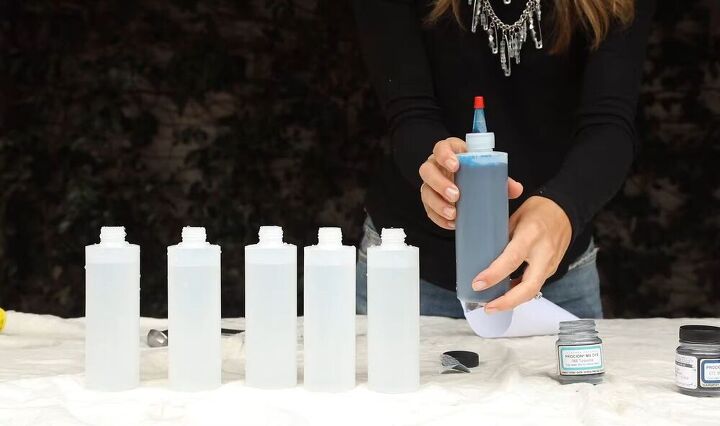
Make your dyes
I'm using powdered dyes, although you can use any dye you want. You need to prepare the dyes (for me, that meant measuring the powder and mixing it with water) and put them in squeezy bottles.
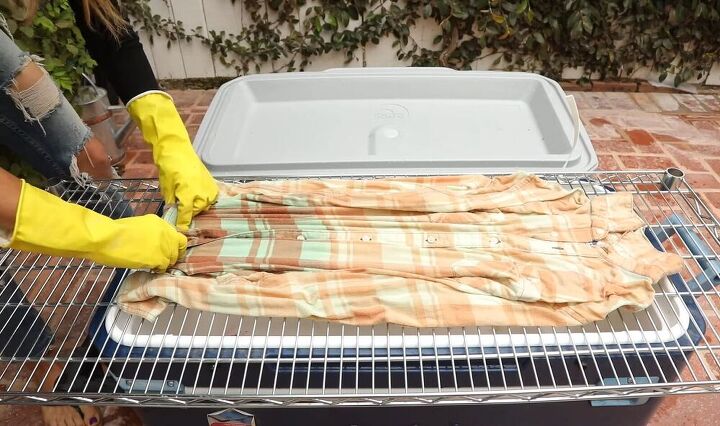
Prepare your drainage
You need some sort of drainage so that the color won't pool on the back of the shirt when you dye it. You need a way to spray your shirts which will allow the color to drain through.
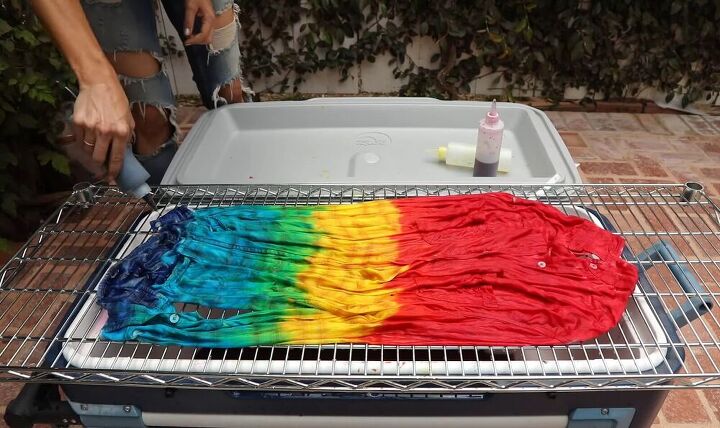
Step 7 - Dye
I dyed each of the shirts differently, and you can really do whatever design you want. To create a rainbow effect, I did a lot of red at the top and then went in with yellow to create a band of orange. To create the green, I did a band of turquoise and then went back in with yellow to get a green color. I then added a beautiful medium blue at the bottom.
When dyeing shirts, you want to make sure that they are saturated fully. If you saturate the shirts enough on the front, you don't have to flip them over and dye the back.
Dry
Once you’ve dyed everything, let the shirts dry for 24 hours, and then machine wash each one individually.
Ok, time to take a look at some of the beautiful designs that I created:
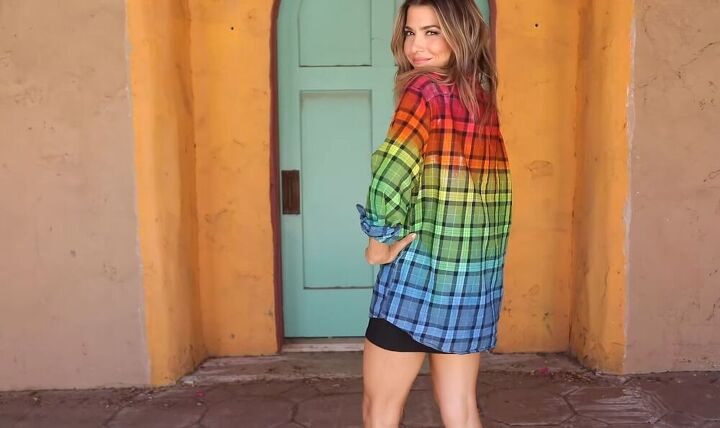
This one is one of the rainbow effect ones. I love how the colors seamlessly blend into one another.
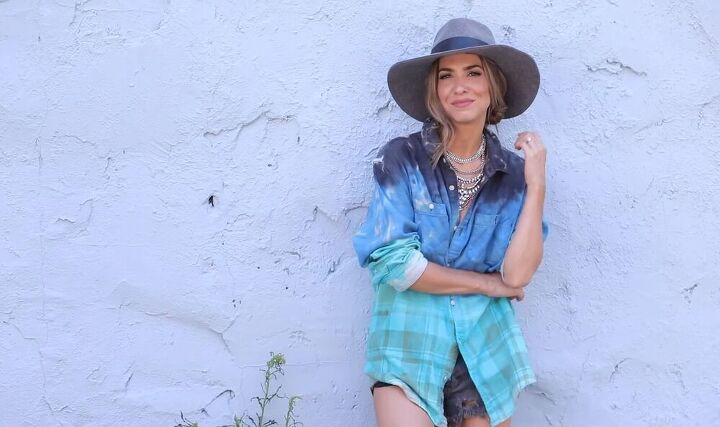
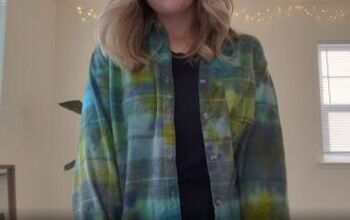
Here I went for some different shades of blue. I like how you can still see some of the original flannel print at the bottom peeking through.

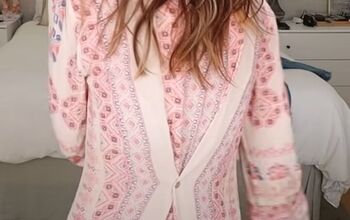
This shirt was originally a light pink color. I kept it how it was in the middle and dyed the top and the bottom of the shirt a dark pink. To bring it all together, I added some splashes of light pink in the dark section and vice versa.
I had so much fun with this DIY, and I can't wait for you to try it out for yourselves!
The author may collect a small share of sales from the links on this page.


Comments
Join the conversation
WOW! Beautiful! Thanx for sharing!
I love it just beautiful. I never heard of soda ash. I'll look it up. Thanks for sharing. 🙂