How To Upcycle A Flannel Shirt With The Ice Tie Dye Method
Spring is coming around the corner, and it seems tie-dye is going to be big again in the warmer months of 2021.
You may think tie-dye is best for all-white garments, BUT but that's not always true!
As long as at least half of your garment is white or very light, you can still play with tie dye!
Thrift stores are loaded with white and black checked flannel or plaid cotton tops, some even have discoloration. This is any easy way to fix that and save a shirt from the landfill

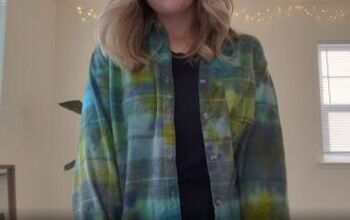
In the video above I upcycled three different flannel shirts with different bleaching and tie dye methods. I encourage you to watch it to see this tutorial in action and other projects just like it!
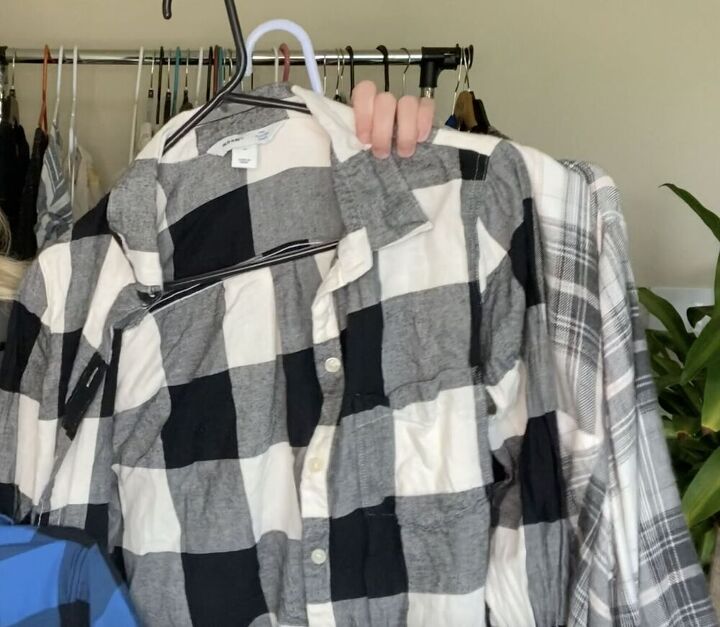
For the ice dye method, this is what I started with.
A thrifted Old Navy cotton button down flannel plaid shirt. Unfortunately the material tag was missing so I wasn't sure what the exact fiber content was but I was confident it was primary cotton.
I do think it may have been a polyblend because the colors were not as vibrant as some of my other projects.
It's important that the fabric makeup be primarily cotton, otherwise the dye may not penetrate the fibers and wash off.
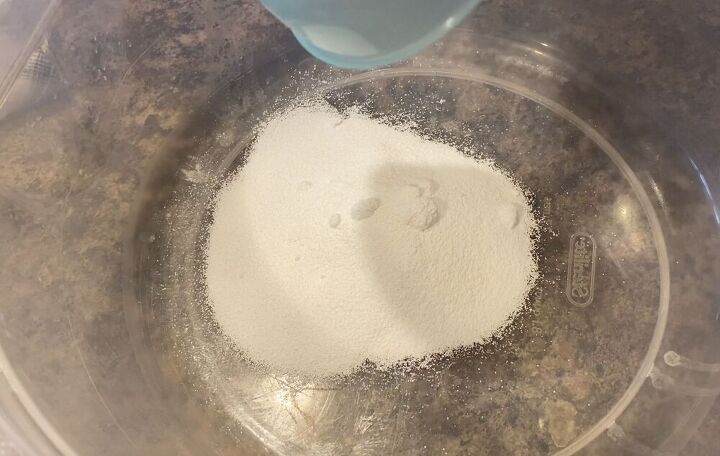
To prepare the shirt for dying, I soaked it in a bath of soda ash. Soda ash can help prepare the fibers of your fabric to better absorb dyes and therefore produce brighter results.
You will mix it with water and let it sit for about 20 minutes. Do not wash off the soda ash after it's been soaking. Simply squeeze the solution out of the top (using gloves! soda ash should be handled carefully) to get it as dry as possible.
Some people will even let their item completely dry, I choose to do this project with the shirt still wet.
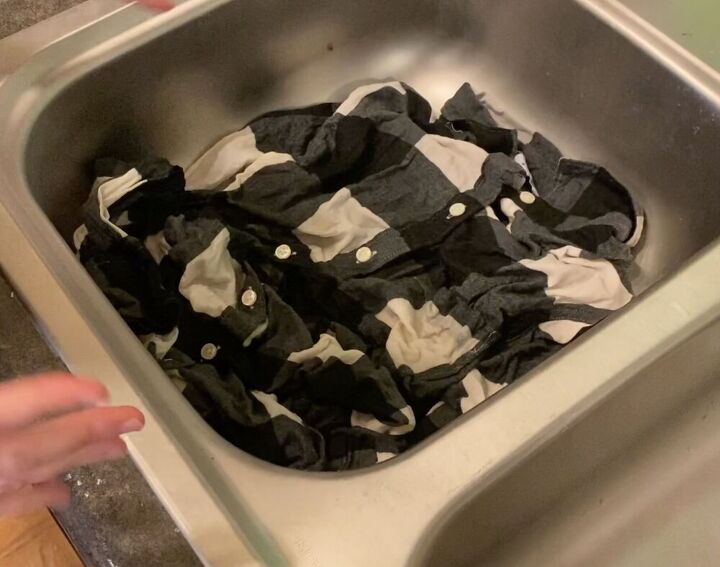
I placed a drying rack at the bottom of the sink. This will allow the colored dye to run into the drain without it pooling under your shirt.
No matter where you do this project, it's important to have a place for the ice melt to drain. You could also do this project in an old strainer and place that in the sink.
Then placed the the shirt over the rack in the sink and used my fingers to crinkle it it up. I did try to keep the white parts of the shirt exposed and smooth so that the tie dye would show up as much as possible on the white parts of the shirt.
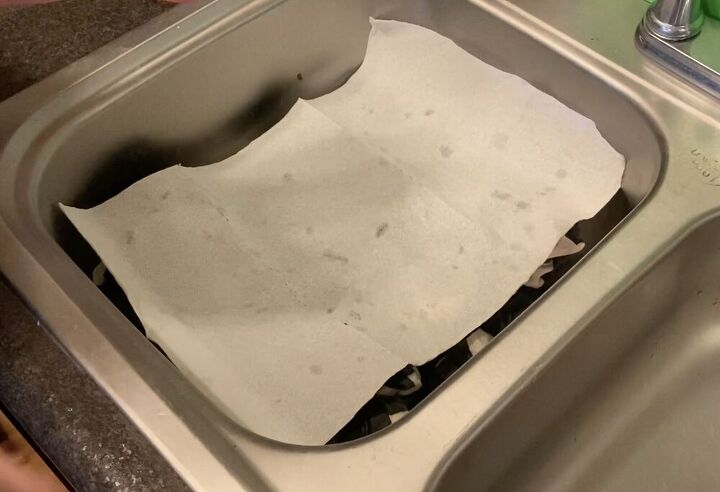
I then placed a paper towel on top of the shirt to act as a barrier.
I created this step as part of my personal ice dying method when I noticed that little crumps of powered dye sometimes slip past the ice and fall directly on the garment and make a blotchy stain on an otherwise watercolor effect.
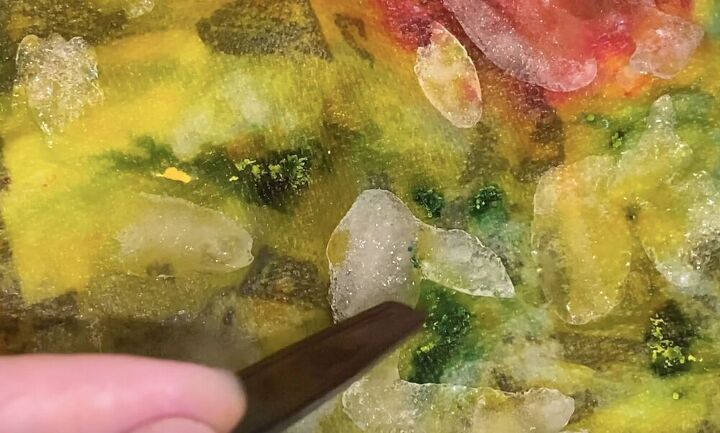
Here's and example of what I mean. See those little yellow and green clumps? If I had not put this paper towel down the dark marks would have appeared on my garment. I didn't want that in this case.
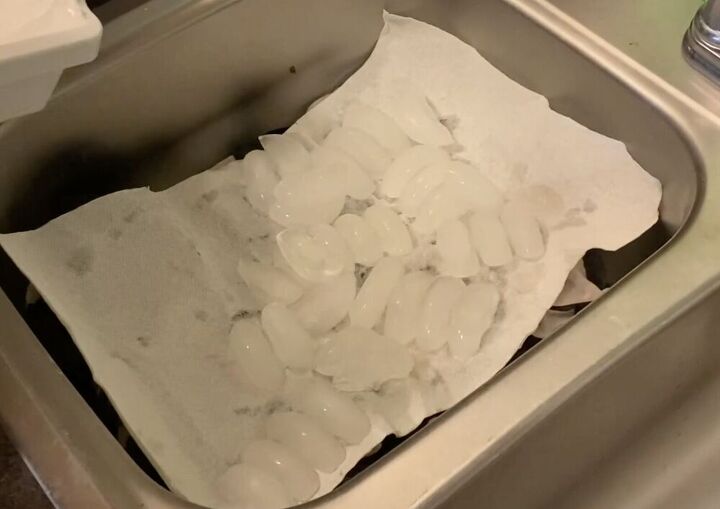
Next I put my ice on top of the paper towel. To truly get that watercolor effect you will want to use as much ice as possible, covering up everything so all of the powered dye has to run through the ice and become liquid.
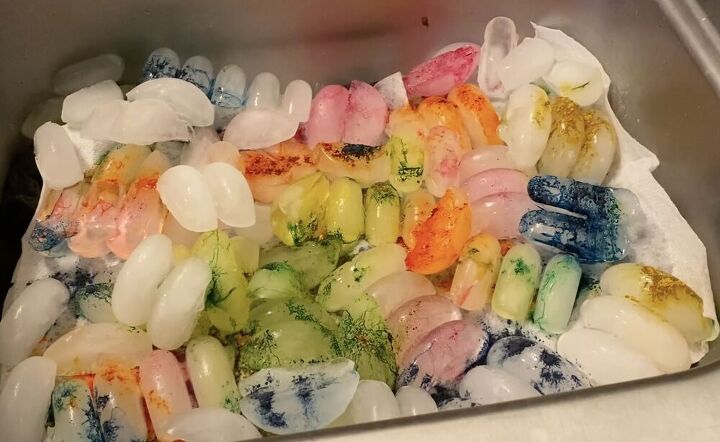
Once I had my ice down I sprinkled power dye with a plastic spoon all over the ice. More is less with this method, unless you're going for a super pigmented and dark garment. I wanted a candy-colored rainbow so I went with just a little.
I use Dharma Trading Co dyes for their quality and pigment, but you can also find powered dye inside the bottles of tie dye kits in any craft store.
You'll just use the powder in the bottles instead of adding water.
Next comes the challenging part! Waiting for the ice to melt, and then letting your garment sit for 24 hours.
When I woke up the next morning this is what I saw!
It was so tempting not to peek and peel back the paper towel!
It's important to let your garment sit for 24 hours if you want vibrant colors. If you are looking for something more subdued, you can rinse out earlier.
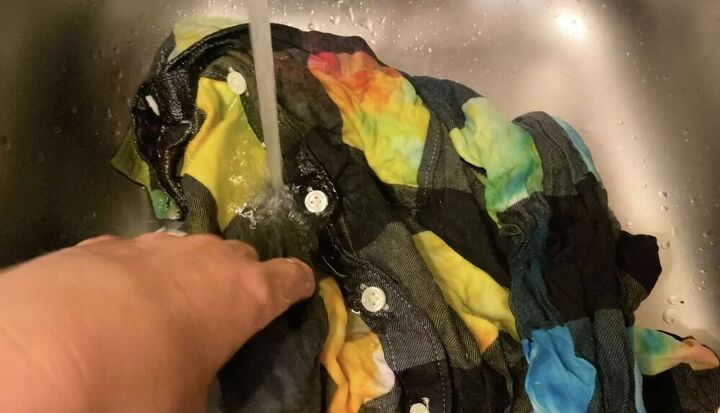
Finally it was time to rinse! I simply turned on the facet and washed out the garment. While doing this I tried not to move it around much so the excess darker dye wouldn't blend into lighter parts of the shirt causing the design to muddy.
You'll want to wash with cold water first, then after the water is running clear, wash with hot water.
After that I throw the garment into the washer with normal detergent and set on the "hot water" cycle so the dye will set and excess dye would be rinsed out.
This part is crucial because if you don't, you may risk ruining your other clothes with excess dye if you try washing this shirt with other clothes.

You can either put your shirt in the dryer, or hang dry.
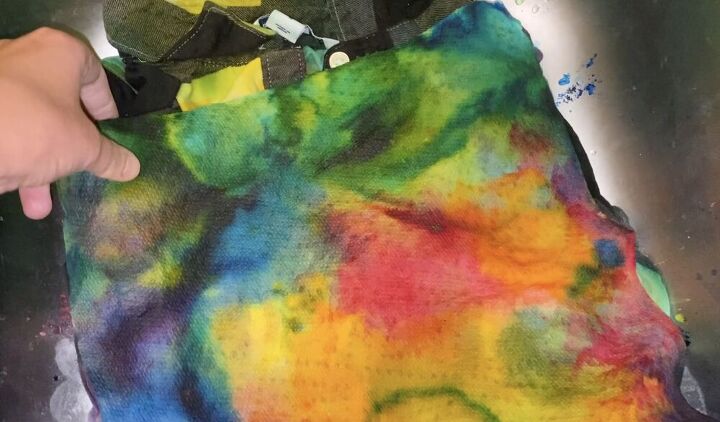
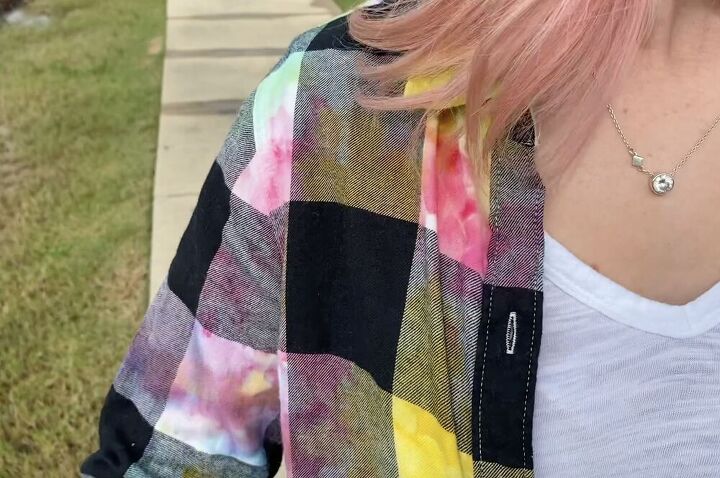
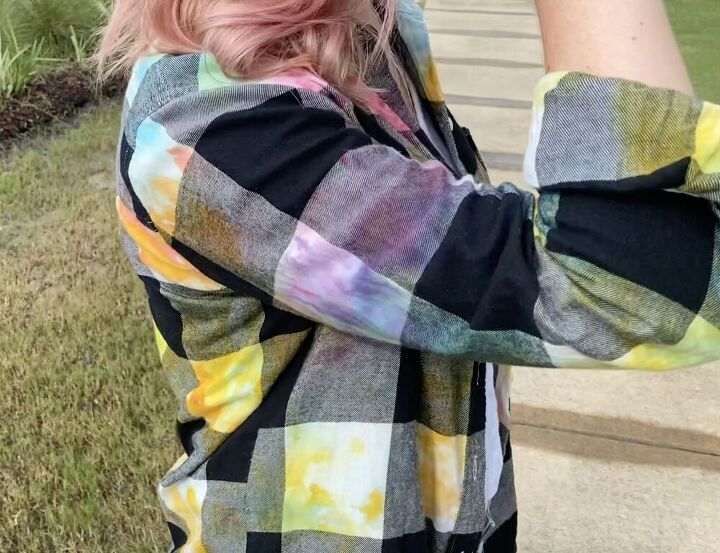
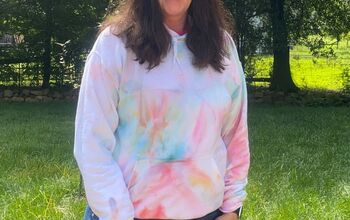
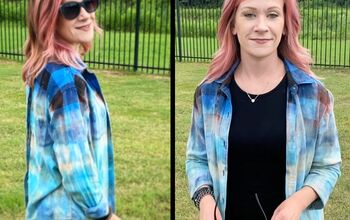
This is how mine came out!

It's such a fun take on a spring flannel!
I loved how it looked with my pink hair! And unlike my hair... the colors on this top DIDN'T fade. That's the beauty of quality tie-dye.
Let me know if you try this! I'd love to see how it comes out. Tag me on instagram at @Sew_Much2Wear.
What other unconventional things have you guys tried tie dying?
I bought so many colors from Dharma last year and need to do more experimenting! I'd love inspiration from you all!
The author may collect a small share of sales from the links on this page.


Comments
Join the conversation
Not sure what the ash you speak of is. Where does one get it.? The dyes you use are in liquid form? How does this dye differ from Ritz dyes.? I recently dyed lace curtains, not all cotton a mixture of other fibres. Result, a much lighter colour that I would have liked. Is their any point in redoing them to get a darker shade. Started off with white. Thanks, Rose
That way cute, and a cute way to upcycle a shirt,