T-Shirt to Tied Crop Top Upcycle

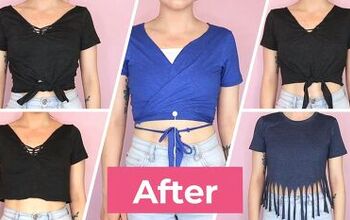
Hello, everyone! Today I’m going to be showing you how to turn an oversized t-shirt into a cute, easy, tied crop top. I will be making two different styles of crop top, but the process for both is essentially the same. Keep reading for step-by-step instructions for a tied crop top tutorial.
Tools and materials:
- Oversized t-shirt
- Fitted t-shirt (to trace)
- Fabric pen
- Scissors
- Pins
- Sewing machine
- Serger (optional)
- Embroidery thread (optional)
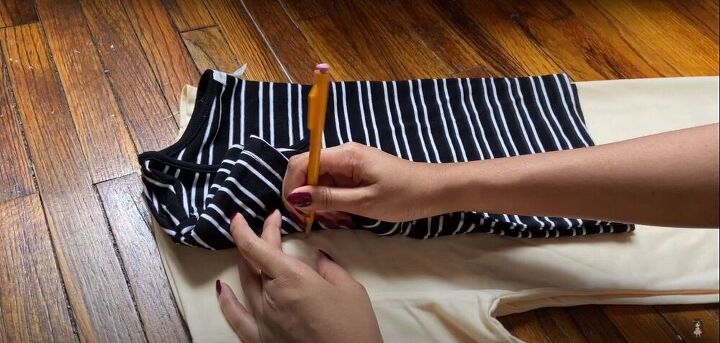
Trace
To begin, I used a fitted shirt to trace out the side seams, length, and armholes on the oversized shirt.
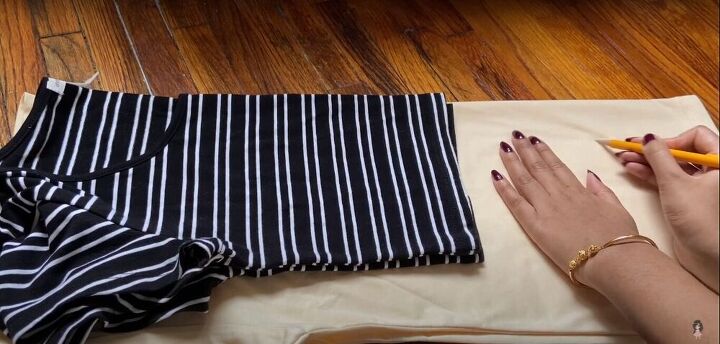
Mark
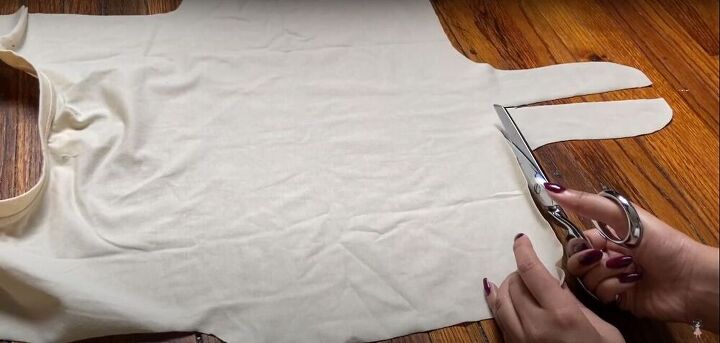
I also marked out the shape of the ties, which will be in the front of the shirt.
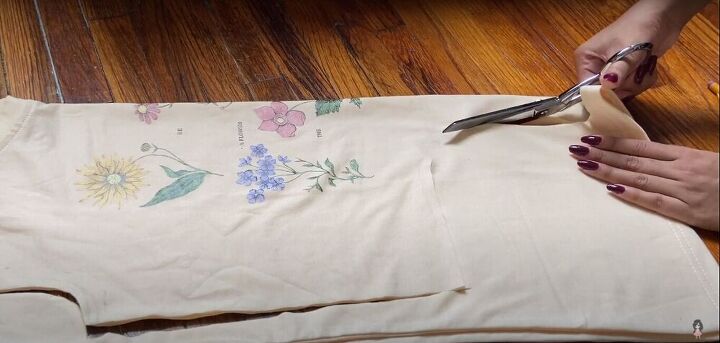
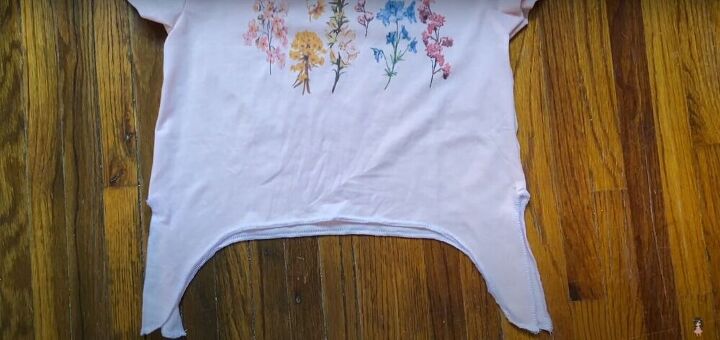
Cut
Then I cut the shirt along the marks I made.
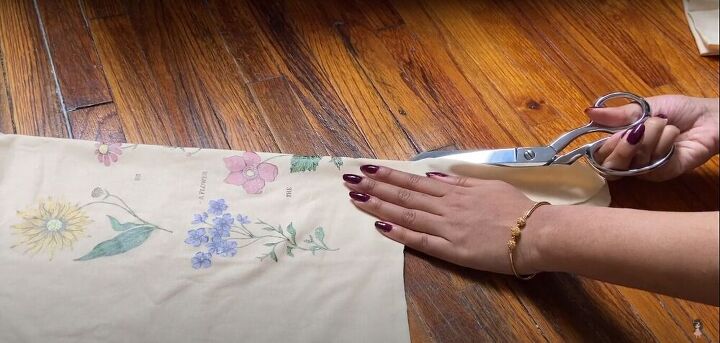
I also cut the ties along the fold.
Then I unfolded the shirt and cut the tie shapes off the back, and straightened out the back hem.
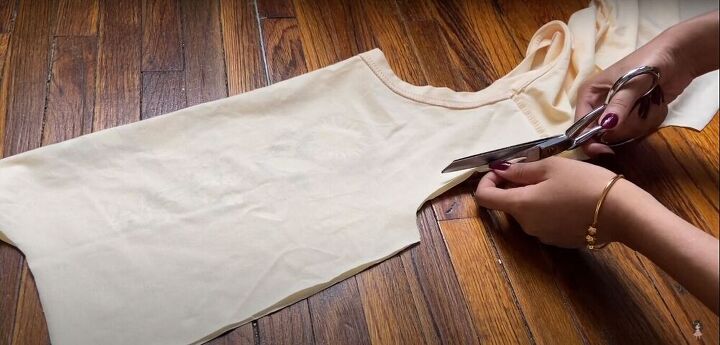
I also carved out the front armhole a little more.
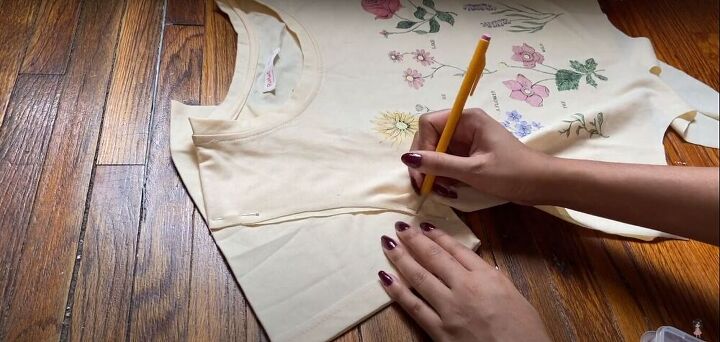
Trace
I used the sleeves I had cut off to create new sleeves by placing them under the shirt and tracing out the shape of the armhole, leaving a ½-inch seam allowance. I used the end of the sleeve, so I wouldn’t have to hem it.
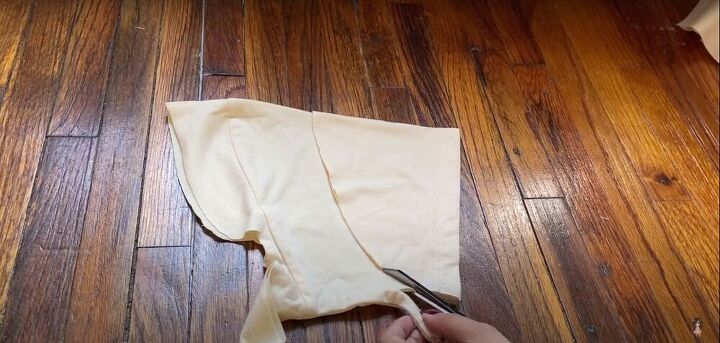
Cut
Then I cut out the sleeve and used it as a guide to cut out a second, symmetrical sleeve.
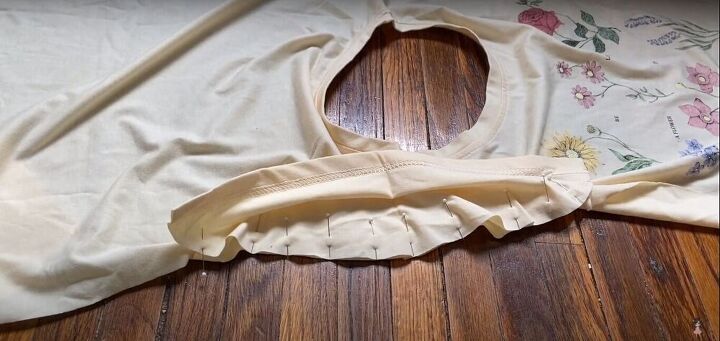
Pin and sew
Then I pinned the sleeves in place and sewed them down.
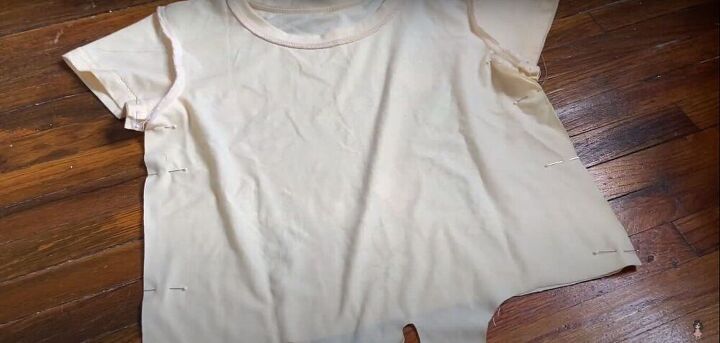
Once the sleeves were in place, I flipped the shirt inside out, and pinned and sewed the sides.
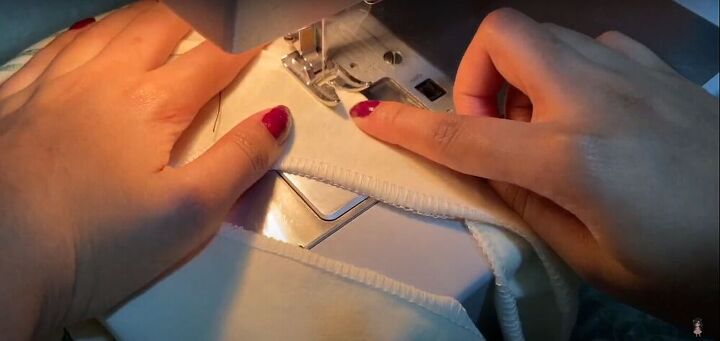
Serge and sew
For the bottom edge, I serged the whole thing, and then turned the edges in once and topstitched.
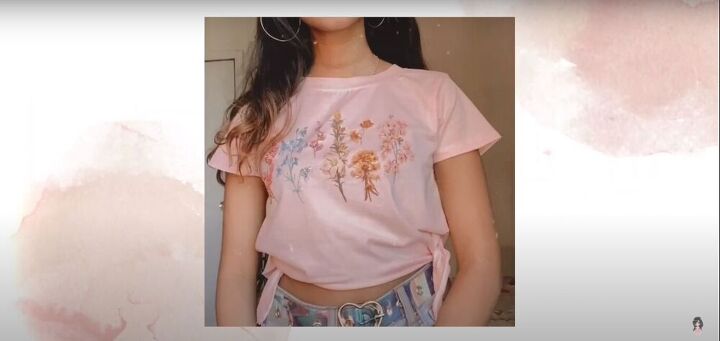
And that’s it for this top!

Cut
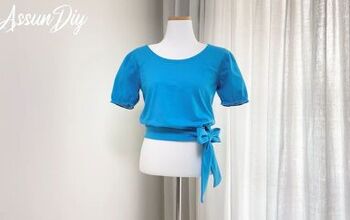
For the second shirt, I followed the same steps as I did for the first, but this time I made the ties on the side.
Finish the bottom
I attached sleeves and sewed down the sides with the same method as I used previously. For the bottom edge, I left it as is, after I serged it.
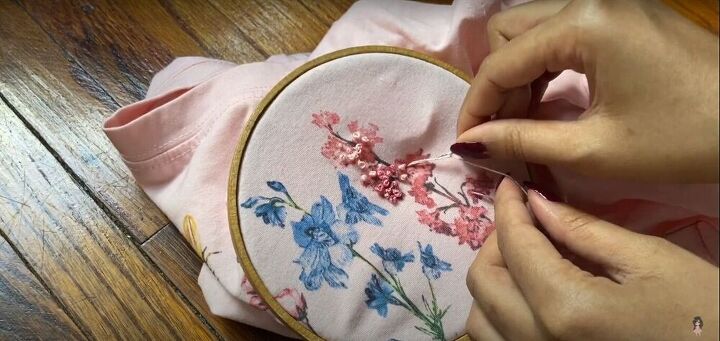
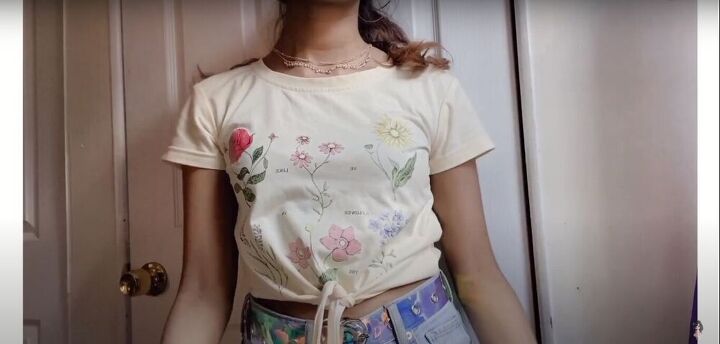
Add details
I decided to add some embroidery to this shirt, as well, to give it some interesting detailing.
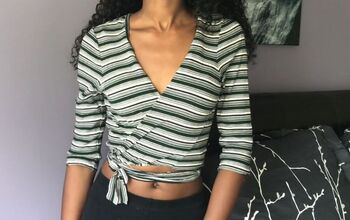
And here’s how it came out. I actually like this one a lot, and I don’t think I’ve ever seen a shirt quite like this.
I really enjoyed this upcycle project, and I hope this tutorial was helpful to you. If you use this tutorial to make a tied crop top of your own, I would love to see your results.
The author may collect a small share of sales from the links on this page.


Comments
Join the conversation
Embroidery on shirts always reminds me of a couple shirts I had in the early 80s they were T-shirts, sort of, but the pattern was sort of a quilted, in other words the picture was a little puffy but also embroidered. they also had a button up slit at the cleavage line. It's hard to explain it totally, but I loved those shirts for a long time, I don't recall ever seeing anyone else wear them, but I loved them. I kind of wish I had held on to them if nothing else my granddaughters might have liked to see them.
Great job your shirts turned out great and your embroidery skills are awesome!