How to Cut a T-shirt Into a Cute Crop Top

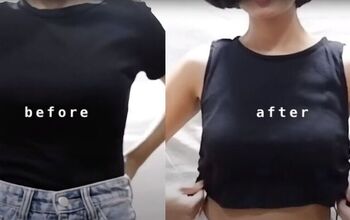
In this DIY, I’m going to show you how to cut a t-shirt into a crop top. By tweaking and altering it, we will be transforming an oversized shirt into something cute, feminine and stylish. Let’s get started!
Tools and materials:
- XL t-shirt
- Regular t-shirt
- Ruler
- Scissors
- Pencil
- Sewing machine
- Needle and thread
- Pins
- Bias tape
- Elastic
- Clips
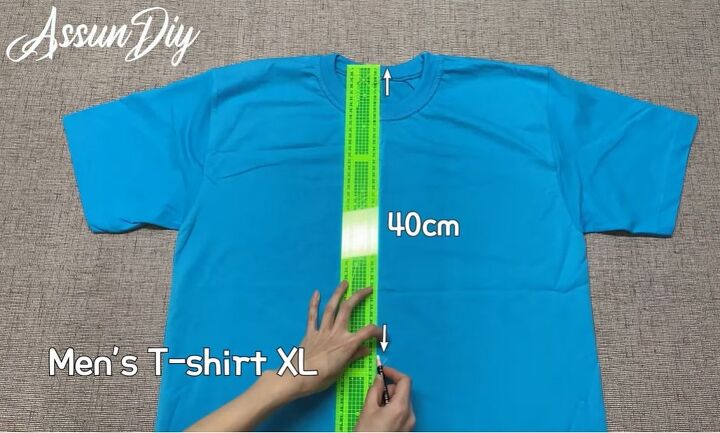
1. Mark the t-shirt
Measure 40 cm (15.7 inches) down from the very top of the t-shirt. Mark a point and then draw all the way across the t-shirt at this length.
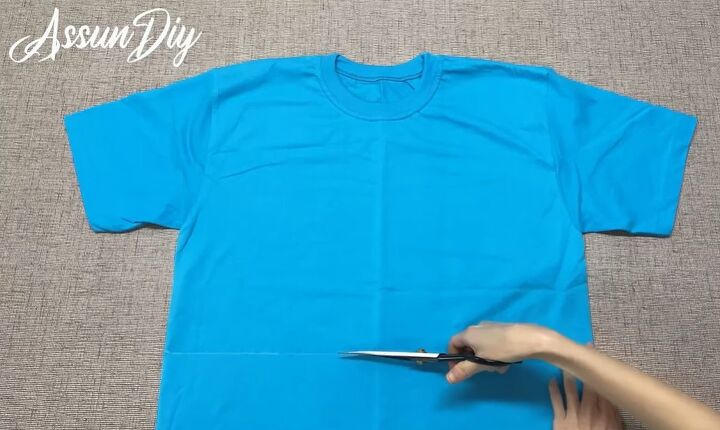
2. Cut
Proceed to cut along this line.
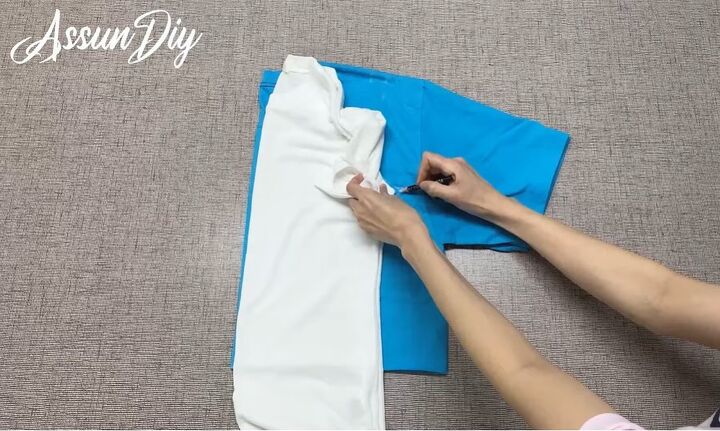
3. Mark the t-shirt
Fold the t-shirt in half and then take another t-shirt that fits you well and fold this in half too.
Place the smaller t-shirt on top of the larger one and mark the shoulder line as well as the shape of the armhole (not including the sleeve).
4. Continue the line
Continue the line down to the bottom of the t-shirt.
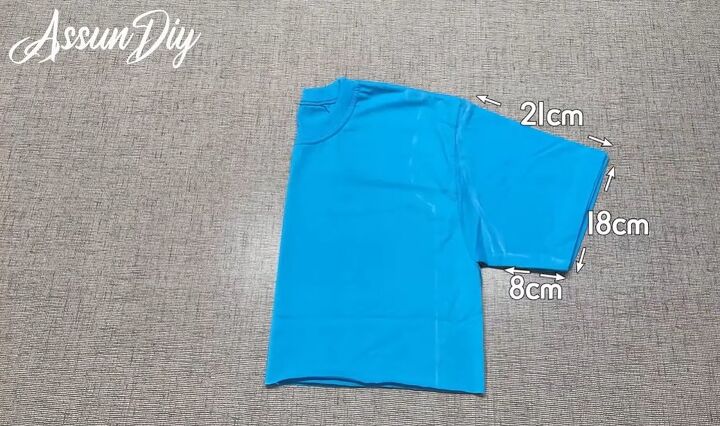
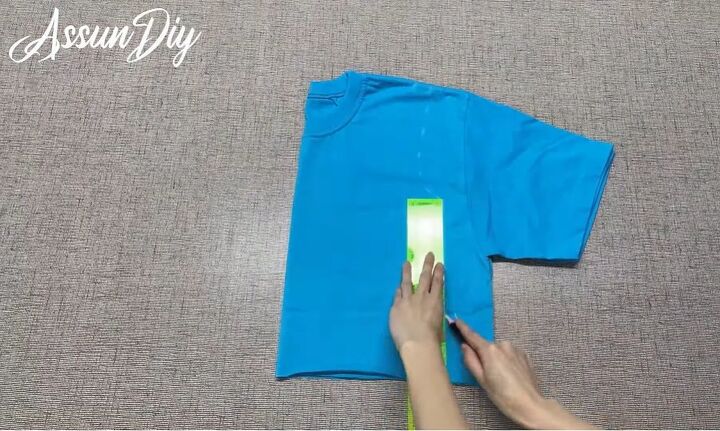
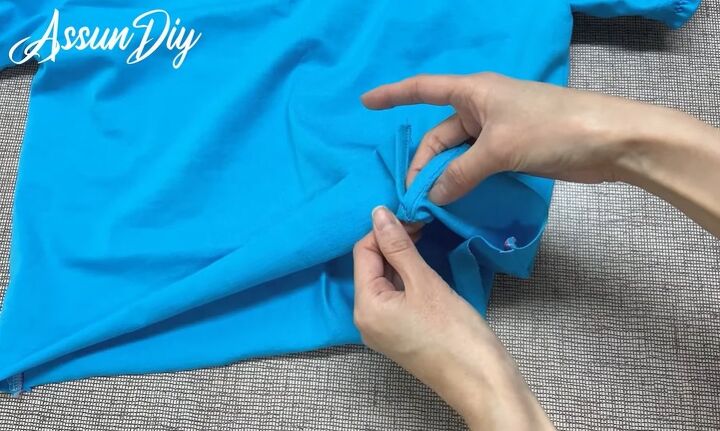
5. Mark the sleeve and cut the top
Mark a smaller sleeve on the large sleeve of the t-shirt with the measurements shown above.
Once done, cut the top along the marked lines. Then separate out the two sleeve pieces and open up the top. Keep the excess fabric for later.
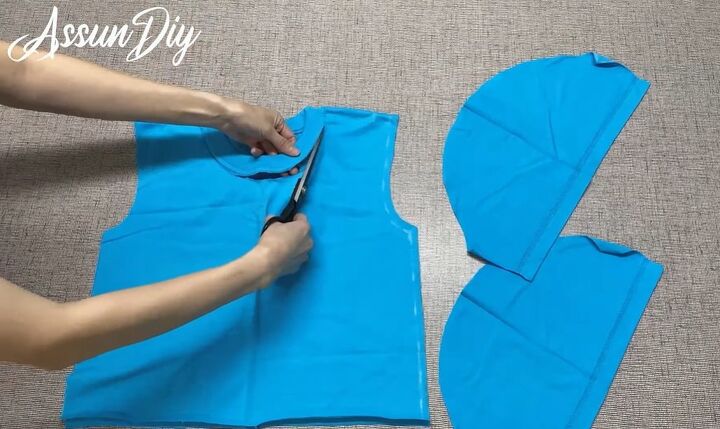
6. Remove the collar
Next, cut off the collar. Then open the top out fully and refold it so that the marked side is on the inside of the top.
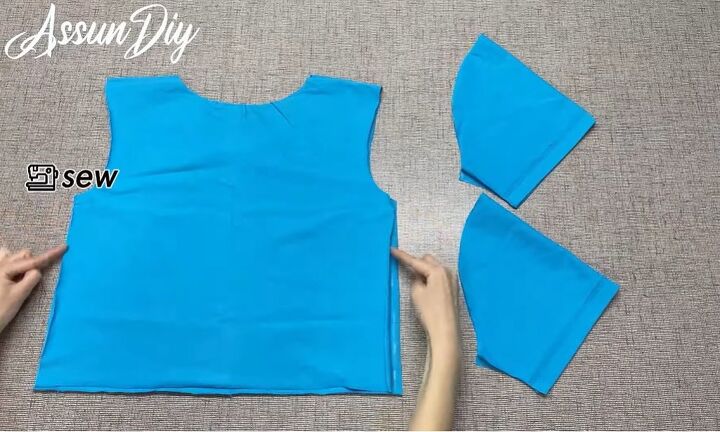
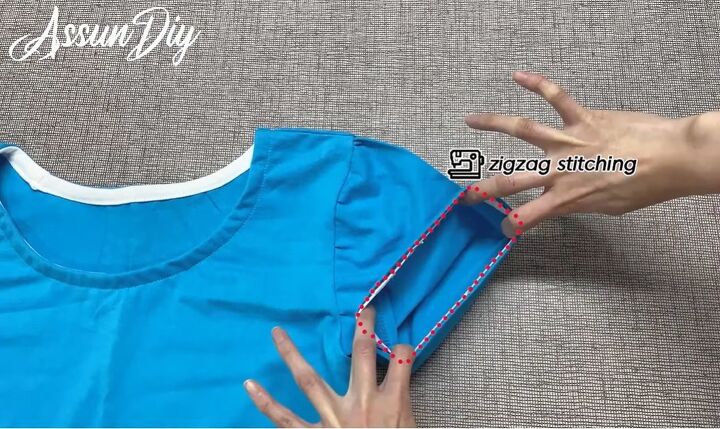
7. Sew the top sleeves
Sew along the sides of the top and the sleeves with a zigzag stitch.
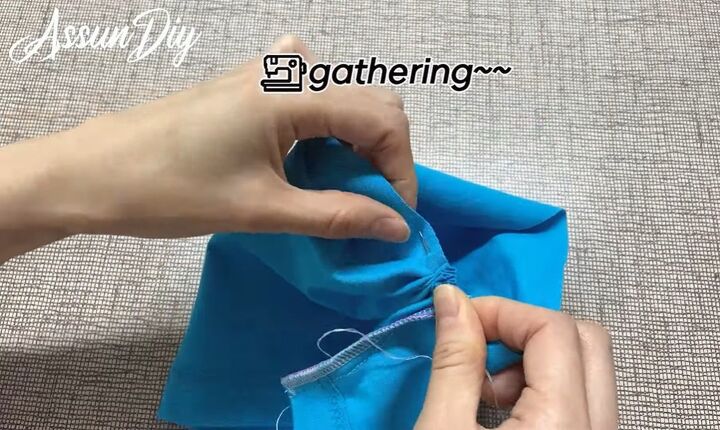
8. Gather the sleeves
Use a needle and thread to gather the open side of the sleeves.
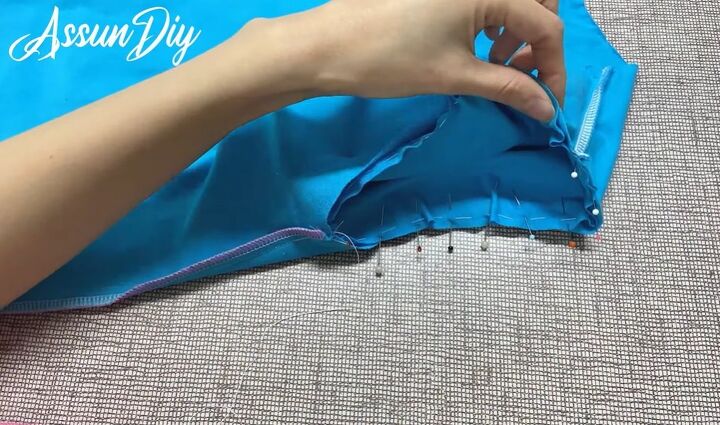
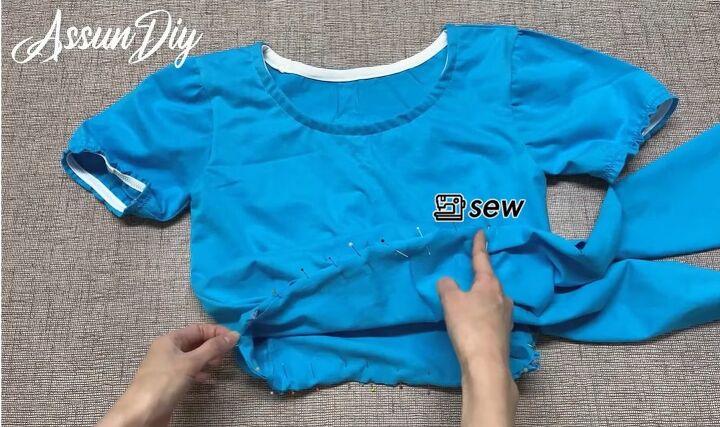
9. Join the sleeves to the top
Turn the sleeves right side out and place them inside the top, so the gathered side of the sleeves is lined up with the armhole, good sides facing one another.
Pin the two pieces together and sew with a zigzag stitch. Do this with both sleeves.
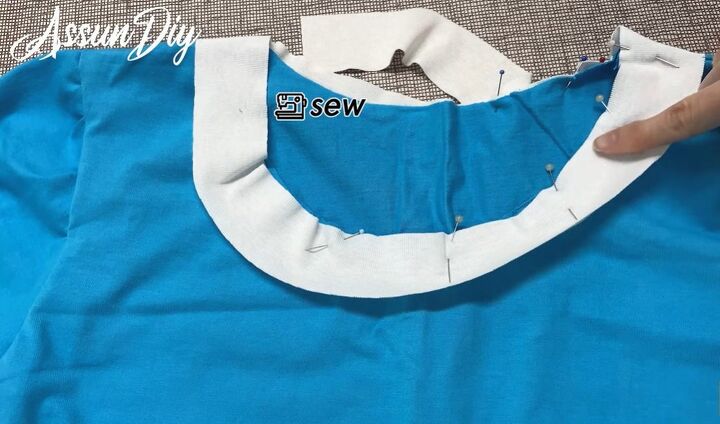
10. Attach bias tape
Pin bias tape all around the neckline and then sew it down.
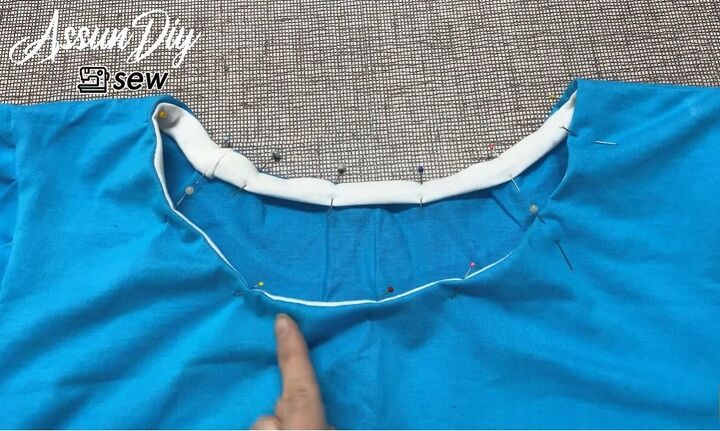
Then fold the bias tape over twice, pin it to the inside of the neckline and sew it down.
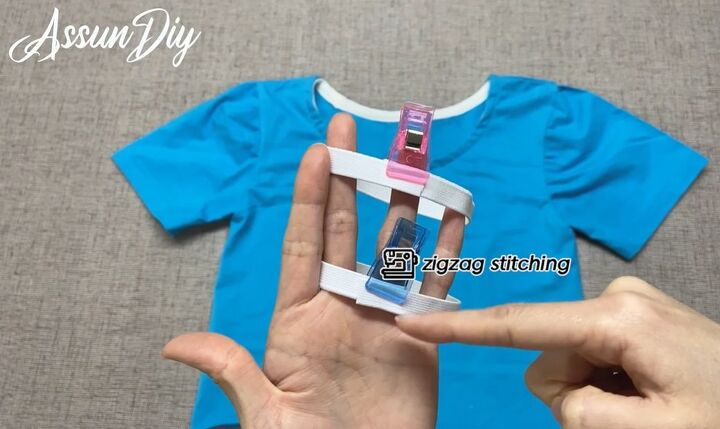
11. Sew the elastic
Cut two pieces of elastic that measure the circumference of the top of your arm + 5cm (2 inches).
Clip them into a circle and sew them together with a zigzag stitch.
12. Connect to top
Pin the elastic to the inside of the sleeves, you will have to stretch it to get it to fit the length of the sleeves.
Sew it in place with a zigzag stitch. Repeat with the other sleeve.
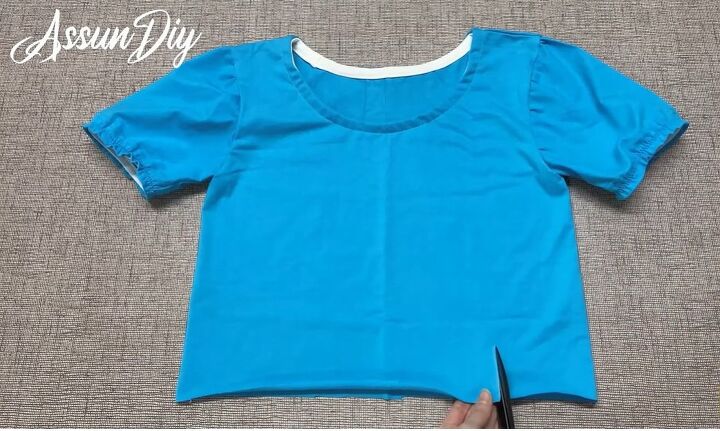
13. Make a cut
Make a cut at the bottom of the t-shirt that is in line with the edge of the neckline.
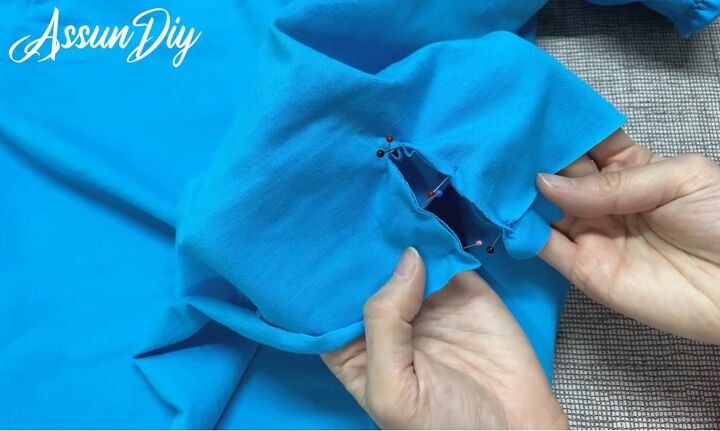
14. Sew on material
Cut a strip out of the excess fabric from before. Then pin this onto the inside of the v-shape made by the snip. Sew it down.
15. Sew on material
As we did with the bias tape around the neckline, fold the fabric over twice, pin it to the outside of the v-shape and sew it down. Snip off any excess fabric.
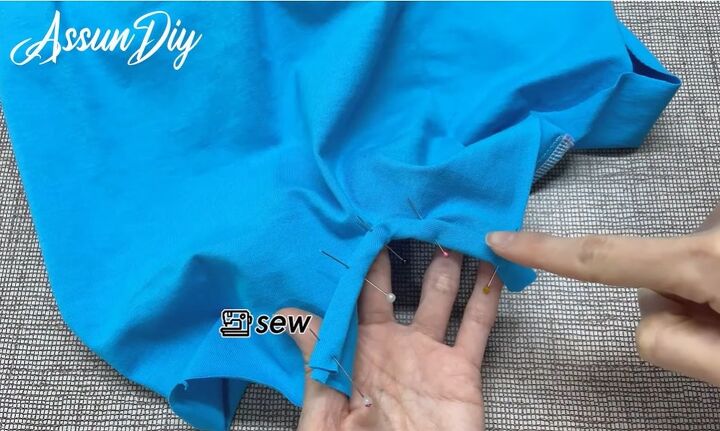
16. Sew in the center
Pinch the center of the fabric that you just sewed on and sew in the center as shown. Once done, gather the fabric all around the bottom of the t-shirt.
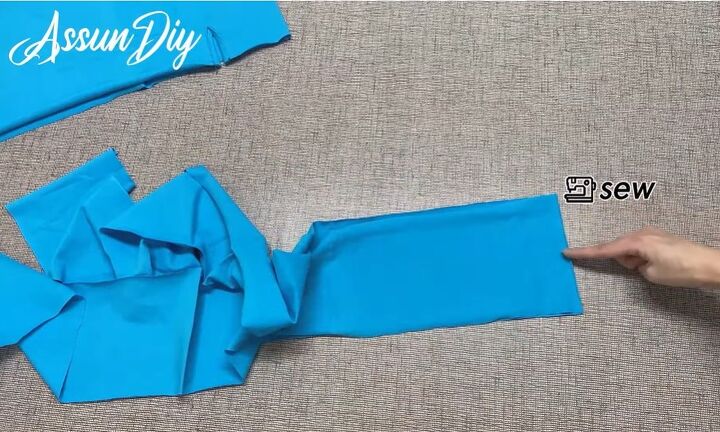
17. Create a long strip
Take the bottom of the t-shirt that you removed before, and cut the bottom hem off.
Then fold the remaining fabric in half lengthways and cut it along the bottom. You will then have two pieces.
Cut open one of the short sides of each piece, and you will have two long strips of fabric.
Join these together by sewing two of the short sides.
When done, cut the long piece so that it measures 160 cm (63 inches) in length.
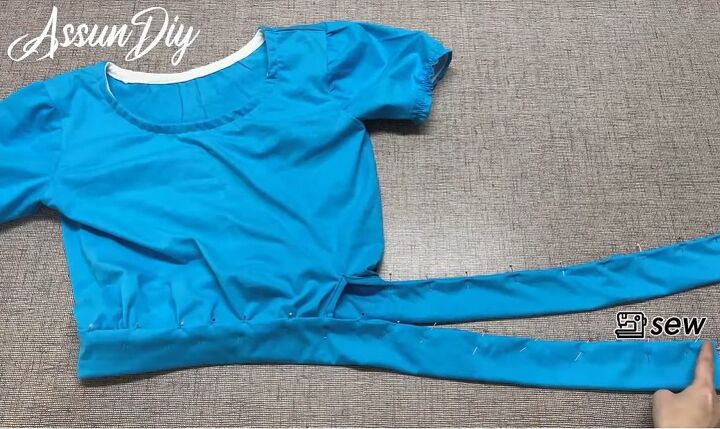
18. Connect to top
Mark the middle of the strip and then draw marks at 34 cm (13.4 inches) on either side of it.
Line the center up with the side of the t-shirt and pin the strip to the top up until the marks you made at 34 cm. Then sew down.
19. Fold and sew
Open the fabric up, make a little fold at the bottom and then fold it up again to the bottom of the top.
Pin the fabric in place and sew all around. Also, fold the additional material in half, pin it together and sew down. (For a clean finish, fold the sides inwards slightly before you pin them together).
Finish off by folding the fabric into a bow.
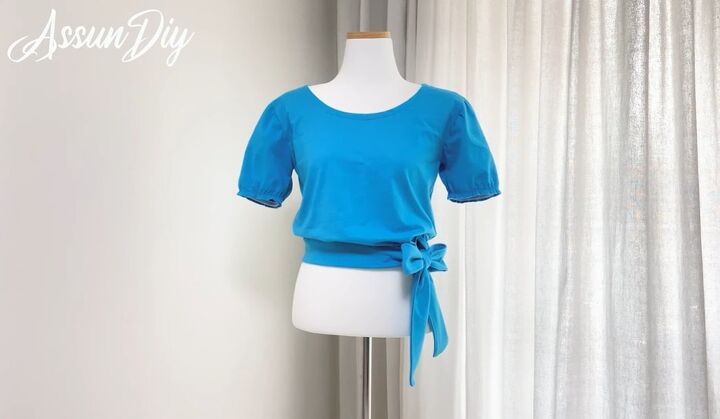
How to cut a t-shirt into a crop top
Here is the finished top. I love the puffy sleeves and the cute bow at the bottom.

This is such an amazing transformation. What started out as a plain top now looks totally different and I’m very pleased with the finished result!
If you give this DIY crop top a go, let me know in the comments!
The author may collect a small share of sales from the links on this page.


Comments
Join the conversation
Great idea for those awfully styled concert T shirts when the print is nice but the designs and fit are terrible for women.
What a great idea! Thank you for the detailed AND easy to follow tutorial, its one of the best I've seen! Definitely will try