How to Make a No-Sew DIY Crossbody Bag Out of Dollar Tree Potholders

In this tutorial, I’m going to show you how to make a DIY crossbody bag from four potholders that I got from the Dollar Tree. It’s so simple, super cheap, and there’s no sewing involved!
Let’s get started.
Best beaded fringe!
Tools and materials:
- Four potholders
- Hot glue
- Beaded fringe
- Cord
- Ribbon
- Chain
- Scissors
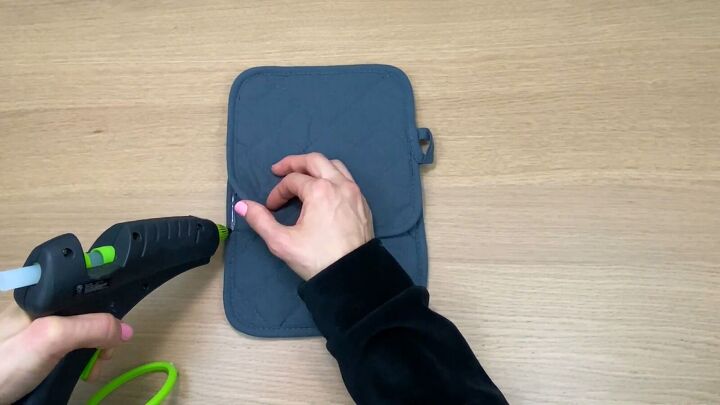
1. Glue the potholders together
Overlay two potholders and glue the corners together on both sides. One of the loops should be facing out, and the other should be facing up and will be hidden.
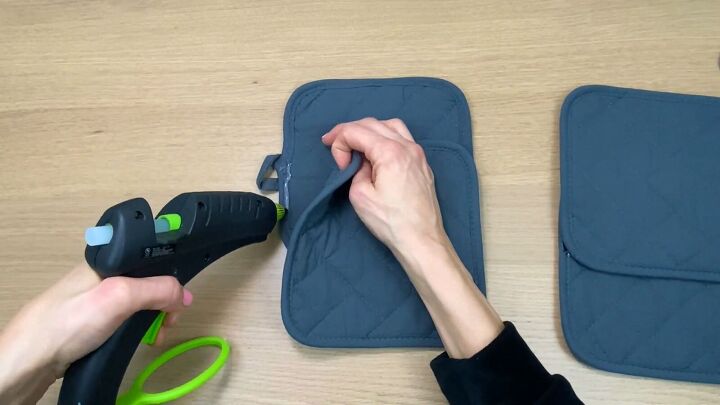
Then, repeat on two more potholders. You should now have two glued potholders.
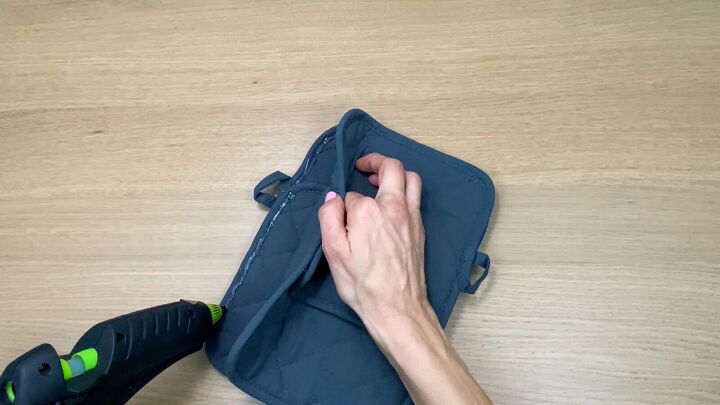
Now stack your potholders so that the loops on both potholders are on the outside, and glue them together along the sides and the bottom.
As you glue, make sure you’re pressing down firmly on all sides to give your bag the best hold.
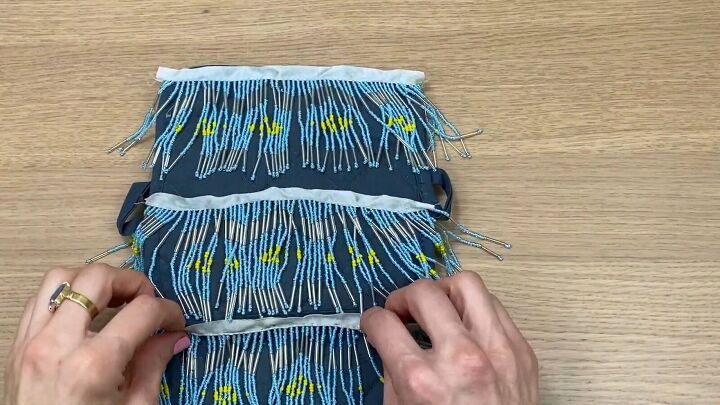
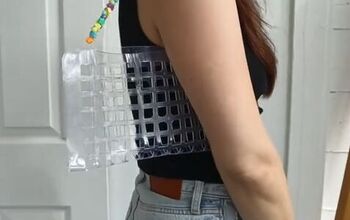
2. Add the beaded fringe
Now we’re going to add these fun beaded fringe details. Lay the beaded fringe over where you want them before gluing so you can spread them out perfectly.
I’m setting them one after the other with about an inch of space in between.
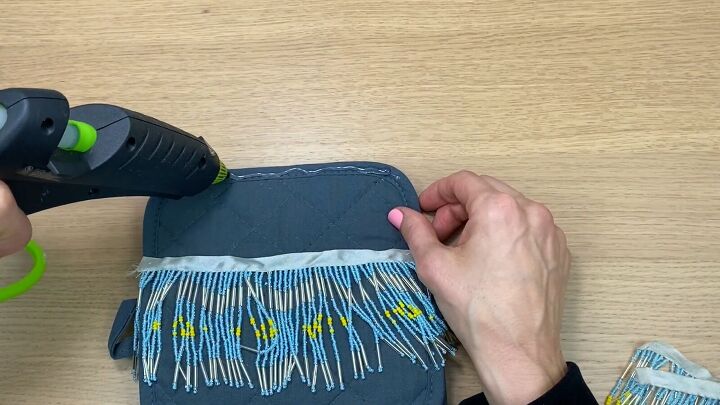
Once you’re satisfied with the position, glue them down.
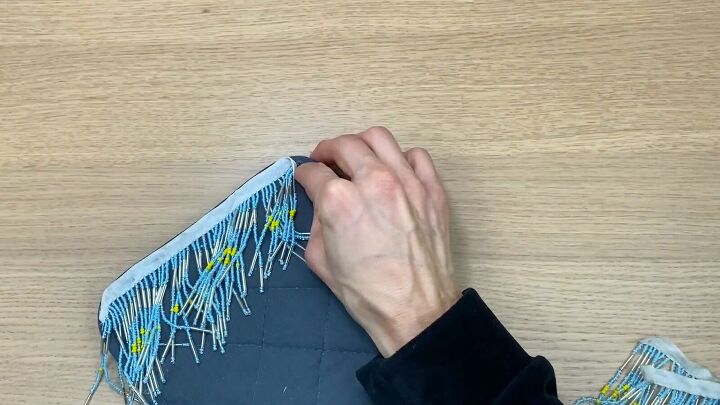
If the edges stick out, I like to roll them up underneath themselves and glue down for a cleaner, curved look. If necessary, I’ll snip off the ends.
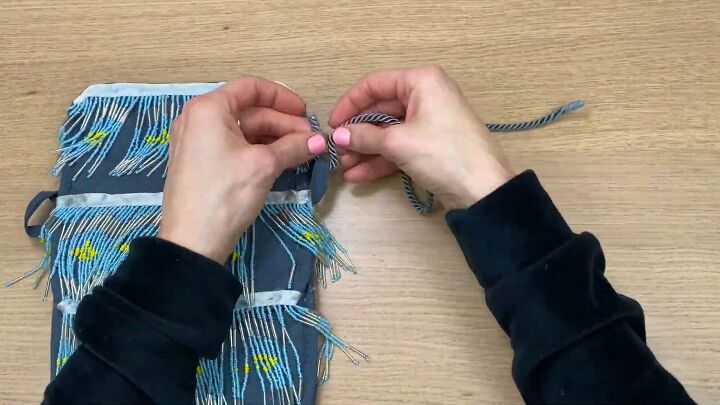
3. Add the cord
For the strap, I’m going to use this twisted piece of cord I have here. Thread it around the loop on one side.
Instead of tying it off, use some glue to attach the cord to itself for a stronger hold.
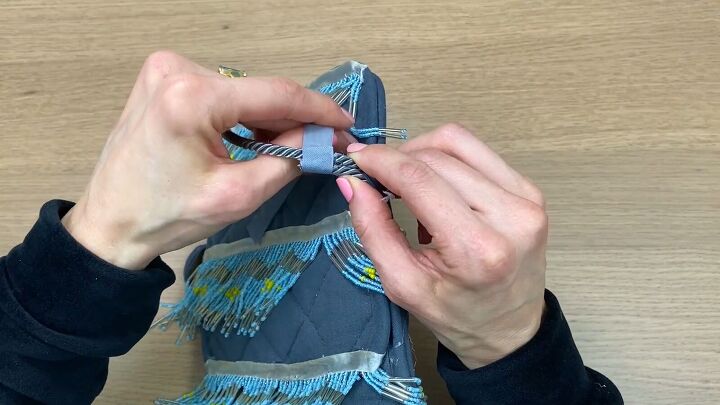
I decided to add some ribbon and tie it around where the cord meets for a more finished look.
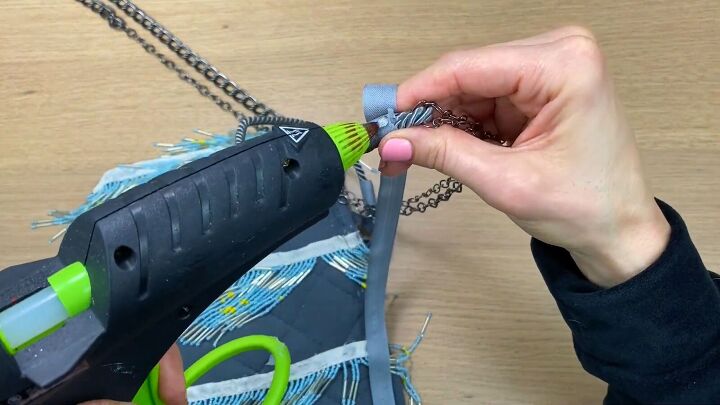
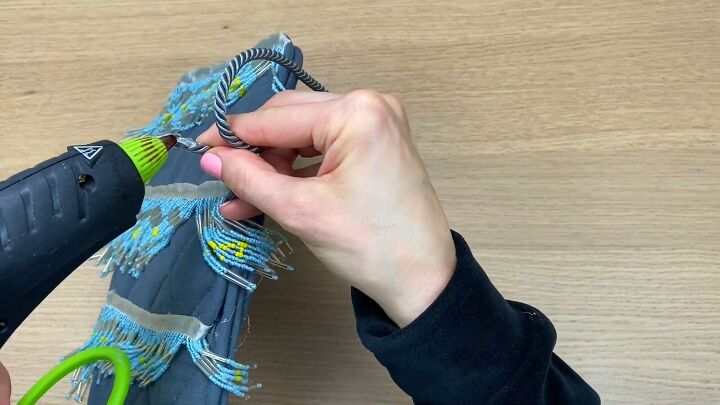
4. Add the chain
Next, attach a chain to the roped cord exactly the same way you attached the cord to the loop. Thread it through, glue, and then hide the connected ends with ribbon.
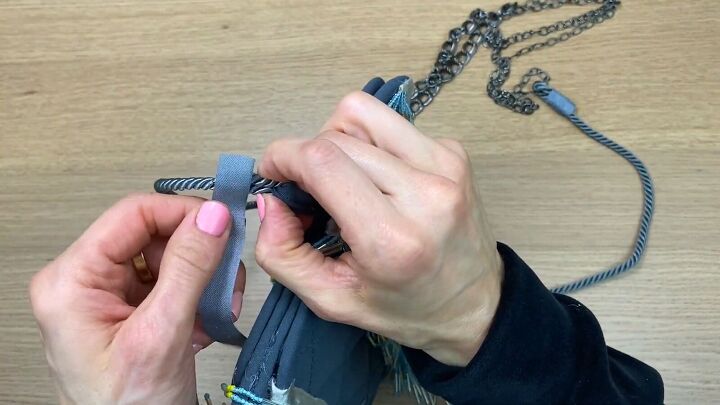
5. Repeat on the other side
Repeat steps three and four to add the cord and chain to the other side of the bag.
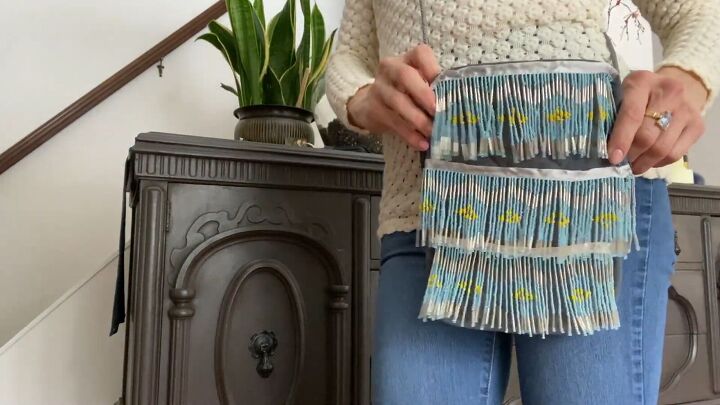
DIY crossbody bag tutorial
Here’s the finished product! If you liked this DIY crossbody bag tutorial, check out my other potholder tutorials and let me know what you think. Thanks for joining.
The author may collect a small share of sales from the links on this page.


Comments
Join the conversation
Love the finished product. 👏👏👏👏👏
Too cute and endless ideas/colors/styles.