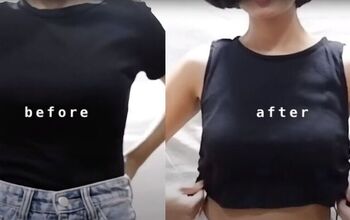
How to Cut a Shirt Into a Crop Top With a Cute Off-Shoulder Design

In this DIY, I will show you how to cut a shirt into a crop top! This DIY shirt to crop top is pretty unique as it’s also an off-shoulder design. So, if you’re into upcycling like me and don’t want to throw out any clothes that you can easily transform into something chic and stylish, then page down!
Tools and materials:
- Oversized shirt
- Measuring tape
- Sewing machine
- Matching thread
- Scissors
- Pins
- Elastic
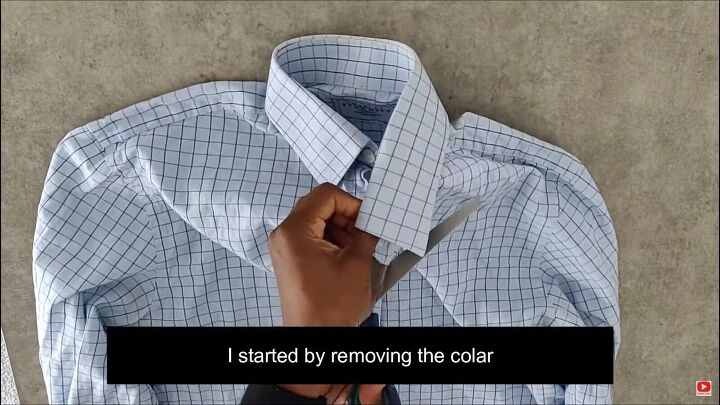
1. Remove the collar
Start by removing the collar by cutting along the seams, as shown. I then cut the middle part of the shirt and made a mistake; I wanted a different style, but there’s always plan B, right?
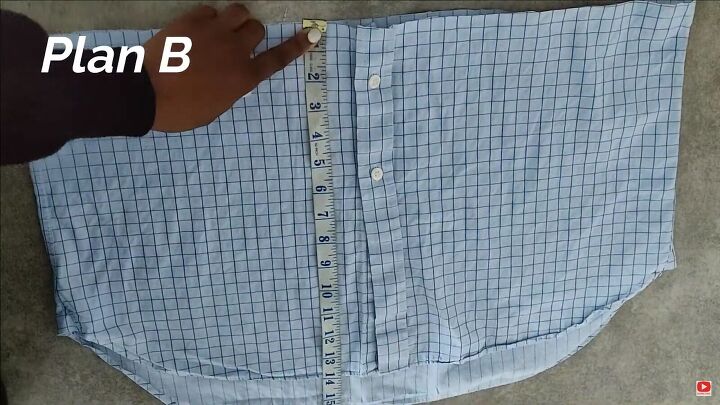
2. Crop the shirt
So, for my plan B, I simply measured from my chest how long I want the crop top to be. Then, cut the bottom half of the shirt accordingly.
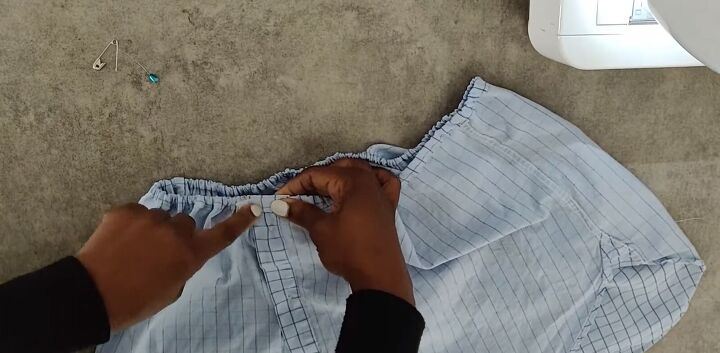
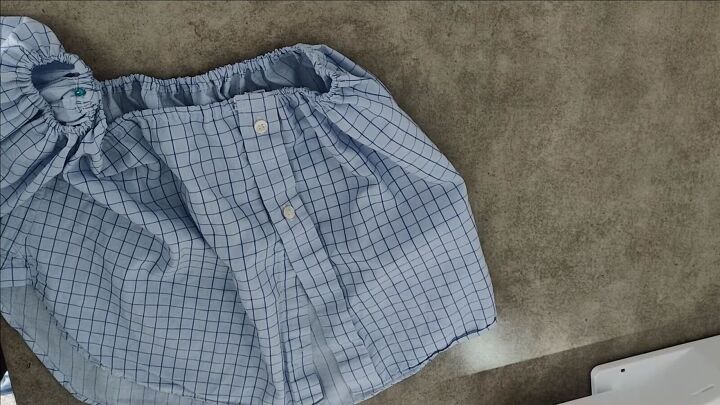
3. Create the channel
Fold the top edge inward. Pin and sew all around. This will be the channel for your elastic. Make the channel slightly bigger than the elastic’s width so it fits snugly.
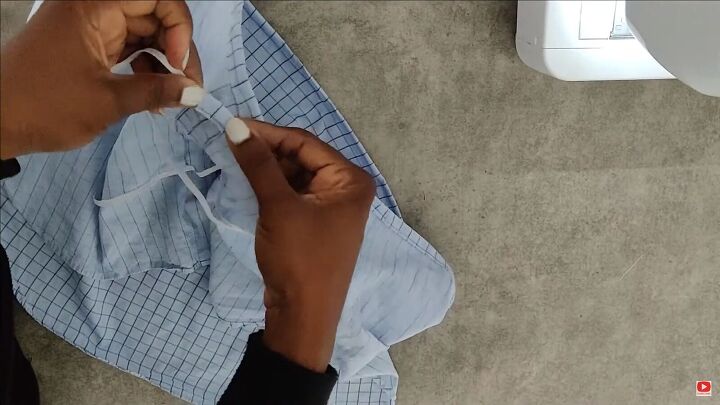
4. Feed the elastic
Once you have your channel, feed through the elastic through the openings using a safety pin.
5. Close the opening
Overlap both sides’ openings, so the button plackets align and stitch to secure. Ensure that you stitch the ends of the elastic, too.
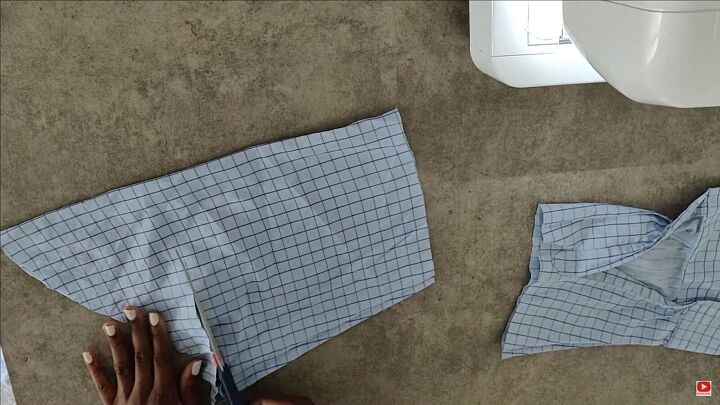
6. Cut the sleeves
I did not go with any particular measurements for this step. I just eyeballed how long I wanted the sleeve to be and cut out the cuff part and curved armhole area.
Now, repeat the same for the second sleeve and use the first as a guide. Like this, both sleeves will be symmetrical.

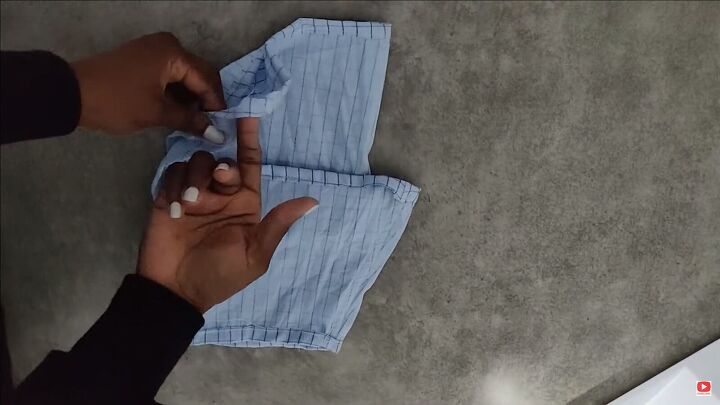
7. Hem the short ends
The elastic will be placed on the widest part of the sleeves, so go ahead and hem the short ends with a neat, double fold.
8. Create channels
Now, create a channel on the wide part. Again, the channel should be big enough to fit the elastic through. Be sure to leave an opening.
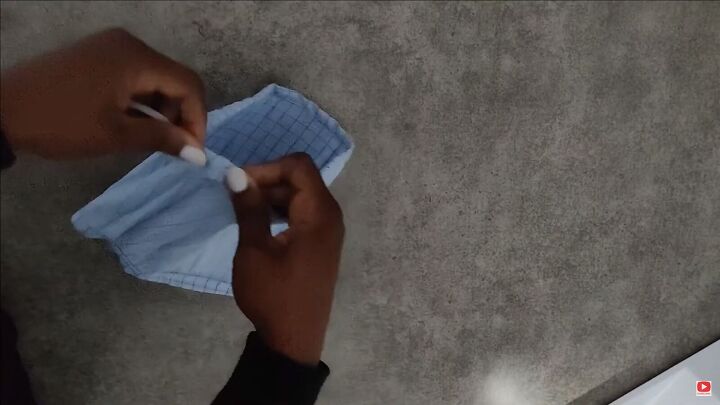
9. Place elastic
Just like we did for the top part of the DIY shirt to crop top piece, do the same for both sleeves. Feed in an elastic through the opening of the channel.
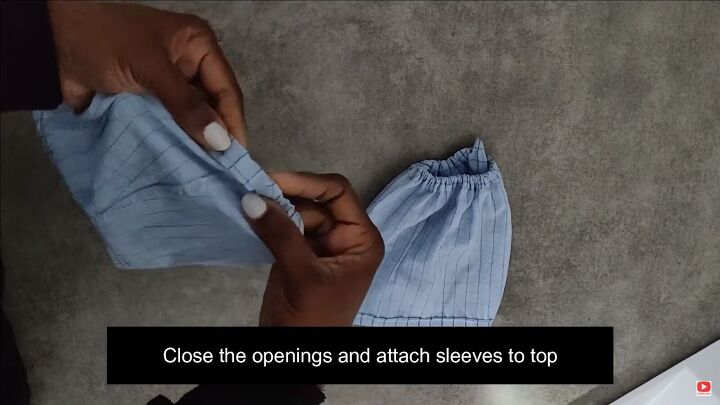
10. Assemble the crop top
Now, close the openings and attach the sleeves to the top.
Place the elastic part on top and align the sleeves’ seam to the bodice’s side seam. Then, sew about an inch down on either side.

How to cut a shirt into a crop top
This is how you cut a shirt into a crop top! It’s so easy to do this; even beginners can take on this project. I hope you enjoyed this DIY shirt-to-crop-top tutorial and that you seriously consider this as your next DIY. Good luck!
The author may collect a small share of sales from the links on this page.


Comments
Join the conversation