How to Make an Off-the-Shoulder Crop Top Out of an Old Shirt

I thrifted this vintage button-up shirt and turned it into a chic ruffled DIY off-shoulder top! This project was quick, simple, and super-duper easy. I can’t wait to show you how to make this off-shoulder crop top, so let’s get this thrift flip underway!
Tools and materials:
- Oversized button-up shirt
- Ruler
- Scissors
- Sewing machine
- Pins
- Paper
- Pen
- Measuring tape
- Matching thread
- Elastic

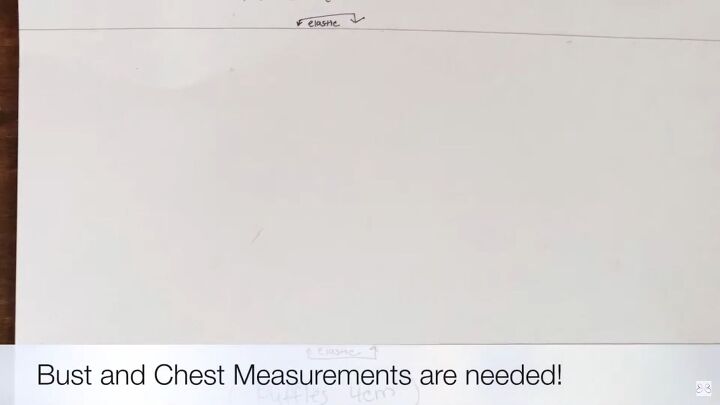
1. Make the pattern
For the pattern, you just need to draw a rectangle. Mark out your bust/chest measurement (and add more to the measurement if you want a ruffled effect) against how long you want the top to be.
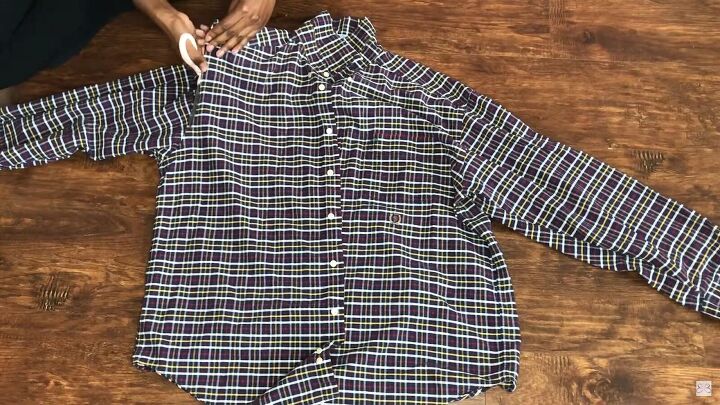
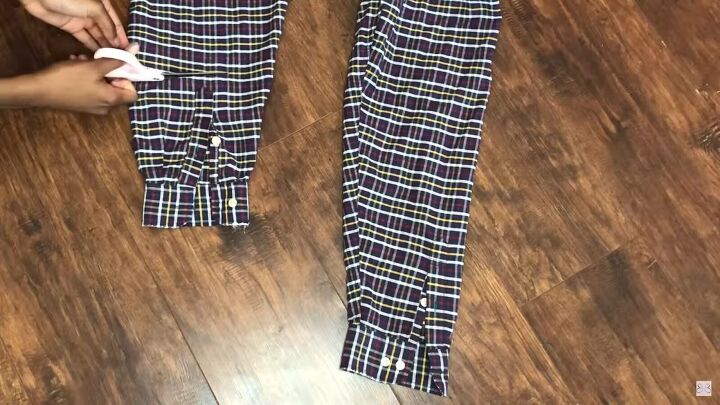
2. Cut the shirt
Let’s deconstruct the shirt. The first thing you’re going to do is remove the sleeves from this button-up shirt. Cut right along the seam line, as shown.
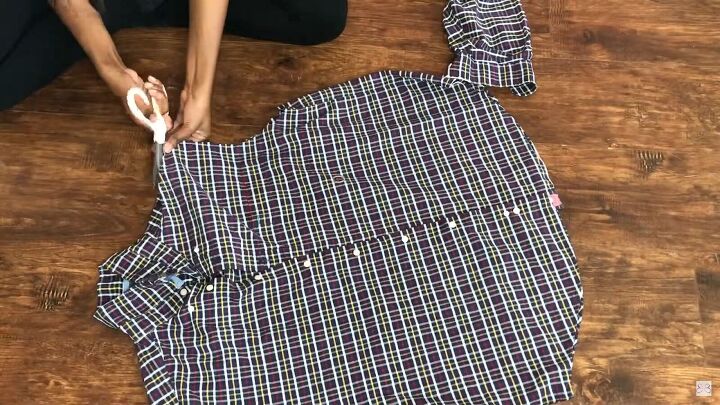
Then, cut along the shoulder seams and around the collar.
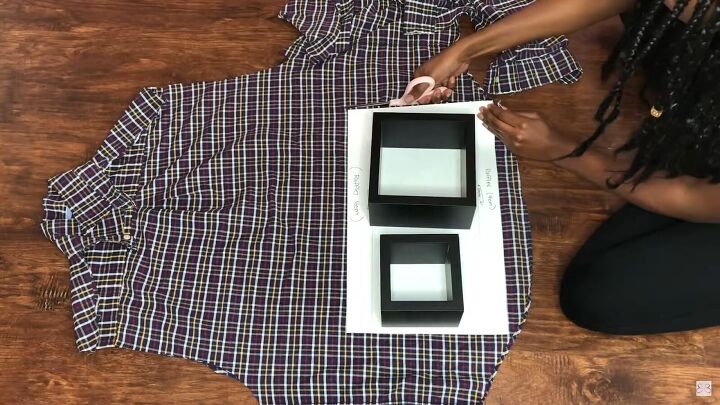
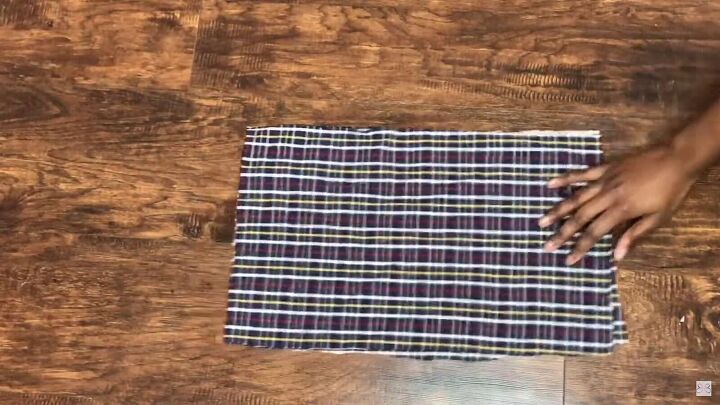
Place your pattern on the shirt’s back part and cut accordingly. It's best to use the back part because there's no opening or button placket in the way.
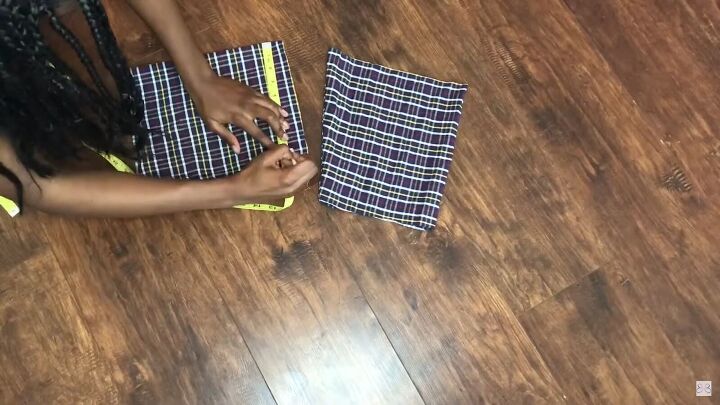
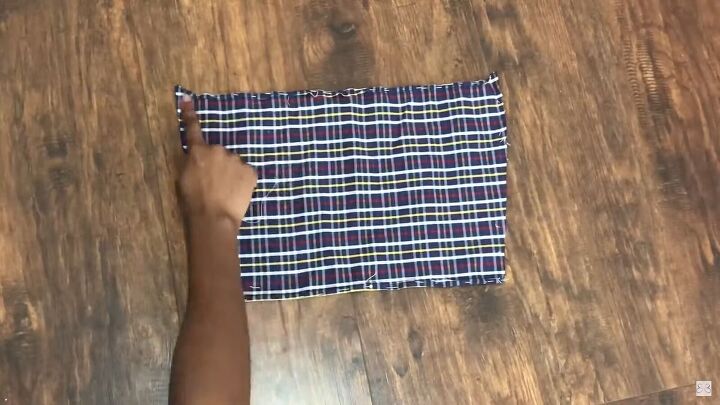
3. Sew the pieces
Place both pieces right sides together and connect them with a straight stitch.
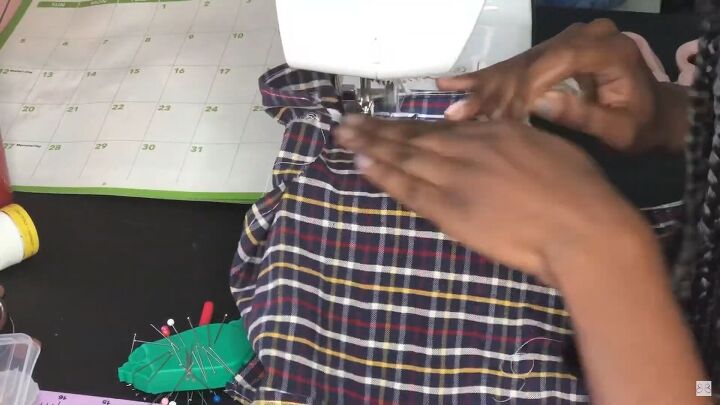
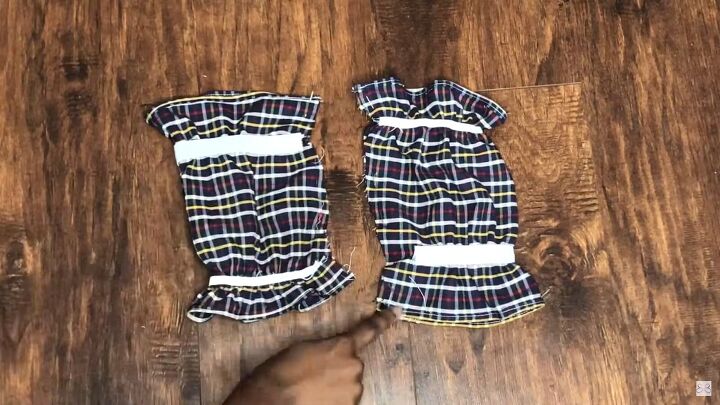
4. Sew elastic
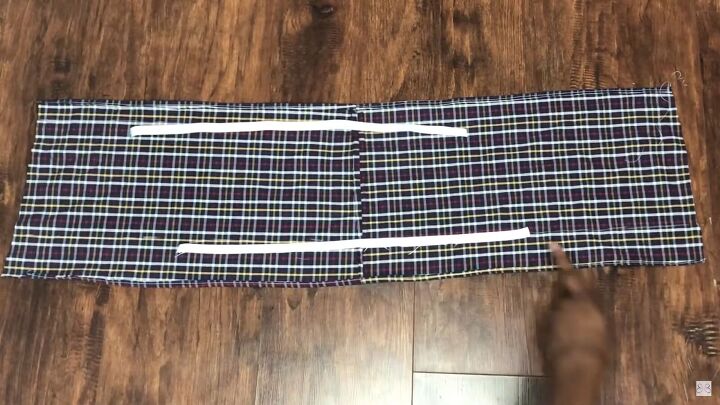
Measure two pieces of elastic that will fit around your chest and waist.
Sew them along the top and bottom with a zigzag stitch. Stitch it with around 4cm (1.57 inches) seam allowance on either side. Pull the elastic while stitching to get that lovely ruffled effect.
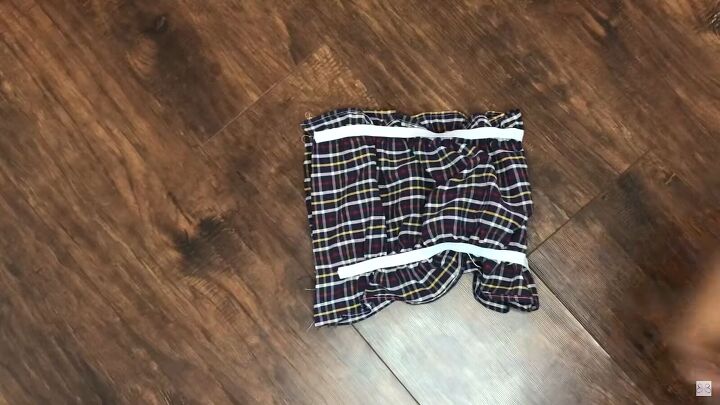
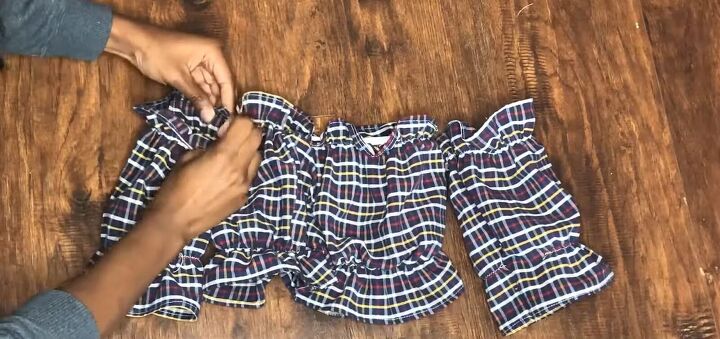
5. Assemble the top
Now, it’s time to put this DIY off-shoulder top together. Fold your piece in half and stitch the side seams closed with a straight stitch.
You can either leave this top as is, which is super cute. Or you can opt for the sleeve version, which I’ll show you how to do next.
6. How to add sleeves (optional)
Using the original sleeves of the shirt, cut the top and bottom part, removing the cuff area completely.
If the sleeves are somewhat oversized, measure and cut the sides accordingly so they will fit your arms better.
Hem the top and bottoms of the sleeves.
Cut two elastic pieces to size (should be your arm’s circumference) and sew them to the top and bottom of the sleeve pieces.
Fold each sleeve, right sides facing, and close the sides with a straight stitch.
Now, attach the sleeves to the sides of the top. Do a straight stitch on the side to secure it in place.
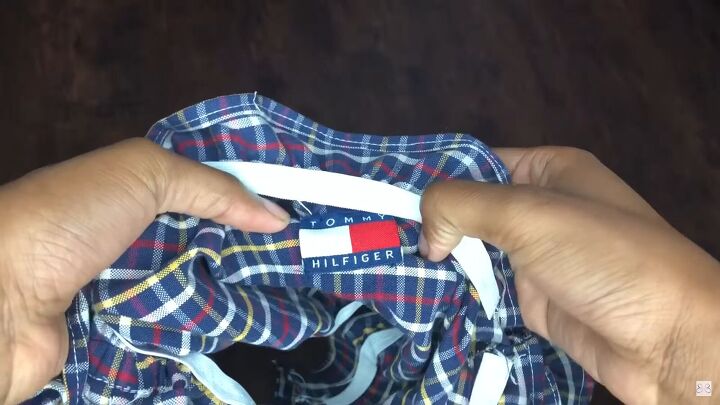
If you want to differentiate the front from the back, you can restitch the original label.


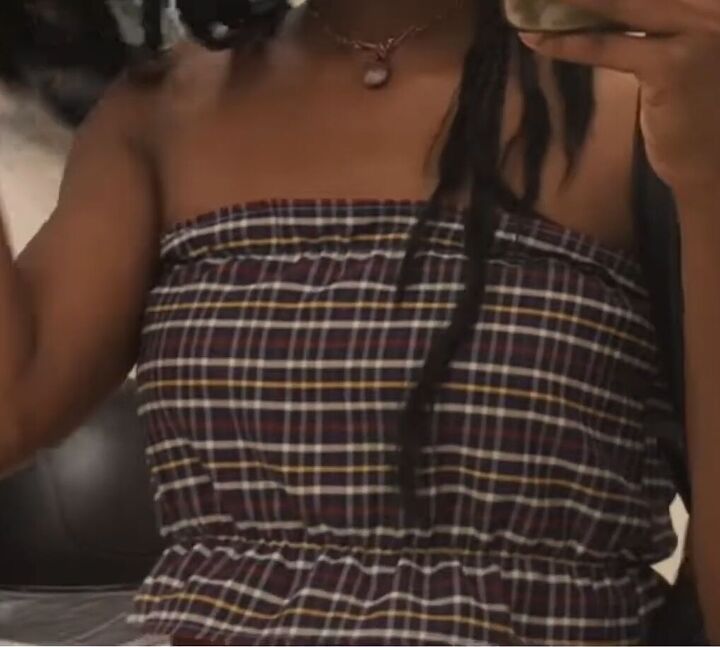
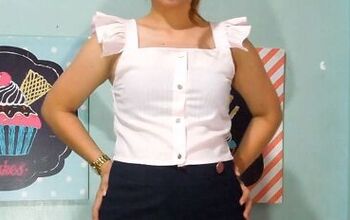
How to make an off-the-shoulder crop top
Here's the final look, from basic to stylish, in a few steps! I hope you enjoyed this project and you have some inspo on how to make an off-shoulder crop top.
Thank you for joining me; I love sharing inspirational DIYs. Let me know what you think of this DIY off-shoulder top in the comments below.
The author may collect a small share of sales from the links on this page.


Comments
Join the conversation