Thrift Flip Ideas: Old Dress Transformed Into a New Dress & Cute Top

If you haven't guessed yet, I adore thrift flip ideas! Making something old into something new is a real pleaser. Today, I’m going to show you how I took a thrift flip dress and turned it into both a DIY dress and DIY top.
Tools and materials:
- Old dress
- Bias binding
- Pins
- Seam ripper
- Sewing machine
- Chalk or pencil
- Ruler
- Measuring tape
- Thread
- Scissors
- Iron
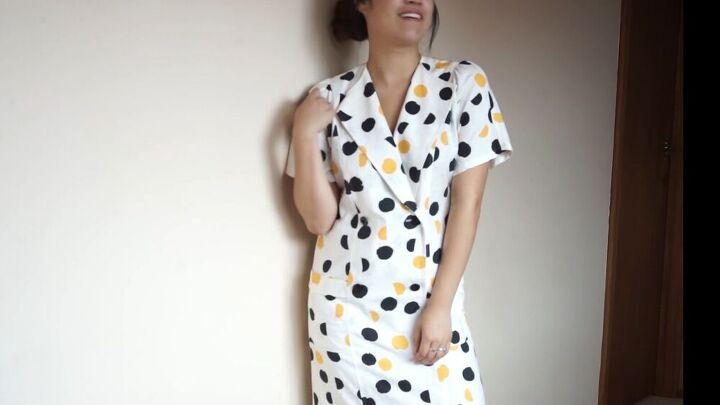
This thrift flip dress kind of has a lovely vintage feel to it, so it’s really a one-of-a-kind look.

1. Disassemble the DIY dress
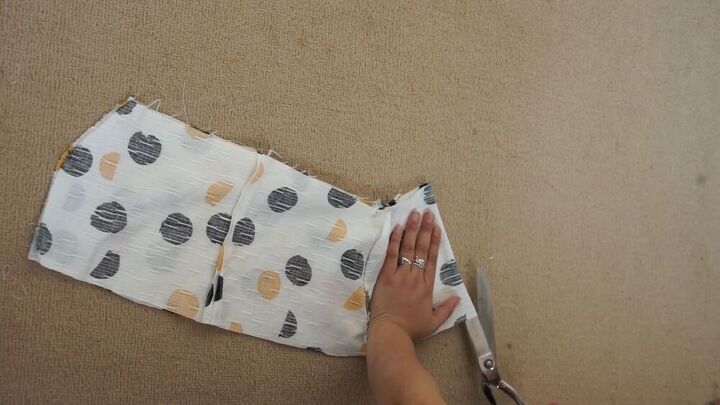
First, with a measuring tape, mark where you’d like to shorten the dress, then cut.
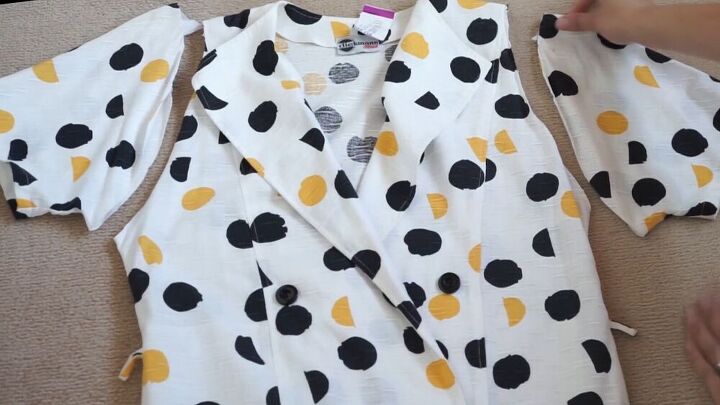
Also, cut off the sleeves.
I labeled the pieces with letters:
- A is the bottom offcut from the dress, which will be used to make the sleeves of the new top.
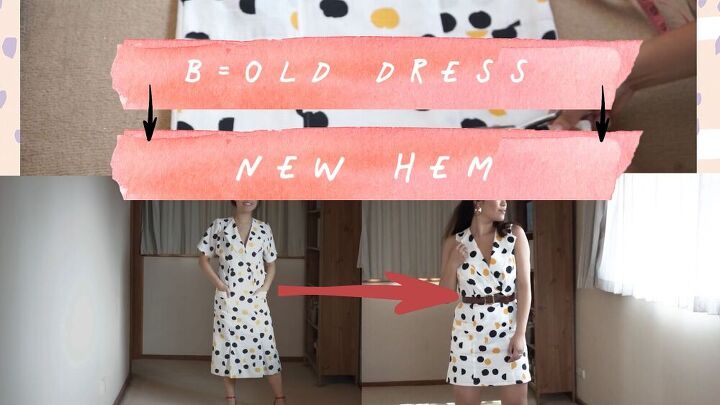
- B is the remainder of the dress, which will now have a shorter hem.
- C is the old dress sleeves, which will be turned into the center front of the new top.
- D is the remaining offcut from the hem of the old dress, which will be turned into the back bodice of the new top.
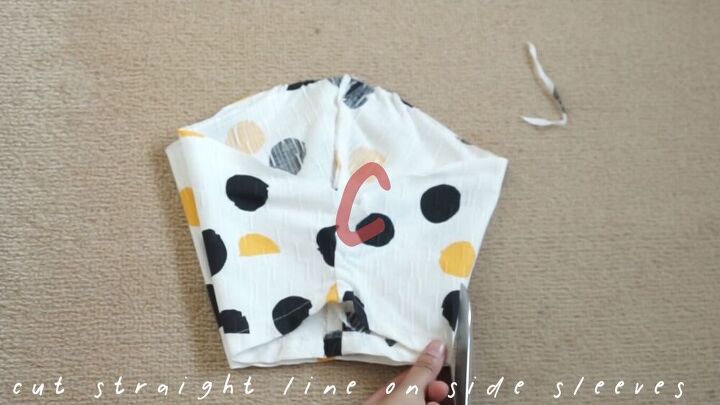
Place the cut sleeves (C) on top of each other and cut along both sides, as shown. This should create four pieces.
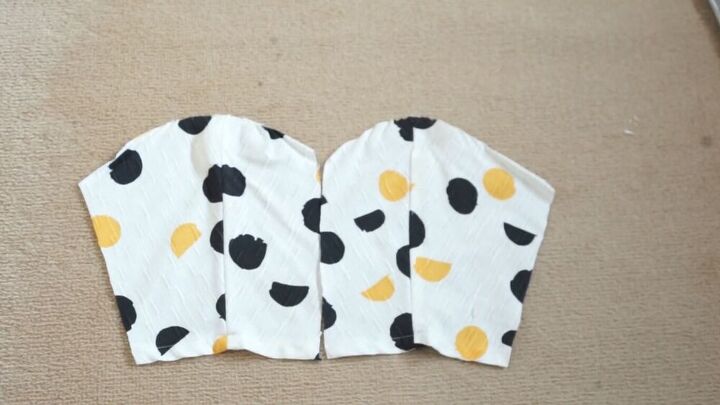
The two bigger shapes create the bodice for the top. The polka dots don't line up, but I think it still looks fine.
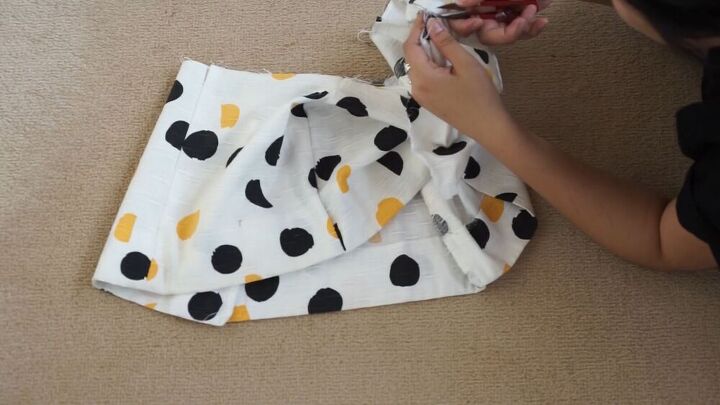
Next, unpick the seam of the bottom offcut from the dress (A), and make it into one long piece.
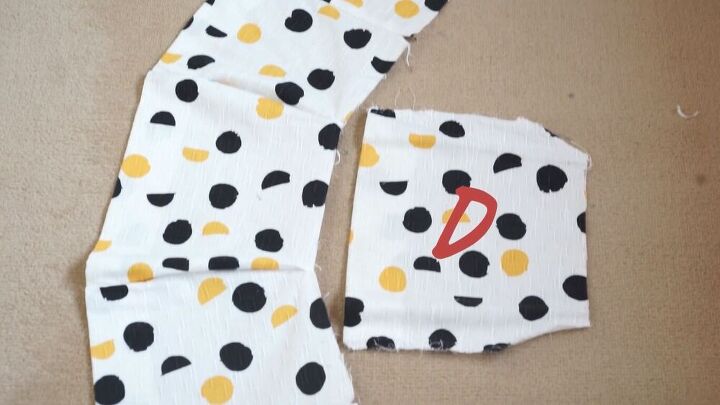
Cut a section off this long piece to use as the back of the top (D).
2. Make the top
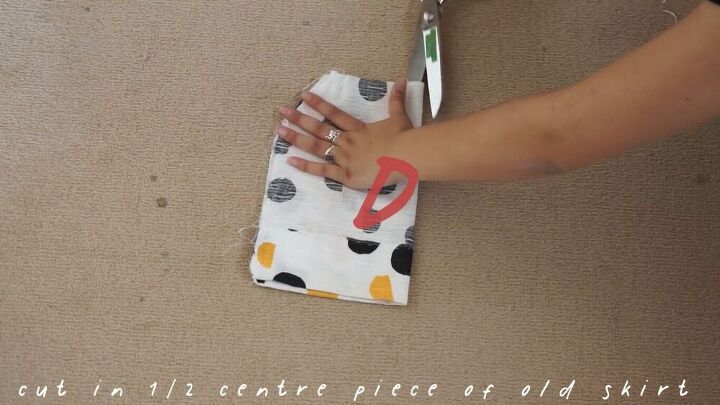
Fold D in half and cut along the fold. This will make the back bodice.
Cut the hem off A, then fold in half and cut along the fold. These pieces will make the flouncy sleeves.
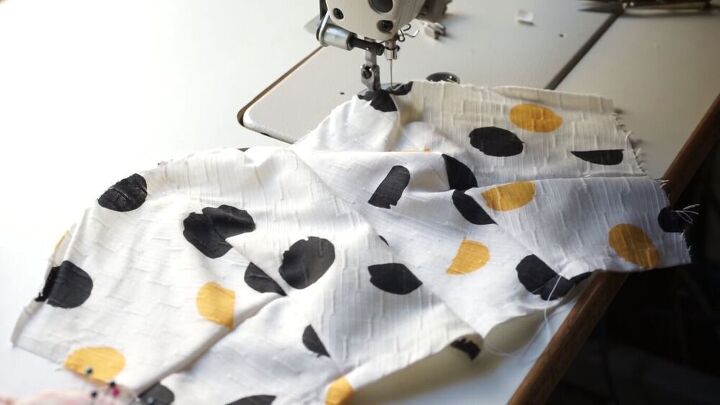
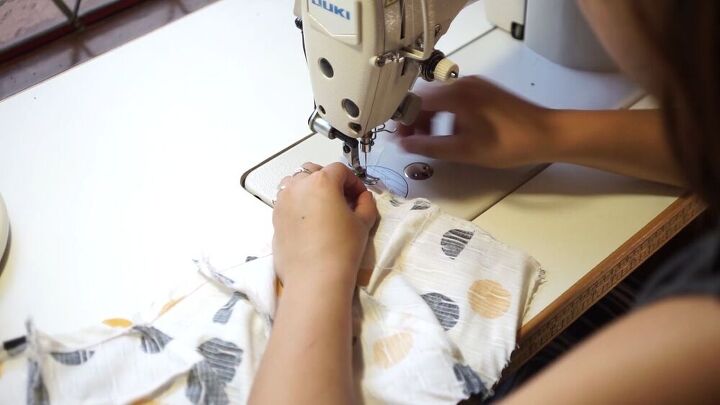
Stitch C together at the raw edges to create a front bodice piece for the top.
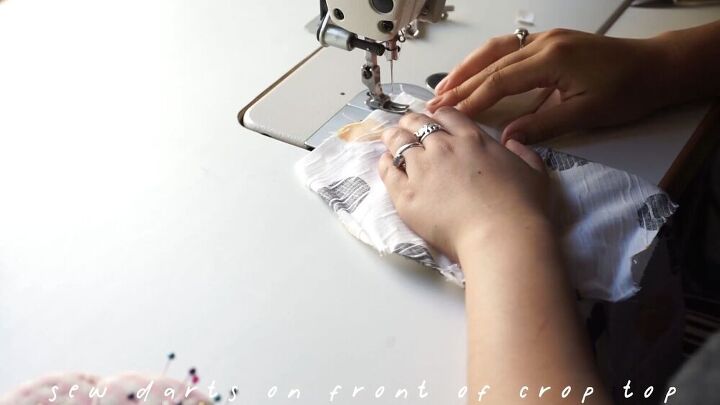
Create front darts to give the front part some shape for the bust area.
Cut D so that it’s the same width and length as the front.
Overlock the raw edges on both C and D, then stitch the two pieces together at the side seams, and hem.

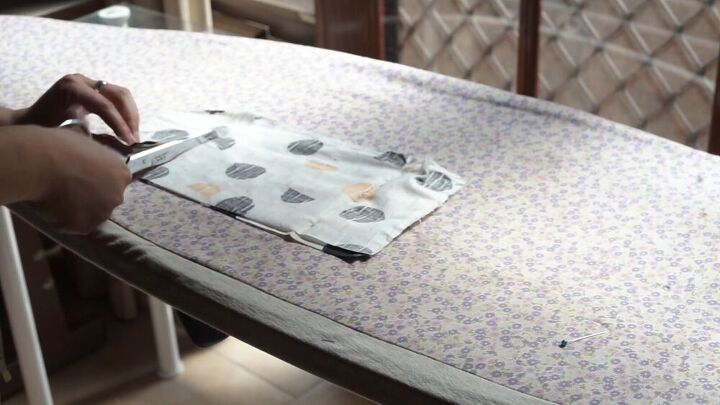
Now, add bias binding to the sleeves, back, and front panel for decoration.
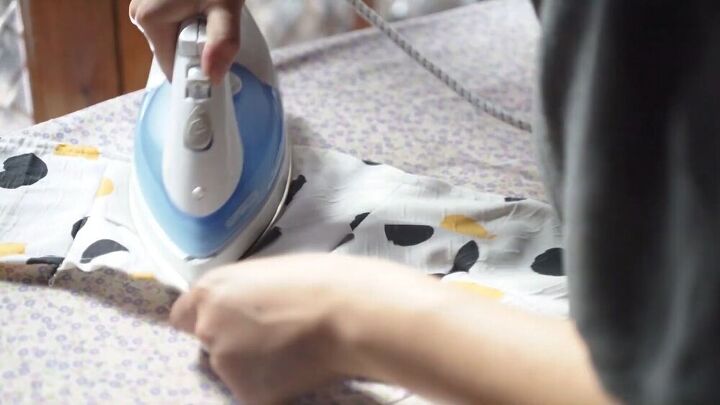
Press the binding when done.
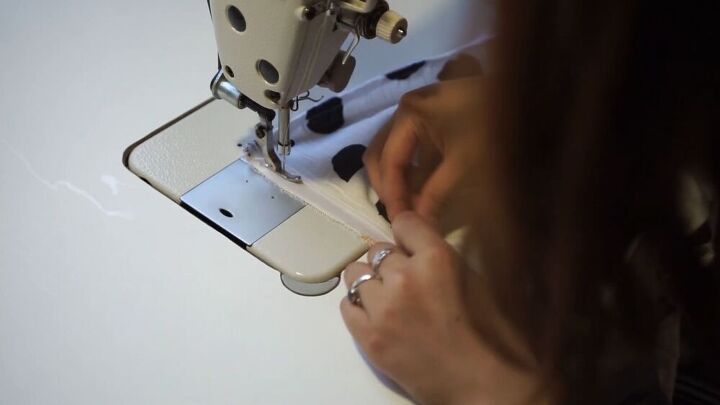
Attach an open-ended zipper to the back panels.
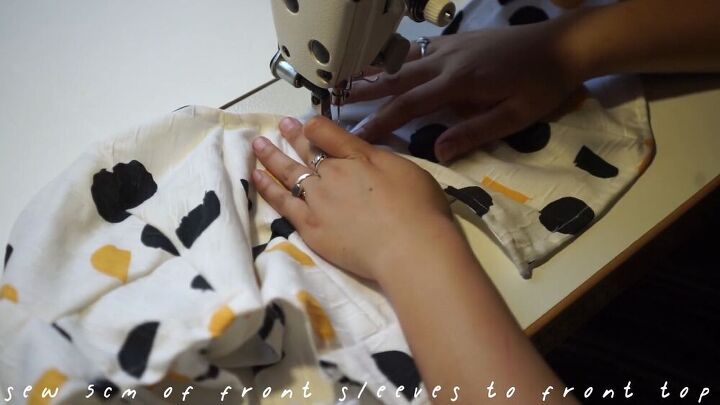
Attach the floaty sleeves to the front and back bodice. You only need to sew 5cm (1.96 inches) of the edges of the sleeves to both the edges of the front and back of the top.
3. Modify the DIY dress
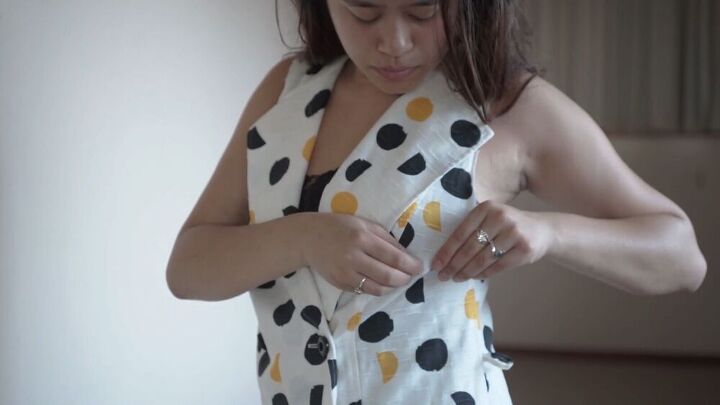
Pin darts around the armhole so that the dress looks more fitted, modern, and chic. To do this, simply put the DIY dress on, and pin accordingly. The dress should look fitted around your bust.
Take off the dress and measure the pinned darts to make sure they are the same size and symmetrical.
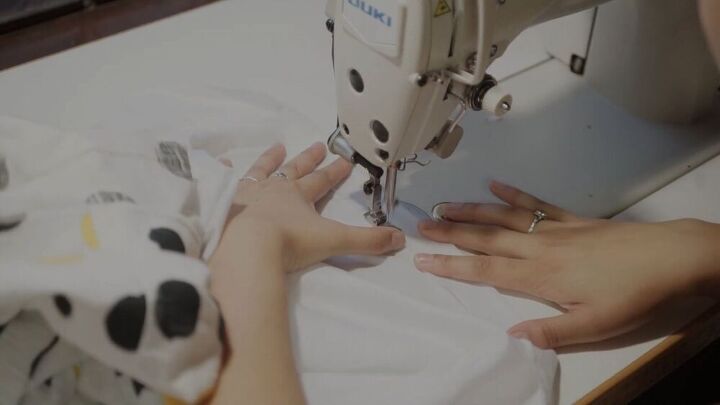
Overlock the raw edges and lining of the dress. Now, hem the fabric and lining of the DIY dress at a 3.5cm (1.37 inches) seam. The lining should be shorter than the main fabric.
Then, sew the darts.
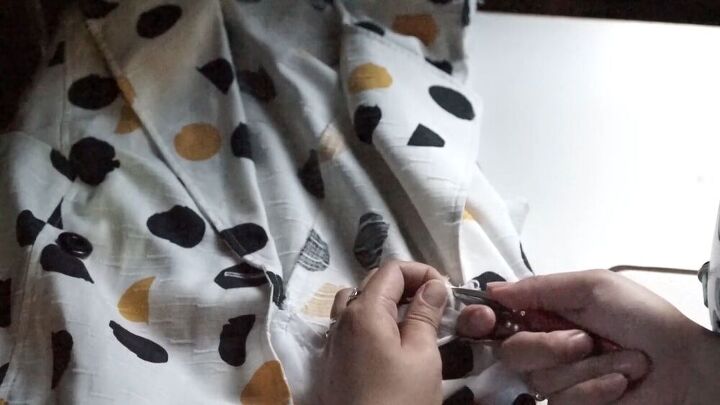
If your dress has belt loops, remove those if you’d like to. I won't be making a belt for this dress, so the belt loops aren't necessary.
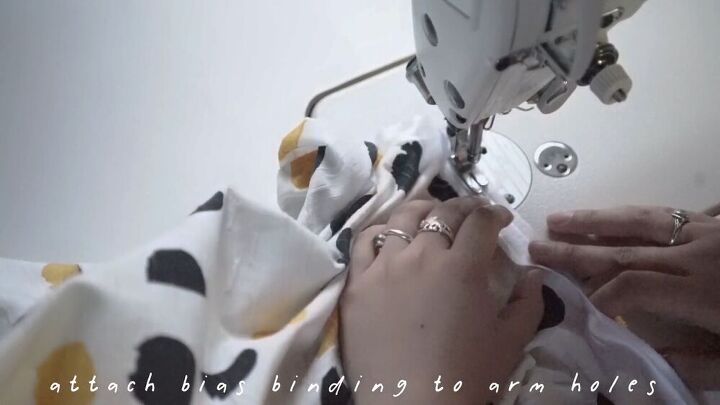
Sew on some bias binding to the armholes for a clean finish.
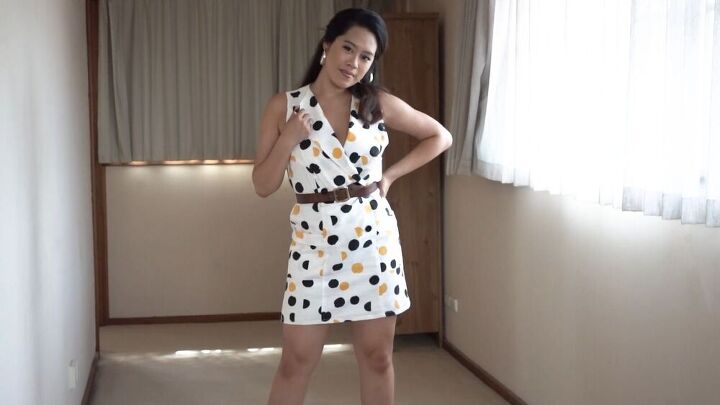
DIY dress
That’s it! This is the end of this incredible transformation. The thrift flip dress looks so snazzy! What do you think of these thrift flip ideas?

DIY top
Two different pieces from one thrifted dress. Thanks for joining me, and happy thrifting! Let me know what you think of this double transformation in the comments below.
The author may collect a small share of sales from the links on this page.


Comments
Join the conversation
Both items are fabulous! Great job!
Yes great job. Lovely