Make a DIY Purse From a Cereal Box

Before you go ahead and throw away your empty cereal box, think again! You can make so many things from a cereal box, and one of these things is literally going to blow your mind. Ready? You can make a DIY purse from a cereal box. Let me show you how to make a DIY purse in under an hour with this clever and crafty tutorial. Are you ready to make this one-of-a-kind DIY purse? Let's go!
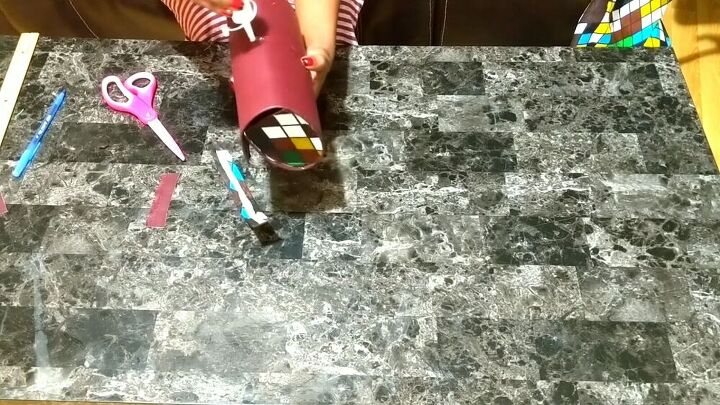
Tools and materials:
- Pen
- 2 different fabrics
- Cutter knife
- Magnetic button
- Glue
- Cereal box
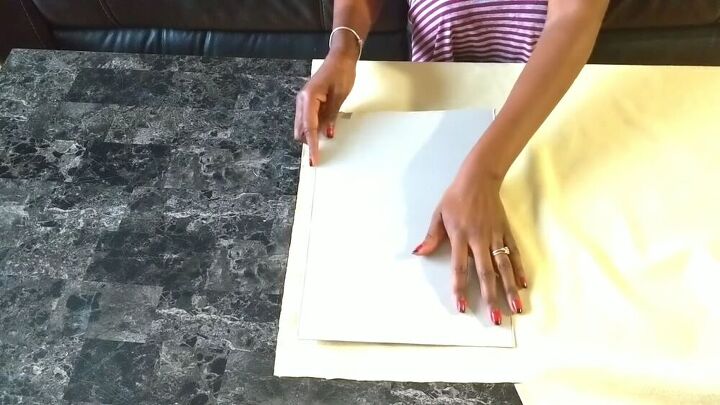
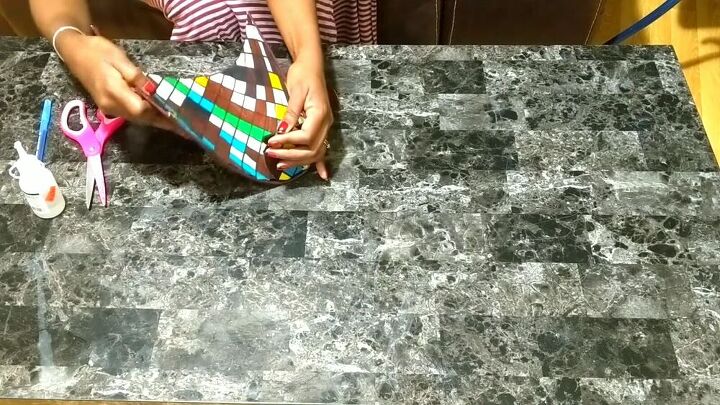
Glue the fabric
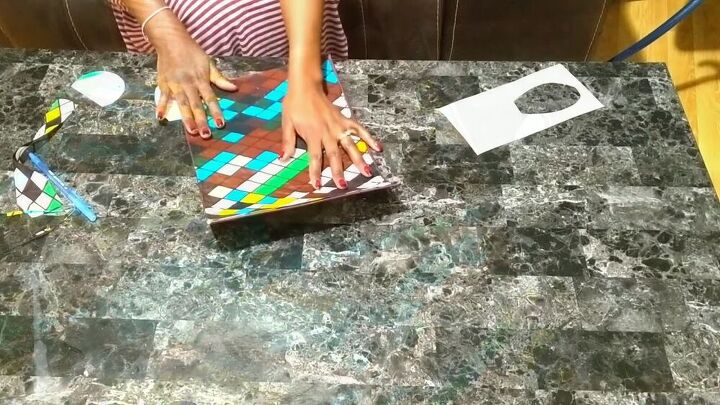
Cut out your cereal box and lay the front piece on some fabric of your choice. Cut around the fabric with a bit of seam allowance.
Add glue to one side of the cardboard and carefully stick it down on the fabric. Press it down and smooth it out so there are no bubbles or bumps.
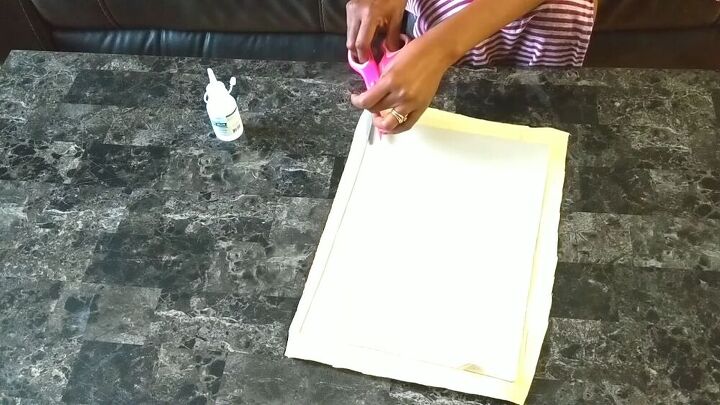
Snip the corners of the fabric, as shown.
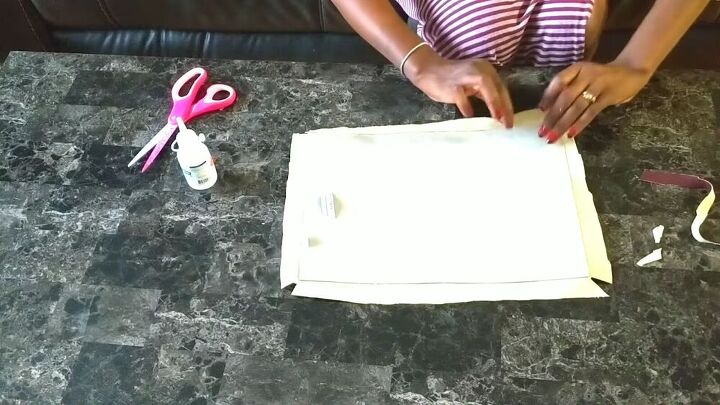
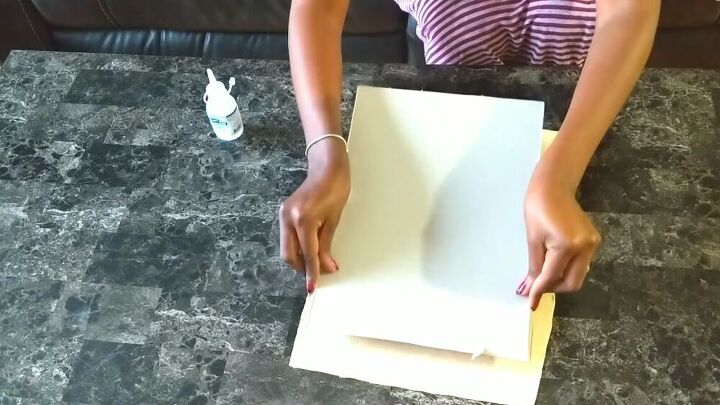
Then, add some glue to the fabric and cardboard. Fold the fabric over the cardboard so that it sticks down onto the edges.
TIP-
Even out the glue with a separate piece of cardboard.
To cover the other side of the cardboard, take another fabric of your choice and repeat the process. However, this time, don't cut a seam allowance; cut as close to the edge as possible. Glue it down accordingly.
Make the sides
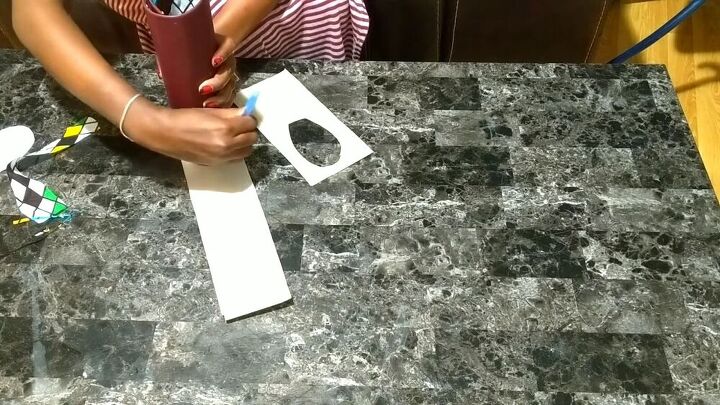
For the sides of the easy DIY purse, simply roll the cardboard and trace out the circular shape, as shown.
Cut out the shape and glue the fabric onto it. When one side is completely glued, fold the remaining fabric over and glue the other side.
Snip any excess fabric afterward.

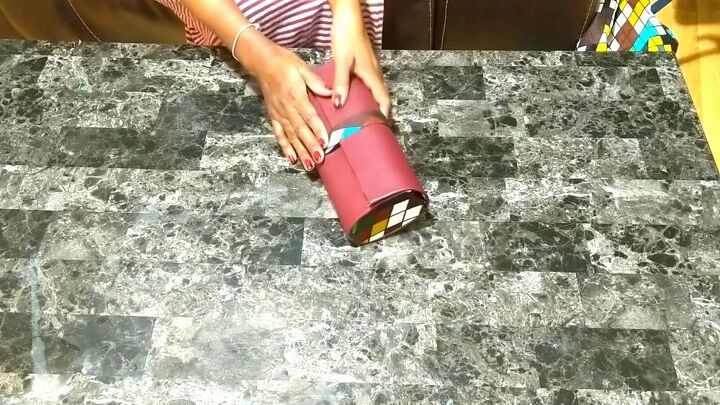
Glue the sides
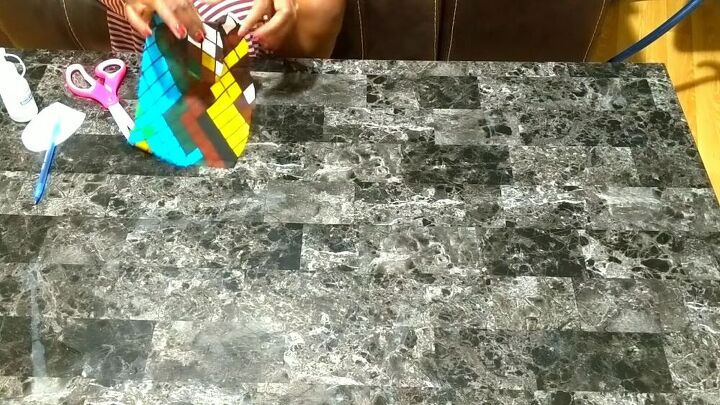
To glue the sides of the DIY purse, simply open the main piece and add glue to the edges of one side.
Attach the side piece, roll the glued side over, and repeat the process on the other, unglued side. Repeat the process for the whole circumference and on the other side, too.
TIP-
To see exactly how I do this, skip to the 2:00 minute mark on my video.
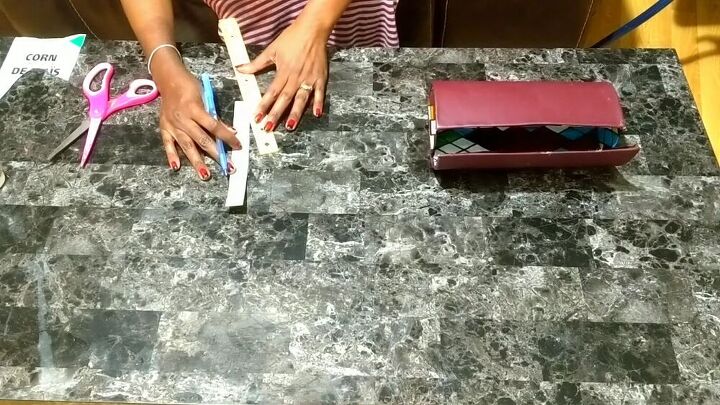
Make the strap
Now, measure a strip of cardboard that will be placed above the top side of the folded purse to the bottom, where the magnetic button will be.
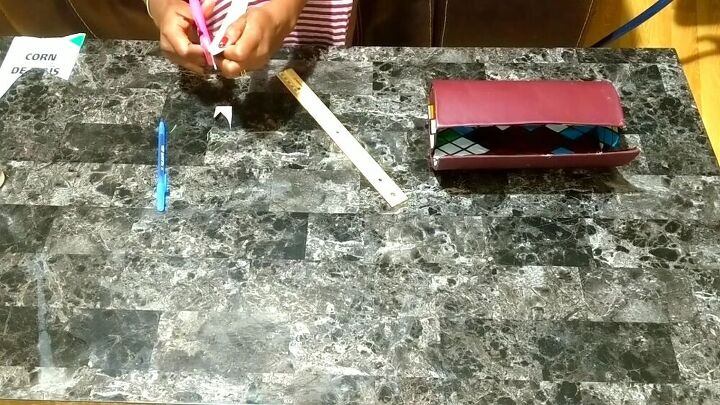
Cut the cardboard strip accordingly and make a pointed edge on one of the ends.
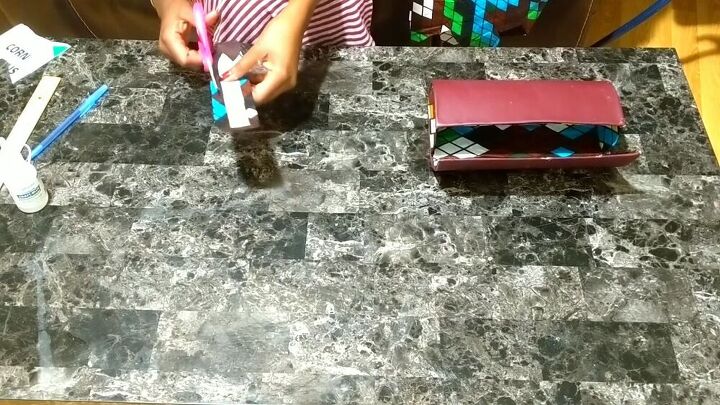
Then, glue the strip on some fabric and be sure to cover both sides.
Assemble the easy DIY purse
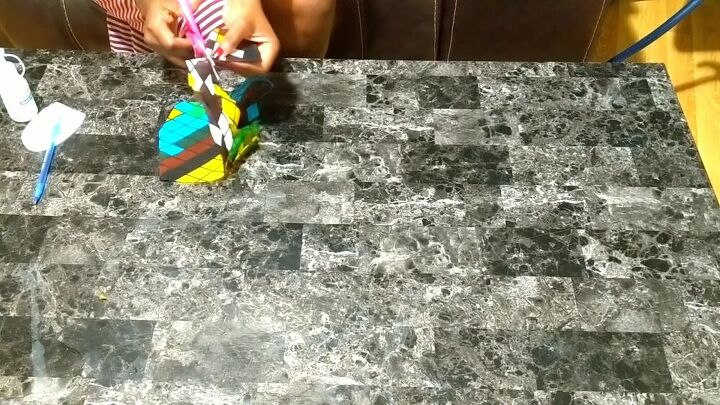
Now, stick the strap onto the purse, making sure it's centered with the arrow-like end sticking out from the edge.
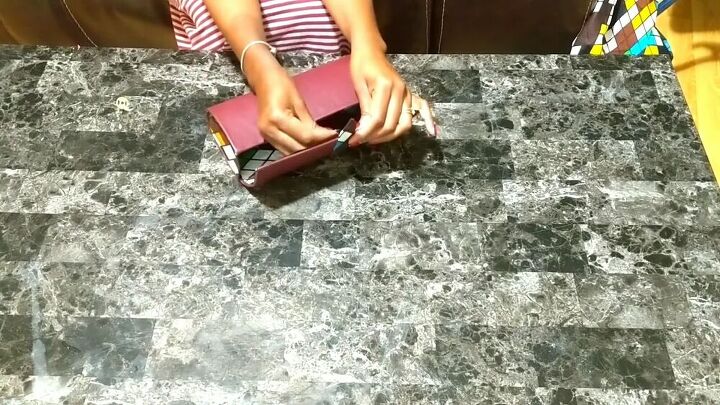
Then, stick one part of the magnetic button on the end of the strap that's sticking out.
Finally, stick the other part of the magnetic button on the purse itself, making sure it's centered.
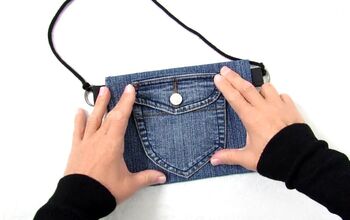
That's all there is to making this incredible and simple DIY purse. No one would ever know that it's made from the cardboard of a cereal box; that's how good it looks!
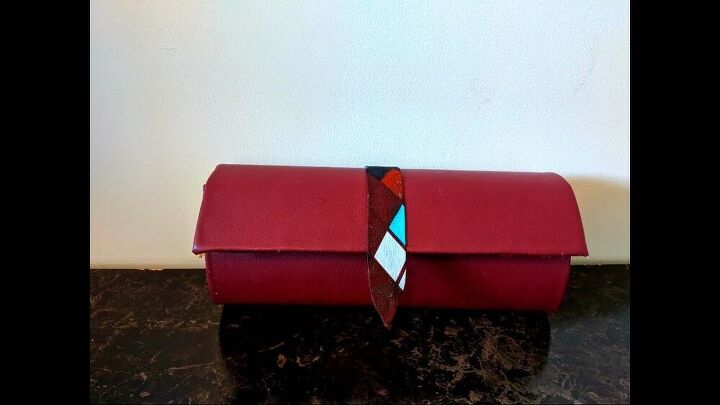
Sure, there is lots of gluing and cutting, but the whole process is fun, and as you can see, the result is totally worth it. You can customize your DIY purse with any fabric and print you like so that it can match certain outfits, too. Thanks for reading, and I hope you enjoyed this easy DIY purse tutorial.
The author may collect a small share of sales from the links on this page.


Comments
Join the conversation
SO cute!
LOVE it! Thanx for sharing!