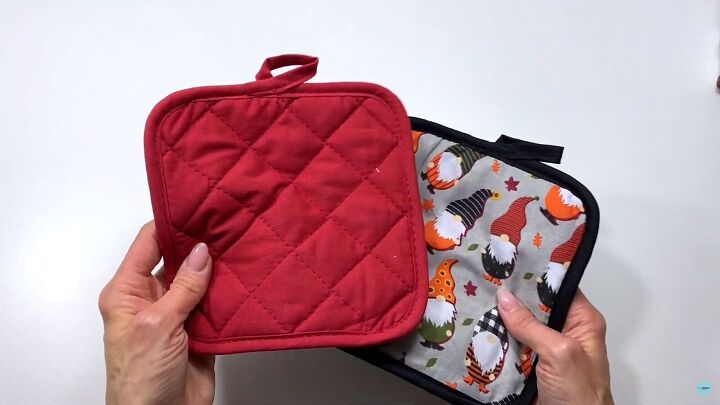
Make Your Own Toiletry Bag Out of a Pot Holder & Sandwich Bags

Welcome! I’m excited to show you this clever DIY on how to make your own toiletry bag! You’ll see how quick and easy it is to make this personal toiletry bag out of a pot holder!
There are so many uses for this DIY toiletry organizer, it can be a first aid kit, beauty survival kit, nail survival kit, or whatever you need it to be! So follow along to see how I make this.
Tools and materials:
- Pot holder
- 6 or more ziplock bags
- Sewing machine
- Double threaded needle
- Thread
- Lace trim - Optional
- Button
- Scissors
- Fabric clips
- Pins
1. Grab your tools
Alright, before we get into the toilet bag sewing tutorial, let’s discuss the materials and tools you’ll need. You can use any pot holder you want; bonus if it comes in a cute print.
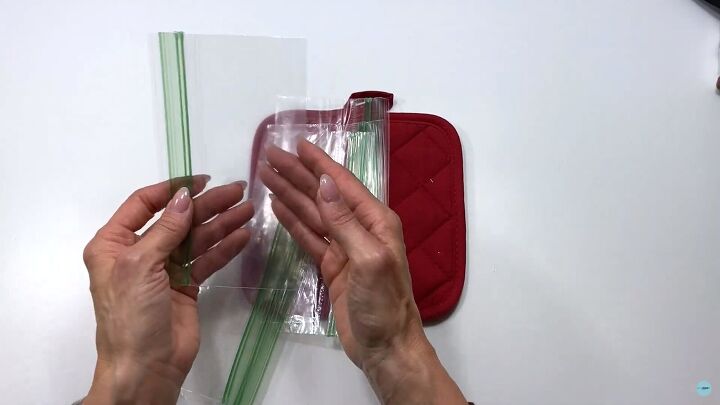
As for the ziplock bags, you’ll need about six or more. You can cut the regular sandwich size if you can't find the snack size. Measure approximately 3 inches from the zipper and cut.
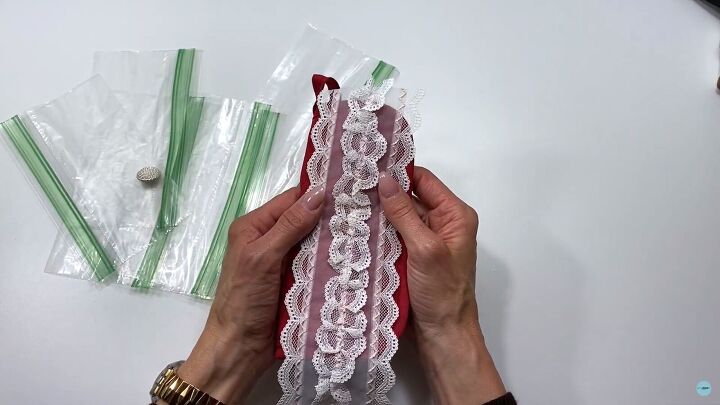
I’m also going to be a little frilly and add this lovely lace trim because, why not?
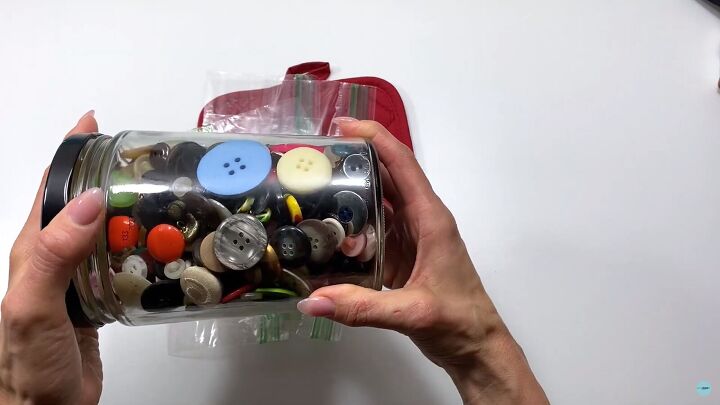
You can either use a sewing machine or hand sew the ziplock bags to the pot holder- it’s up to you! You’ll also need a button; of course, you can use any style you like!
2. Sew the lace trim
If you’re adding a trim like I am, then do it first. Fold your pot holder and make sure the loop is on the side. Then, stick a pin in the center of the pot holder to know where your center is.
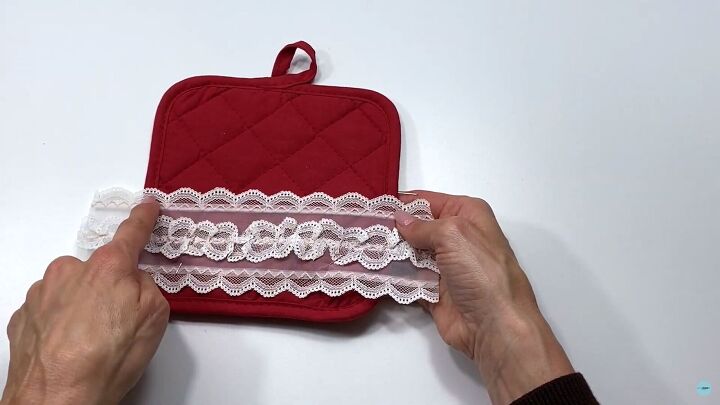
Pin the lace trim on one side of the pot holder (this will be the front side).
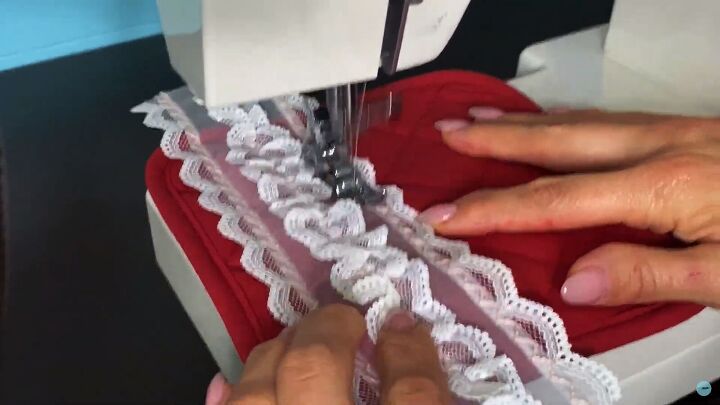
Now, take it to your sewing machine and sew a nice straight stitch on either side.

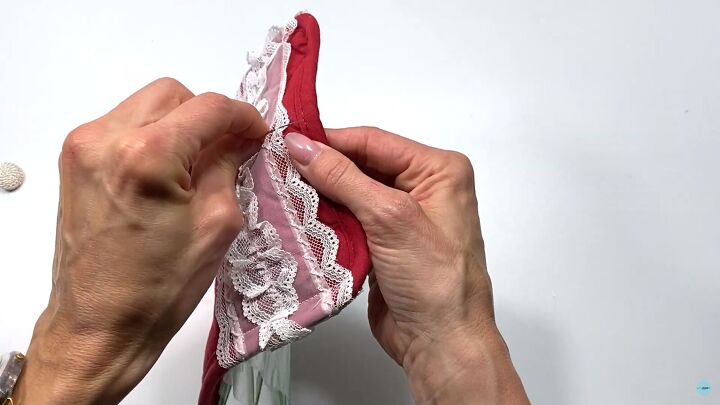
Then, fold the edge in (on either end) on the other side and give it a lovely finishing stitch.

3. Sew the ziplock bags
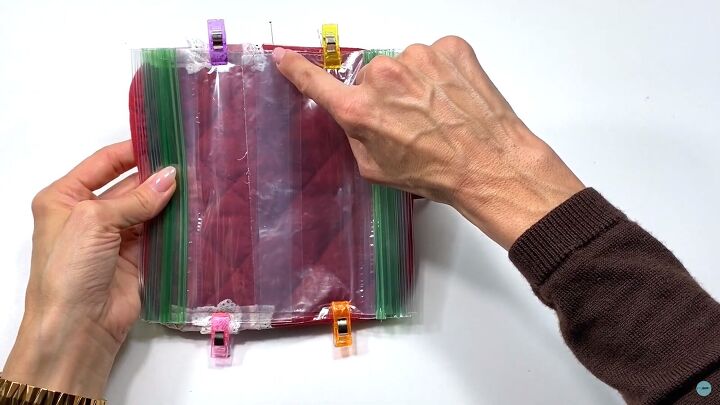
Lay your ziplock bags on either side of the potholder. Make sure the ends, or open ends if you cut them, are placed in the center.
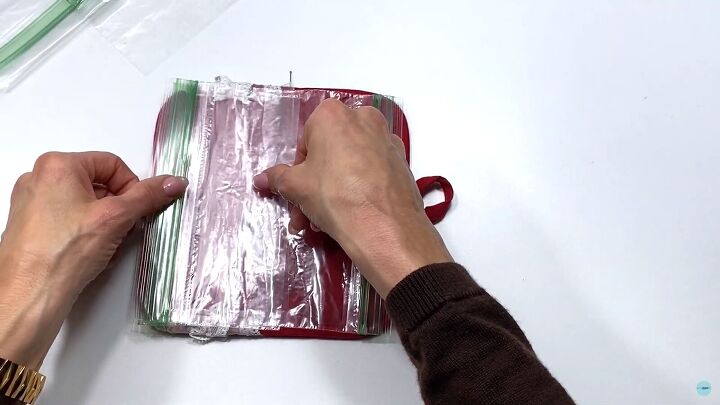
Place one on each side.
Now, use fabric clips to hold them in place. Of course, they’ll be moving around a little bit, and I don’t have any solution for this. You’ll just need to adjust them right before you sew them in place.
4. Assemble the DIY toiletry bag
Now that the ziplock bags are in place use your center pin as a guide when sewing.
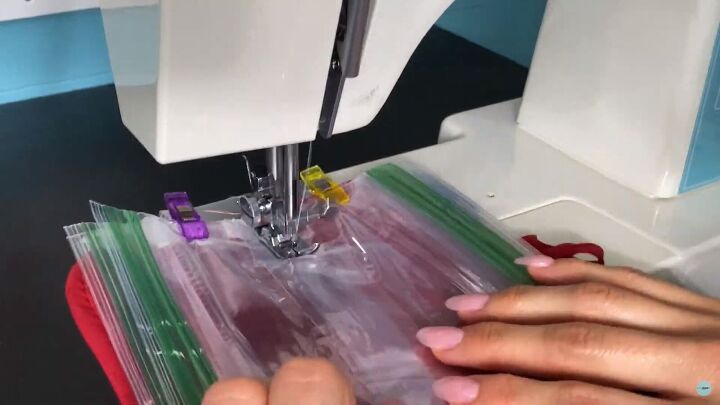
Sew a straight, zigzag stitch down the center with a stitch length set at three.
5. Sew the button
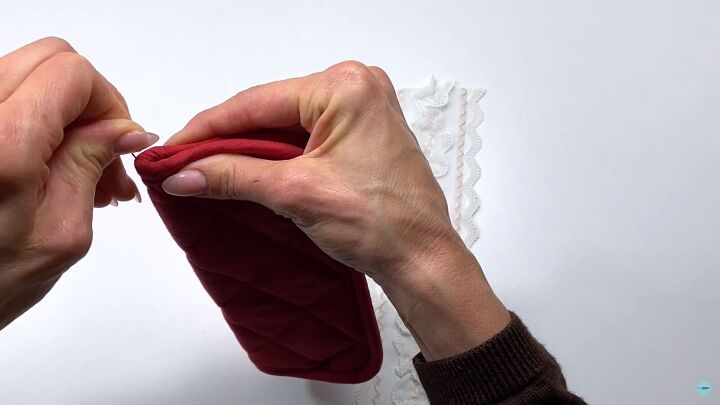
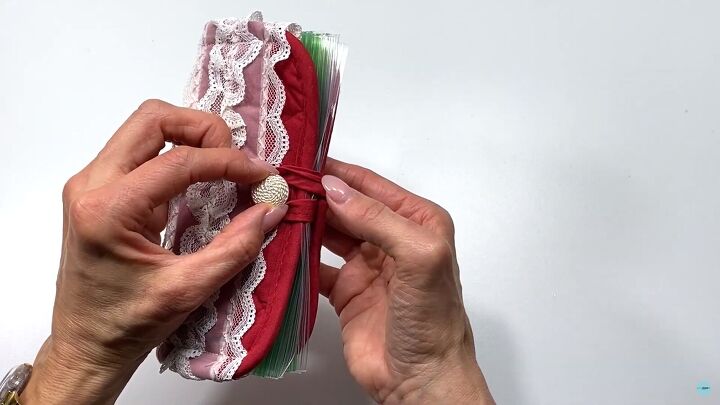
The last step is sewing the button. You can guesstimate where to place it by pulling the loop over and seeing the best position. The size and style of the button play a role. Ultimately, you want the loop to sit snugly around the button.
Take your double-threaded needle and start from the front side of the DIY toiletry bag to hide the double knot under the button.
Feed the button through the thread and continue sewing until it’s nice and snug.

Make your own toiletry bag tutorial
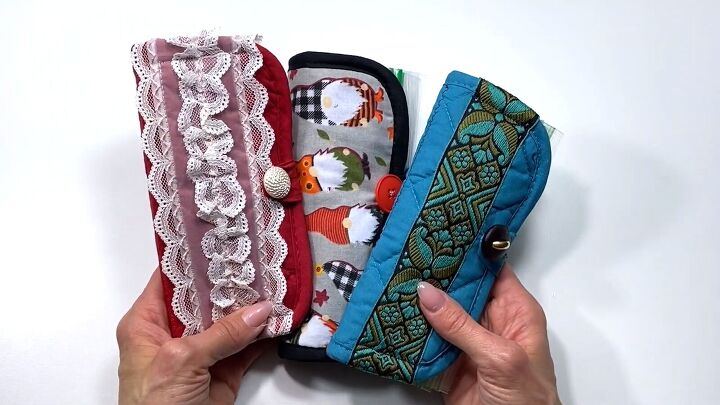
Just like that, you made a lovely customized DIY toiletry bag. You can put what you’d like in here! Thank you for watching this DIY on how to make your own toiletry bag.
Comment below which style is your favorite; I’d love to hear your feedback.
The author may collect a small share of sales from the links on this page.


Comments
Join the conversation
Where are the directions for the project?
Scroll all the way to the top of this page and the full YouTube tutorial is there. Just click on it 🤩