How to Create Perfect Overnight Heatless Curls With the Wrap Method

Hey guys! So for today’s tutorial, we’re going to focus on how to do overnight heatless curls using the robe method. I did a previous video on robe curls, but this time we’re going to do things a bit differently.
If you want to learn how to perfect those no-heat overnight curls on your long or medium-length hair, then keep reading.
Does your hair need to be wet for heatless curls?
You can create heatless curls on clean hair or dirty hair, but you do not want your hair to be super wet. My hair is 95% dry - this is what I find gets the best results. I’ve learned from experience that wet hair does not hold heatless curls!
Tip: I prefer to let my hair air dry, but when I don’t have time, I blow dry on a cool setting, with a heat protectant.
Tools and materials:
- Brush
- Robe tie
- Scrunchies
- Mousse, styling cream, or Moroccan oil (optional)
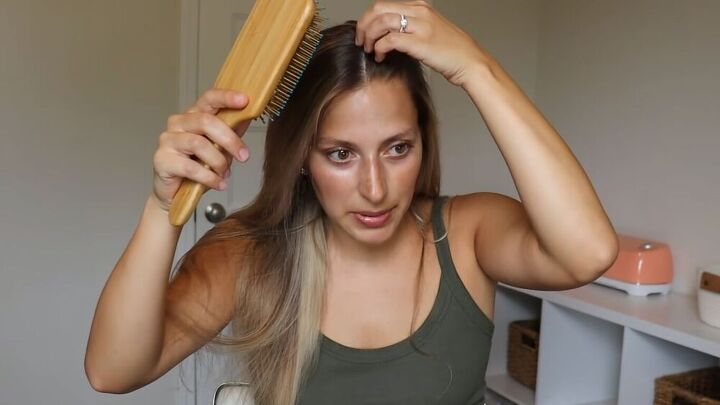
1. Brush and part hair
When I do robe curls, I part my hair down the middle so that I have even distribution. This means that the heatless curls are going to be the same on both sides. You can part your hair how you usually do once the curls are out in the morning.
2. Place the robe tie on your head and pin in place
Place the robe tie on the top of your head, then use a clip to keep it in place while you’re wrapping the hair.
Tip: If you don’t have a robe, you can use two long socks and tie them together.
3. How to wrap the heatless curls
So, what you want to do is grab a small section of hair on each side of the robe tie. Starting with the front section, go over the robe, then back under the robe. Do the same thing with the back section: over the robe, then under the robe.
In my previous heatless curls tutorial, I twisted my hair around the robe. The effect was different (scroll down for comparison), but also the robe didn’t hold in place as well overnight. This wrapping method is definitely more secure.
Repeat these steps, but this time add in some more hair, as if you’re braiding. Do this all the way down until you run out of hair. Keep the wrapping close to your head, otherwise it starts to droop.
Once you get down to your ear, you should have run out of hair to add in, but keep going under and over the robe.
4. Leave overnight
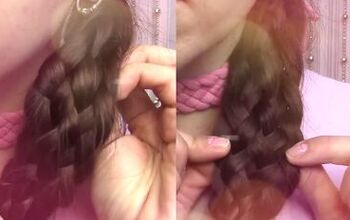
Secure the end with a scrunchie, then repeat on the other side. Here, you can see what the braids look like up close. Now all you need to do is sleep in them.
Tip: If you tend to sleep on your side, try wrapping the braids around the back of your head for a more comfortable night’s sleep!
5. Unwrap the heatless curls
Ok, it’s the morning after and it’s time to unwrap the curls and see our results.
Tip: If your hair does not hold curls well, try using a mousse or styling cream. I just used Moroccan oil because my hair holds curls well.
6. Run fingers through the heatless curls
Run your fingers through your hair to separate them a little and add texture. I’m also adjusting the part on my head to how I usually wear it on the side
For comparison, when I twisted my hair around the robe (picture on the left), this was what the curls looked like. With the wrapping technique, my curls are different: more compact and more defined. It depends on your preference; they’re both beautiful curls, but they’re different. Which do you prefer? Let me know what you think.
Overnight heatless curls tutorial
Here’s a 360-degree view of how my heatless curls turned out. Let me know what you think of this tutorial. Have you tried any other methods of overnight heatless curls? Let me know what you think in the comments below.
Enjoyed the project?
Suggested materials:
- Brush
- Robe tie
- Scrunchies
- Mousse, styling cream, or Moroccan oil (optional)
The author may collect a small share of sales from the links on this page.







Comments
Join the conversation
Me too, My Mother would cut old pillow cases into strips for my long hair and then next day, long curls.
Can you do something for shorter wavy hair for us