How to Make an Easy DIY Off-the-Shoulder Top Out of a Large T-Shirt

I’m sure you’ve come across that odd t-shirt that you hardly wear as it’s lost its shape. Instead of throwing it out, you can make it new again by transforming it into a DIY off-the-shoulder top!
That’s exactly what I’m going to show you in this tutorial; how to make an off-the-shoulder top. This is a fun upcycle for all levels, from beginner to advanced. Let’s start!
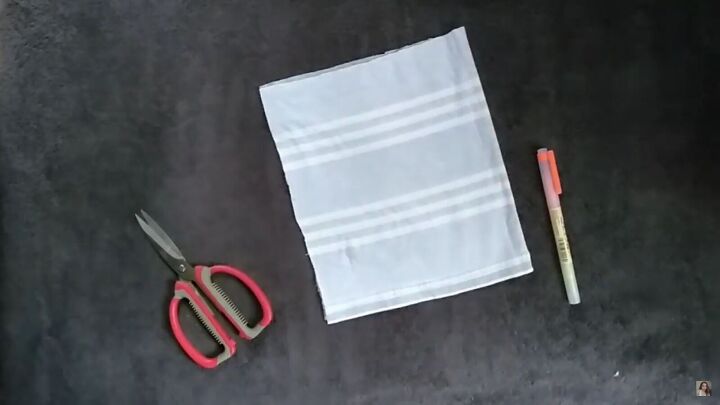
Tools and materials:
- Large top
- Sewing machine (optional)
- Needle
- Matching thread
- Ruler
- Highlighter
- Pins
- Scissors
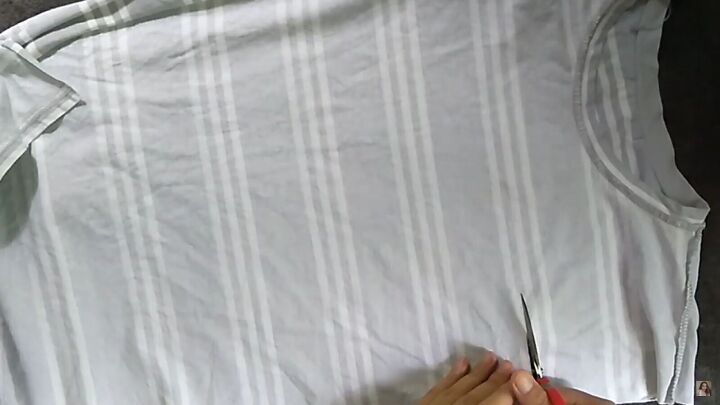
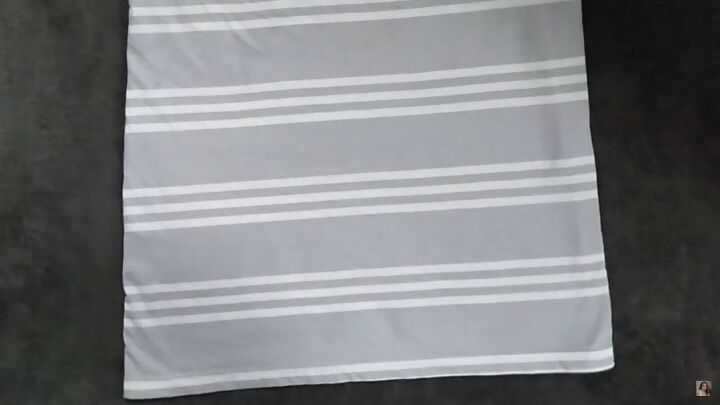
1. Cut off the sides
My t-shirt had open side slits, and the whole thing was way too baggy. In this case, you want to take in the sides, so it’s more fitted.
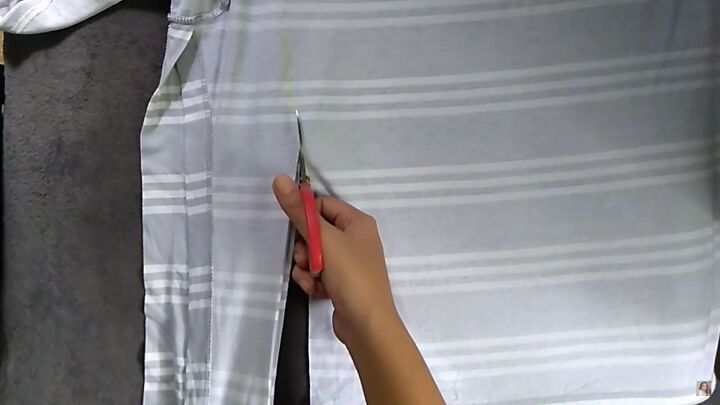
So, cut out the sides, as shown. Be sure to measure how much you’ll be cutting off so it’s not too small or too big. The best way to do this is to wear your t-shirt and pinch the sides. Then, draw a straight line as a guide.
Ensure that this line will also cut off the sleeve area.
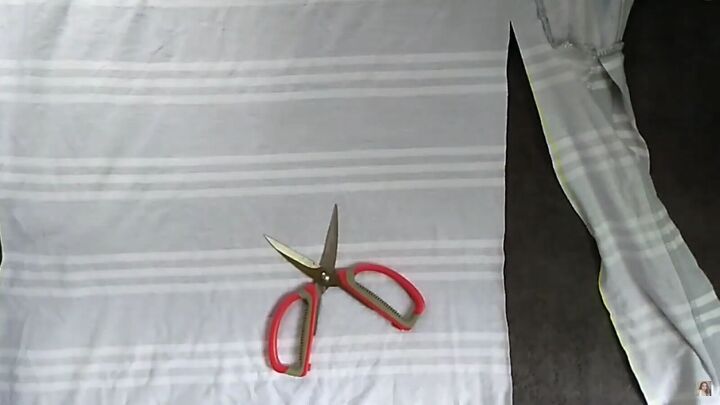
Repeat this for the other side. Simply fold your shirt to the other side and trace the newly cut seam to get an even measurement.
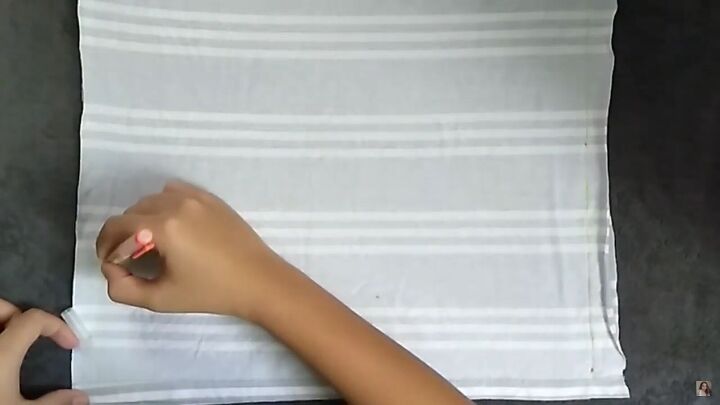
2. Cut off the neck area
Now, cut off the neckline from your DIY off-the-shoulder top. Again, measure accordingly, and be sure you won’t be cutting off too much.
It’s better to cut too little and amend the size as you go along than cutting off a whole big chunk, and then you can’t really do anything with it.
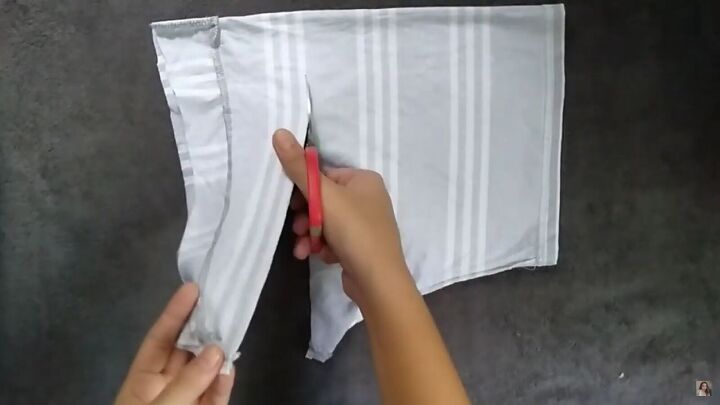
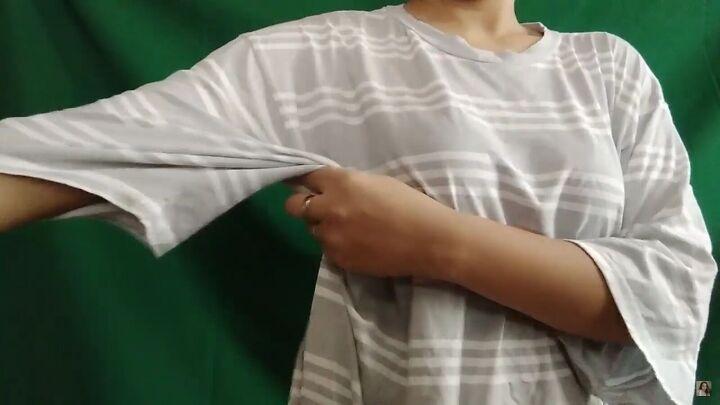
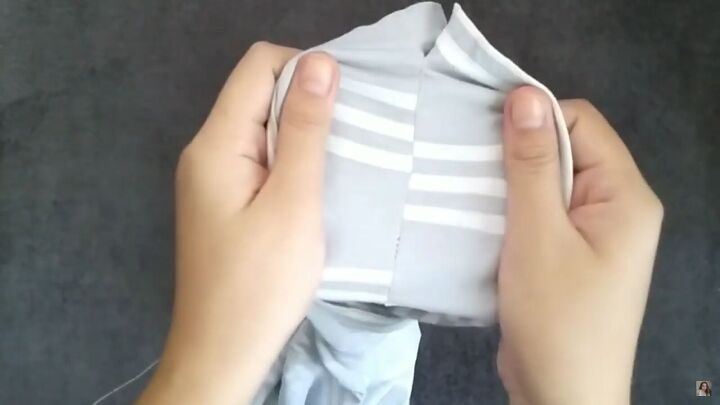
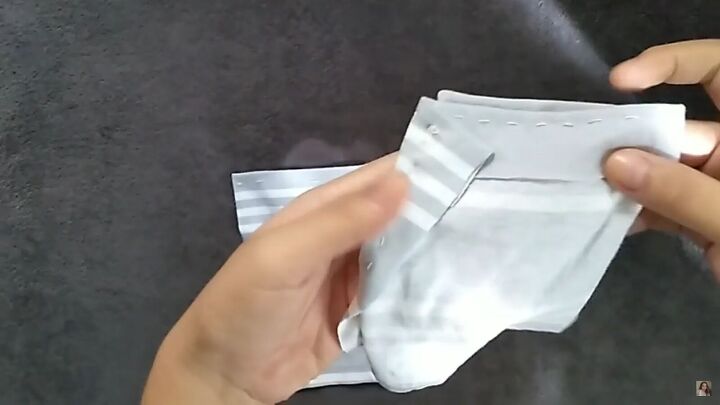
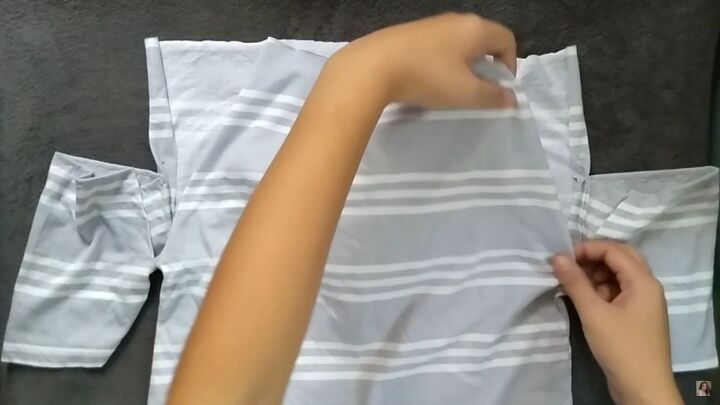
3. Alter the sleeves
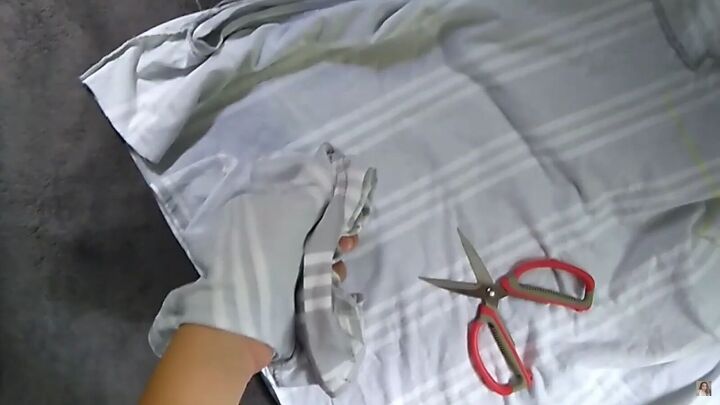
As you can see, my sleeves were huge and way too baggy. To make an off-the-shoulder top, the sleeves need to be more fitted. Alter the sleeves as you see fit. Here, I'm cutting away at the bulk, excess part by the armhole.
Now, place a good-fitting top on the sleeve area. Mark the groove of the sleeve, as this will indicate where to cut. The sleeve from your top should not be loose and fit snugly around your arms.
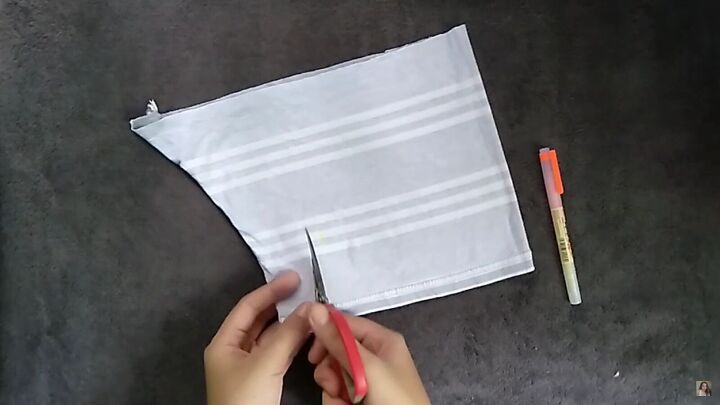
Cut out the new pattern. You should cut a straight line across. Add a little seam allowance, too. Keep the excess fabric.
4. Sew the side seams
I decided to hand stitch the DIY off-the-shoulder top. However, you are welcome to use a sewing machine. The next step is to close up and sew the side seams halfway through the bodice. Do this on the wrong side of the fabric.
Repeat on the other side and draw a guide if needed.
Your bodice is now complete!
5. Hem the sleeves
Fold and hem the sleeves.
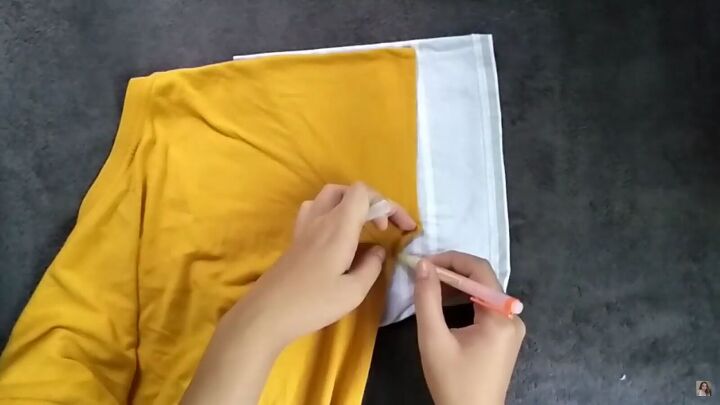
6. Attach the sleeves
Fold the raw edges on the bodice’s slit inward. Then, put the side of the sleeve from the slit’s opening. Ensure it’s the side that is slightly taken in. Then, mark the end of the sleeve onto the bodice.

The next step will be to sew one side of the sleeve to the outer layer of the bodice.
Draw a line as a sewing guide, as shown. Now, sew to secure.
Repeat the same process on the other side.
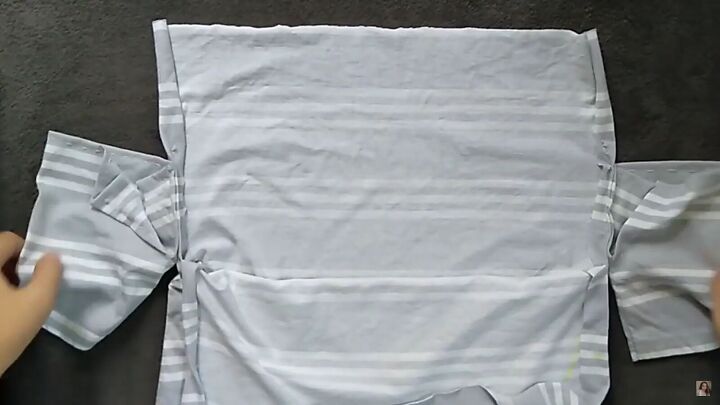
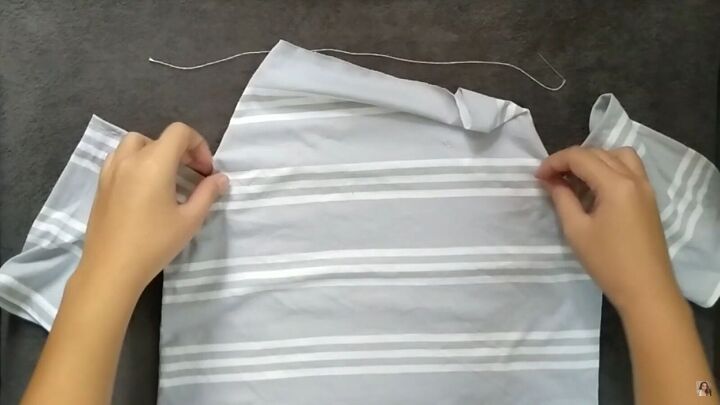
This is what your DIY off-the-shoulder top should look like now.
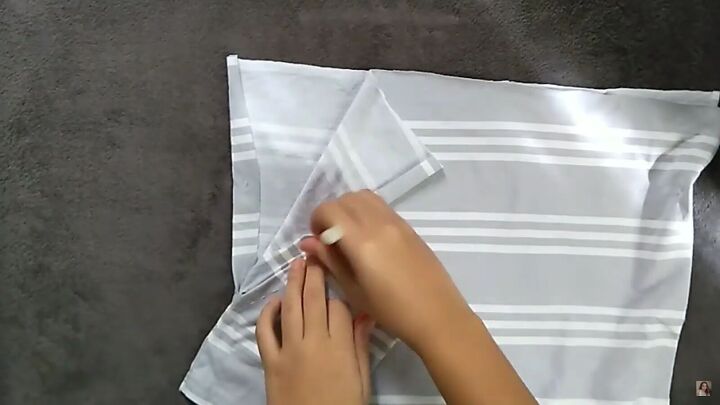
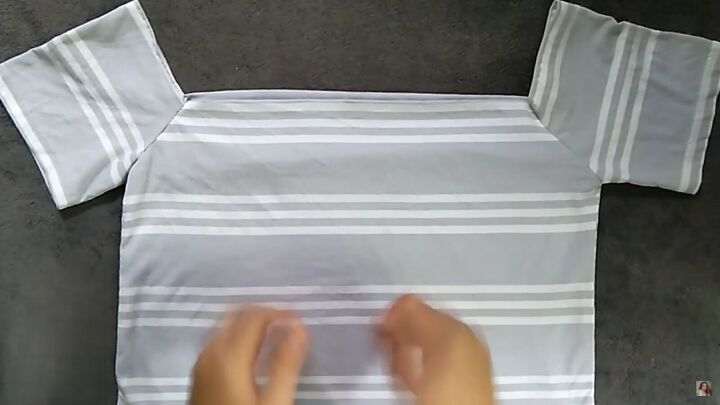
7. Sew the top edge
Now, fold the front part of your top on both sides. You should have a triangle shape.
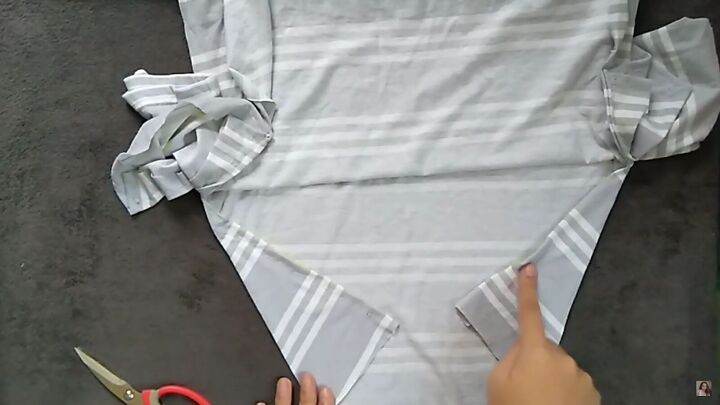
But before doing so, fold the front part of the bodice and sew the edges to the bodice. Ensure each fold is angled out the same and both sides are symmetrical.
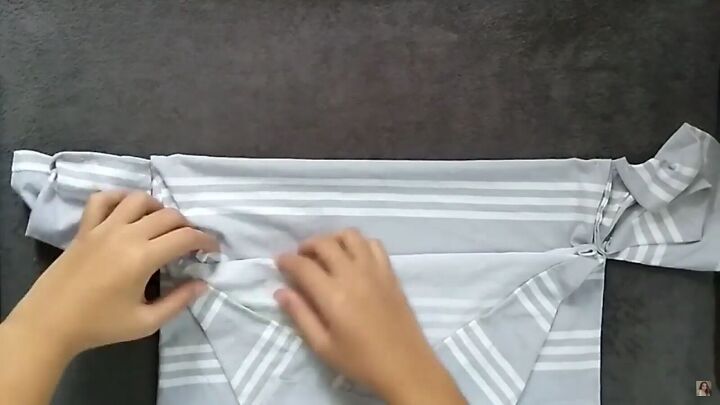
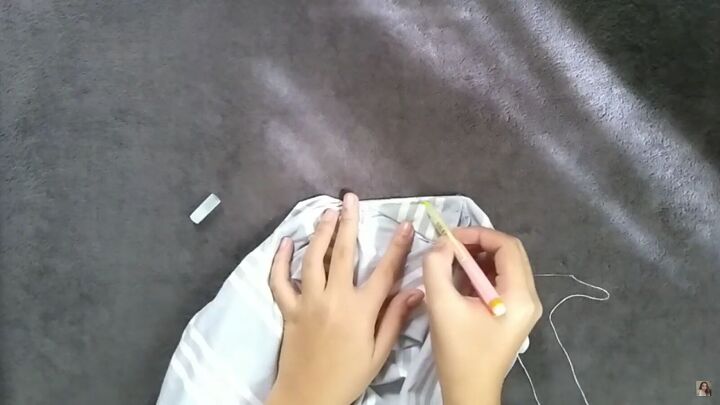
Fold the back part of the bodice downward and sew to secure. I basically folded the back piece until the edge reached the button armhole of the sleeves.
Once this is done, fold the front part of the bodice downward. Make sure the fold is in line with the sleeves. Then, sew the sleeve’s first layer to the bodice’s first layer, making sure it kind of slants upward with the fold you just created.

DIY off-the-shoulder top
There you have it, an easy DIY off-the-shoulder top! I love how it came out, and I’m pretty impressed at how easy of a transformation it is.
You don’t even need a DIY off-shoulder top pattern for this! All you need to do is use a fitting shirt for the sleeve area.
Let me know what you think of this upcycle in the comments below.
The author may collect a small share of sales from the links on this page.


Comments
Join the conversation
Turned out cute but was confusing.