Looking For an Easy T-Shirt Thrift Flip? Make This Off-Shoulder Top

I’ve found that often when a DIY tutorial says “easy,” it actually has a million steps, and requires all kinds of specialty equipment, so I end up just skipping to the end to see the final product, and then I never bother trying to make it.
However, I found this really cool t-shirt thrift flip tutorial by Anna the Tailor that is actually as simple as she claims. It doesn’t even require a sewing machine (which is awesome, because mine is in storage at the moment).
I decided to give it a shot, and add a little element of my own, as well. So if you want to follow me as I try this truly easy t-shirt thrift flip, keep reading.
Tools and materials:
- Oversized t-shirt
- Scissors
- Elastic band
- Safety pin
- Needle and thread
- Cat (optional)

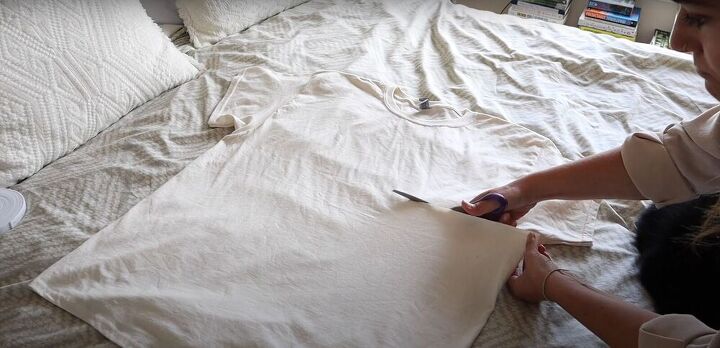
1. Cut
To begin, I cut straight across the shirt from armpit to armpit.
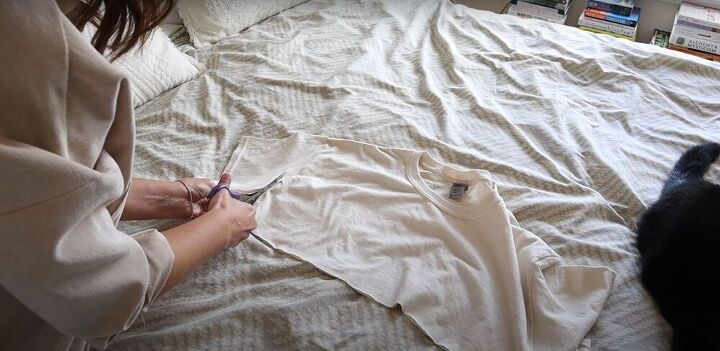
Then I cut off the sleeves.
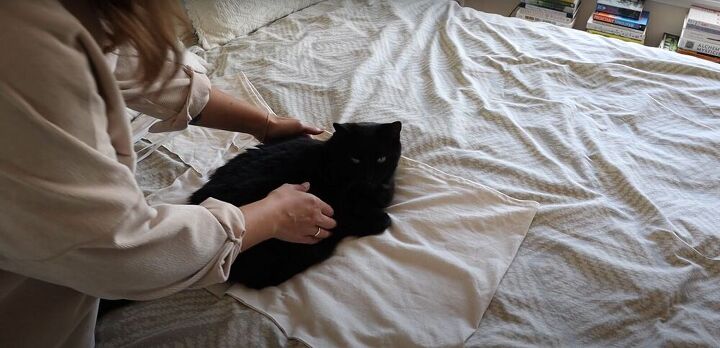
2. Remove cat (optional)
If you have a cat lying on top of your project, as I did, now is the time to remove it.
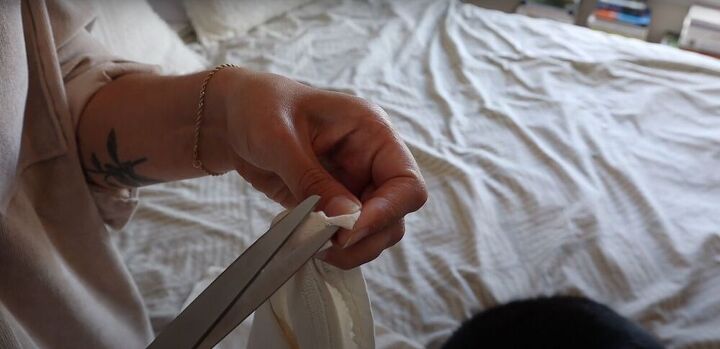
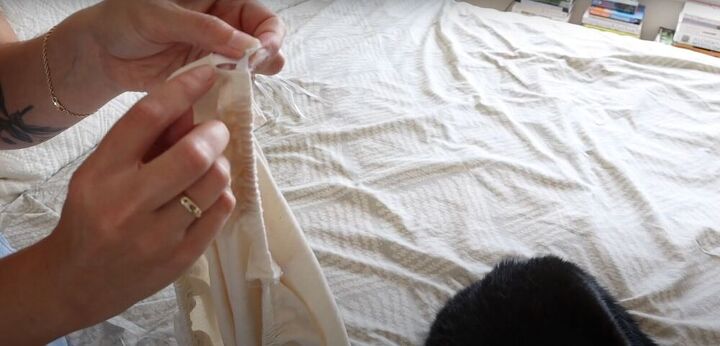
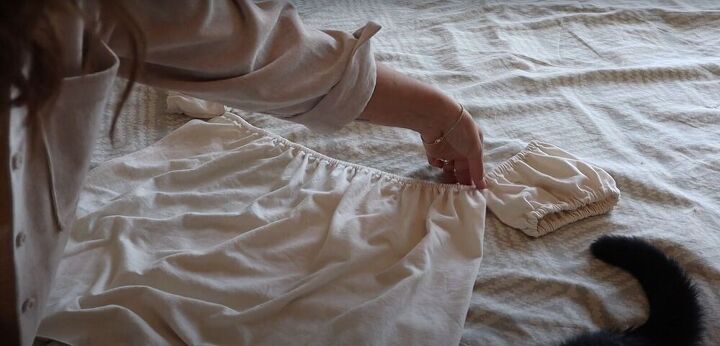
3. Insert elastic
I measured a length of elastic band that fit snugly but not too tight around my chest, above my bust. Then I made a small snip in the hem of the shirt and used a safety pin to run the elastic into the hole, and all the way around the hem of the shirt.
Then I sewed the ends of the elastic together and closed up the hole in the hem.
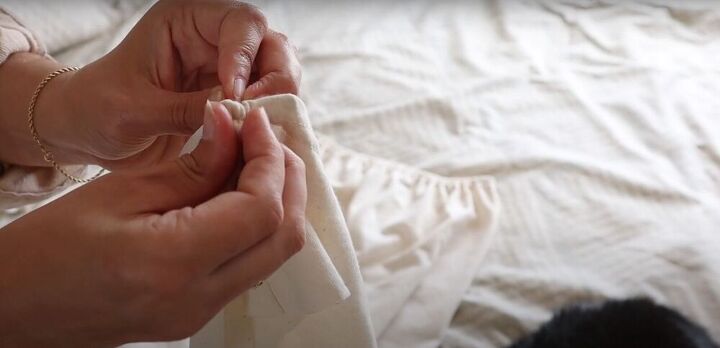
Then I cut two elastic bands that fit snugly around my upper arms and inserted them into the hems of the sleeves using the same method as above.
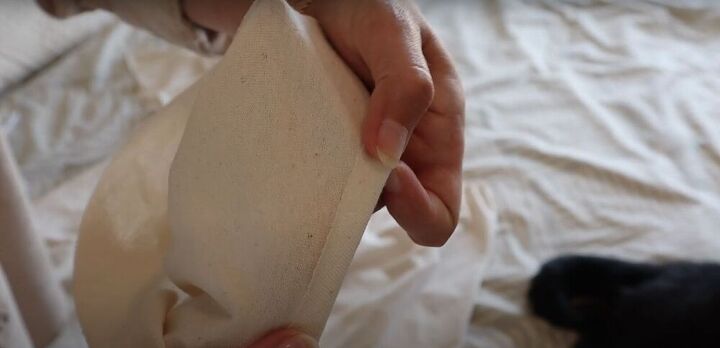
4. Make a hem
In the original tutorial, the bottoms of the sleeves are left loose and flowy. But I wanted to make my sleeves puffy, so I had to create a hem on the bottom edge of the sleeve, through which I could run a second elastic.
I did this by folding over enough fabric to create a casing for the elastic and sewed it down by hand.
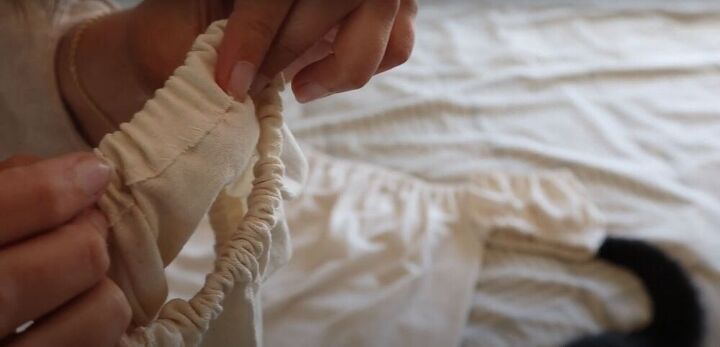
5. Insert elastic
Then all I had to do was repeat the above process, run the elastic through the hem, sew the ends of the elastic together, and sew the gap in the stitching closed.
6. Attach sleeves
For the final step, I attached the sleeves to the top edge of the shirt, making sure the side seam of the sleeve is facing the side seam of the shirt.
Be sure to only sew the edges of the sleeves and the shirt together. If you sew farther down, you will have a hard time lifting your arms.


Thrift flip t-shirt tutorial
Guys, I am so shook with how cute this came out. And it was so easy, too!
The nice thing is you can do this with any color or patterned t-shirt, you can play with the length and style of the sleeves. The variations are endless.
Let me know what you think of this transformation, and let me know if you use my t-shirt thrift flip tutorial to make a shirt like this of your own!
The author may collect a small share of sales from the links on this page.


Comments
Join the conversation
What a good idea 👍🏻
You look so cute, and your cat must rule the house, mine always gets right into my project.