How to Make Super-Cute DIY Graphic Tees Using Old Bandanas

Looking to spruce up an old t-shirt? Have some old bandanas or scrap fabric lying around? Well, in this tutorial, I'm going to share a great way you can make a custom DIY graphic tee with perfectly uniform block letters. Let's get started!
Tools and materials:
- Plain t-shirt
- Bandanas or other spare fabric
- Scissors
- Thread
- Spray-on adhesive
- Chalk
- Black paint pen
- 2 rulers
- Stencil (optional)
- Sewing machine
1. Draw & cut out the letters
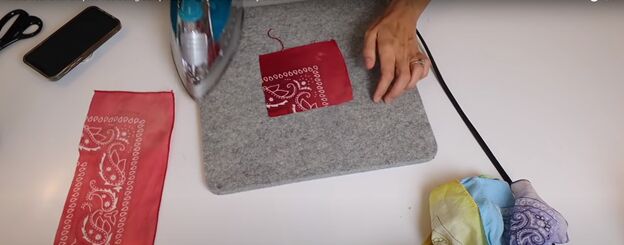
To create your letters, use whatever fabric you have, or some old cotton bandanas. If you use different fabrics, make sure they are of similar quality. To make this even easier, choose pieces of fabric with the same pattern.
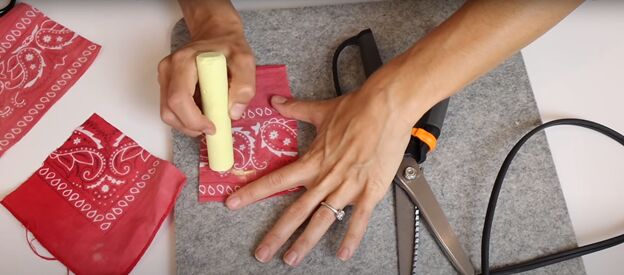
Iron all the pieces of fabric so they lay perfectly flat. Cut the fabric into identical squares, from which you will cut your letters. On each square, use the chalk to draw one block letter of your word.
Tip: Don’t choose a long word – you want it to fit on the front of your tee without getting scrunched under the arms, and I found that making the word no more than 11 inches wide works best.
Now, cut each letter a half-inch larger than you drew it, using straight scissors.
Watch the video at 5:20 to see why I recommend making block letters.
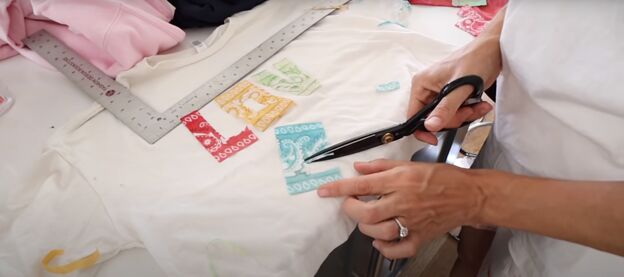
2. Lay out the word
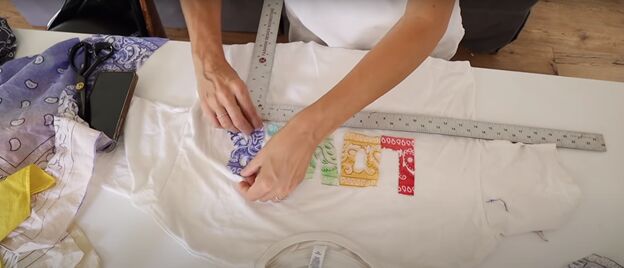
Lay the letters out on your tee and eyeball the size of each letter. Trim as needed to ensure that all your letters are the same size. To center the word correctly, lay a ruler across your tee just under the armpit.
Check that letters are evenly aligned above the ruler by measuring the distance between the bottom of the letters and the horizontal ruler.
Also, measure the distance from the start and of the word to the side of the tee to make sure that’s equal as well.
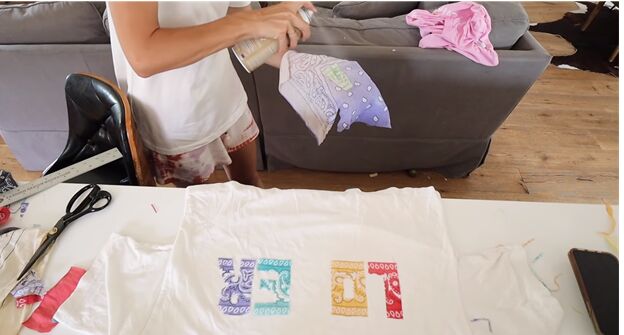
3. Stick & sew
It’s hard to pin the letters to your tee without them moving, so apply some adhesive spray to the back of each letter to tack it down on the t-shirt. Pat the letters down to ensure they are well-fused to the tee.
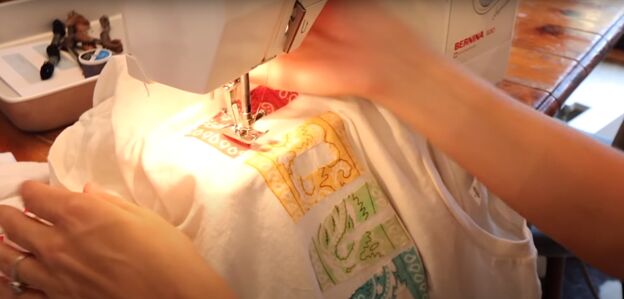
Now, sew the letters to your tee as close to the edge of the letter as you can without going off. Rotate the tee under the presser foot of your sewing machine to make nice sharp stitch corners on your block letters.
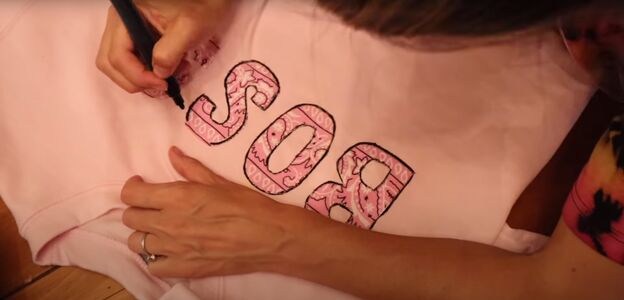
4. Outline in black
If you want your letters to pop from your tee a little more, you can use a black paint pen to outline the letters between the stitches and edge of the letter.
Here’s another design, where the words blended into the tee. So, I popped them out!
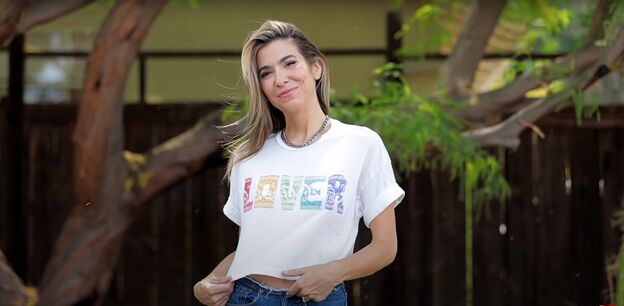
DIY graphic tee tutorial
I can’t wait to see what you make! Tag me on social so I can what words and fabric you used. And if you liked this tutorial, subscribe for me, and share it with a friend!
The author may collect a small share of sales from the links on this page.


Comments
Join the conversation
I’m gonna be making some of these tee shirts . I love them and you to Orly.
I miss you on t.v. Too.
Love this idea since I love animal print. I collect bandanas for head wraps.
I make tee shirts with letters that match my head wraps.
Thanks for sharing.😇