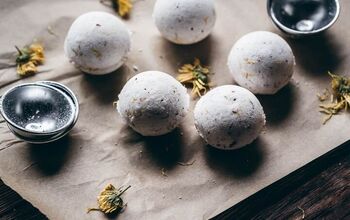
DIY Rose Petal Vanilla Bath Bombs
These all-natural DIY rose petal vanilla bath bombs are made with vanilla oleoresin, coconut oil and organic rose petals.
Not only are these bath bombs beautiful to look at, but they’re also free of chemicals, synthetic dyes and other toxic ingredients. Read on to learn how to make these skin-softening homemade bath bombs in a few easy steps.
Also, perfect as a homemade stocking stuffer for seasonal gift-giving!
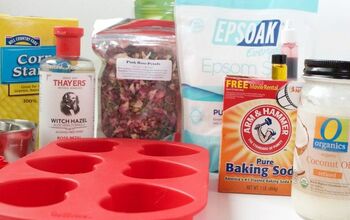
To make these rose petal bath bombs, you will need:
Dry Ingredients
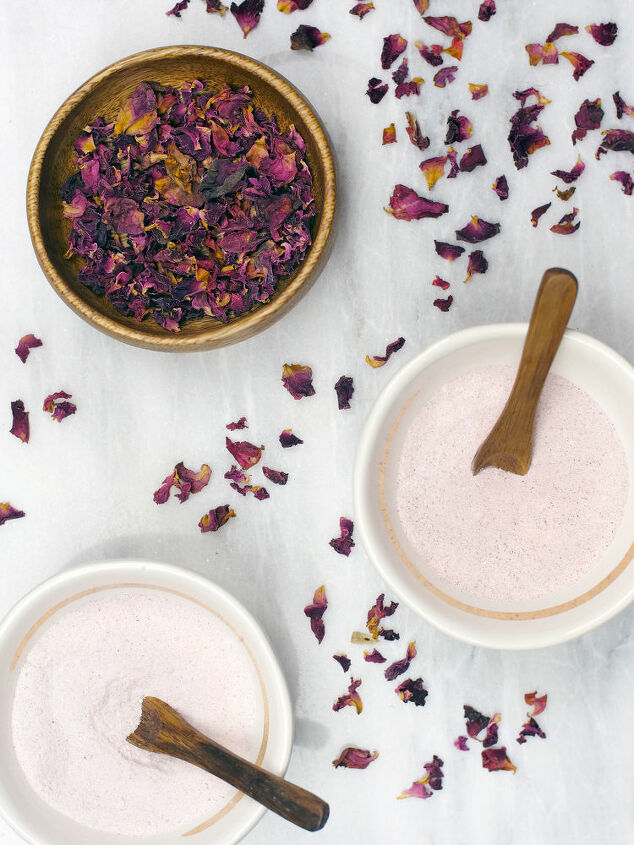
- baking soda
- corn starch
- citric acid powder
- epsom salt
- beetroot power
- organic rose petals
Wet Ingredients
- coconut oil (melted)
- water
- 20 drops rose otto essential oil
- 5-10 drops vanilla oleoresin
Supplies
- Bath bombs molds
- glass mixing bowl
Exact measurements found here.
Directions:
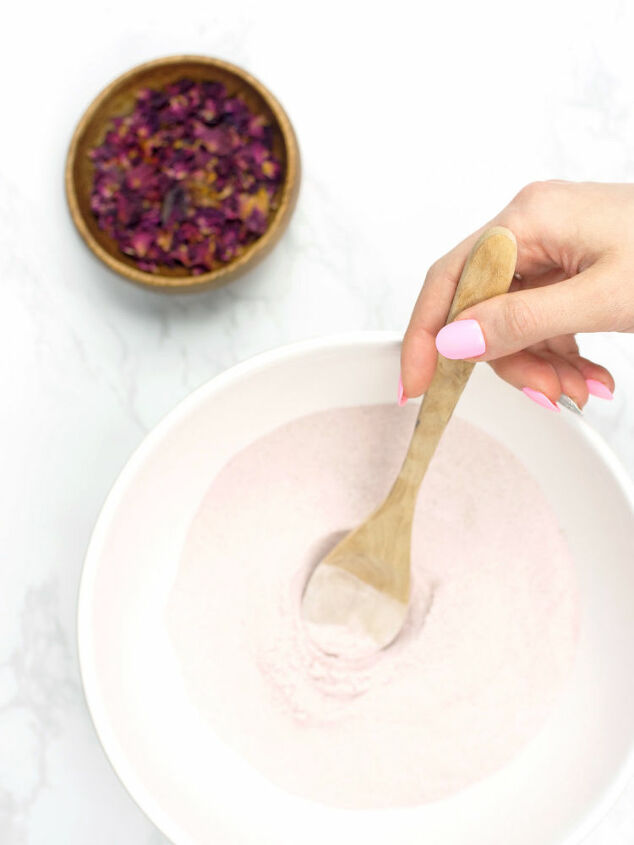
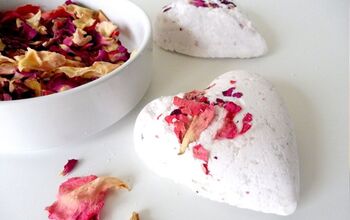
- In a large bowl, place all the dry ingredients, including the beet powder which will color your bath bombs a lovely shade of pink. Mix the dry ingredients well with a whisk or large spoon, making sure to remove any clumps.
- Next, melt the coconut oil in a small saucepan on low heat.
- Slowly add the coconut oil to the dry ingredients. If you notice a bit too much fizzing of the dry ingredients, add the oil even slower. Whisk gently as you go.
- Then add the water. And then the essential oils. Again, you should whisk gently as you go, and always add the wet ingredients slowly to avoid fizzing.
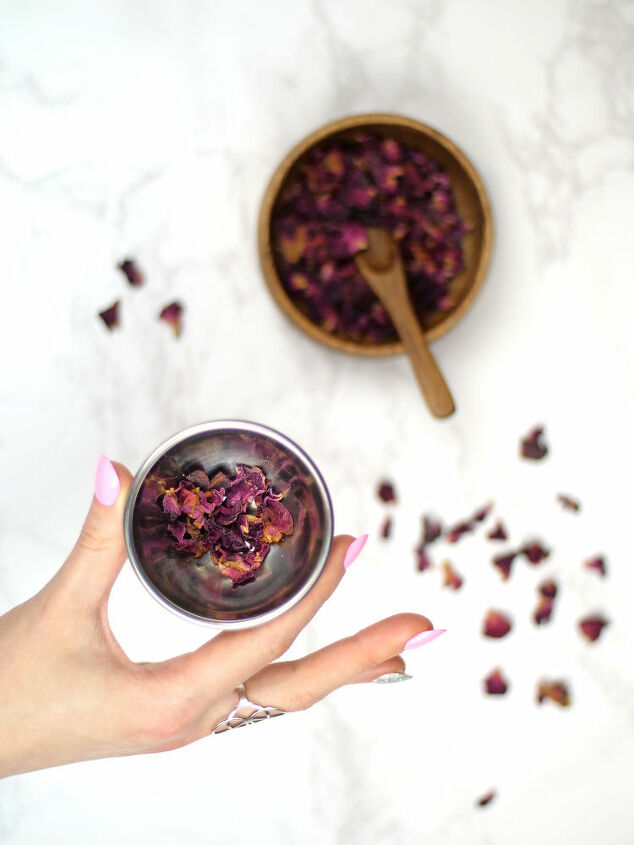
Once the mixture is ready, scoop approximately 1 tablespoon of the dried rose petals into one half of your bath bomb molds as shown above.
- Then, add the bath bomb mixture. Firmly pat the mixture to conform to your mold, slightly overfilling it. Do the same with the other half of the mold, omitting the petals on the bottom portion. Put the two sides together and press firmly over the mixing bowl, allowing the excess mixture to fall back back into the bowl.
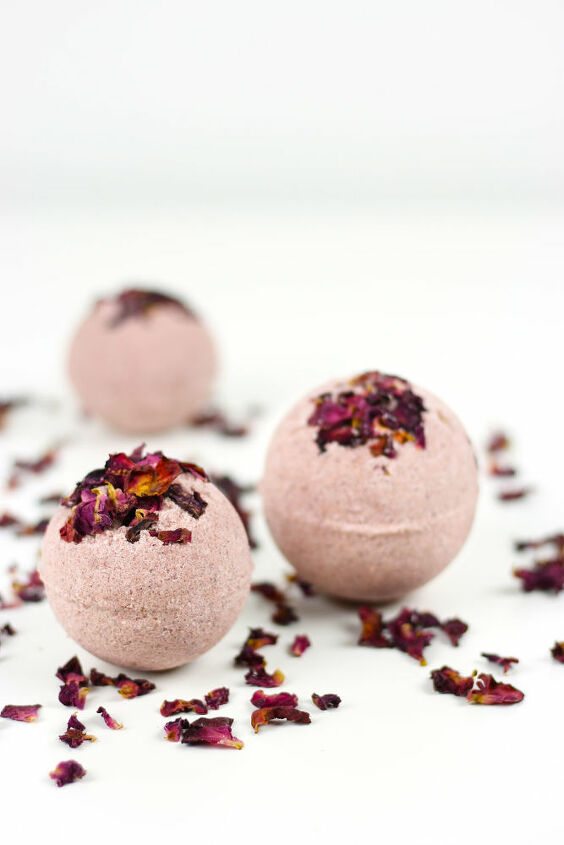
- Place your bath bomb molds on cookie sheet or cutting board to set. Don’t leave the bombs in the molds too long or they will be difficult to remove.
Note: if you remove them too soon and they crumble, place them back in the mold and give them more time to set. We determined that around 3 hours of curing time is just about right.
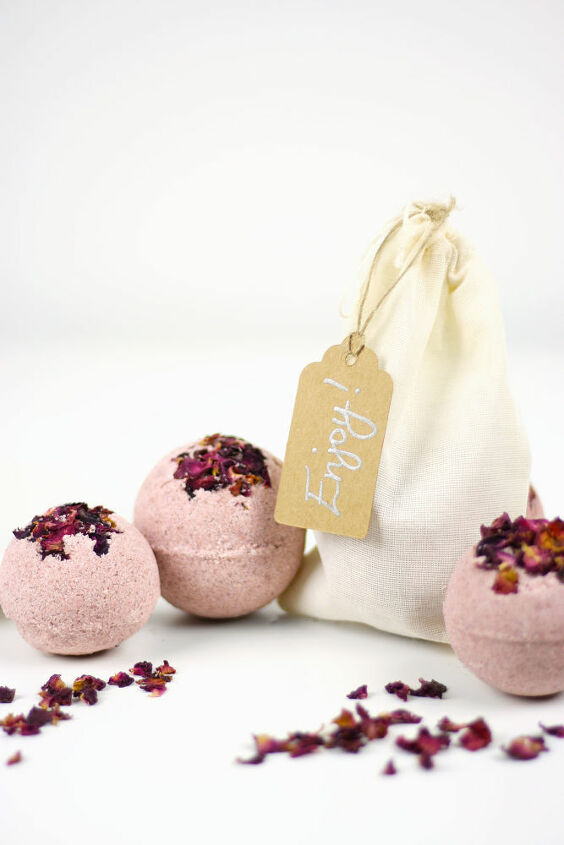
For gifting, we suggest placing your finished product in a lovely cotton or muslin bag complete with a handmade tag as shown above – the perfect stocking stuffer, birthday or Christmas gift for the bath lover in your life.
And since these bath bombs are fairly easy to make, they make a fun project to do with kids.
Plus, what kid doesn’t love watching a bath bomb fizz and shoot rose petals into their bath water?!
For more photos of our bath bombs and exact measurements, as well as other DIYs... please check out our blog post here.
Enjoy!
Resources for this project:
See all materials


The author may collect a small share of sales from the links on this page.


Comments
Join the conversation
These are so pretty!