This Astonishing DIY Crochet Dress Was Actually Made From Old Blankets

Welcome to the season’s hottest trend! Crochet, baby! I’m going to show you how to make a DIY crochet dress with this amazing upcycle tutorial.
Sure, I wasn’t going to crochet a whole dress, but what I did do was find some crochet thrifted pieces at my local thrift store. I will also show you how to make a tank top from the same blanket.
This crochet summer dress DIY is incredible, so stop what you’re doing and discover how easy it actually is to make these items for yourself - no sewing machine needed!
Tools and materials:
- Spool of yarn
- Crochet blankets
- Darning needle
- Mannequin (optional)
The inspiration:
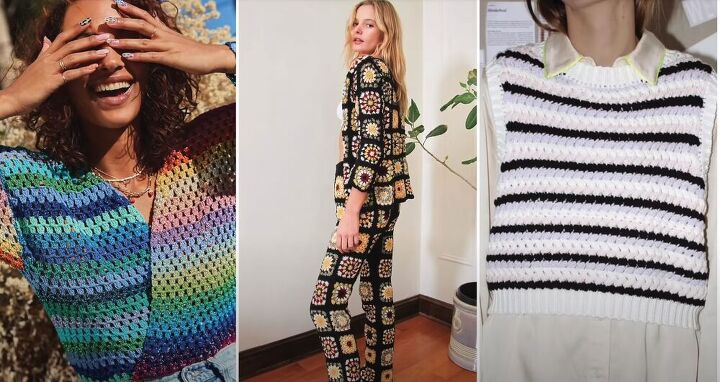

Now let's get started!
DIY Crochet Dress
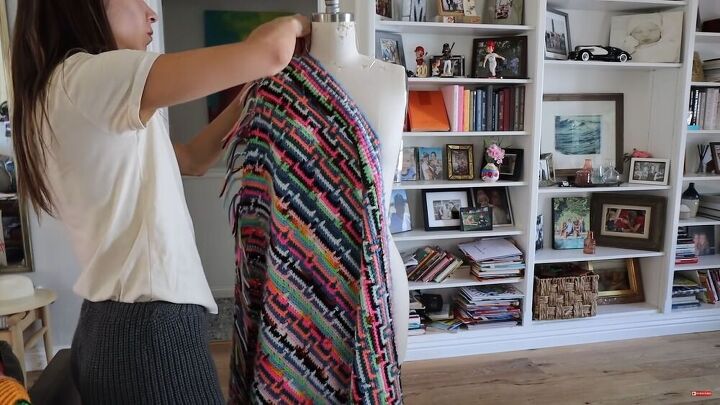
1. Wrap the dress
Ok, so I’m using a dummy as it’s way easier to maneuver around and place the crochet blanket. If you don’t have one, working on yourself should do the trick, too.
Start by anchoring the corners of the crochet blanket to the shoulder.
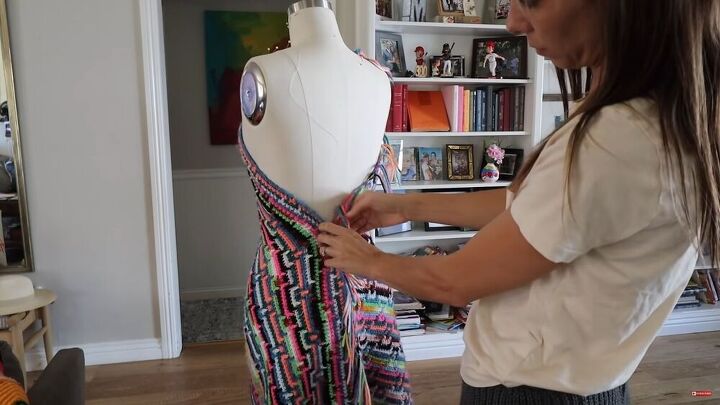
Next, wrap both ends around the back and pin in place.
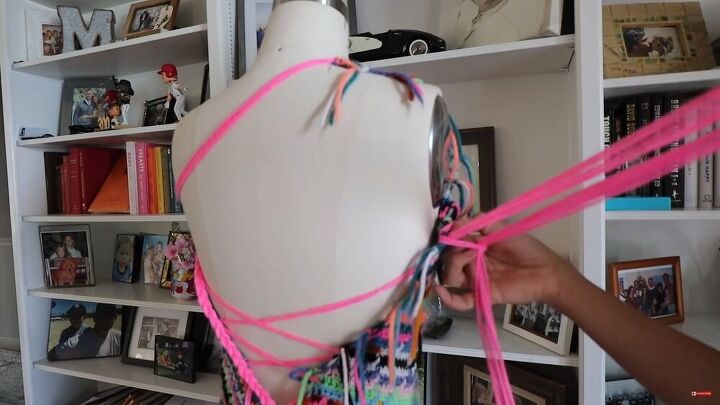
2. Insert the yarn
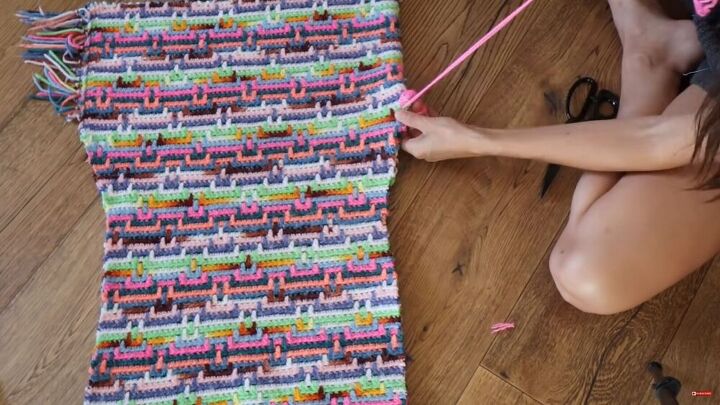
Now, cut a super long piece of yarn, and insert it into one of the loops on the edge of the blanket. This DIY crochet dress is super easy because there are holes everywhere, and anchoring in some yarn is a breeze!
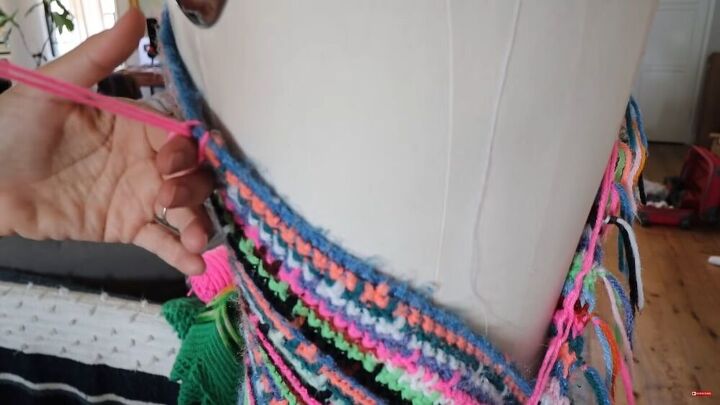
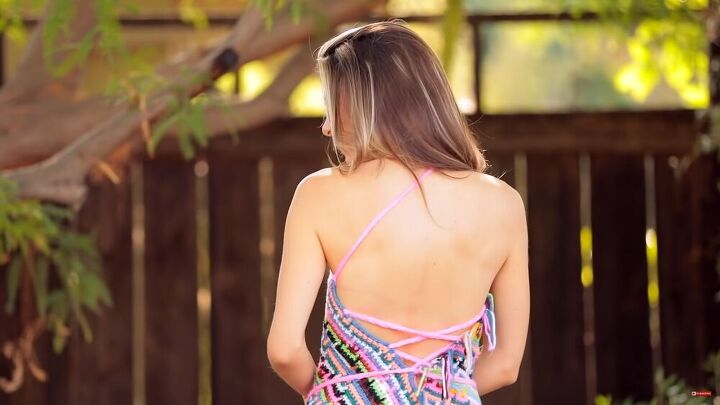
So, put the loop to the side, make a slip knot, and repeat to make a stunning lace-up back on your DIY crochet dress.
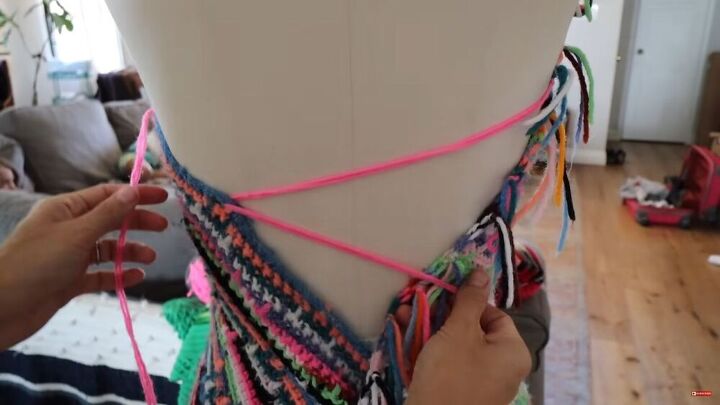
I added another piece of yarn to the adjacent side of the dress and looped through to the opposite side, as shown. I anchored it under the arm so that the bust stays put.
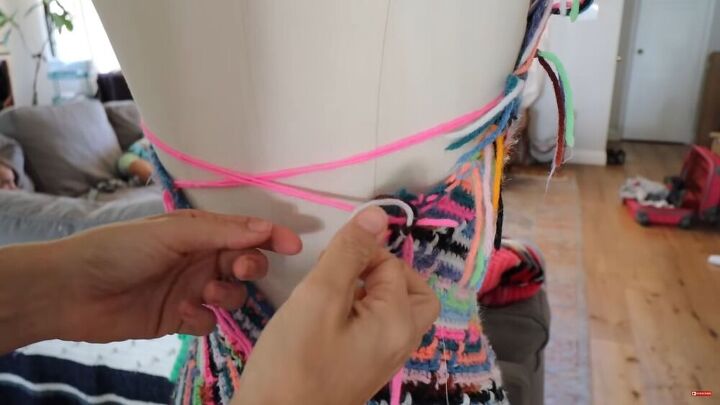
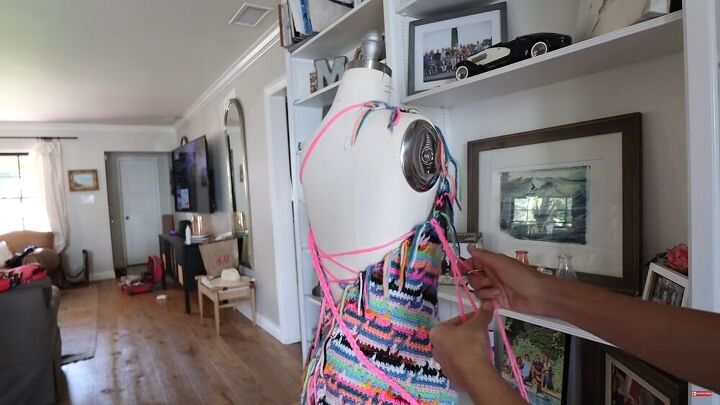
I then made an intuitive crisscross design on the back.
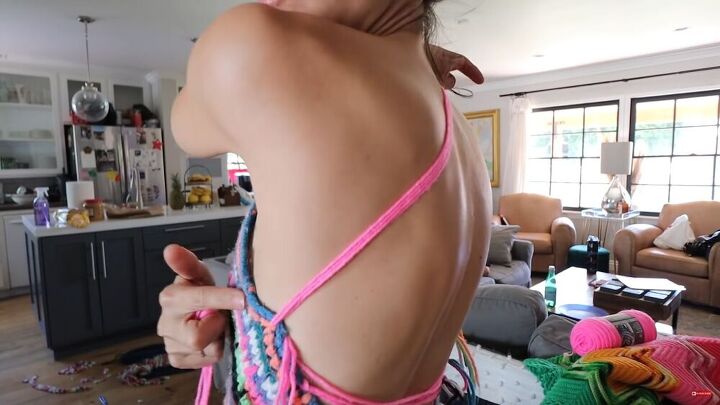
For extra strength, I added another piece of yarn up and over the shoulder, as shown.
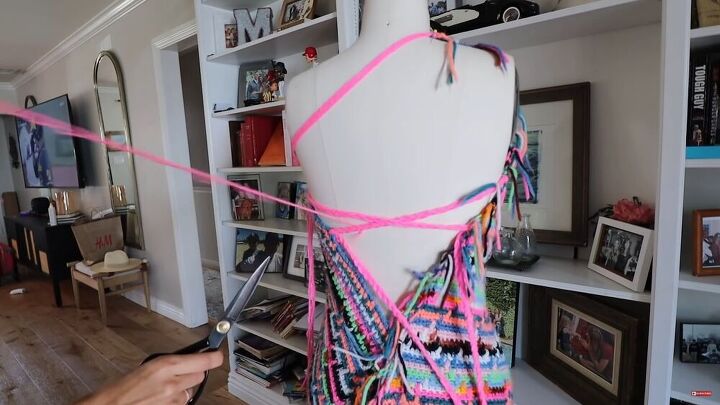
3. Braid the yarn
I wanted some more intricate detail to the dress, so I decided to braid the yarn. To get this right, take three super long pieces, and fold them in half, so you have six.
Take the loop, where you folded it in half, and with that part, pick your anchor point, and do a slip knot into the dress.
Then, braid that super long piece of yarn.
I eventually took the individual yarn pieces out as I was adding the new braided ones. Simply continue doing this for the whole dress, as shown.
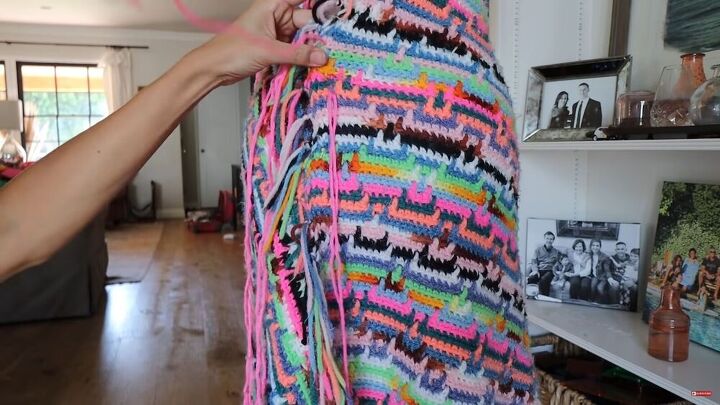
4. Sew the back of the DIY crochet dress
Now, take your giant thread and thread them back together. To do this, simply stitch through the crochet, going in and out and creating big stitches. Each stitch should be around an inch apart.
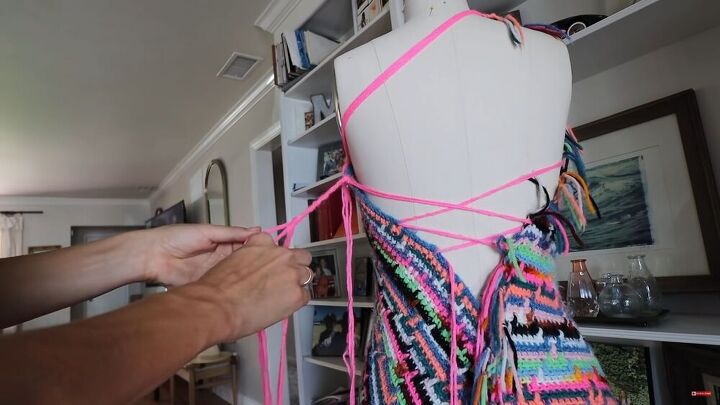
DIY crochet dress tutorial
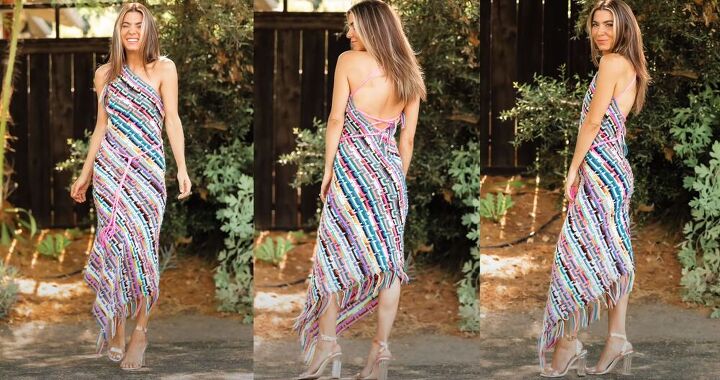
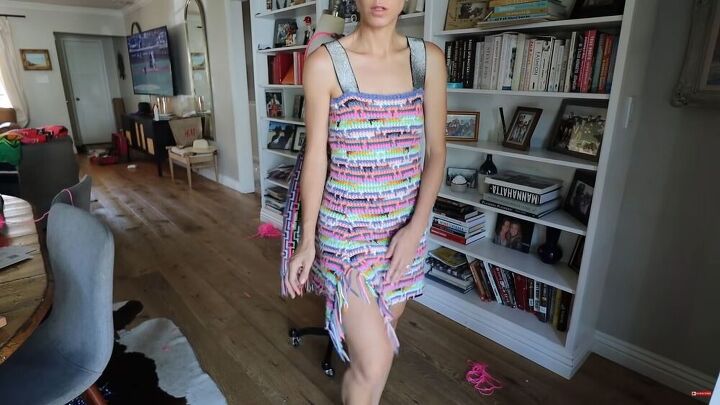
Isn’t this DIY crochet dress just breathtaking? I love it!
It has an asymmetrical bottom, and the braided yarn at the back really gives it a magical touch! It’s such an easy tutorial, and the result is so worth it!
Crochet crop top
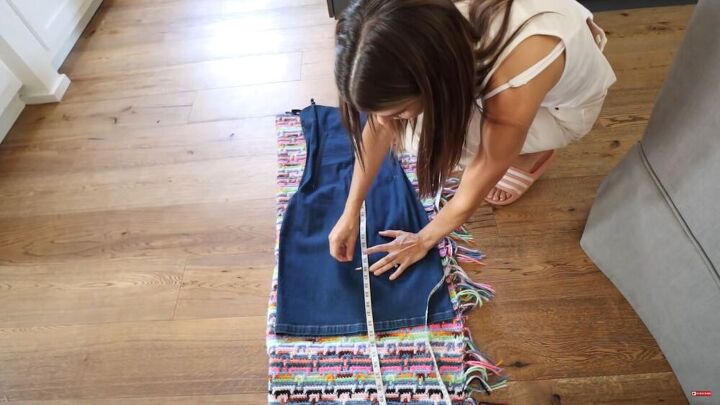
1. Draw the pattern
Originally, I started out making another DIY crochet dress with a different blanket. So, I started by using a dress as a guide and measuring the blanket to my desired length.
Next, cut and follow the line of your dress, as shown. Make sure to cut it a little larger to accommodate some seam allowance.
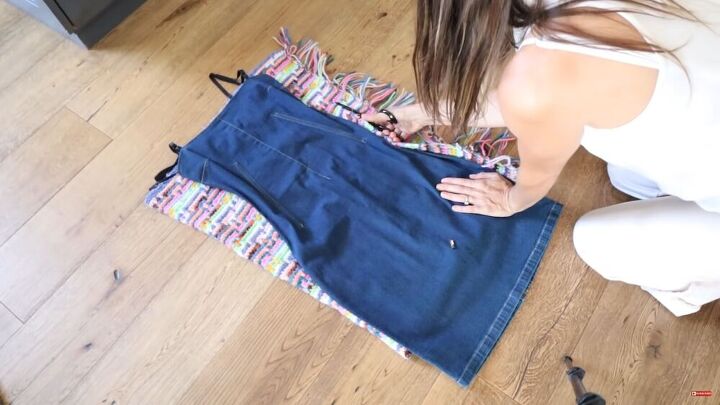
2. Stitch it up
Again, you don’t need a sewing machine. Stitch the sides with your trusted yarn and needle.
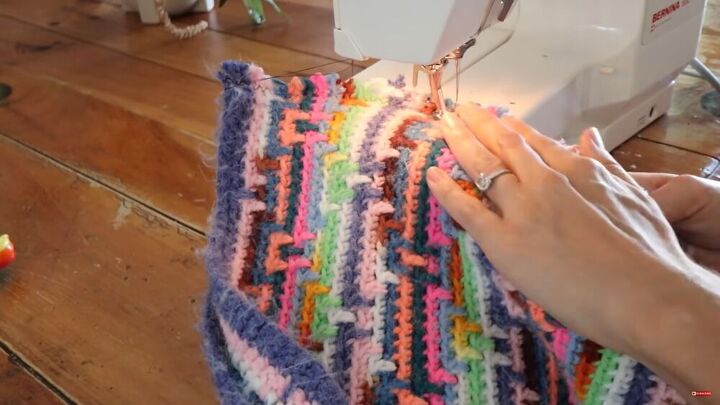
Even though you don't need a sewing machine and I wanted the effect of the hand-sewn yarn, I wasn't sure if my idea was going to work.
So, to check what my dress would look like before I went any further, I busted out my sewing machine and stitched the raw edges with a zigzag stitch.
I'm glad I did because this was the result. If this is something you like, great! You have yourself a DIY crochet dress! I didn’t love this style myself, so I decided to turn the dress into a top instead. Sometimes in DIY, you just have to go with the flow!

3. Modify the dress
I decided to crop the dress, and of course, I ended up with two more crochet items!

Once you have your crop top, it’s a good idea to clean-finish the edge. Here, I am basically looping it and creating a knot, too. To see this technique, skip to 7:55 minutes in the video.
Tip: The stitches were so tight that the bottom started curling into a lettuce-like effect that I actually liked. So, keep that in mind when stitching.
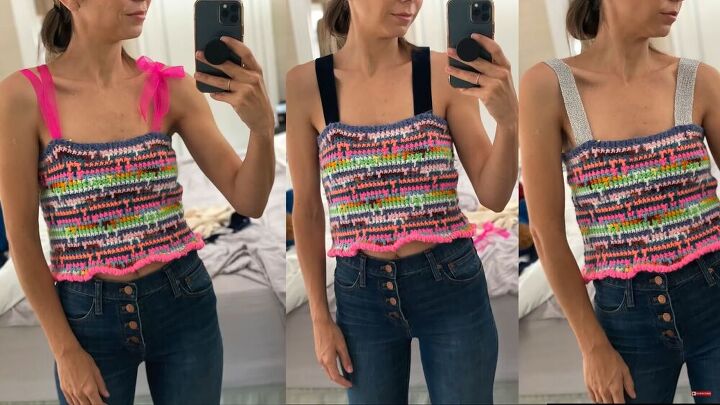
4. Add the shoulder straps
I had a couple of ideas for the shoulder straps. Here, you can see three versions. I basically took some scrap material for this step.
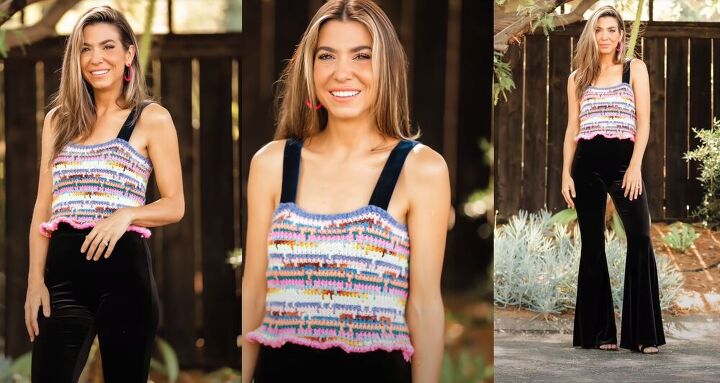
DIY crochet crop top tutorial
Ok, here’s the final look. I decided to go with the classic black straps in the end. I love the pink yarn; it gives the crop top a fantastic pop of color! I’m so glad I went with the crop top look in the end, as it’s really custom and unique.
Let me know what you think of both of these crochet DIYs in the comments. Which do you prefer: the DIY crochet dress or DIY crochet crop top?
The author may collect a small share of sales from the links on this page.


Comments
Join the conversation
I think you did a phenomenal job!! You also look Ahhmazing in both!! The back of the dress looks stunning especially on your body frame!!! Incredible job!! Thank you for sharing you obviously are extremely talented!
Just because u can doesn’t mean u should
gosh! what a fantastic job and idea. adore the tops for sure. thanks a million. fall clothes i'm a making.