How to Create a Cute Pink and White Dip Powder Nail Design

If you've been doing basic dip manicures and you are ready to up your nail game a little bit then this tutorial is for you.
Today, we are doing some really easy color-blocking that you don't need to use tape for. Then, I'm going to show you how to add some simple stamping to really add a pop to your manicure.
Let’s get started with these pink and white dip powder nails.
Best nail stamping kit!
Tools and materials:
- Builder gel
- Colored dip powder
- Clear dip powder
- Glitter dip powder
- Nail brush
- Washi tape
- Dip cups
- Activator
- Isopropyl alcohol
- Nail stamping kit
- Top coat
1. Paint your base coat
I always have builder gel or a rubber base on my natural nails, so I don't need to build an apex or add any clear as my base.
But, if you don't do builder gel, you can start off with one to two dips of clear as your base.
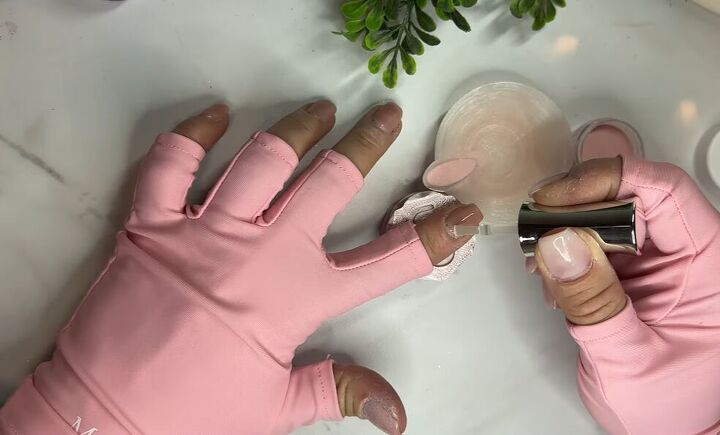
2. Dip nails with powder
For the color, we’re going to go with a gorgeous pink dip powder.
Do two dips on each nail and then brush off the excess with a nail brush.
If you’re going to be doing color-blocking or stamping on some of your nails, then you can go in with just one dip or do a second dip but only on half of the nail.
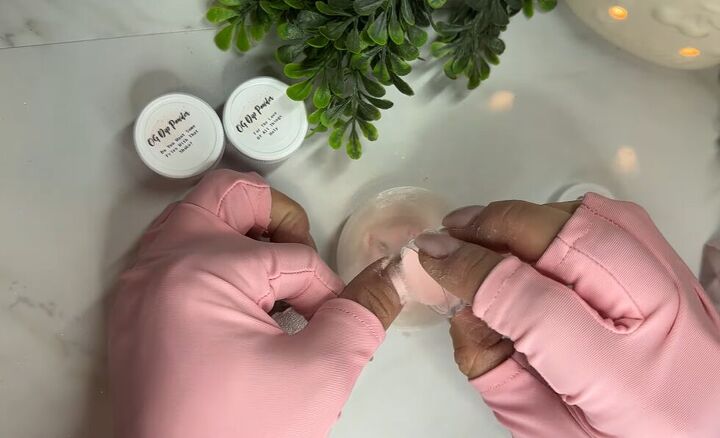
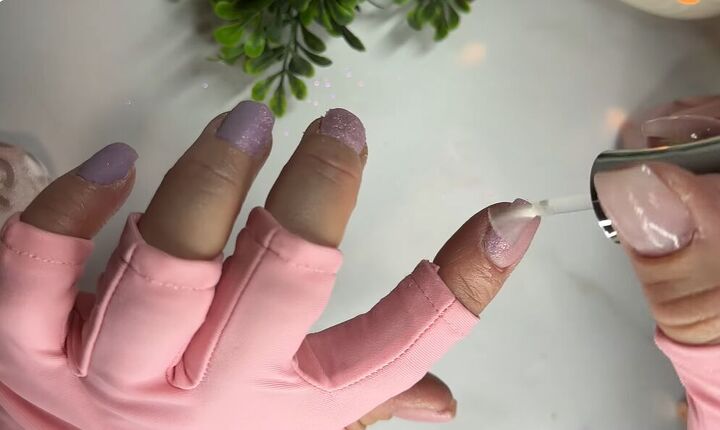
3. Apply clear dip powder
Now apply clear dip powder over any of your nails that are going to stay solid colors, and you’re not going to be adding anything else to them.
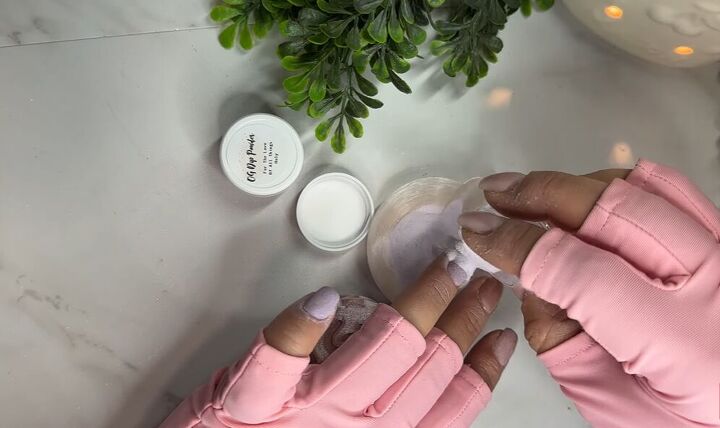
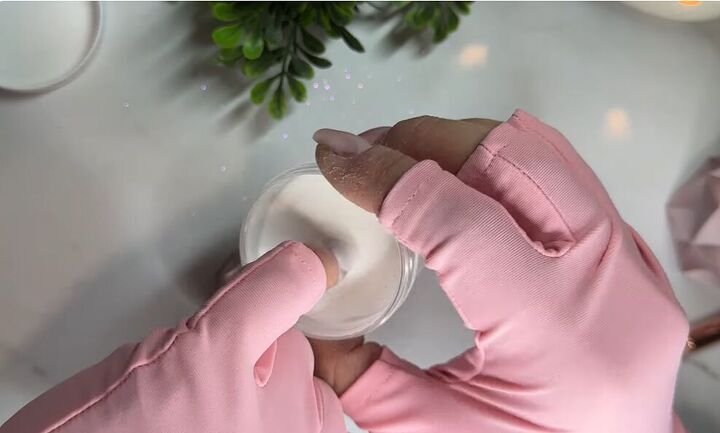
4. Apply glitter dip powder
Apply glitter where you would like it to go.
To do a color-blocking design, apply clear polish onto half of the nail and then just dip that side in the glitter.
Your line doesn’t have to be super straight, especially if you’re going to be stamping over the top of it.
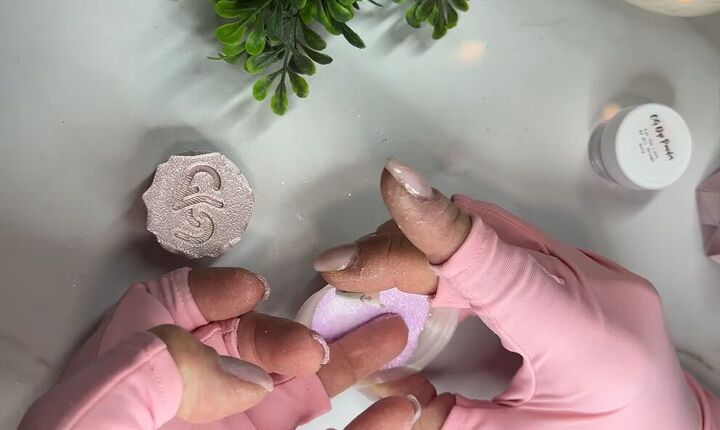
I like to put a piece of washi tape on one of the fingers of my opposite hand and then press down the glitters after each layer, as this helps the glitter to lay flat.
5. Apply clear dip powder
Once done, apply clear polish and then clear dip powder over the top. Brush off any excess with a nail brush.
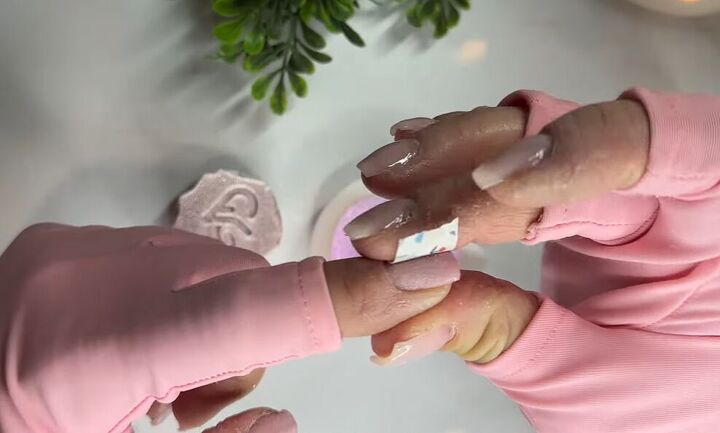
6. Apply activator
Now apply an activator - this will harden your dips. Then, proceed to file, shape, and buff your nails.
Applying clear dip powder means that you won't be messing with the color at all.
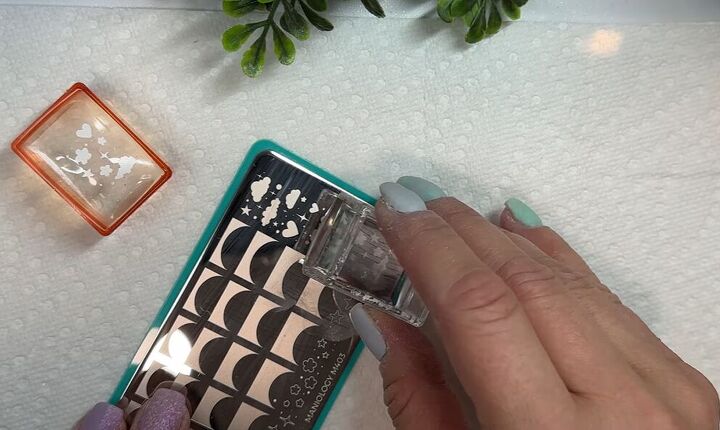
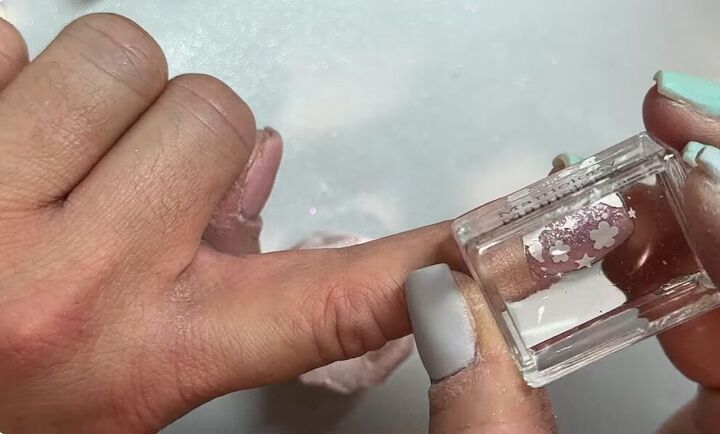
7. Stamp nails
Wipe your nails clean with isopropyl alcohol, and then you can start stamping.
I went for a stamp with a clouds, stars and hearts design and will be applying the stamp on the two nails that I did the color-block.
Apply white nail polish on top of the stamps, scrape it down, and then press your stamp into it.
Wait for the images to dry for a few minutes before stamping them onto your nails.
If you wait until the sticky base is too dry, then the image is not going to apply.
If you do it when it's too wet, it's going to smear, so it needs to be tacky.
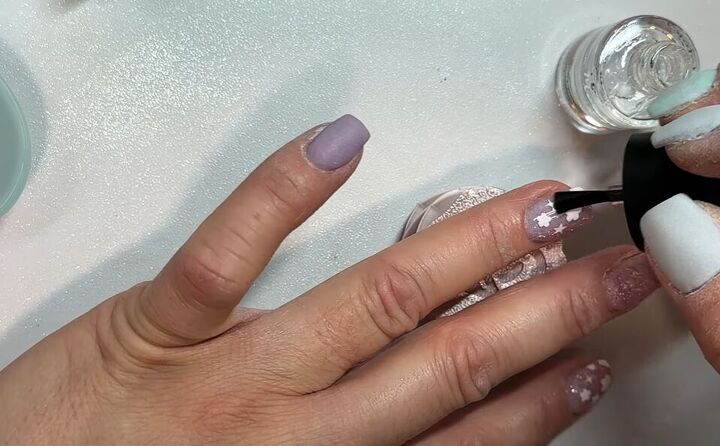
8. Apply top coat
Once your stamps are completely dry, you can go over them with a no-smidge top coat.
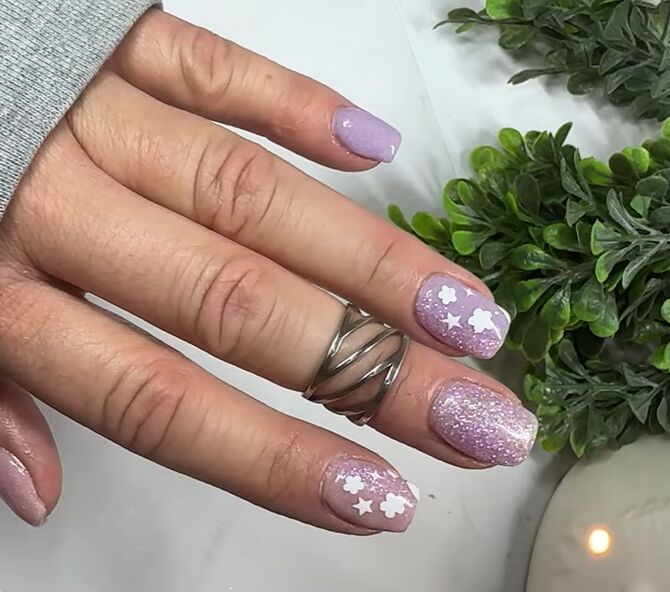
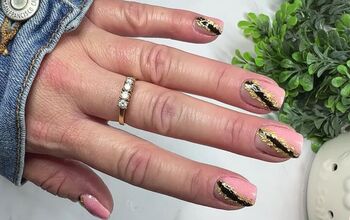
Pink and white dip powder nails
Here is the finished look.
I love the color-blocking effect that I’ve done on two of my nails, where two-thirds of the nail is in a solid color, and the other one-third is a shimmery glitter.
I also adore the nail stamps; they are so perfect for spring. I hope you enjoyed this nail tutorial and you’ll give it a go for yourself!
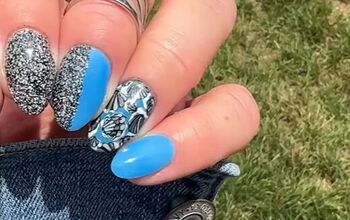
For another look that involves stamping, check out this Step-by-Step Watercolor Nail Art Tutorial.
The author may collect a small share of sales from the links on this page.


Comments
Join the conversation
I love the fingerless gloves!