Step-by-Step Watercolor Nail Art Tutorial

In this tutorial, I'm excited to share a unique nail art technique that I've been eager to try – watercolor nail design stamping.
I discovered this method on a Facebook group, and it looked so intriguing that I had to give it a shot.
So, let's dive into this step-by-step tutorial on how to do watercolor nails!
Tools and materials:
- Watercolor paint set
- Nail polish colors of your choice
- Stamp plate and stamper
- Sticky base
- Matte nail polish top coat
- Smudge-free top coat
- Clear dip powder
- Dip liquids (base and top coat)
- Fast-drying top coat
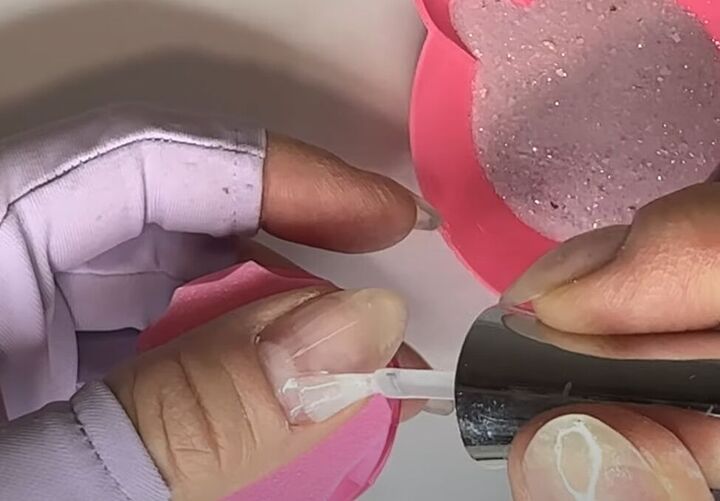
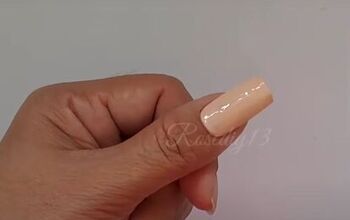
1. Prepare the base
I'm using the color "Come to My Window" for the base. Apply a sticky base and let it dry.
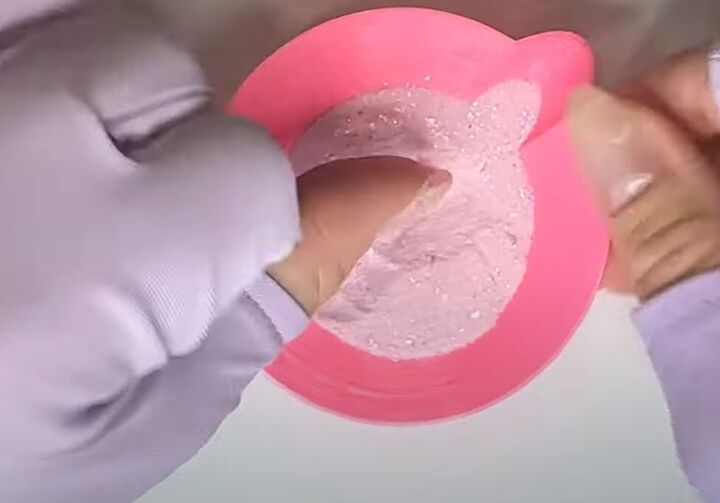
Pour the dip into a cup or cupcake liner.
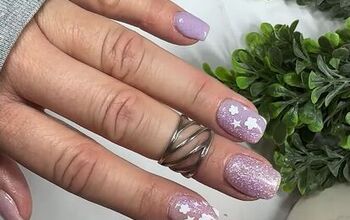
For a unique touch, I'm using flakes in the background to complement the watercolor design.
Before each dip, shake the flakes gently in the cup.

You can do multiple dips, but brush off excess powder and reapply the sticky base between layers.
More thin layers are better than less thick layers.
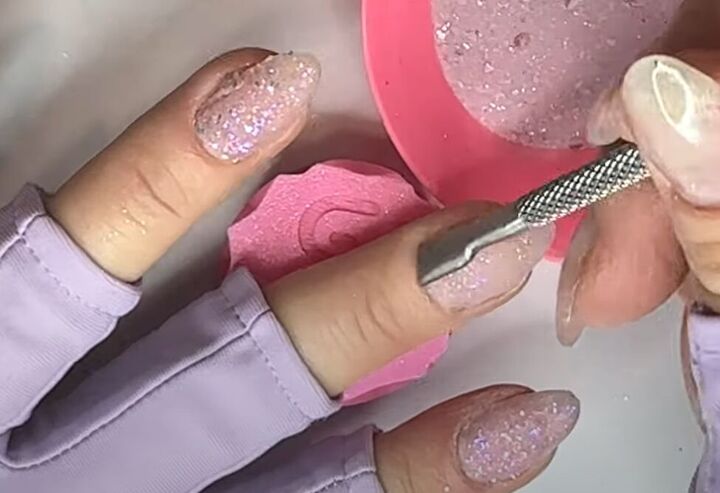
Use a nail tool to clean around your cuticles after each dip.
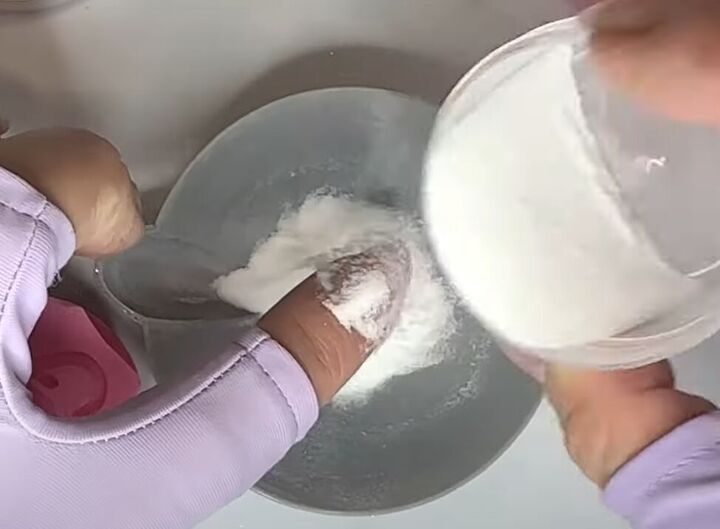
Apply clear dip powder as your last dip.
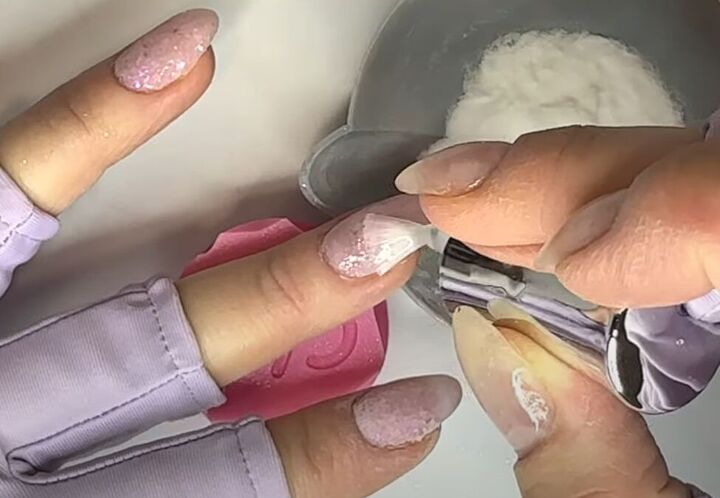
Shake off the excess clear dip powder and apply a clear activator coat to harden everything.
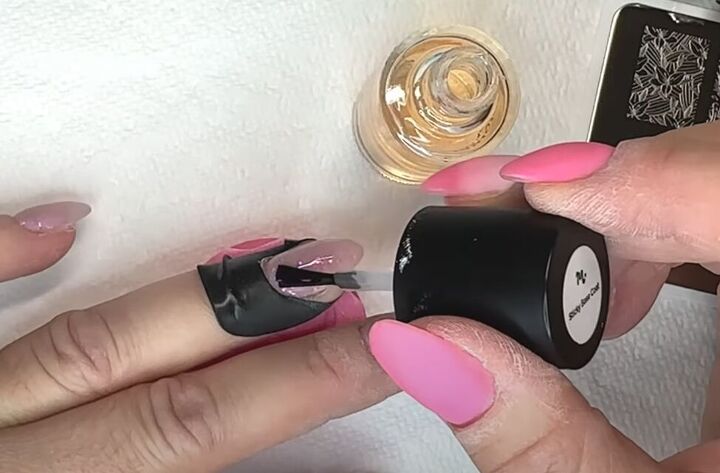
2. Watercolor stamping prep
Apply a sticky base over your nails, let it dry, and then apply a matte nail polish top coat over the sticky base dry.
Let that dry for about a minute.
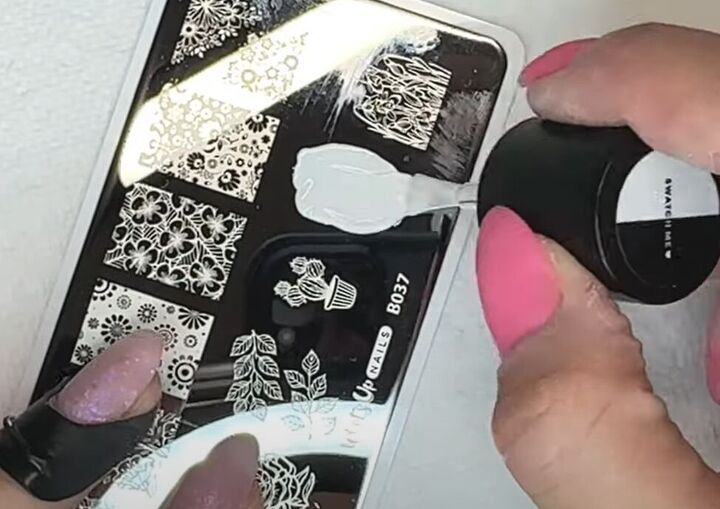
Apply white stamping polish to the plate.
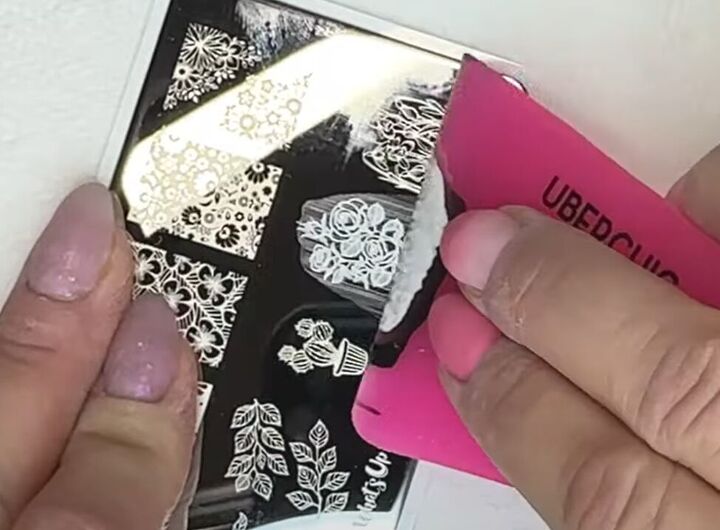
Scrape the polish off.
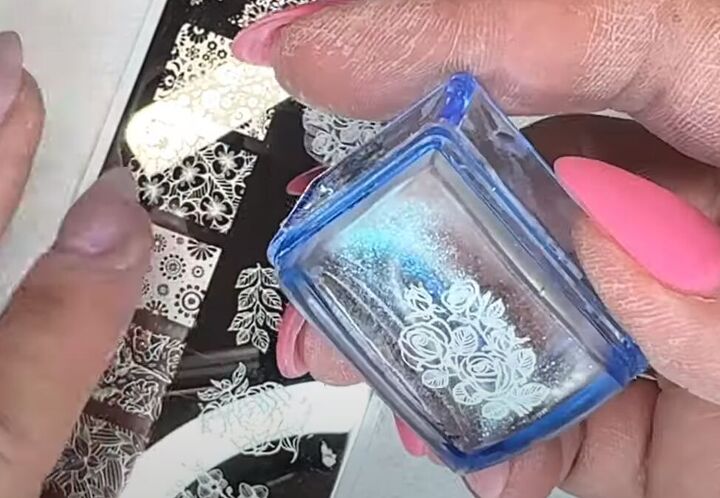
Roll the stamper over the scraped polish.
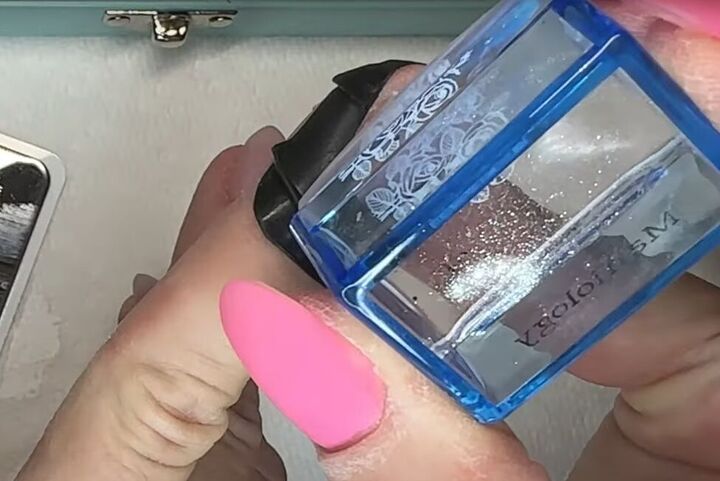
And immediately press the stamp onto your matte top coat.
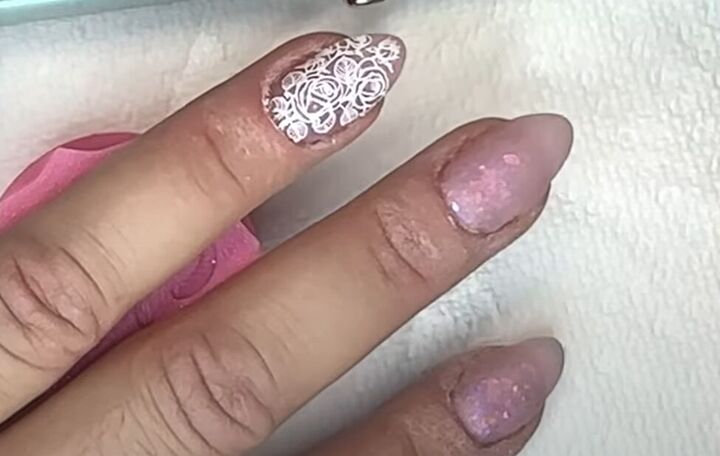
There is your first stamped nail!
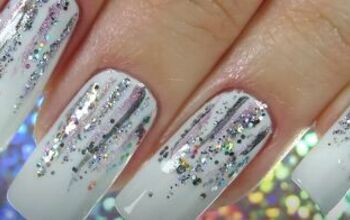
3. Apply watercolors
Choose an image with open spaces for watercolor. The magic begins here!
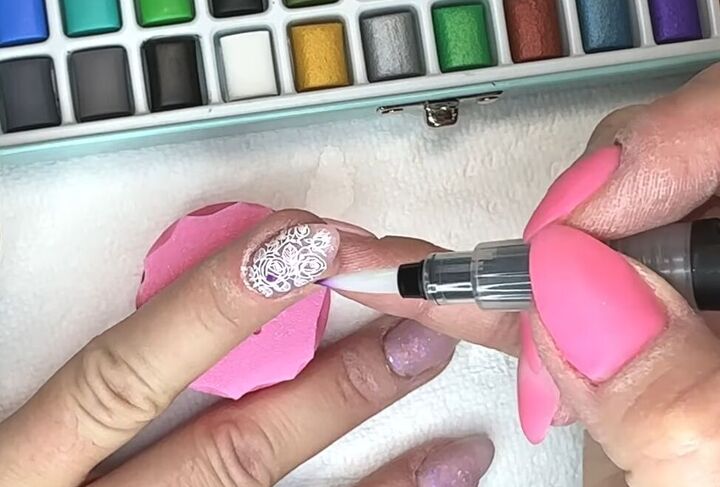
Dip your watercolor pen into water, brush it off on a paper towel, and dip it into the desired color.
Experiment with various colors to fill in the open spaces in your stamped design.
If you're not happy with a color, you can easily wipe it off with a damp brush.
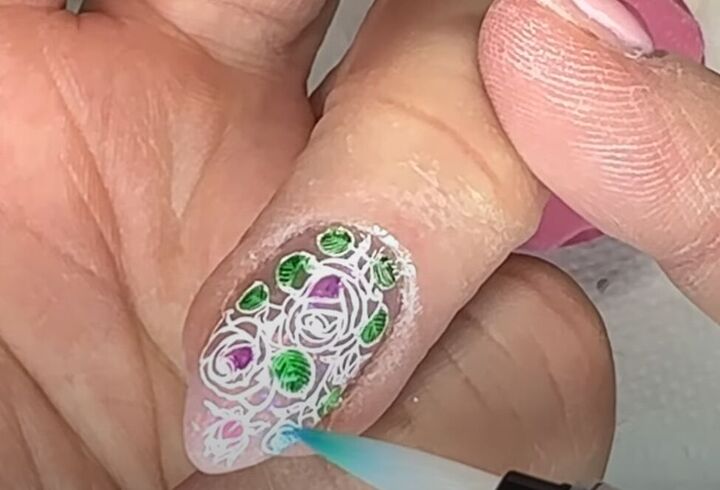
After applying the watercolors, use a bit of water to wipe away excess color around the stamped lines.
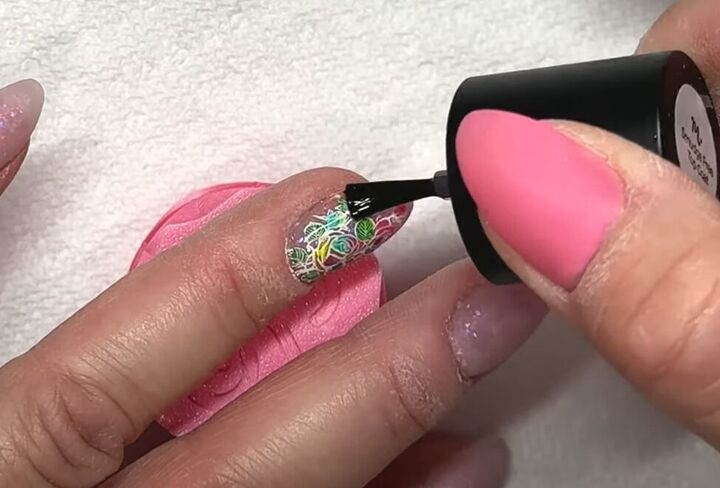
4. Seal your design
Wait for the watercolors to dry for about 10-15 minutes before applying a smudge-free top coat.
Let it dry completely.
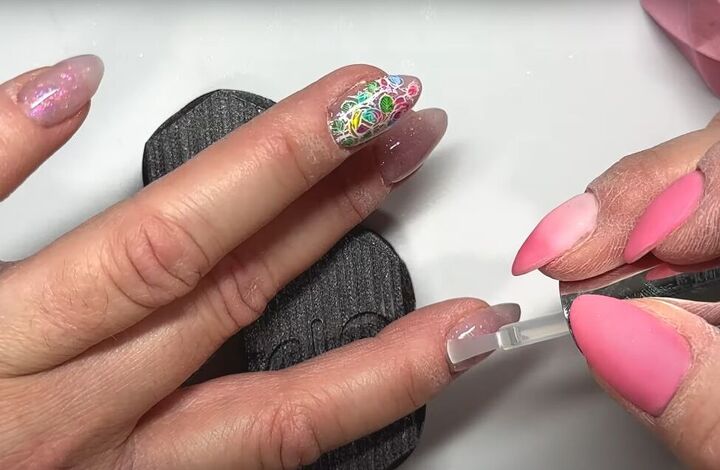
6. Apply the finishing touch
Top coat all the other nails with dip liquids and then apply a fast-drying top coat for added shine.
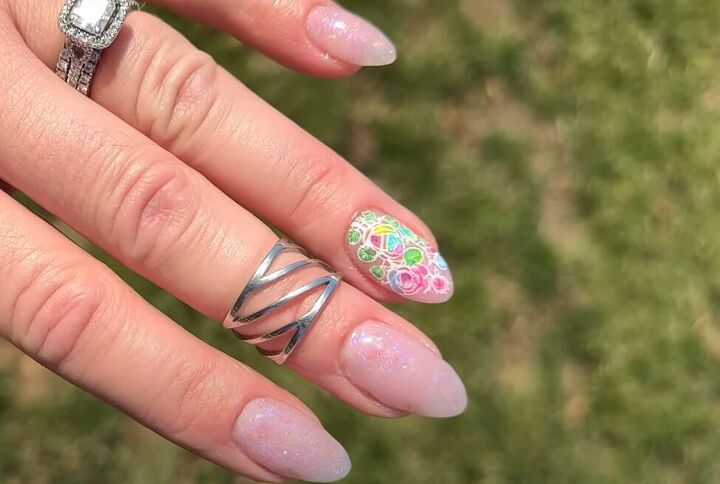
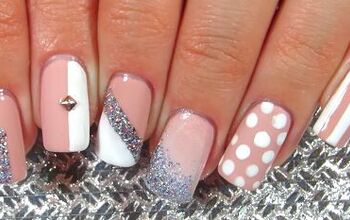
Watercolor nail art
And there you have it – a stunning watercolor stamped nail art!
Let your imagination take you wherever you want, then leave a comment to let me know how you liked the watercolor nail design tutorial, and what stamp pattern you chose to use.
Next, check out my Easy Chrome French Tip Nails Tutorial.
The author may collect a small share of sales from the links on this page.


Comments
Join the conversation