This is One Jaw-Dropping Reformation Dress You Have to Try

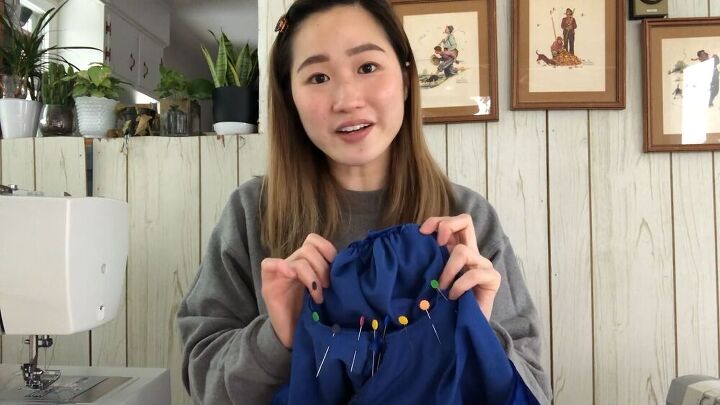
Ready for an astonishing thrift flip? I am recreating a lovely "Maura dress" from an old velvet nightdress. The Maura dress retails for over $300. This nightdress that I found from my thrift store only cost $1.50! That's right! Jaw drop, huh? I am going to show you how I transformed this mucky dress into something exquisite. Let's start! You're going to love this Reformation dress tutorial!
Upstyle Recommends!
Tools and materials:
- Nightdress or any large, velvet dress you can find at a thrift store
- Pin
- Sewing machine
- Pearl buttons
- Thread
- Paper
- Free pattern- get it here
- Scissors
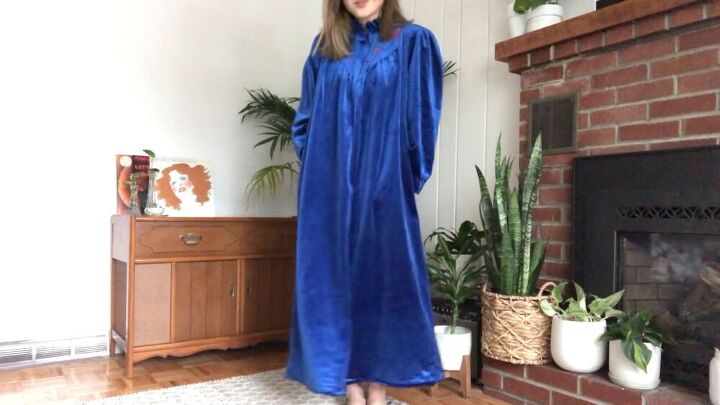
This is the oversized velvet dress that I found for this project.
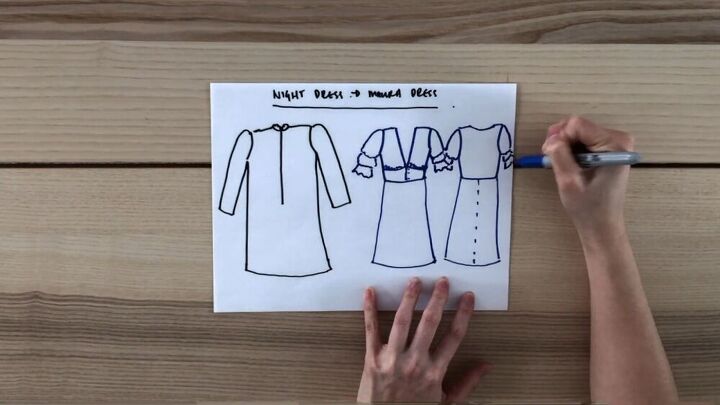
Draw your idea
Here's the game plan! From the nightdress's front section, I will cut out the two pieces I need for the front of the top and waistband. From the back-top section, I'll cut out the piece I need for the bodice. Using the bottom top section's fabric, I will cut the two pieces I need for the skirt's back that will join with a seam in the center-back. From the back of the nightdress, I'll cut out my front skirt piece. I will be reusing the original sleeves to recreate the tier-ruffled sleeve. Finally, I will seam rip the original zipper from the nightdress's front and install it to the left side of the new dress.
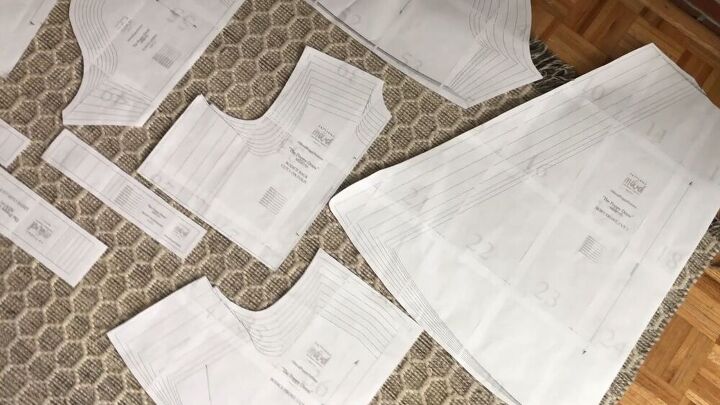
Print and assemble the pattern
I found the perfect pattern to use for this upcycle, and the best part is that it's free! Get it here.
The pattern has the same silhouette as the Maura dress I mentioned above. Print out the pattern and assemble all the pages with tape. Next, cut out the pattern pieces.
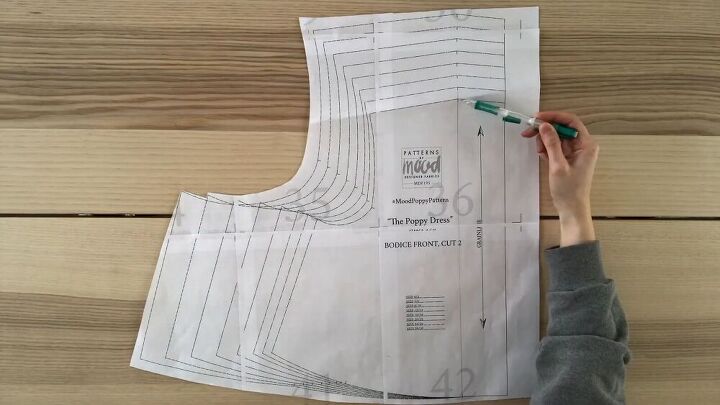
Make some modifications
Using the bodice piece, draw a line under the neckline as shown. We will not be using the section on the fold where the arrows are because it's meant to be folded under to create the facing.
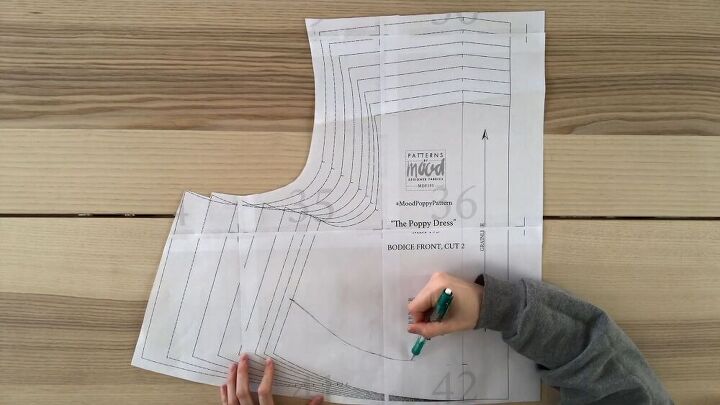
From the shoulder seam, measure 14 inches and make a mark. I opted that my waistband is 3 inches tall, so I mark it on the point shown in the image. Next, draw a curved line to connect the two previous points you made.

Using parchment paper, trace out your modified front bodice pattern. Add half an inch seam allowance all the way around and cut.
Modify the back bodice
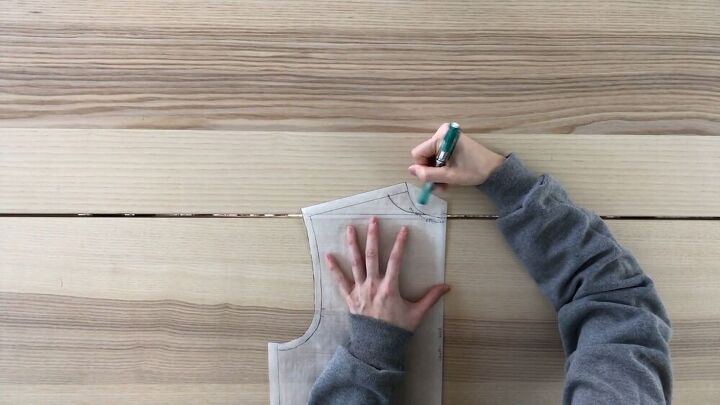
For the back bodice, there's no seam allowance as I will cut it on the fold. So simply trace the back bodice on parchment paper and cut it out, too. Once cut, adjust the neckline. The reason is that the sleeves will have a basting stitch, and the gathers will make the sleeve 1 inch shorter than the armhole. Mark a new neckline, taking in about an inch and curving it to the other side. Add a half-inch seam allowance and cut out the modification when done.
Make the waistline.
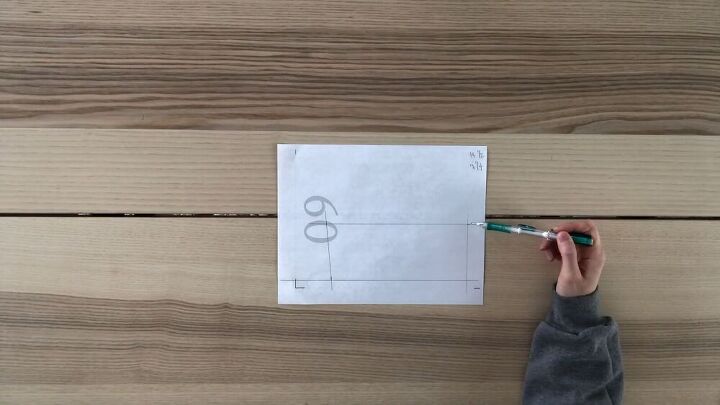
My front waistline measured 14.5 inches; half of that is 7.25 inches. So, on a plain piece of paper, draw a straight horizontal line and a perpendicular line that is 3 inches tall. From the first line you drew, measure 7.25 inches, and make a point. Then, measure the line 3 inches above the original line and draw a point. From that point, measure 7.25 inches lengthways and finally, draw these two points together with a diagonal line. Add a half-inch seam allowance all the way around and cut.
Cut out the pieces and make the bodice
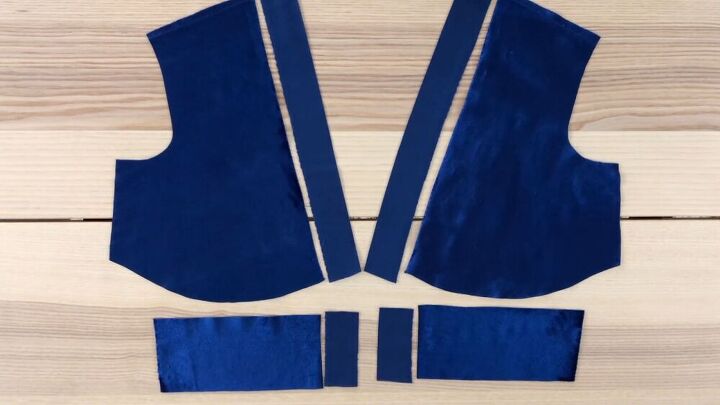
Once your modifications are done, go ahead and cut out the front pieces. Here, I cut out the bodice pieces, the waistbands, and the facing pieces.
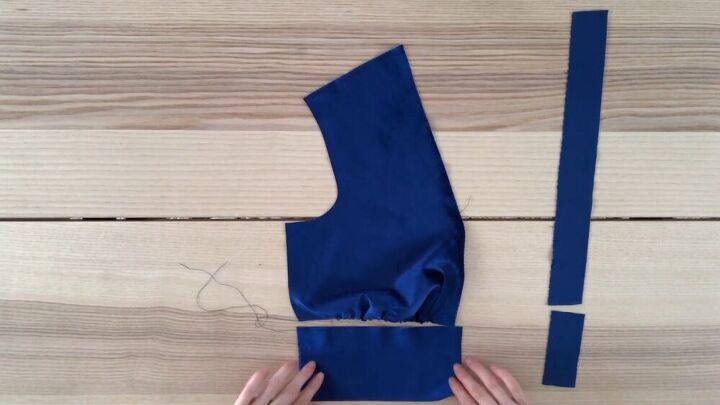
Sew a basting stitch on the lower curve of the bodice piece. Next, gather the fabric until the bottom bodice piece's length matches the length of the waistband.
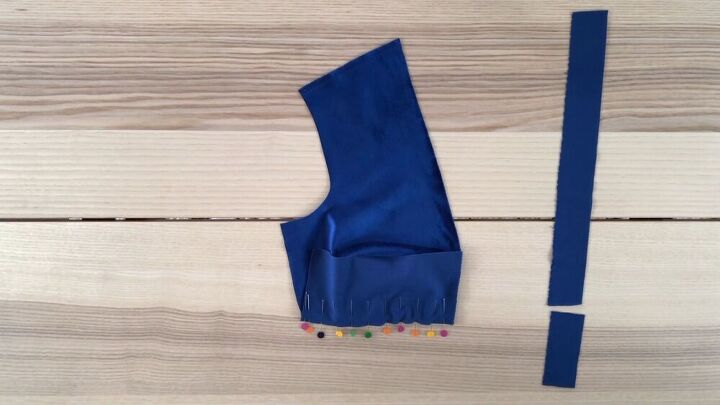
Pin the two pieces together, right sides together, and sew with a straight stitch.
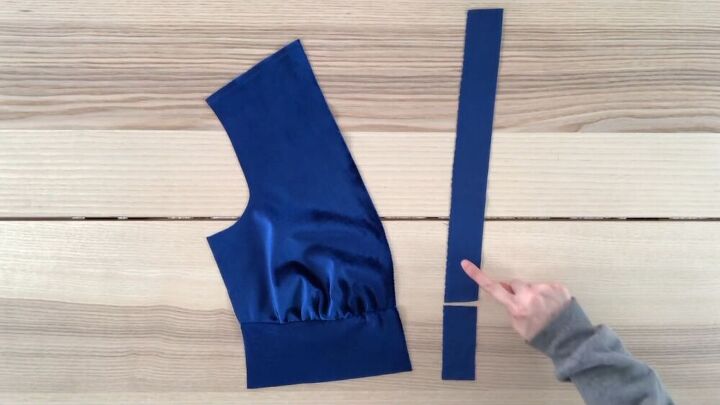
Repeat the steps for the other front bodice pieces, and sew the facing pieces together.

Sew a basting stitch along the shoulder seams. This is what it should look like after it's gathered.
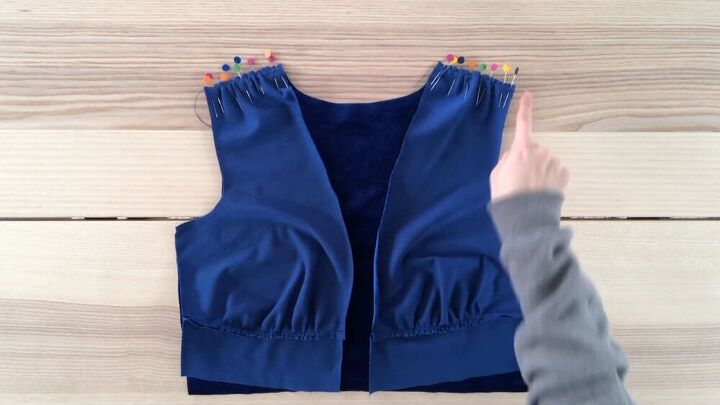
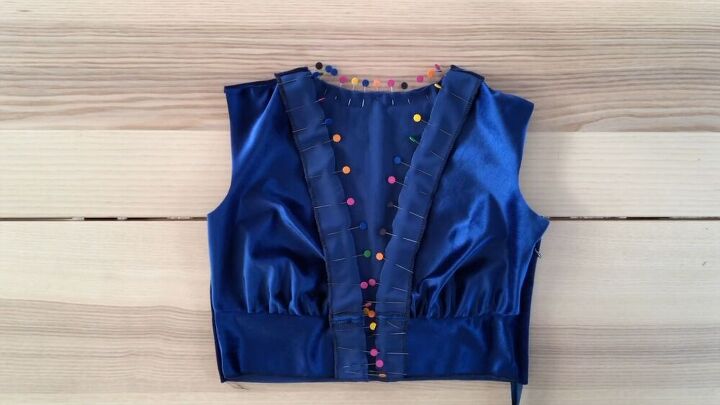
Attach the back bodice by taking both your front bodice pieces and placing them on top of the bodice, right sides together. Then, pin and sew with a straight stitch.
Sew a seam and attach a zipper
Sew one side seam together and on the other side seam, sew your invisible zipper.
Make the buttonhole loops
Cut a fabric that is ¾ inch wide. Fold inwards so that you hide all of the raw edges. Sew along the strip of this fabric with a straight stitch. Next, cut a piece that is around 3 inches long, make a loop pin it to the top side of the waistband. Repeat this twice so that you have 3 neat buttonhole loops, as shown.
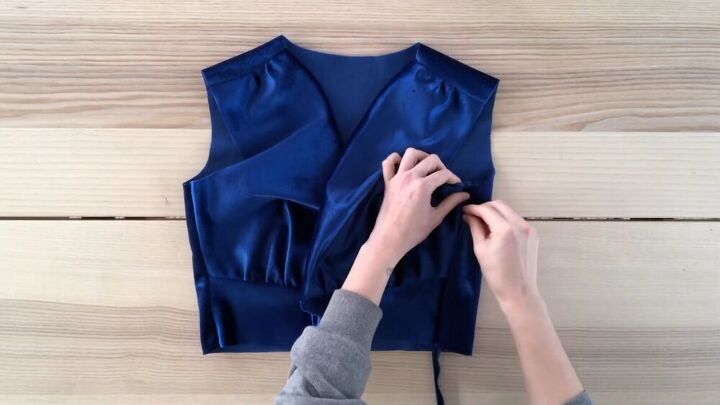
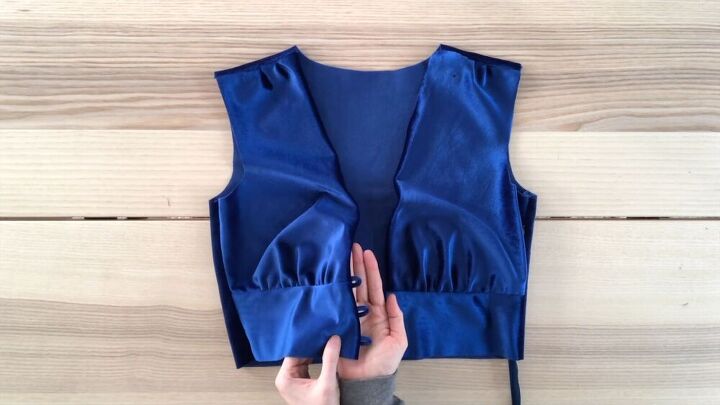
Add the front and back facing pieces
Go ahead and sew your facing pieces together. Pin it to your bodice, ensure that they face the right sides, and sew to secure it. Once sewn, tuck the facing under the bodice.
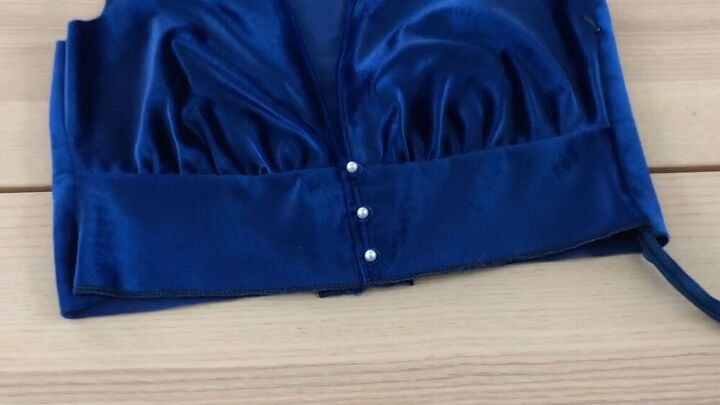
Topstitch the facing all the way around to ensure that the facing doesn't peak out. Now that the topstitch is done, hand-sew three pearl buttons along the side of the waistband. Make sure they are aligned with the buttonhole loops.
Try on your bodice to see how it fits. For me, as you can see, it was rather big at the waist, so I sewed two darts at the back to make it sit snug on my upper body. I pulled the fabric back until I was satisfied with how it sat and pinned it with a safety pin. Next, I took off the bodice and pinned the excess fabric. The excess fabric was 6 inches, so I divided this by 2 and measured 3 inches on each side. Next, I measured the center of the bodice and turned it inside out. I measured my darts at 3 inches on either side and made a kind of pyramid shape, lengthways. This is what my darts looked like after I sewed them together.
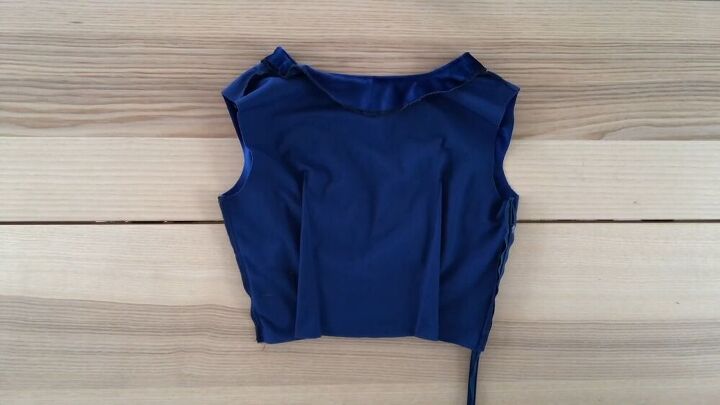
Make the sleeves
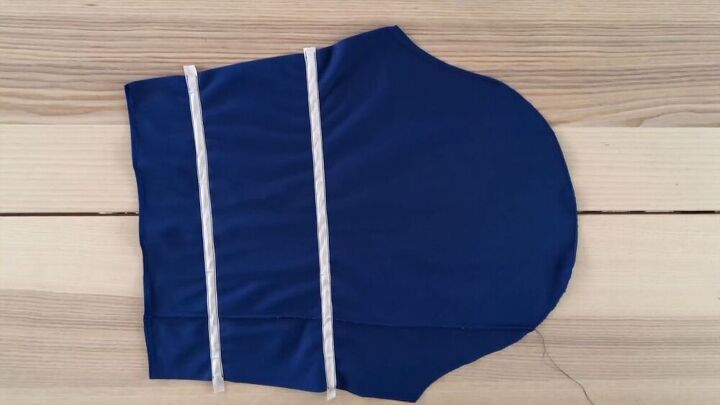
Now it’s time to make the tiered ruffled sleeves! Take off the sleeves from the nightdress and clean up the edges. Measure 3.5 inches from the side hem and draw a line. Next, measure 4 inches from the top of the sleeve seam, and draw another line. Take two pieces of bias tape and sew it along these lines. The bias tape will be the casings of the elastics.
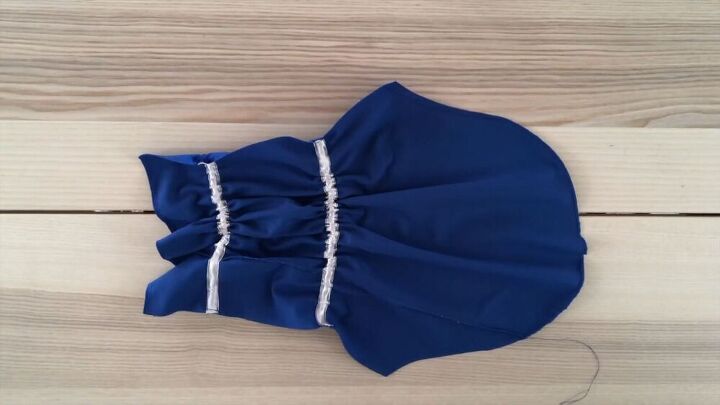
Next, take an elastic, attach safety pins on both ends, and feed it through the casings. Sew on both ends with a straight stitch to secure the elastic. Also, sew a basting stitch on the sleeve's curved end so that you can gather later.
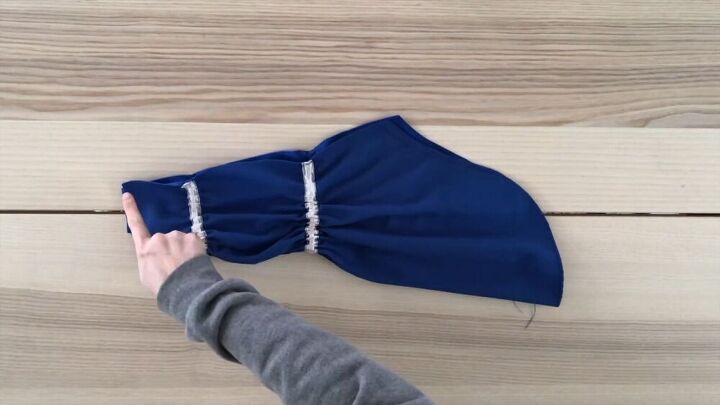
Fold the sleeve so that the right sides are facing each other and sew the side seams. Repeat this step on the other sleeve.
Attach the sleeve.
Pin the sleeve to the top, making sure that the sleeve's side seam aligns with the top's side seam. Pin ¾ of the way and pul the basting stitch that you sewed, creating beautiful gathers.
Pin the rest of the sleeve to the top and sew all around. Repeat this on the other sleeve.
Make the skirt
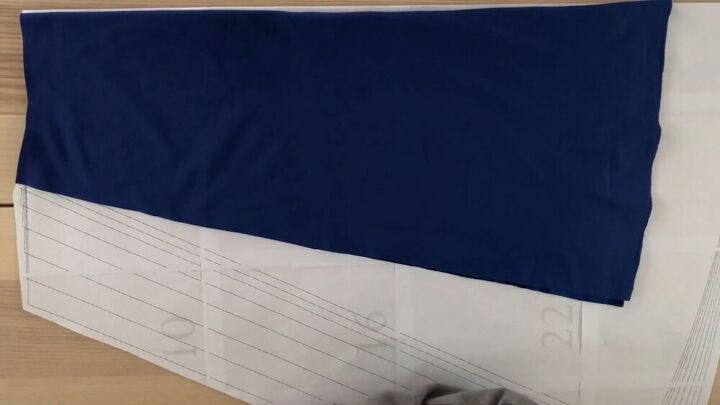
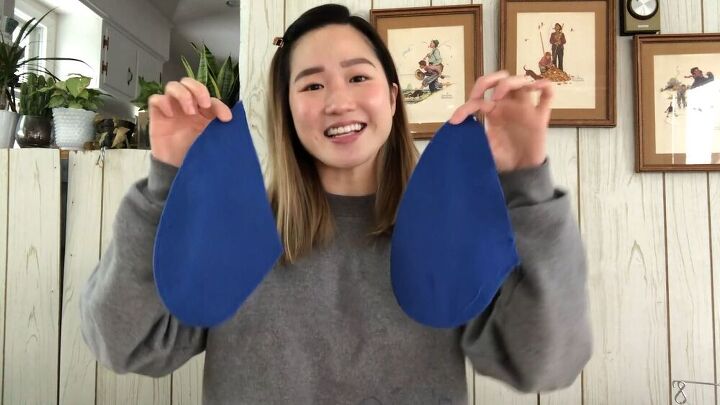
Take your pattern and cut the front piece on the fold. I only used the pattern for the waistline. As you can see, I didn't have enough material to make a wider skirt, so I used as much fabric as I could from the nightdress.

Follow the same steps and cut out the two back pieces to sew along the center back.
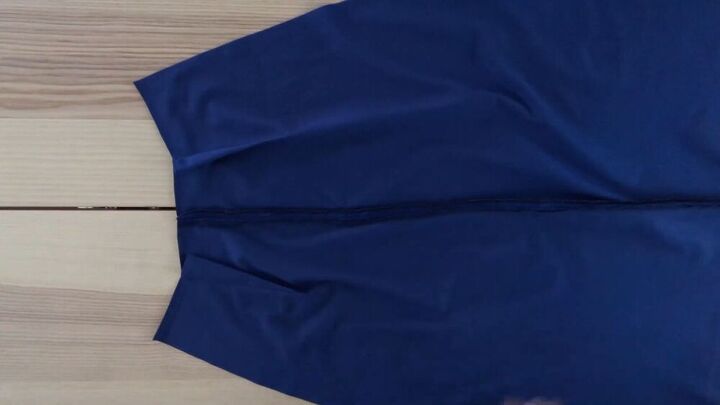
Sew the back pieces together and add darts to the back of your skirt, making sure they correspond to the existing darts on your bodice.
My nightdress had pockets, and so I didn't want to throw them out. Before I sewed my dress together, I sewed these pockets on the side.
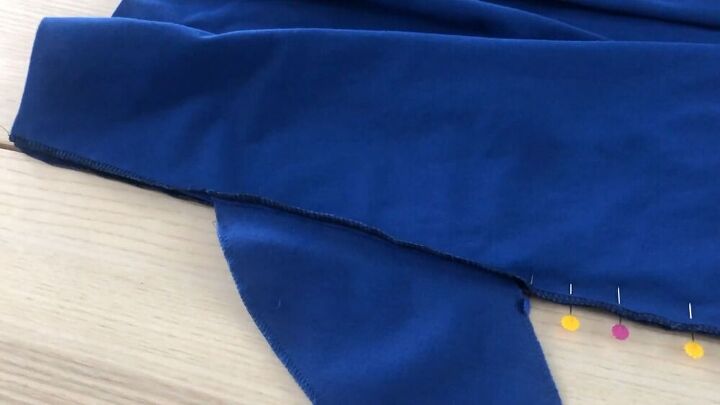
Pin one side of the skirt all the way down, and on the other side, pin ¾ of the skirt so you can leave an opening for the zipper.
Assemble the dress
Pin the dress's waistline to the top and sew. Once it's secured, sew the rest of the invisible zipper to the skirt.
Hem the dress by folding it up once and sewing all the way around.
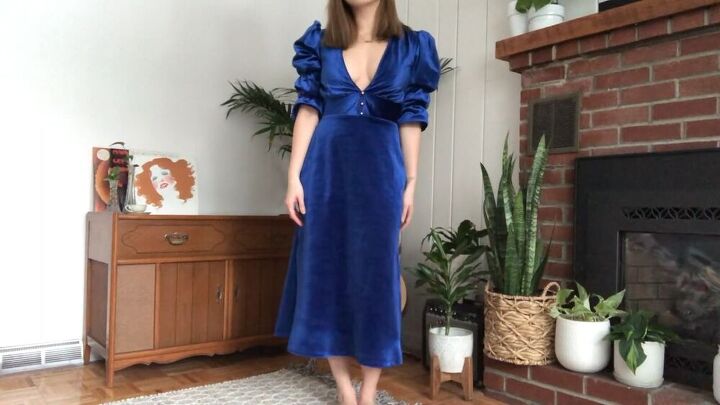
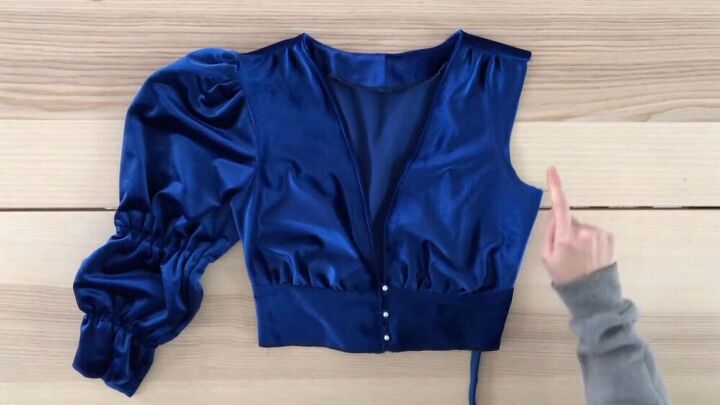
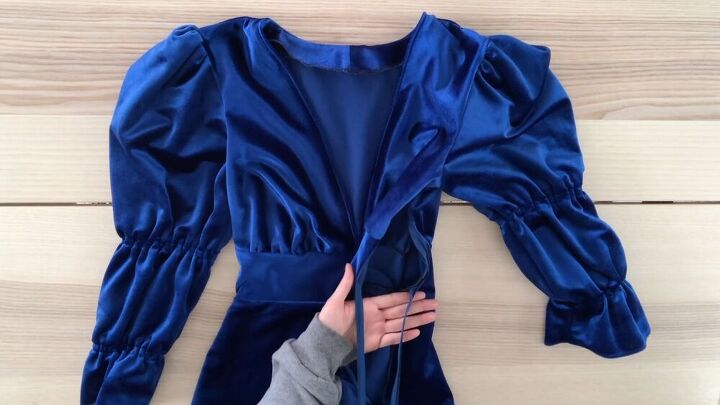
Ta-da! Isn't this just lovely? I think this dress is just amazing, and I'm super stoked that this cost me almost nothing compared to what the design retails in the fashion stores. Also, my dress has pockets, giving it a nice, elegant function. What do you think? Will you try this out?
The author may collect a small share of sales from the links on this page.


Comments
Join the conversation
Stunning. Well done
You've inspired me to get out my sewing machine. I did make all my own clothes when I was younger, using patterns from my head & cloth from my Mums old clothes. It's lovely to see young ones like yourself thrifting & making your own clothes instead of buying new then throwing them out. The dress is beautiful well done.