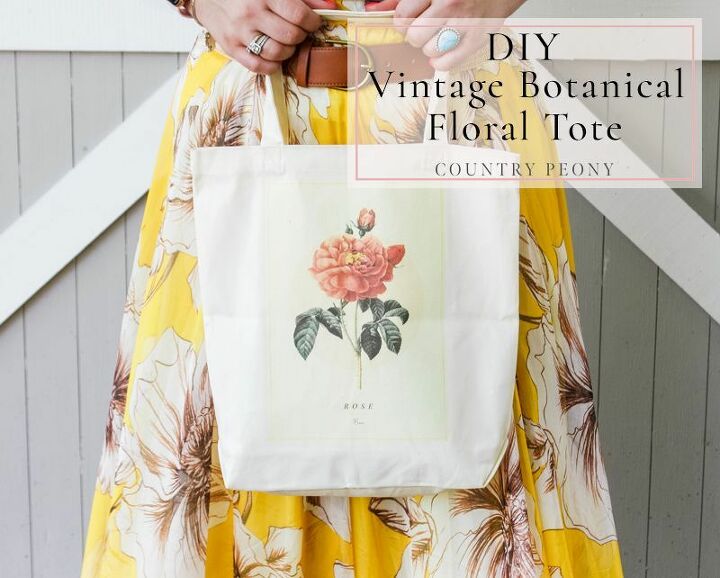
DIY Vintage Botanical Floral Tote
Follow this very simple step-by-step DIY to elevate your average cotton tote with a one-of-a-kind vintage botanical floral print making it pretty and practical!
I have a thing for tote bags. I decorated a summer tote many summers ago, and my children helped me decorate a Mother’s Day tote last year. Especially with this stage of my life, with three little ones I constantly need on-the-go storage for my children’s extra items. It is also helpful to keep a tote in my car, at my parent’s house and at my in-law’s house for items the kids may need. That is why I am so excited to show you today’s DIY: vintage botanical floral tote.
This tote would be great as a gift, or it would be the perfect, practical addition to the farmer’s market, the beach, the gym or running errands.
Continue reading for the full step-by-step tutorial to make your own vintage botanical floral tote.

To make your own vintage botanical floral tote, you will need:
- Vintage Botanical Floral Prints. Click here for the free download for these adorable botanical prints.
- Light Fabric Transfer Paper (affiliate link)
- Iron
- Cotton Tote Bag
- Towel

Step 1: Choose from one of the free botanical prints via FTD (found on my blog post) to download. My tote bag pack came with three bags, so I chose: Rose, Hydrangea, and Peony, even though all of the botanical prints are worthy of placing on a tote.
Step 2: Once you choose and download your favorite botanical print, use your preferred computer program to flip the image horizontally. This is to ensure that the words are not backwards when you iron the image onto the tote. *If you will only use the image (not the words) of the flower then you can skip this step.
Step 3: Get ready to print onto the fabric transfer paper using your printer. Test a piece of plain paper first to see how the paper feeds into the printer so that you print on the right side of the transfer paper. *I ruined a piece of the transfer paper by skipping this step, and I printed the image on the wrong side.
Step 4: Once you know which side that the paper feeds into the printer, lay the transfer paper in the printer tray on the proper side, then print!
Step 5: Turn the iron on and preheat it to the cotton setting (high heat), no steam.
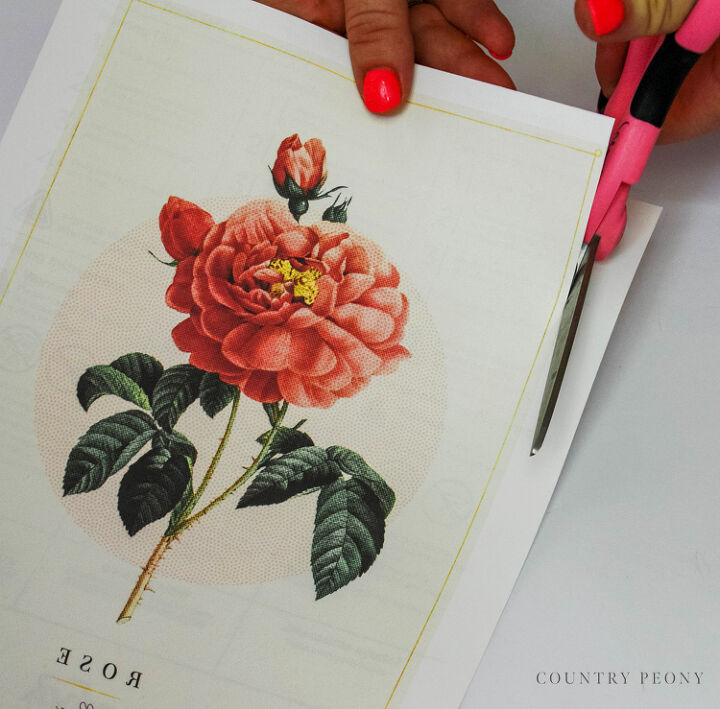
Step 6: Trim the printed transfer paper. I left the border, because I liked how it worked with the cream color of the tote.
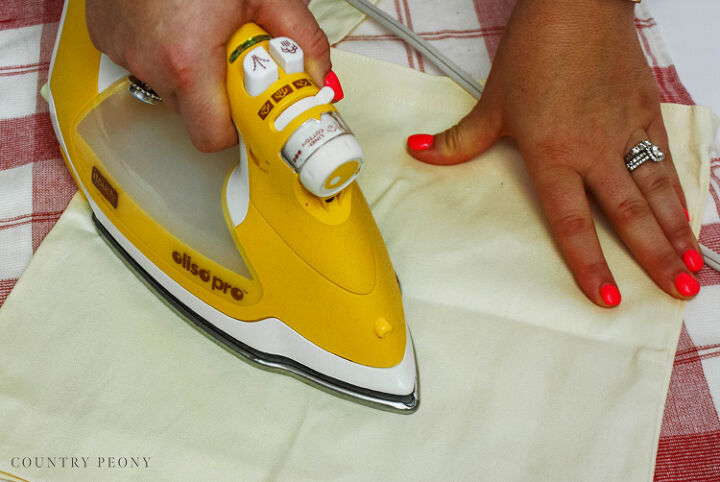
Step 7: Place a towel or pillowcase onto a heat resistant surface (not an ironing board). I placed a towel on to a wooden table. Then iron out the wrinkles in the tote.
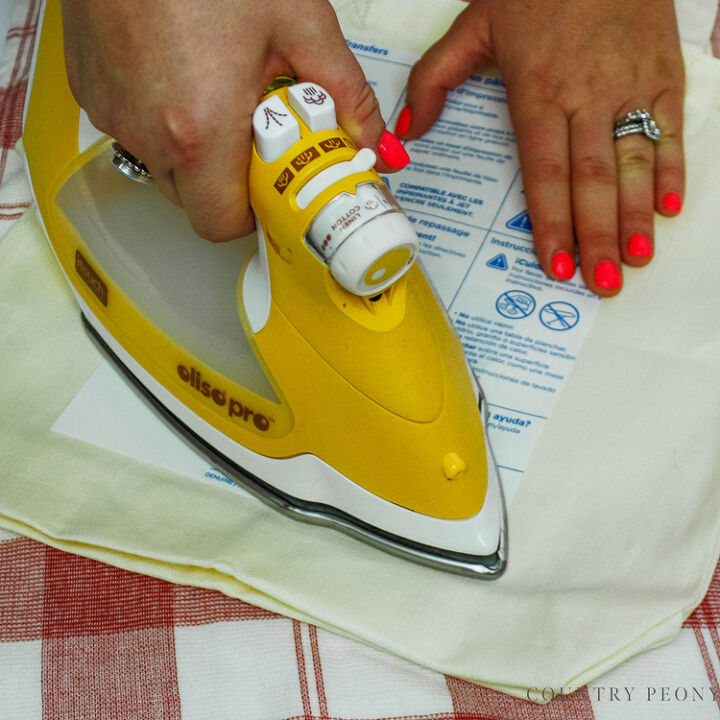
Step 8: Transfer the printed image to the tote *Please follow your heat transfer paper instructions for more specific details.
On the cotton setting (no steam), position the printed image side down onto the tote, then very slowly iron the image onto the tote for about 3 minutes. Ensure that you iron the edges as well.
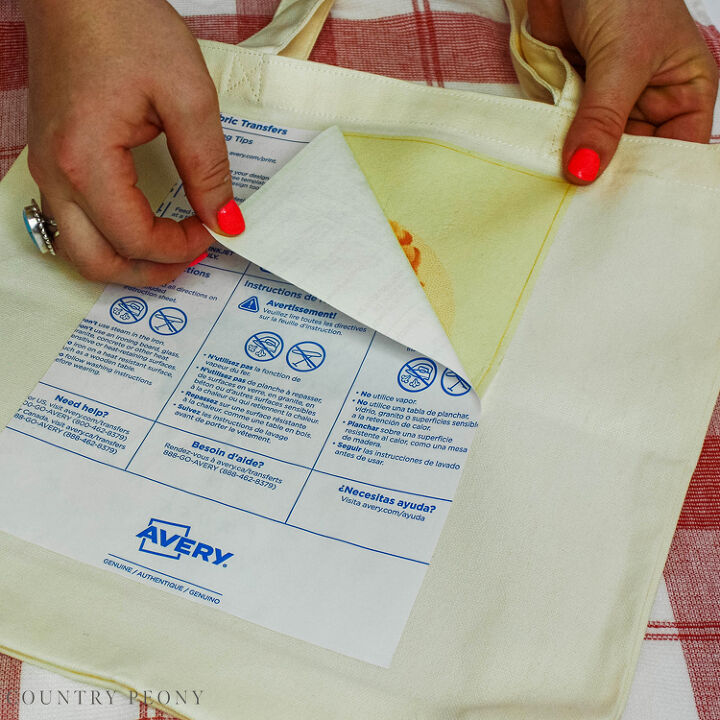
Step 9: After about 3 minutes of ironing, then slowly peel to remove the paper transfer from the ironed tote. *If the image starts to peel up, then place it back down and iron that area some more.
Step 10: Turn off your iron.
*Follow your fabric transfer manual instructions for wash care, but I would wait at least 24 hours until you wash the items in cold water, then hang dry.
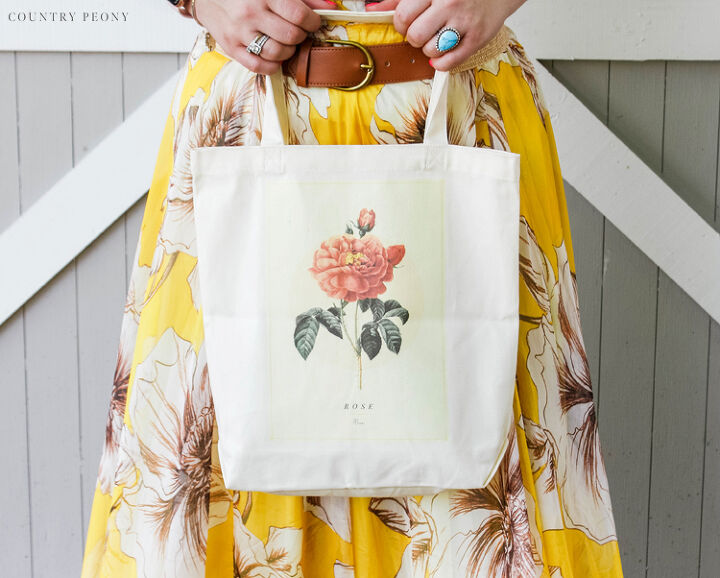
Step 11: Enjoy your DIY botanical floral tote! I hope you have fun making and adding this tote to your collection for your next outing!
Resources for this project:
See all materials


The author may collect a small share of sales from the links on this page.


Comments
Join the conversation