10 Easy Peasy Nail Art Designs for Beginners - Step by Step Tutorial

In this tutorial, I’ll show you 10 easy peasy nail art designs and how to do them step by step. I love the colors I’ve used here but feel free to use any colors you love. I hope you enjoy this tutorial as much as I enjoyed making it for you!
Tools and materials:
- Nail polish in assorted colors
- Holo (holographic) or glitter polish
- Top coat
- Tweezers
- Nail studs
- Nail tape
- Makeup sponge
- Nail tool with a flat tip
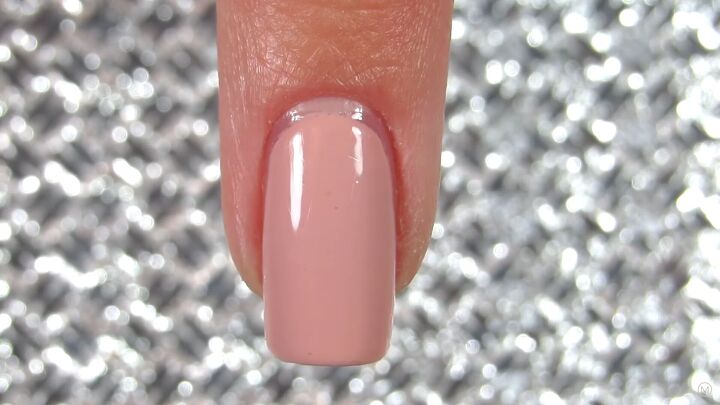
Start with a polished nail
All of the looks are done on an already polished and completely dry nail.
Now it’s time for the 10 easy nail art ideas!
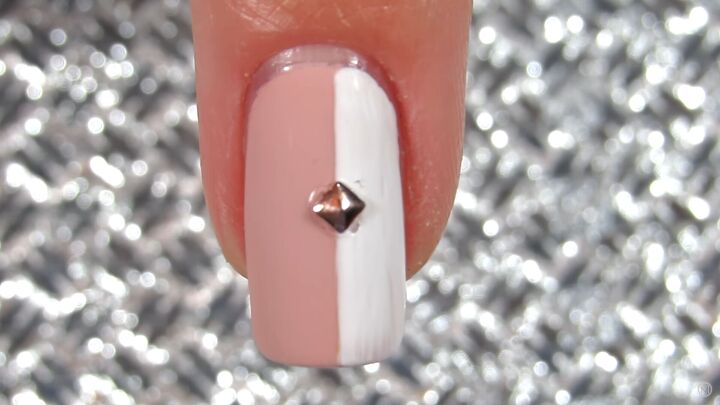
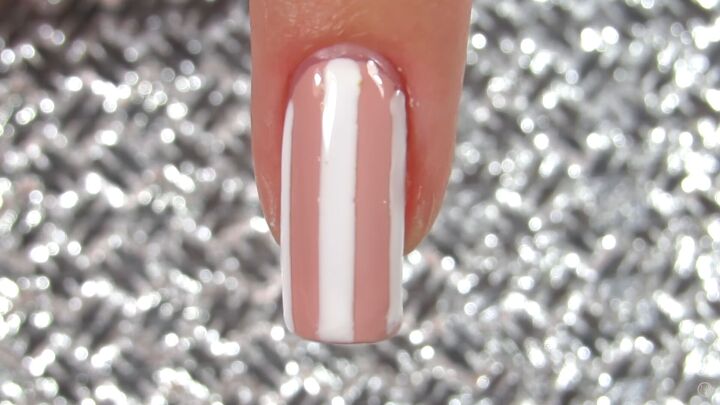
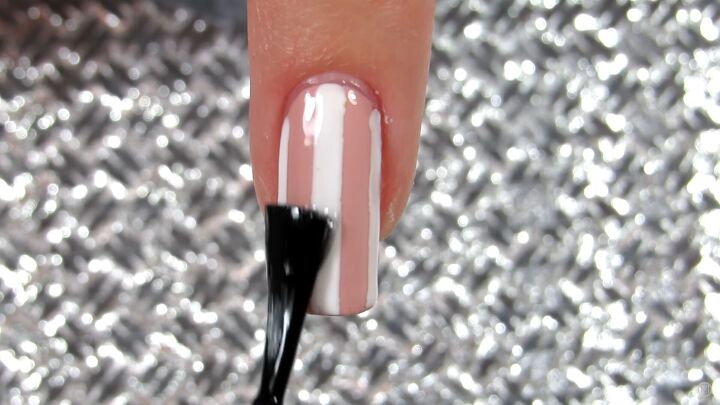
1. Half and half

Apply a small piece of nail tape lengthwise down the center of the nail.
Apply another color on one side.

Remove the tape and immediately add a matte topcoat.

Add a nail stud. Stunning!
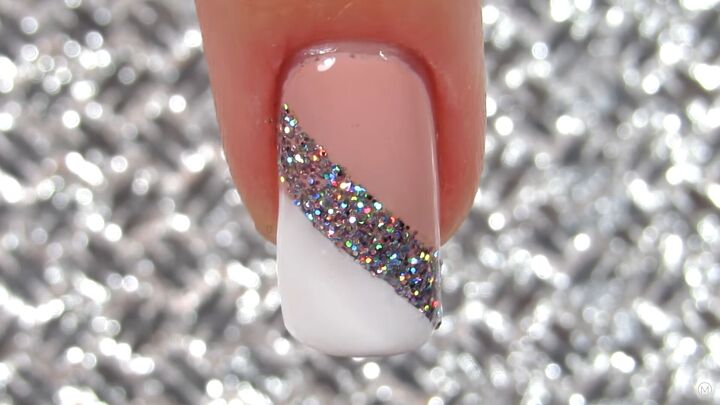
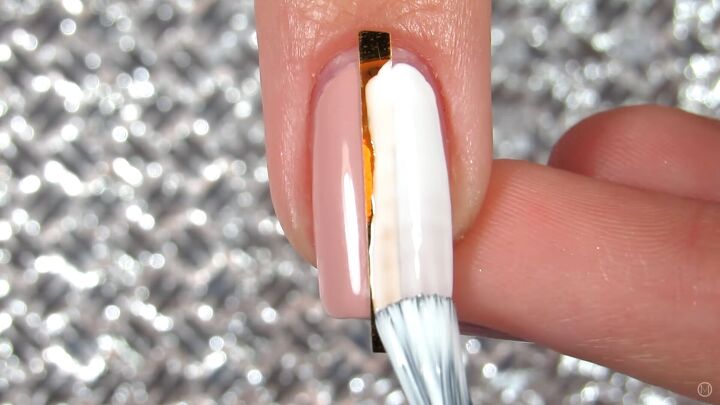
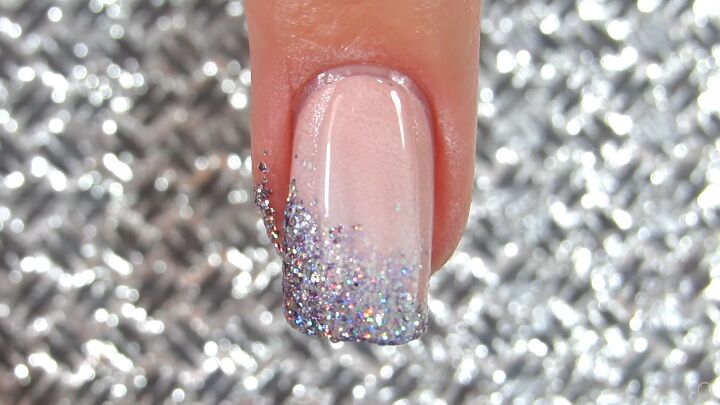
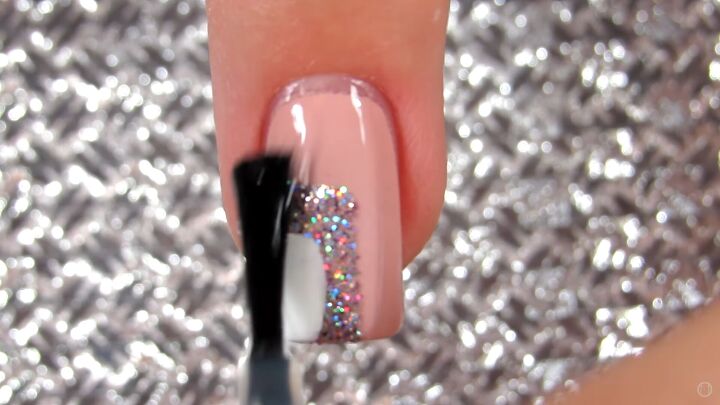
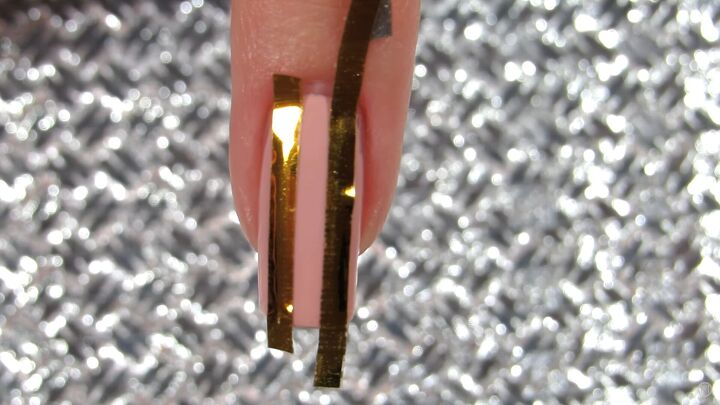
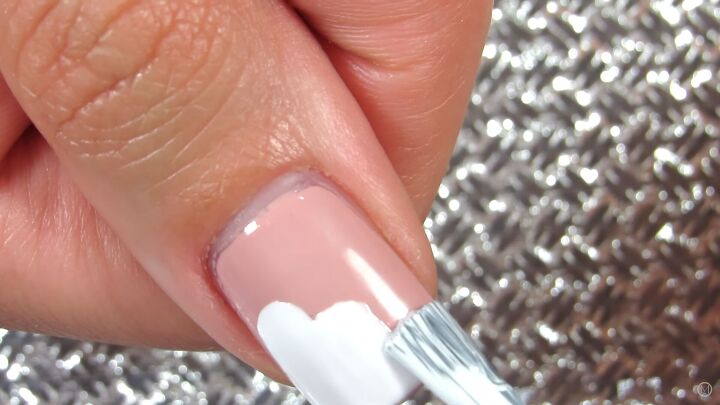
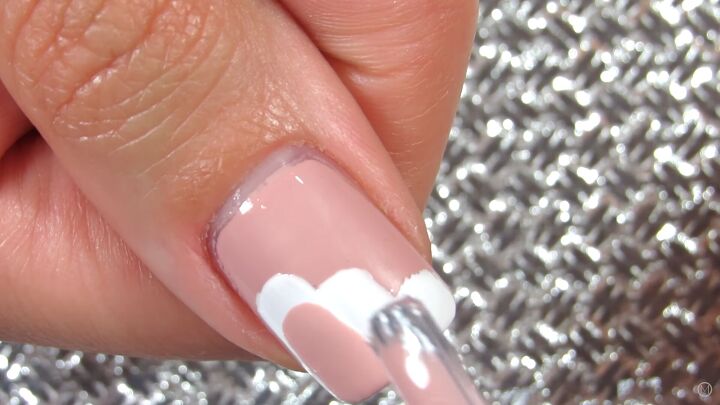
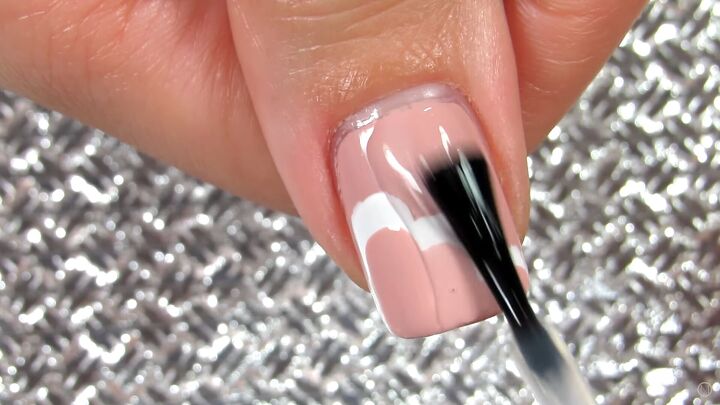
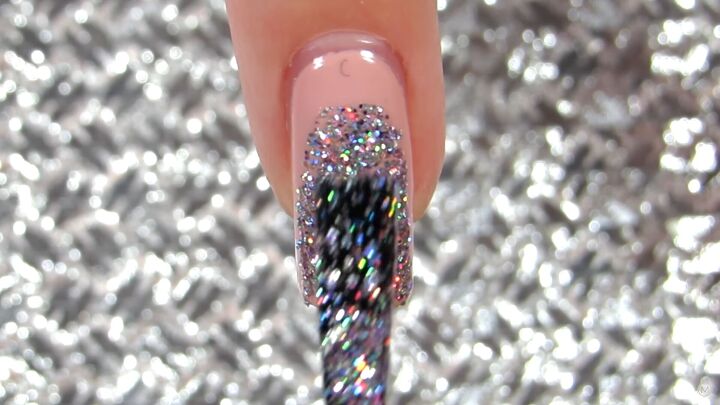
2. Glitz and glamour
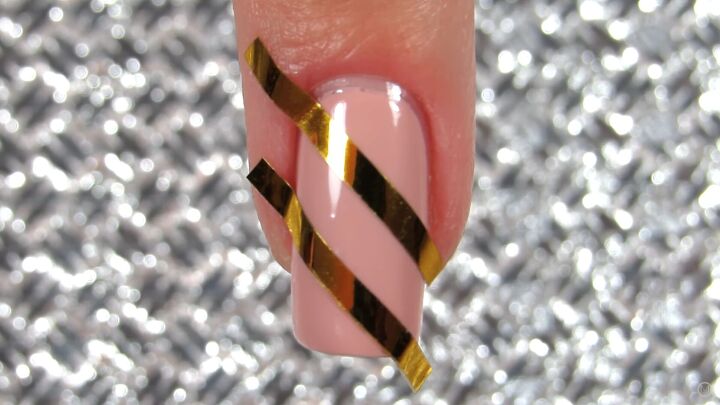
On this look, apply 2 pieces of nail tape diagonally.
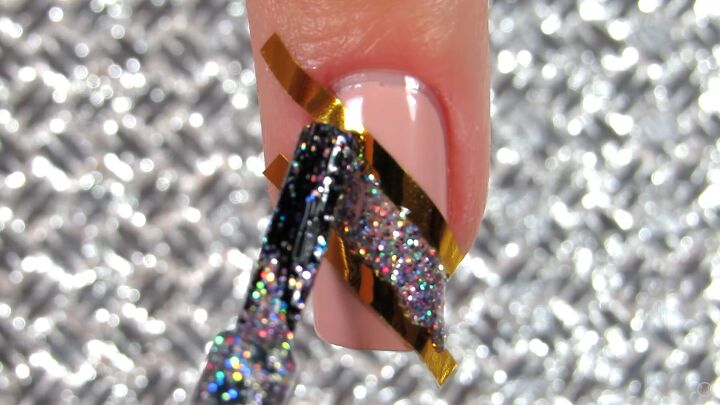
Fill the center with holo polish.
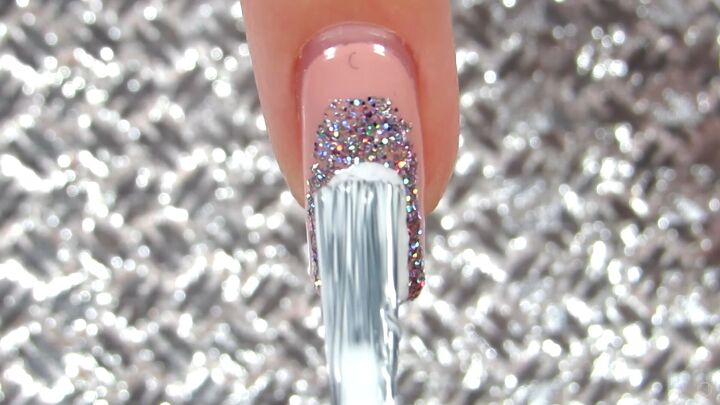
Put a contrasting color on the bottom of the nail. I used white.
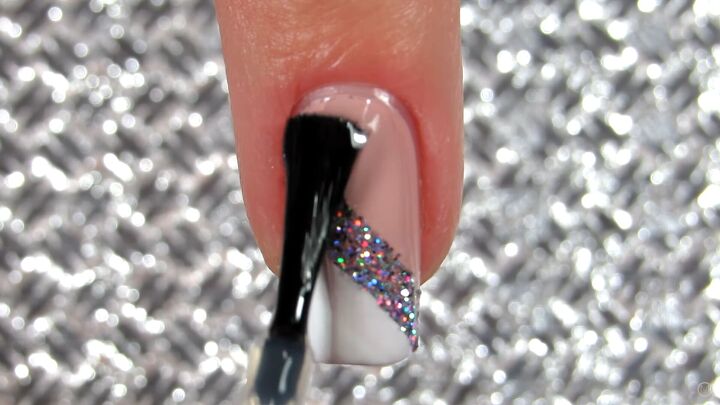
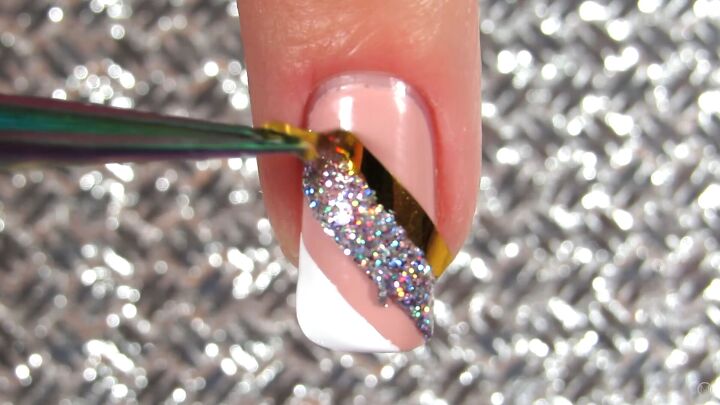
Remove the tapes. I put the white all the way to the glitter line. Apply a shiny top coat. Gorgeous!
3. Outstanding ombre
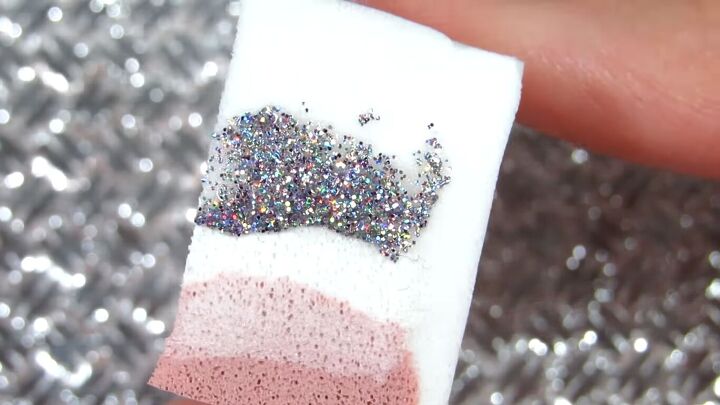
Apply at least 3 colors of nail polish on a makeup sponge. Gently roll and rub the sponge directly onto the nail to create this effect.
These colors go beautifully together and are my personal favorite.
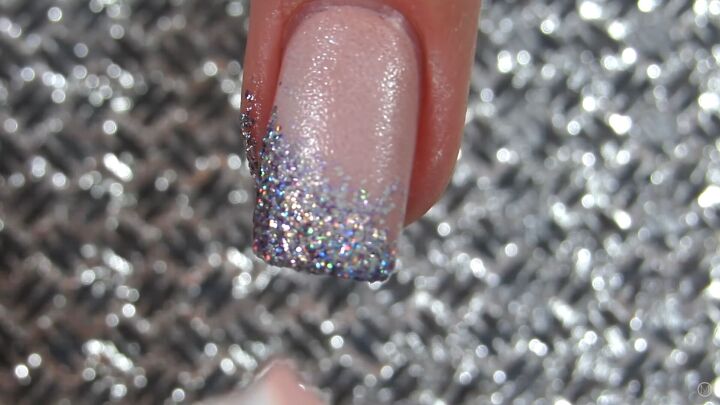
Apply a clear top coat.
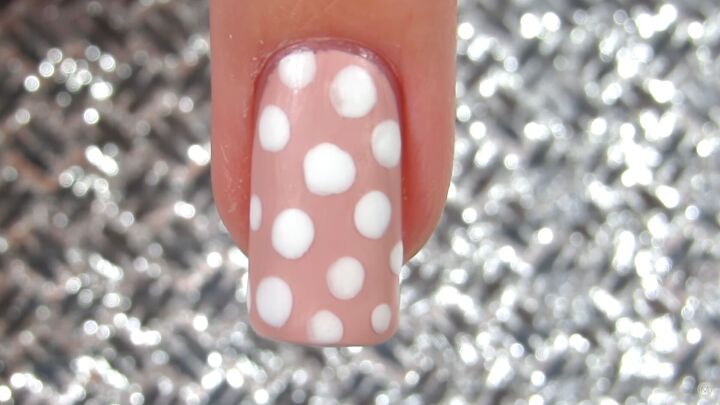
4. Dotty for dots
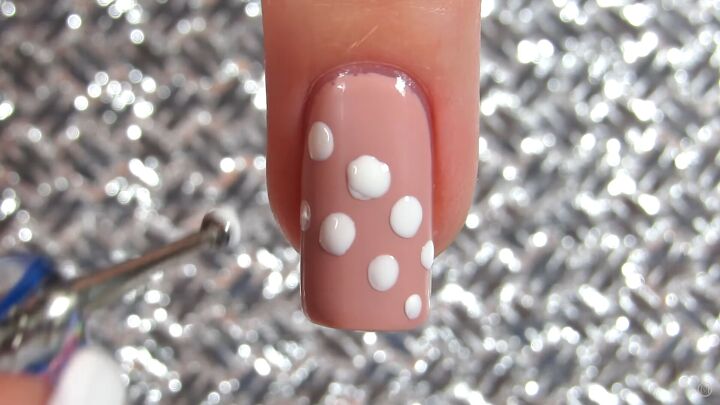
This is perhaps the simplest of all these easy nail art ideas. Apply a contrasting color to the nail tool to make dots all over the nail. If you don’t have a nail tool, you can use a bobby pin instead and the dots will be a bit smaller.
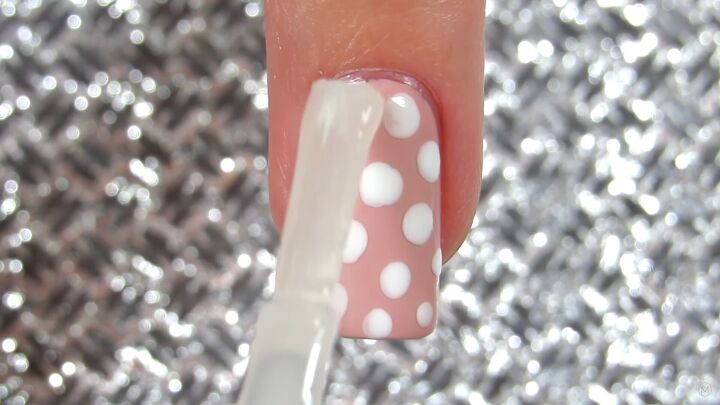
Apply a matte top coat
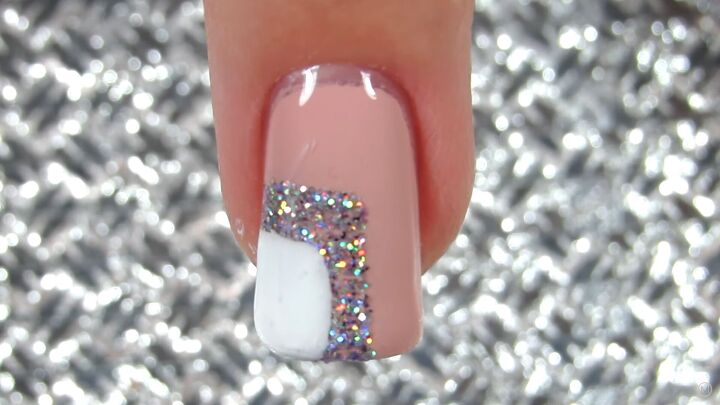
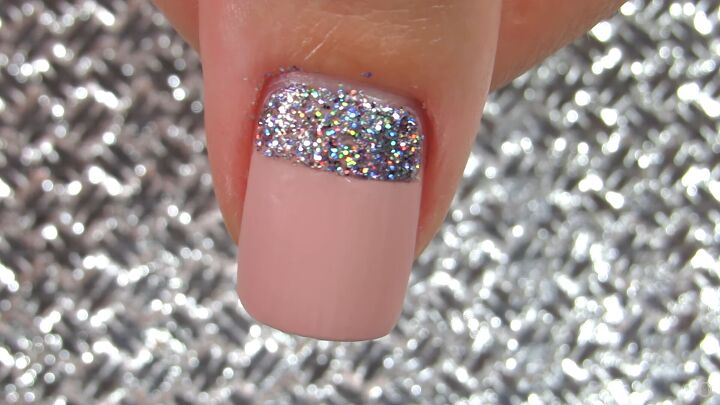
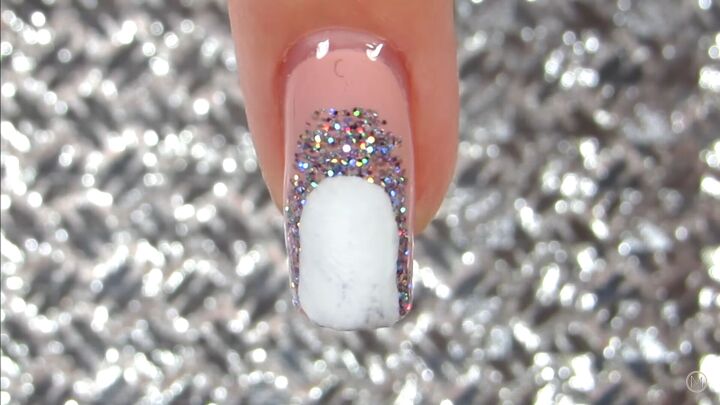
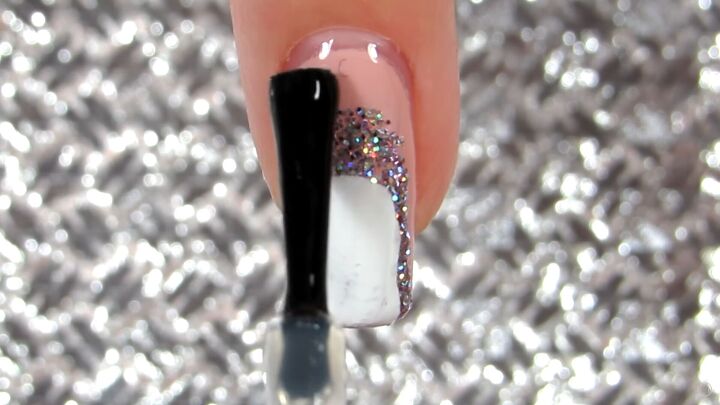
5. Beautiful boxes
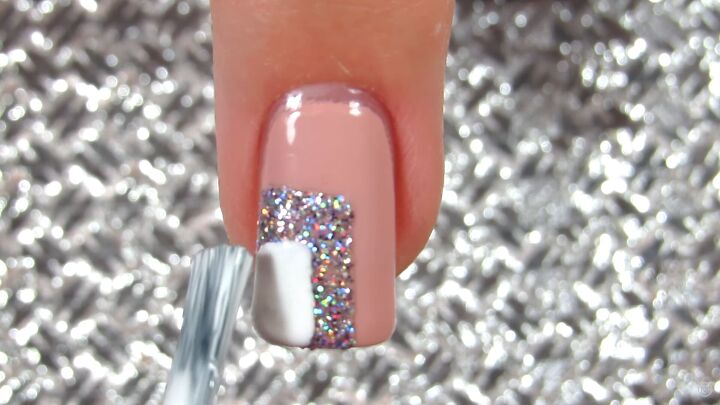
Make small boxes at one edge of the nail: one larger one in holo or glitter polish, and one smaller one in white inside the larger box.
Apply a shiny top coat.
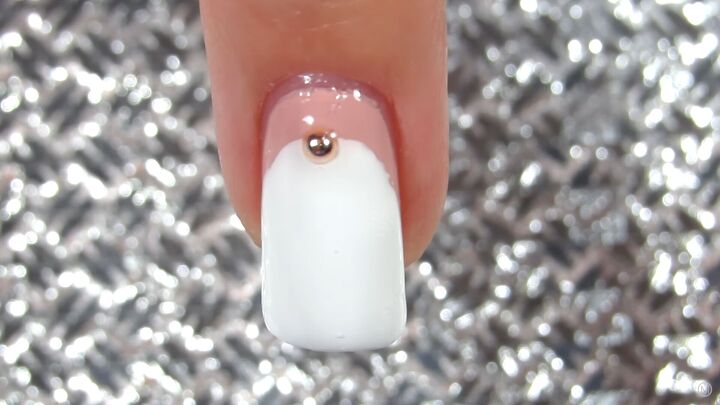
6. Moonrise
This is where you mimic the small white moon on the nail but in reverse.
Use a contrasting or complementary nail color that mirrors your rounded cuticle edge instead of the top of your nail.
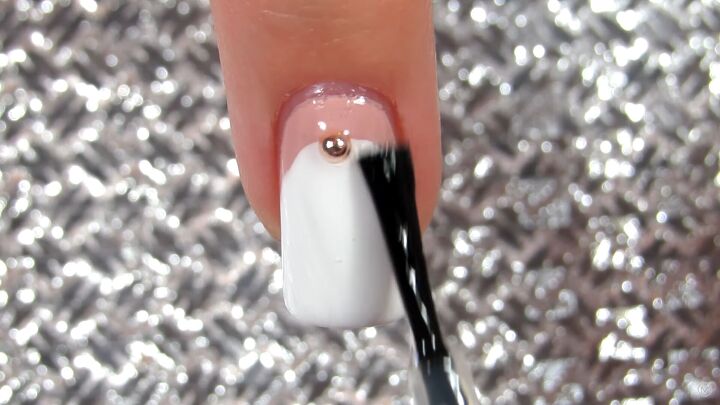
Apply a shiny top coat. I put a small stud at the top of the curve. If you add a nail stud, repeat the top coat over the entire nail.
7. Simply striped
An oldie but goodie! Apply 2 pieces of nail tape lengthwise.
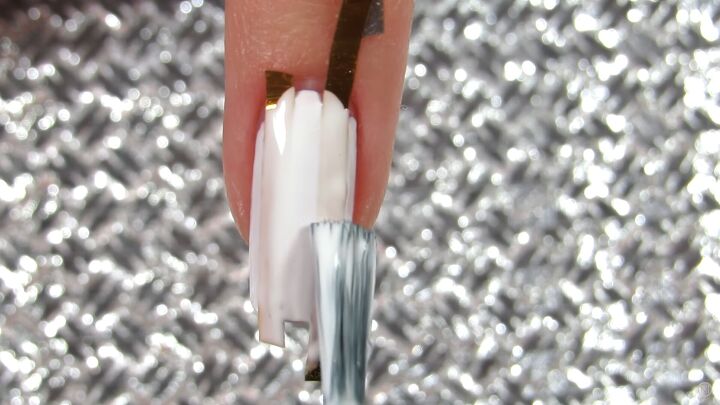
Apply a different color over the entire top of the nail.
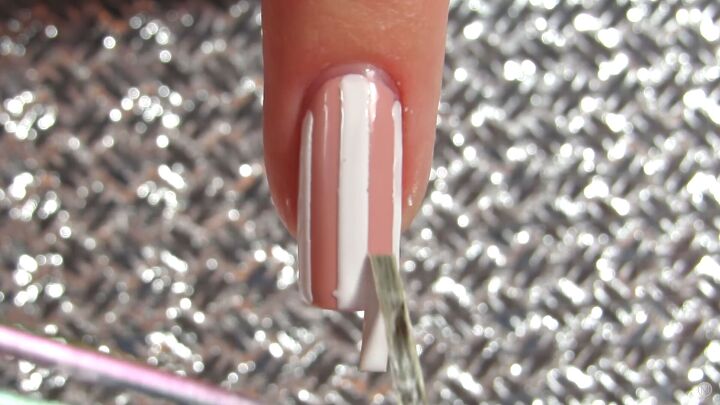
Remove the tape with tweezers right away for perfect stripes!
Finish with a shiny top coat.
8. Chic and short
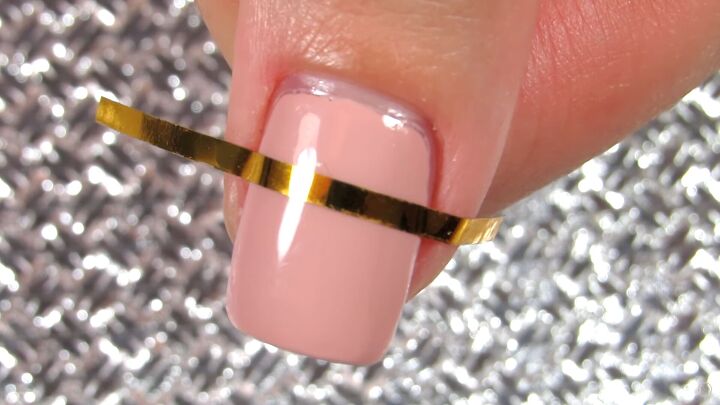
Place the nail tape horizontally across the nail, close to the cuticle.
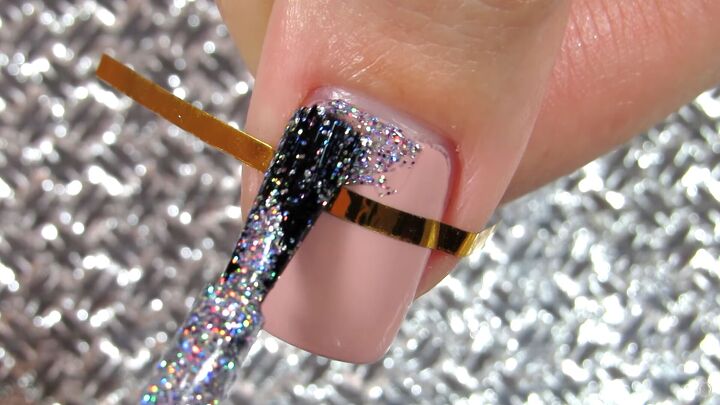
Apply holo or other nail polish from the tape down to the cuticle.

Remove the tape. Apply a matte top coat on the rest of the nail without the contrasting polish.

9. Simple scallops
I saw this on Pinterest and used to do this a lot when I first started doing nail designs for beginners.
Make soft little rounded steps on the top nail in descending order from large to small. You can stop here.
You can also make it look even more beautiful by painting on a smaller version with the same base color for a two-step scallop.
Add a shiny top coat for a beautiful shine.
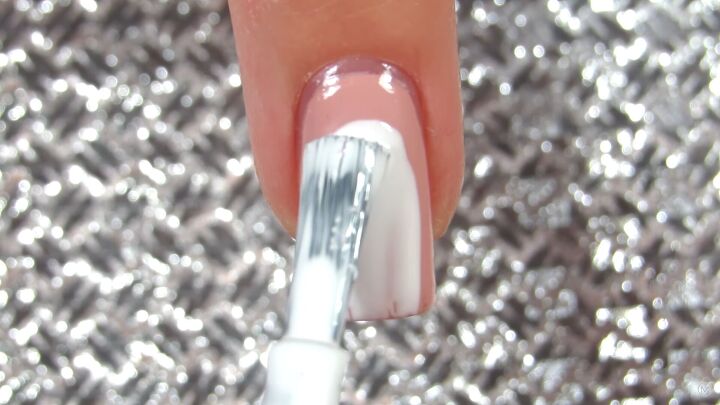
10. Double moon
Apply the first contrasting color in a larger half-moon.
Then apply a second color polish in a smaller half-moon.
Apply a shiny top coat.

Easy peasy nail art tutorial
I hope you guys enjoyed these easy peasy nail art ideas! Leave me a comment because I love hearing feedback. Let me know what color combinations you chose.
I did all these 10 and got so many compliments. You can do just one style on all your nails, or just one accent nail, or mix it up!
The author may collect a small share of sales from the links on this page.


Comments
Join the conversation
I loved the video. I never heard of nail tape before. I have very small nails and most of my life,until recently, I could not get them to grow. Now I’m using a nail polish that taste terrible and that helped a lot, but I still have this desire to scrape off the top of my nails with my teet even though the polish taste terrible. my nails, even when they have grown, Never look as nice as yours Including the first two coats. When I use fake nails it gives me a little bit more room and if paint over them they look very nice and shiny like yours do, although fake nails don’t last all that long and drop off when I least expect it. Most nails do not fit my own nails so I either cut them to fit with scissors or buy a couple packages and use just the small ones for both hands. I have a lot of leftover very large fake nails and they only fit my big toes and the rest of my toes are also very tiny.
Anyway I love your designs and maybe I’ll try them one of these days. I first have to find nail tape. You explained it very well which I appreciate.
I really liked the middle finger, and the polka dots are adorable!