Need to Manicure Your Toes? Find the Steps in This Easy Tutorial

Pedicures aren’t that complicated. In fact, pedicures are one of the most inexpensive spa treatments that you can do at home. In this tutorial, I’ll be showing you how to manicure toes at home. Let’s get started!
Upstyle Recommends!
Tools and materials:
- Foot bath
- Epsom salts
- Apple cider vinegar
- Foot scrubber
- Exfoliating foot scrub
- Coconut oil
- Nail clippers
- Nail file
- Cuticle pusher
- Nail separator
- Nail buffer
- Rubbing alcohol
- Nail polish
1. Create your foot soak
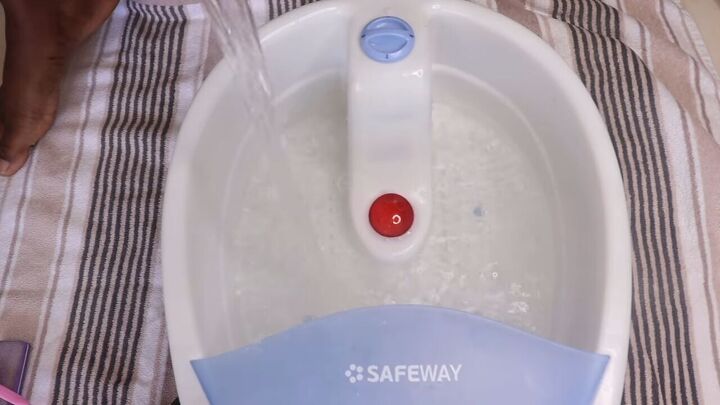
The first thing you have to do is soak your feet in a foot bath. Add warm water and feel the temperature to make sure it doesn’t burn your feet.
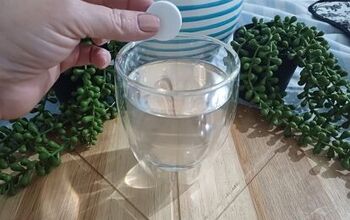
The next thing you want to add is Epsom salt or a foot soak of your choice.
I normally use an apple cider vinegar soak, but this time I’m just going to add one shot of apple cider vinegar.
2. Soak your feet
Soak your feet for 15-20 minutes. I left my feet in there for about twenty minutes and the vibrations felt so good. After a while, you kind of get lost in it. Add more water when you need it since the water won’t stay warm forever.
I continued to soak my feet until they looked something like this. I could see that the Epsom salt didn’t remove as much dead skin as my normal foot soak, but it allowed my feet to be as soft as they needed to be before I started scrubbing.
3. Scrub your feet
I’m using this scrubber that has four different options that allow you to scrub, file, and buff. I love this scrubber and it’s saved my life. As I scrub, I'm being very gentle and just removing all of the dead skin.
4. File your heel
Next, turn your scrubber over and continue to file your heel gently. Remember to be careful to not hurt yourself. Your foot is very sensitive and if you do it too hard, you can hurt yourself to the point of bleeding. To avoid all of that, you just want to be careful.
Look at all that dead skin!
5. Rinse and exfoliate
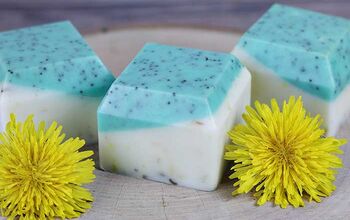
Now, I’m just rinsing my feet and using an organic foot scrub that I made myself. You want to be very gentle and scrub your feet to exfoliate all over. Exfoliation is the key to soft feet; it’s a step you cannot skip. Trust me, your feet will love you.
6. Moisturize
Next up is my favorite product: coconut oil. I absolutely love coconut oil. You just want to make sure that you moisturize your foot and keep all of the moisture trapped in before you move on to the nails.
7. Cut your nails
Before starting with the nails, you’ll need a nail separator or something that can help you work. I find that without one, my nails smudge everywhere and it doesn’t work well for me. First, cut your toenails to make them a bit shorter. I prefer to grow my toenails and then cut them because it allows me to pick the design or shape that I want. So shape them however you want.
8. File your nails
Next, I’m using a curvy file and just filing them down to the desired length and shape. When you’re filing, be careful because you don’t want to hurt yourself. I recommend using a buffer for the top of your nails as filing the top will weaken the nail, especially your fingernails.
9. Push back your cuticles
Spread cuticle oil all around your cuticle area, then use a cuticle pusher to push down the skin on top of the nail. This is a safe way to push back the cuticles without hurting yourself.
10. Buff your nails
Next, you want to buff the top of your nails with a nail buffer. This will smoothen out your nails to allow for easier application.
11. Dehydrate and clean your nails
You also want to dehydrate your nails either by using rubbing alcohol or hand sanitizer.
12. Clean underneath your nails
After you’re sure the shape and length are right, make sure to clean underneath your nails as well.
13. Clean off any dead skin
Once you’re done cleaning, use the back of a cuticle pusher. This allows me to clean any dead skin that is on my nail and remove any of my cuticles that are already coming off. You can also use a nail clipper or a cuticle clipper for this, but I don’t really like to cut my cuticles.
14. Apply base coat and cure
Now, let’s apply our base coat. I will be curing this for 120 seconds under a UV lamp, but it’s not necessary. I just prefer to cure because it makes the process a bit quicker.
15. Apply gel polish
Next, apply your gel polish. I decided to go for a white color this time, but use whichever color you prefer. Don’t worry if you touch your skin. We’ll be cleaning it up in the next step.
16. Clean up excess polish with rubbing alcohol
A quick and simple way to clean up nail polish so your pedicure looks professional is by using rubbing alcohol. Just wet a Q-tip and slowly go around each toe and remove the excess polish on the skin.
17. Apply top coat and cure.
Finish your nails with a top coat, and cure if necessary.
18. Apply cuticle oil
Finally, apply cuticle oil to your cuticles and you’re done!
DIY pedicure at home tutorial
Here’s the finished product of our DIY pedicure! Let me know what you guys think about my process to manicure toes down below.
Enjoyed the project?
Suggested materials:
- Foot Bath
- Epsom Salts
- Apple Cider Vinegar
- Foot Scrubber
- Exfoliating Foot Scrub
- Coconut Oil
- Nail Clippers
- Nail File
- Cuticle pusher
- Nail Separator
- Nail Buffer
- Rubbing Alcohol
- Nail Polish
The author may collect a small share of sales from the links on this page.


Comments
Join the conversation
I love this. I have never heard of soaking your feet in apple cider vinegar. You mentioned that you normally use one, but weren't using it this time. How much should I add to my foot soaker?
But she didn’t have anything like that. And I am a very happy person and you know nothing about me. I have already been using this for over 10 years.