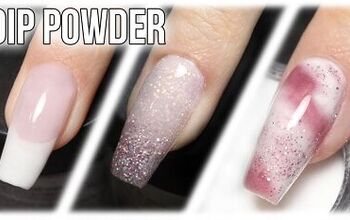
Fabulous Ombre Dip Powder Nail Design Tutorial

If you love ombre manicures and you love flake glitter dip powders, did you know you can combine the two?
In this nail tutorial, I’m going to share with you a gorgeous ombre dip powder nail design. Let’s jump on in!
Tools and materials:
- Base coat
- Dip powder
- Cuticle pusher
- Activator
- Nail brush
- Tape
- Ombre brush
1. Apply base coat
Start by applying a clear base coat to your nails.
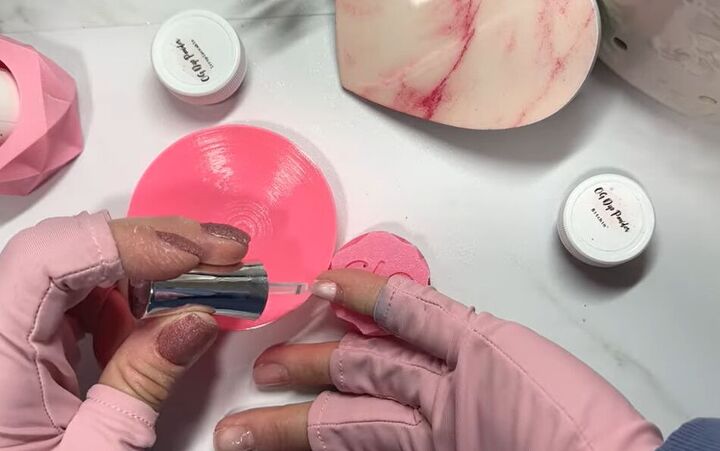
2. Apply dip powder
Next, tip the powder over the top.
I’m going for a neutral color as this will allow the foils that we are going to use to really pop and stand out.
3. Push cuticles down
Use a cuticle pusher to push your cuticles down and remove any excess dip powder.
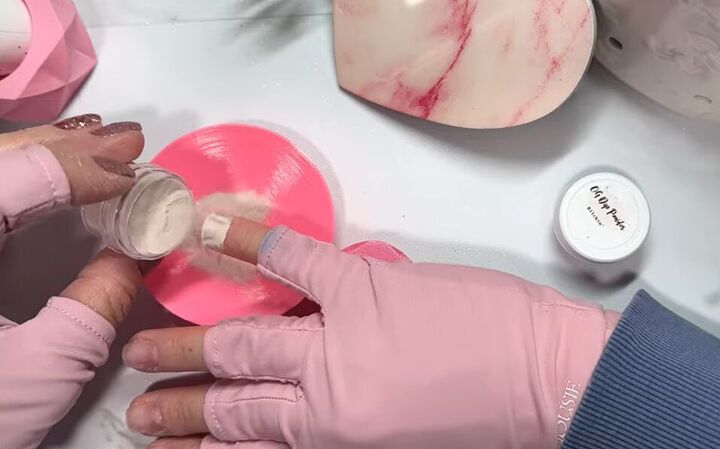
4. Do second dip
Then, do a second dip.
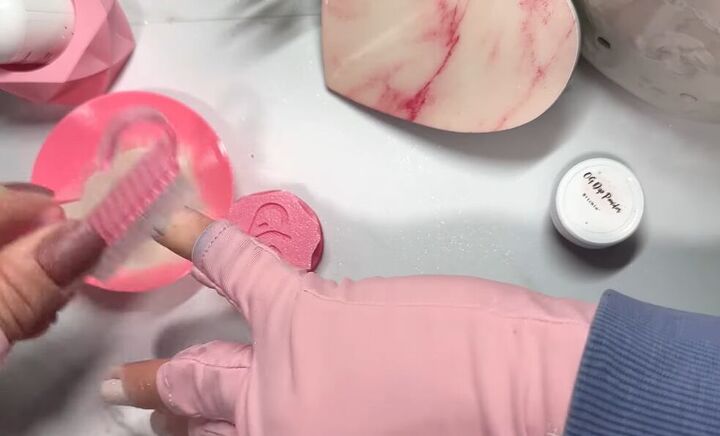
5. Brush off excess powder
Brush off any excess powder with a nail brush.
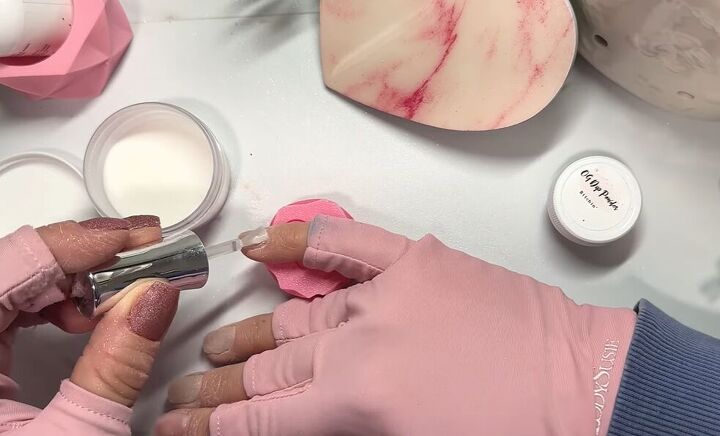
6. Activate nails
Now apply clear dip powder and then activate your nails.
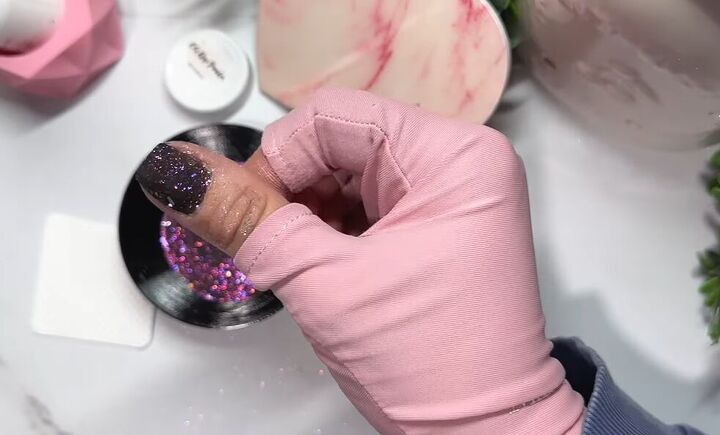
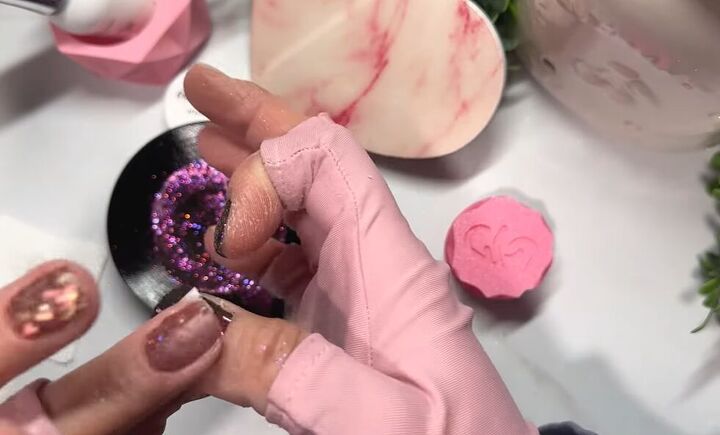
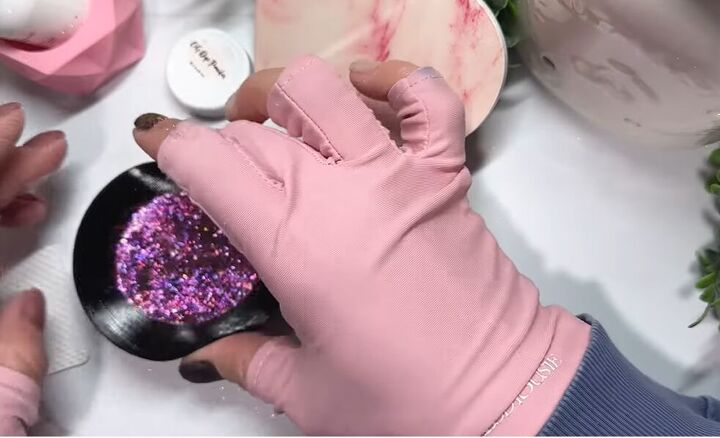
7. Dip nail into glitter flakes
Proceed to dip your nails into the glitter flakes.
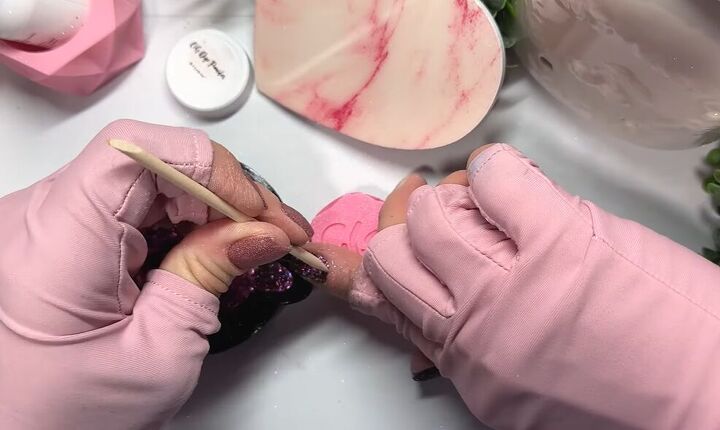
8. Trace around nails
Trace around your cuticles to make sure that none of the foils are stuck there.
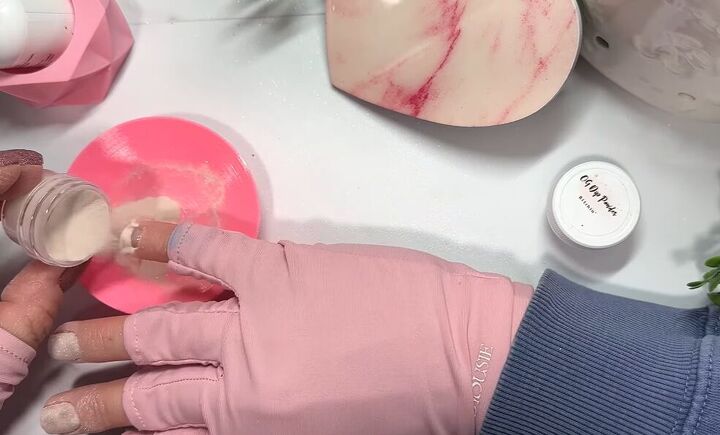
9. Remove excess glitter flakes
Then, I recommend placing some tape on the index finger of your other hand to press the flakes down so that they start to lay nicely.
Next, use a nail brush to brush away any excess flakes.
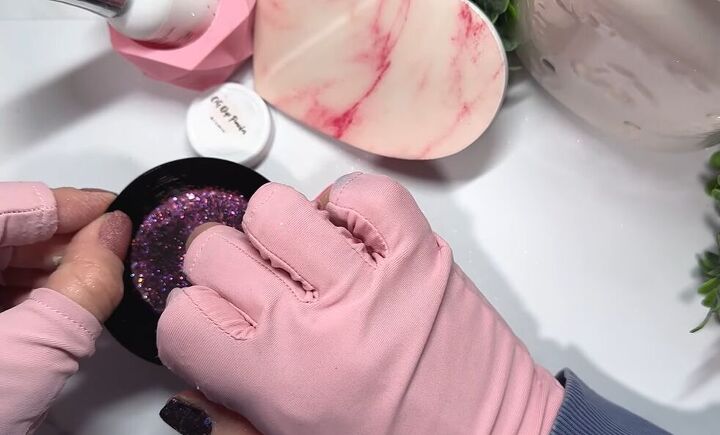
Before you do the next nail, shake up the nail cup that has the flakes in it to allow the bigger pieces to come to the top
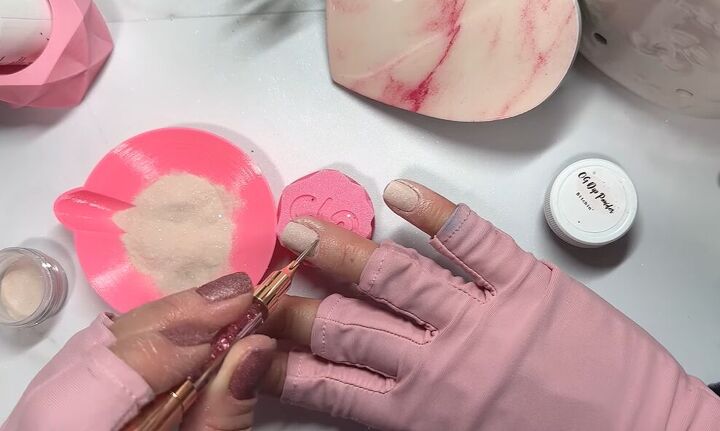
10. Create ombre effect
When creating an ombre effect, apply the dip base over only about the top ¾ of your nail. Then, lay just the tip of your nail into the flakes.
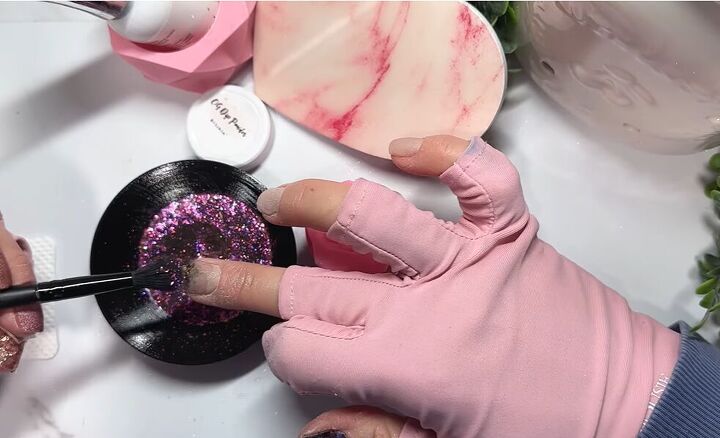
Then, take an ombre brush, drip it on the flakes, and gently tap the flakes over your nail.
In between each nail, wipe your brush off on a lint-free paper towel or wipe because you don’t want to get foils stuck to your brush.
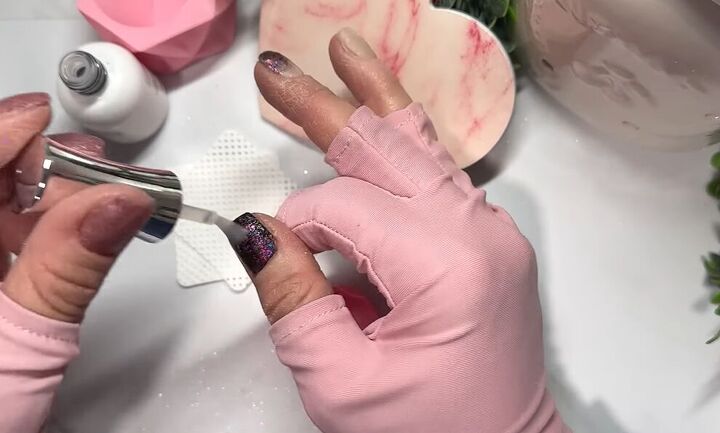
11. Activate nails
Now activate your nails.
I recommend activating the bottom first and then the top to ensure that the dark color doesn’t bleed down into the lighter color.
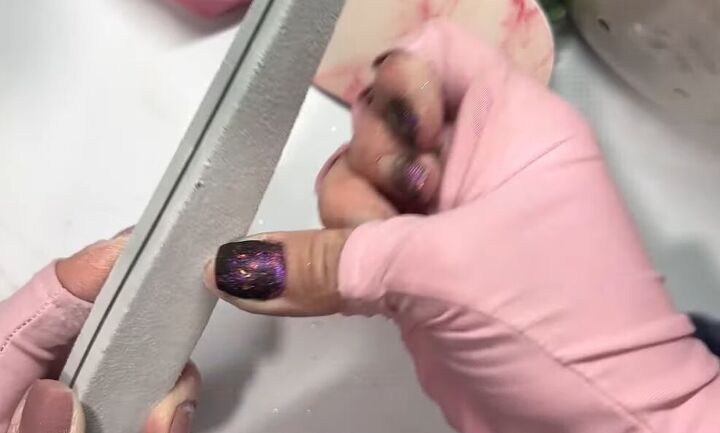
12. Buff nails
Once done, proceed to buff your nails and fix up on the shaping.
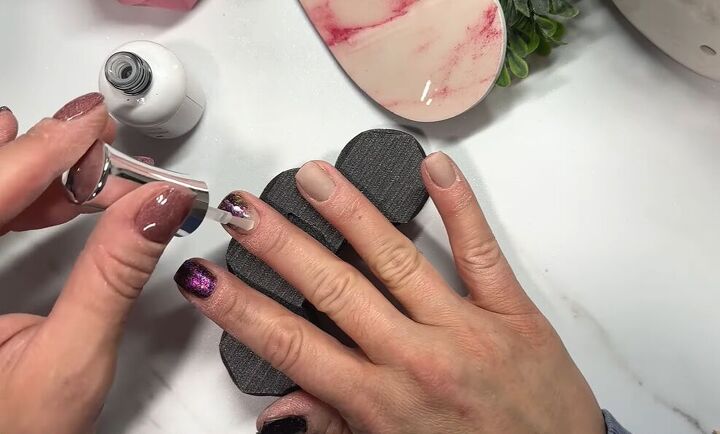
13. Apply top coat
Finish off by pushing back your cuticles and applying a top coat.
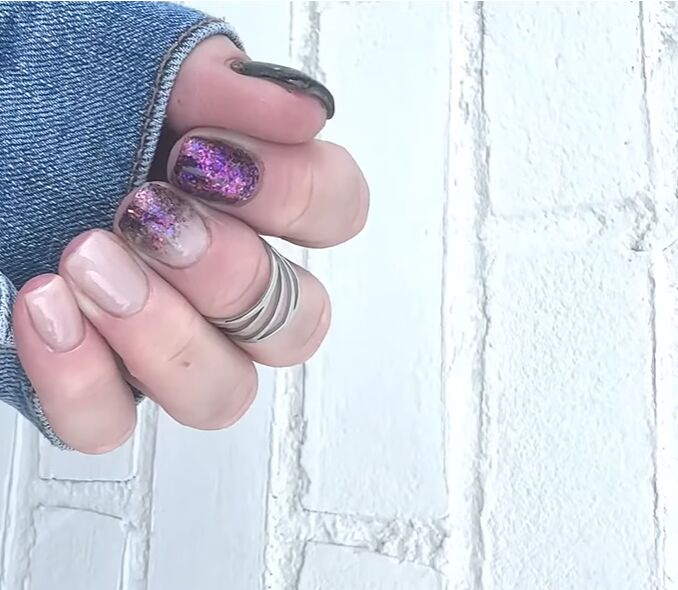
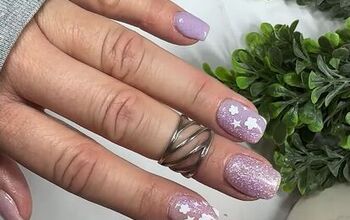
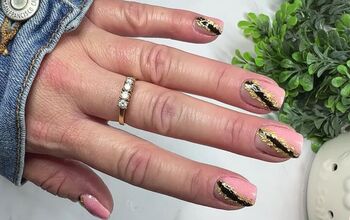
Ombre dip powder nail design
Here is the finished look.
I love the bold purple color that I went for, and on the ombre nail, I really like how it transitions from foils on the top to the neutral color on the bottom, gently tapering out down the nail.
Give this technique a go for yourself and let me know what you think!
The author may collect a small share of sales from the links on this page.


Comments
Join the conversation