How to Sew a Super Cute Fanny Pack

In today's tutorial, I'm going to show you how to sew a fanny pack or crossbody bag. I made the DIY fanny pack pattern myself, and I'll give you all the instructions for that.
Go slowly when sewing through multiple layers of this fabric. Use a needle suitable for heavyweight fabric and feed the fabric through your machine manually where necessary.
Tools and materials:
- Tracing paper for pattern
- Laminated fabric
- Two way (double) zipper
- Webbing strap
- Plastic buckle lock
- 1" Fold over elastic
- Bias tape (optional)
- Ruler
- Pencil
- Fabric marker
- Fabric clips
- Pins
- Sewing machine
- Needle size 16 (100)
- Zipper foot
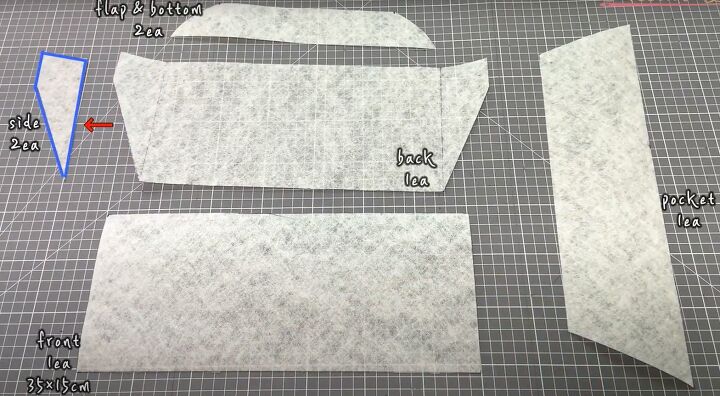
1. Draft the pattern
Watch the video from 0:16 to 1:45 to see exactly how I draft the pattern pieces and how many of each to cut.
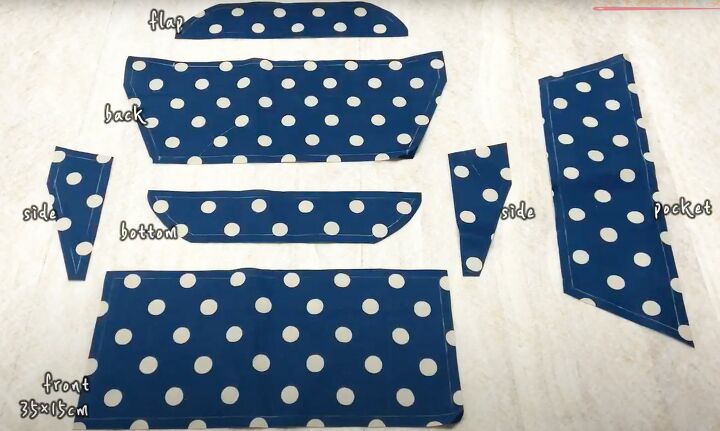
2. Cut out the fabric pieces
Cut out the pattern pieces and mark their names on the back. Also mark a half inch (1 cm) seam allowance on each piece.
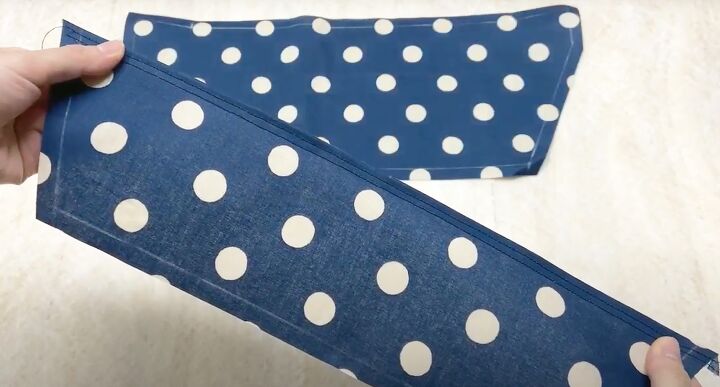
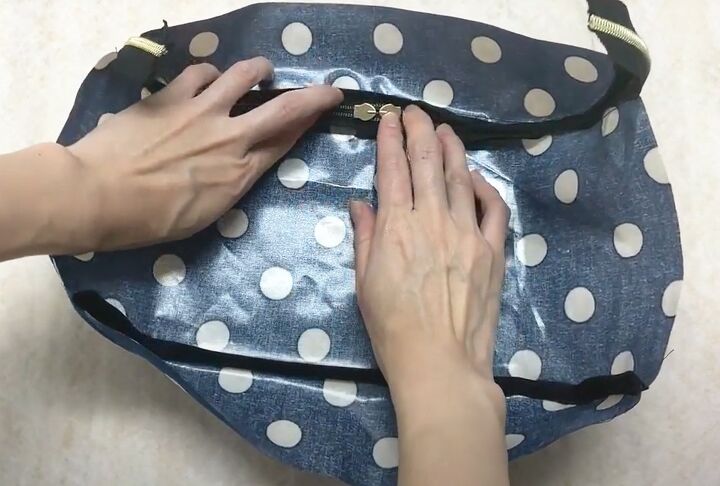
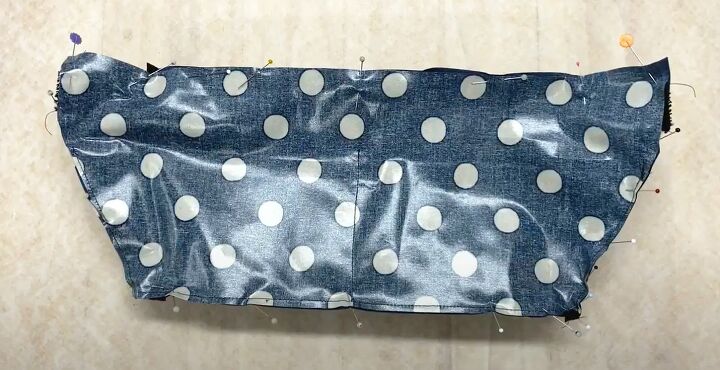
3. Add the pocket
Fold in the top edge of the pocket and sew in place on the right side with two rows of stitching.
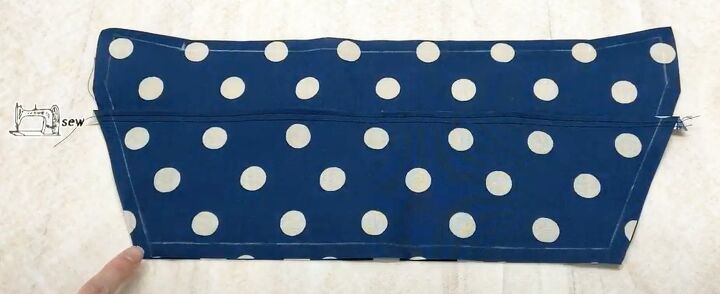
Place the pocket on the back section, with the wrong side of the pocket to the right side of the back.
Mark the center of the pocket. Sew the pieces together around the three lower edges inside the seam allowance.
Sew a line of stitches down the center of the pocket to make two separate sections. Trim off the excess fabric.
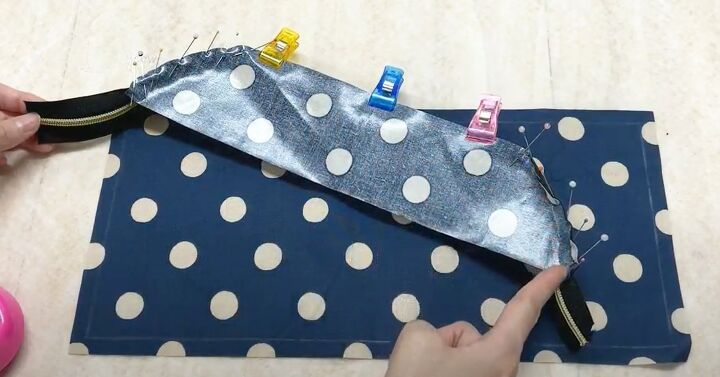
4. Insert the zipper
Mark the center points of the zipper, the upper front edge and the flap.
Pin the curved edge of the flap to the upper edge of the zipper, matching the centers.
Sew with a zipper foot close to the teeth, stitching from the center to the end on both sides.
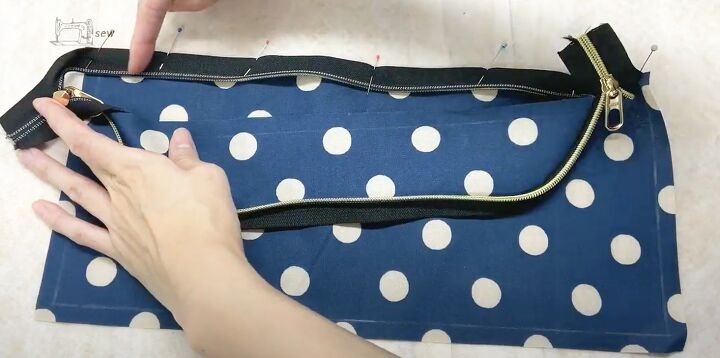
Open the zipper and pin the other side of the zipper tape to the front section, matching the center points.
Sew as close to the teeth as you can, again sewing from the center to each end.
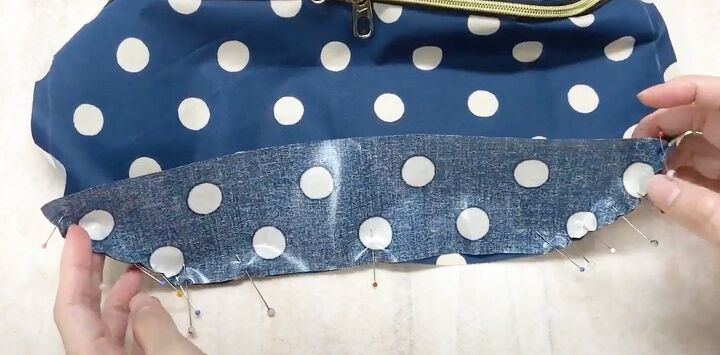
5. Attach the base
Pin the curved edge of the bottom section to the lower edge of the front, with right sides facing, and sew in place. Trim the excess fabric.
6. Bind the seams
Pin fold over elastic (unstretched) or bias tape over the bottom seam, enclosing the raw edge.
Fold the free edges of the zipper tape over the raw edges of the flap and front seams and pin.
Sew the bindings in place carefully through all layers.
Cut off the excess zipper tape.
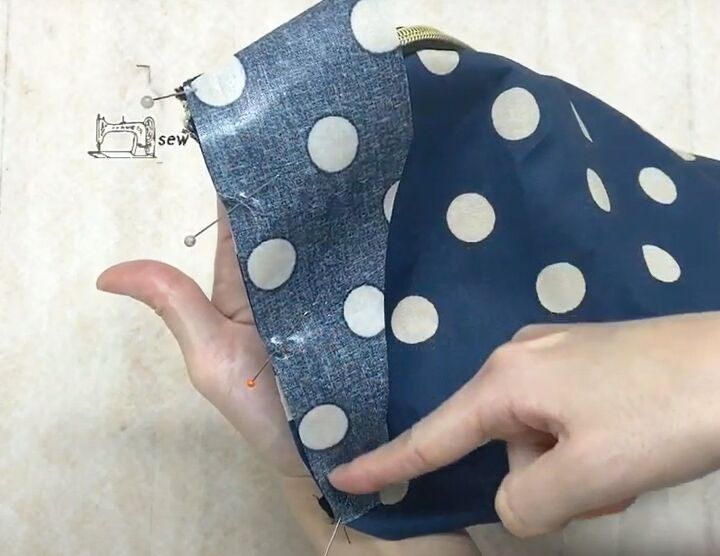
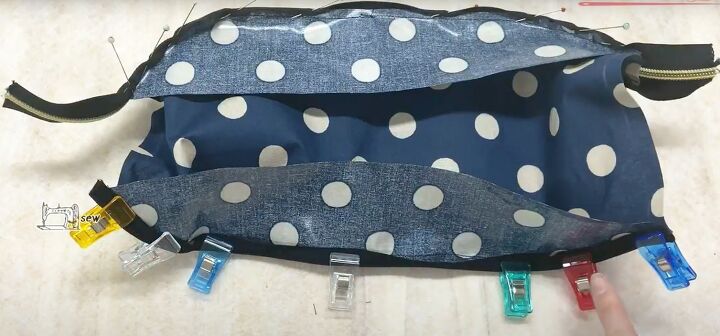
7. Attach the sides
Pin the straight edge of the side section to the edge of the front with right sides together, so it covers the end of the zipper and the binding on the lower edge.
Trim off the excess fabric and bind the seams as before.
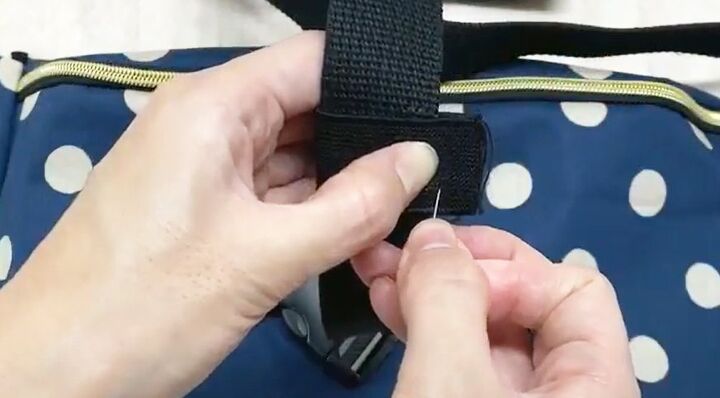
8. Make the adjustable strap
Cut your webbing strap into two equal lengths. Cut two pieces of elastic to wrap around the strap, unstretched, plus a seam allowance.
Sew along the seam allowance of each elastic piece, open the seam and stitch down the edges.
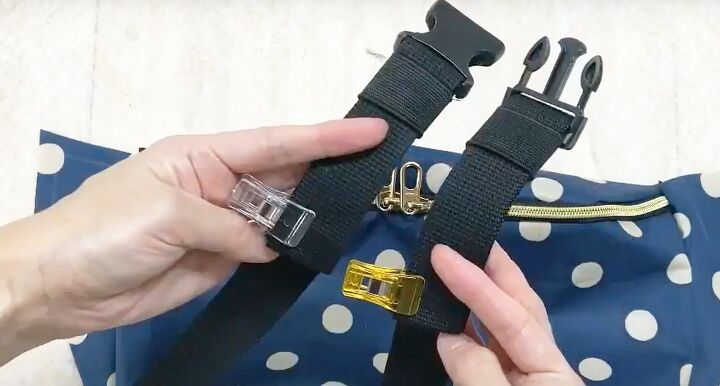
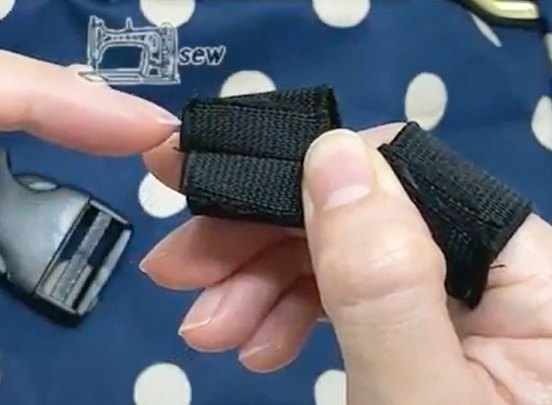
Slide one elastic loop over each strap. Thread each strap through one side of the buckle lock and under the elastic.
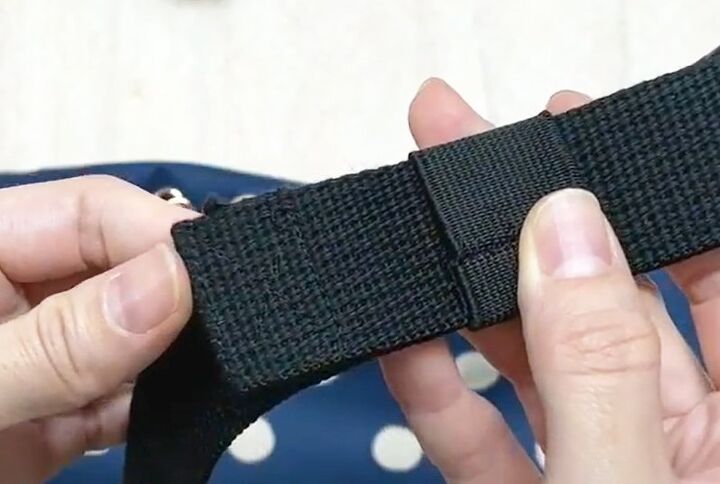
Turn the short end of the strap over twice and sew securely around the edges and across the diagonals.
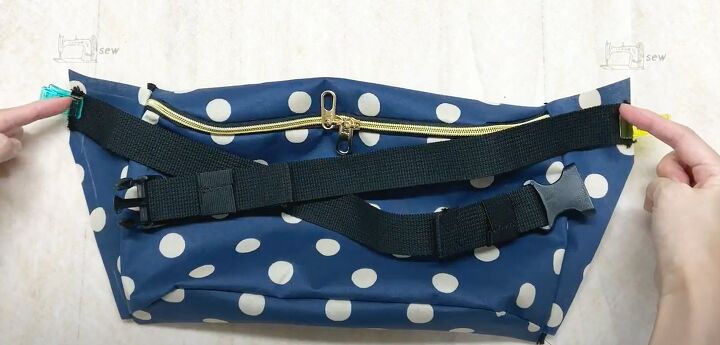
9. Attach the straps
Pin and sew the raw edge of each strap to the outer edge of the side section, so that the straps face inwards across the front of the bag.
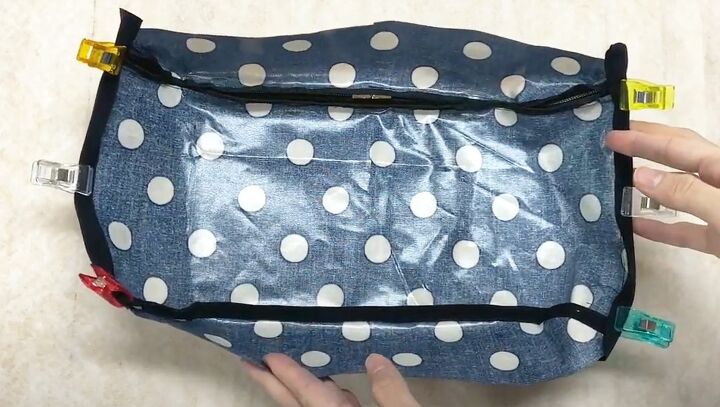
10. Attach the back
Place the back section over the assembled bag, with right sides facing.
Matching the center points at the flap and base, pin and sew the back in place around all edges.
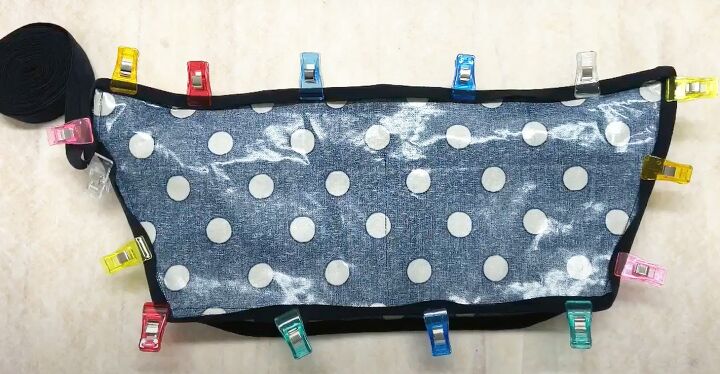
Cut off the excess seam allowances and bind all the seams as before.
Turn the bag right side out through the open zipper.
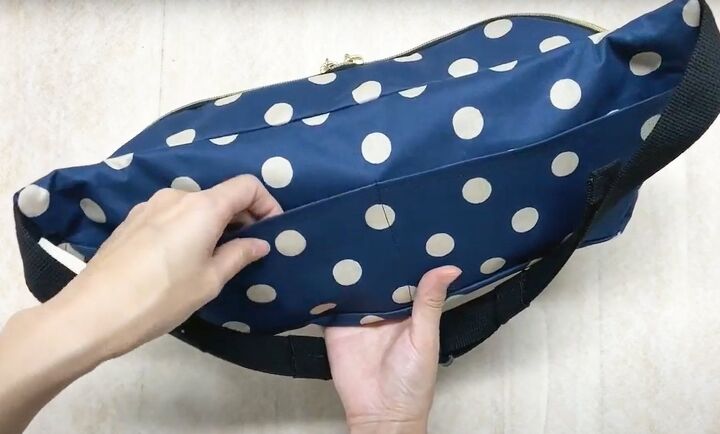
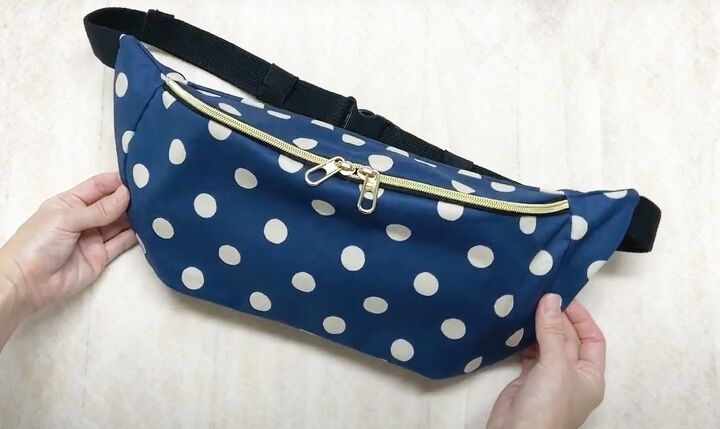
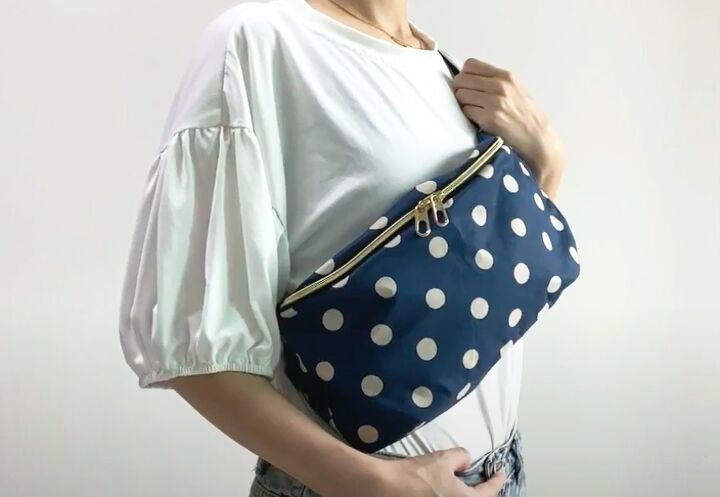
DIY fanny pack
I really had a lot of fun with this fanny pack DIY. I used a laminated fabric for shape and durability but you can use any similar weight fabric that will hold its shape well.
You can adjust the length of the straps to make a crossbody bag or a shoulder bag, as well as a fanny pack.
I would love to know if you make this - please leave a comment below if you do.
For more DIY purse content, check out my post on How to DIY a Chic Denim Bag.
The author may collect a small share of sales from the links on this page.


Comments
Join the conversation
I will be having a go at making it &in other fabric designs too hopefully .