How to Sew a Simple Tote Bag That Draws Up Into a Cute Strawberry

If you love those fabric tote bags that draw up into a cute strawberry, today’s project is for you.
I’m going to show you how to sew a simple tote bag from scraps of thin cotton fabric. It’s eco-friendly, easy to make and as a bonus, you’ll learn how to make French seams as well.
Tools and materials:
- Lightweight scrap fabric
- Cord
- Cord toggle (optional)
- Bodkin or latch hook
- Ruler
- Scissors or rotary cutter
- Pins
- Fabric marker
- Iron
- Sewing machine
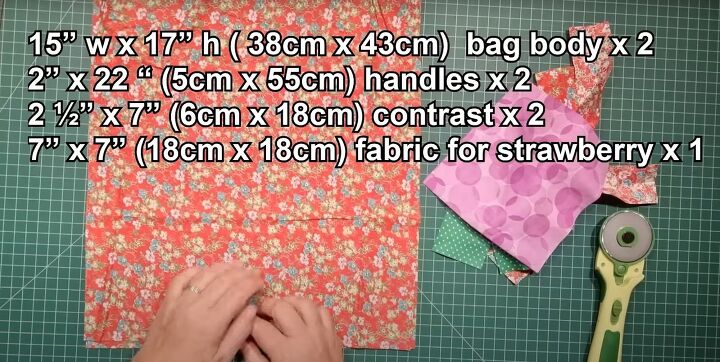
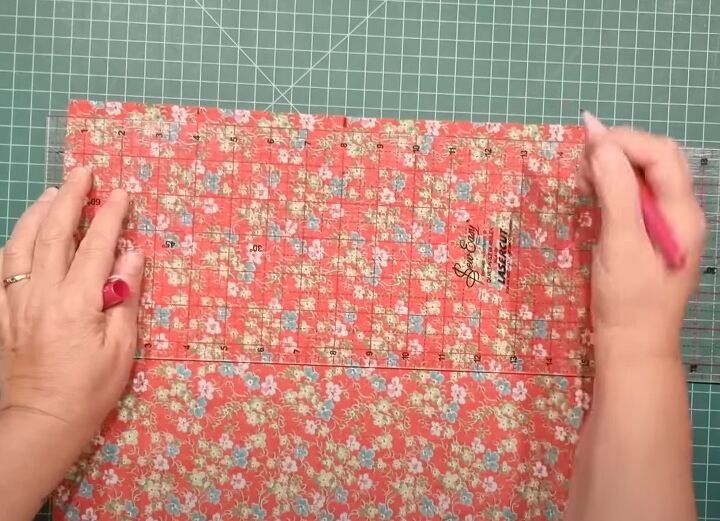
1. Prepare your fabric
From the main fabric you need two pieces 15 inches by 17 inches (38 cm by 43 cm) for the bag body and 2 pieces 2 inches by 22 inches (5 cm by 55 cm) for the handles.
You’ll also need 2 pieces of contrast fabric, preferably in green, each 2.5 inches by 7 inches (6 cm by 18 cm) and one 7 inch (18 cm) square in a red or pink color for the strawberry itself.
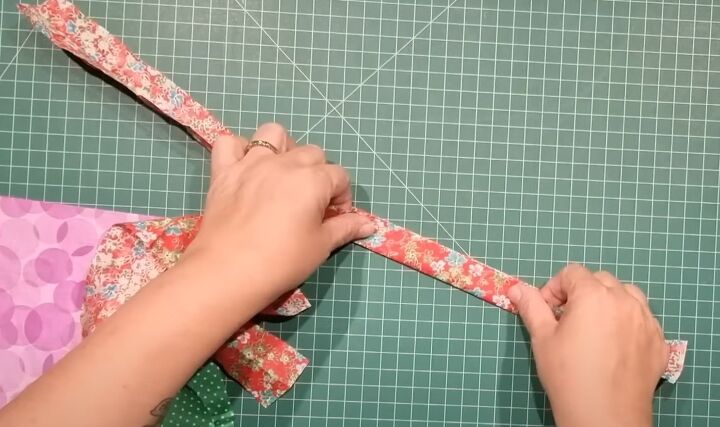
2. Make the handles
Fold each of the handle pieces in half lengthways and press them.
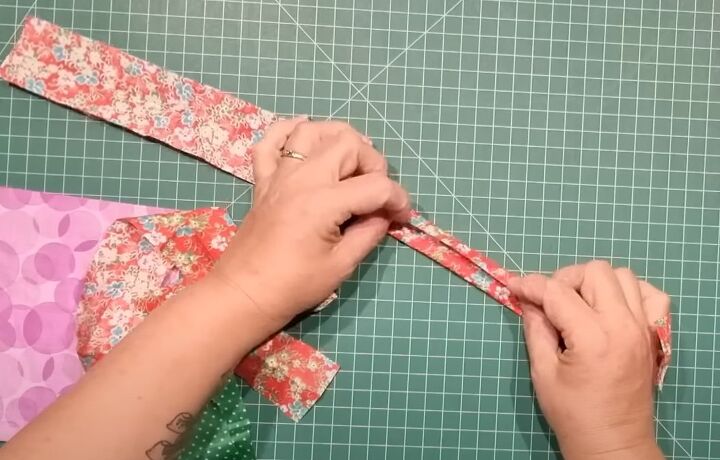
Open them out and press both raw edges to the center crease.
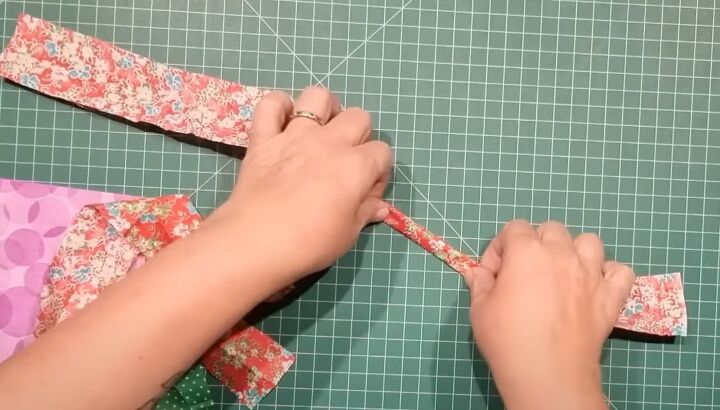
Fold the handle in half again and pin the edges together.
Stitch down both the long edges on each.
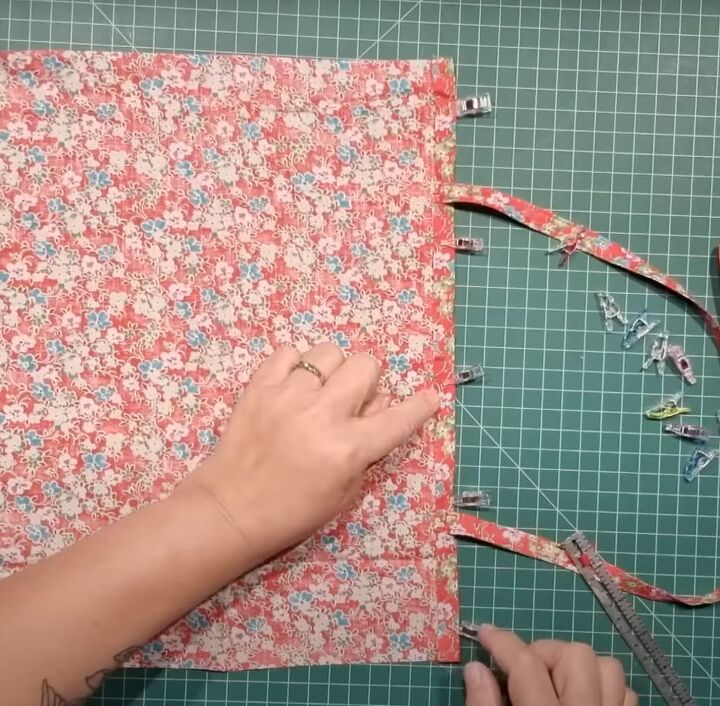
3. Attach the handles
Find the center of the shorter edge of the main bag pieces.
Place a mark 4 inches either side of the center on the right side.
Pin one end of the handle directly over one of the marks.
Keeping the handle flat, pin the other end over the second mark.
Repeat with the second handle on the other bag piece.
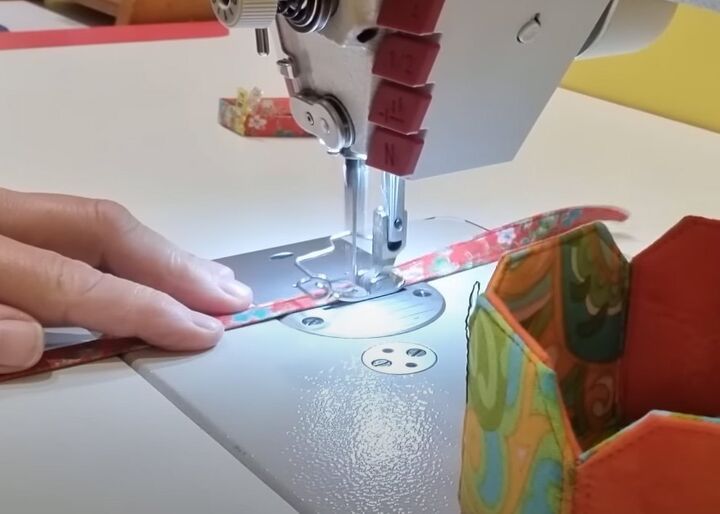
Sew the ends of the handle in place.
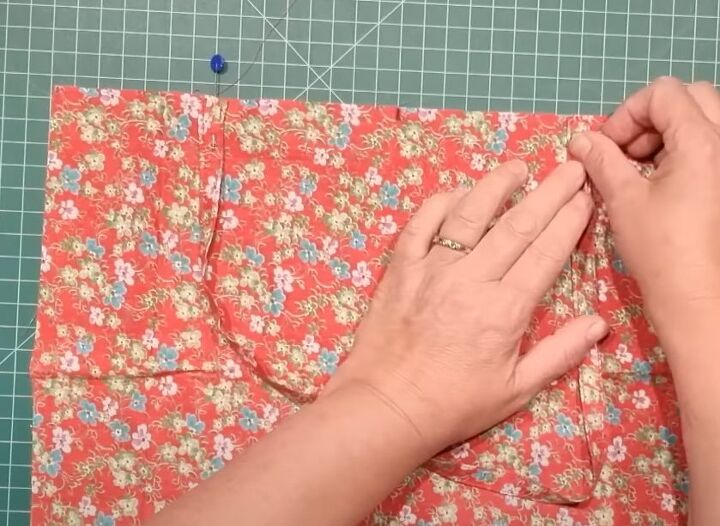
Turn the top edge of the bag to the wrong side by half an inch (1.25 cm) and press it.

Make a second half inch (1.25 cm) fold and pin it in place.
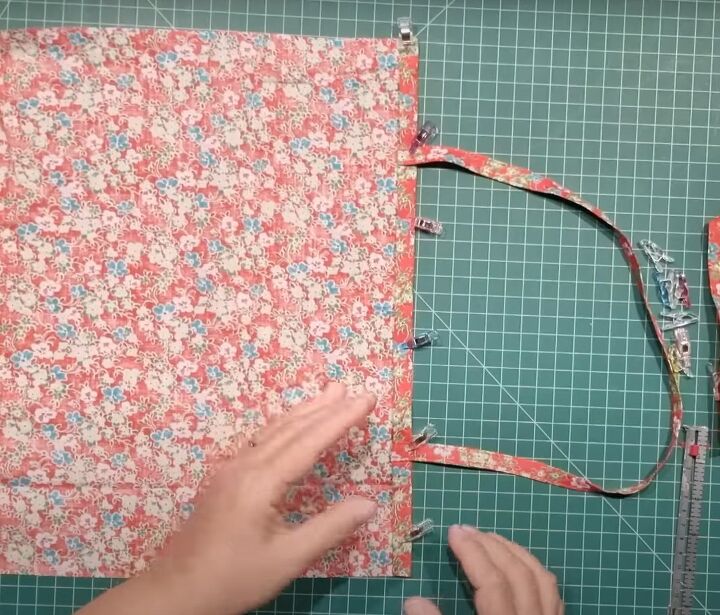
Fold the handle up over the hem and pin it.
Top stitch the top and bottom edges of the hem and repeat for the second bag piece.

4. Make the strawberry pocket
Make a quarter inch (0.6 cm) double hem on the short edges of the two green pieces of fabric and sew it in place.
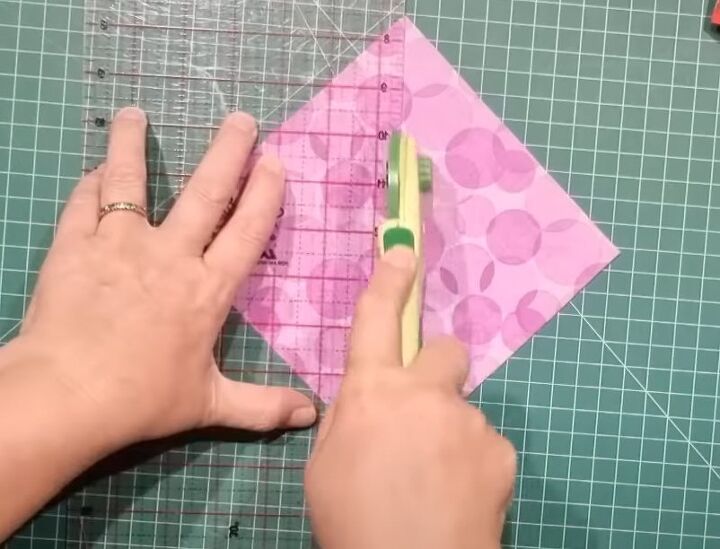
Cut the square in half diagonally.
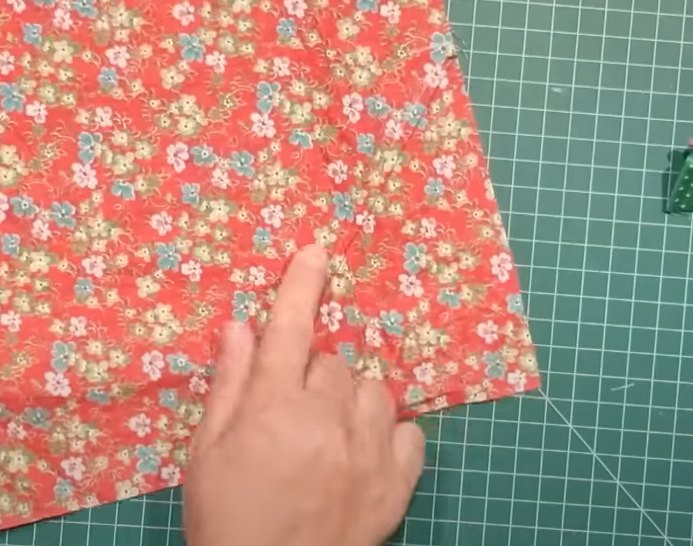
Place one bag piece flat with the right side uppermost.
Mark 6.5 inches (16 cm) up from the bottom right hand corner and along the lower edge. Join the two points with a diagonal line.
Mark the center of the line.
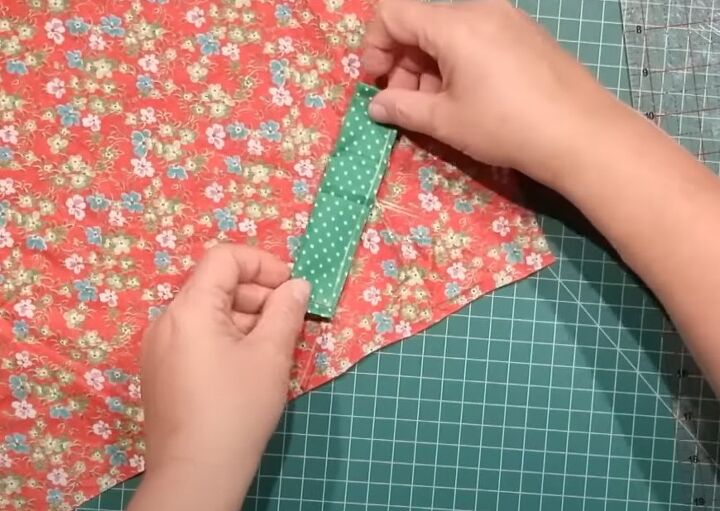
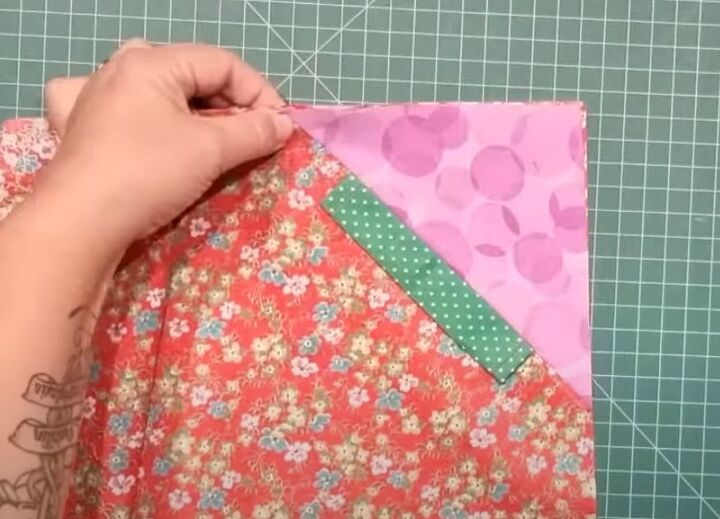
Fold the green strip in half lengthways with the wrong side inside and find the center of the long edge.
Lay the open edges centrally on the diagonal line, overlapping the line slightly.
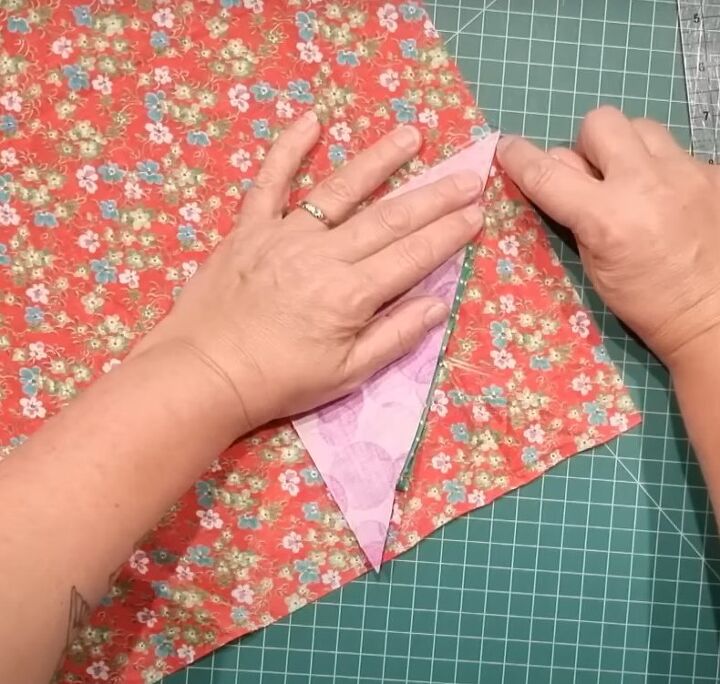
Place one of the triangles right side down over the green strip, lining it up with the diagonal line.
The points of the triangle will overlap the edges of the bag by 0.25 inches (0.6 cm).
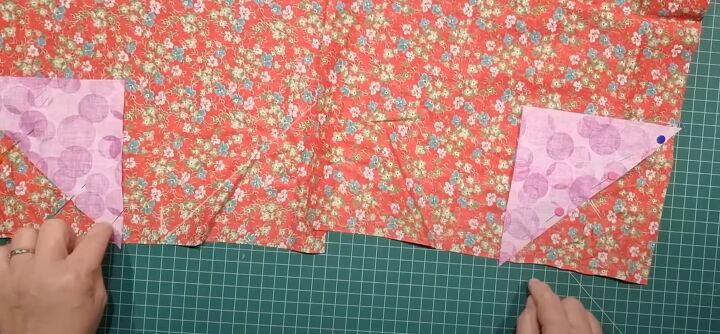
Repeat on the other bag piece but add the pocket to the lower left hand corner.
Sew through the three layers, taking a quarter inch (0.6 cm) seam allowance.
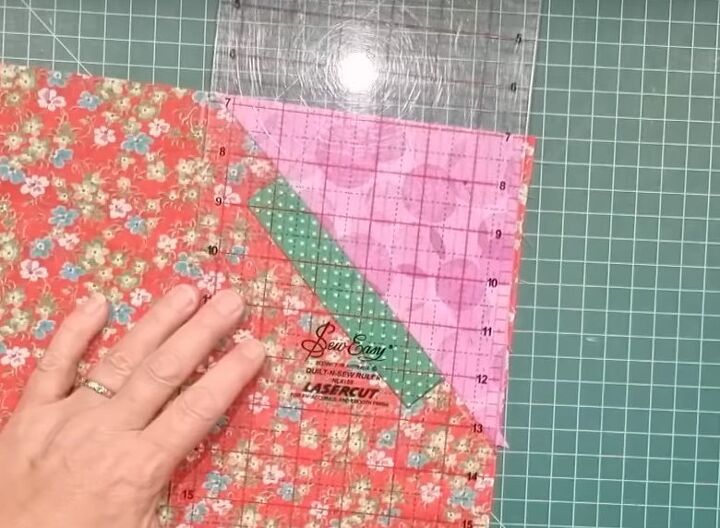
Press the triangle flat and, if necessary, trim the bag to match the sides of the triangle.
5. Assemble the bag
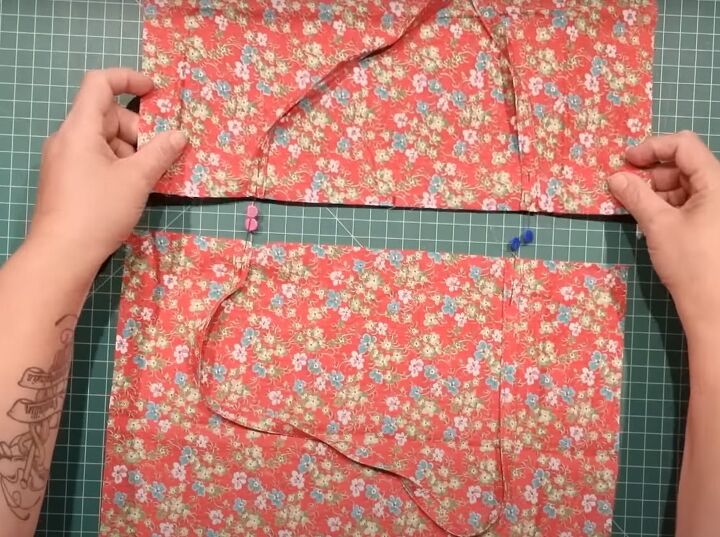
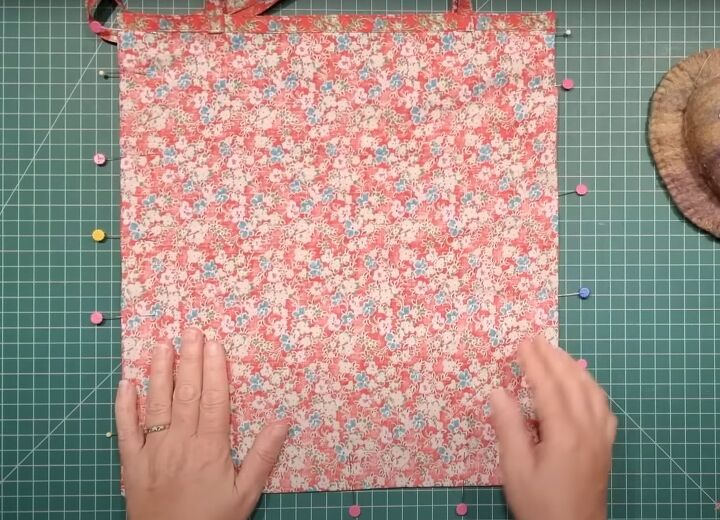
Place the two bag pieces together with the wrong sides facing.
Make sure the diagonal points are aligned and pin the side and bottom edges together.
Sew, taking a 0.25 inch (0.6 cm) seam allowance.
Trim the seam allowance to 1/8 inch (0.3 cm) and snip the lower corners.
Turn the bag wrong side out and push out the corners.
Pin the side and bottom edges together with the seam on the very edge.
Sew the seams, taking a 3/8 inch (1 cm) seam allowance to enclose the raw edges.
Turn the bag right side out.
6. Finishing
If you have a cord toggle, you only need to use one 20 inch (50 cm) piece of cord instead of two.
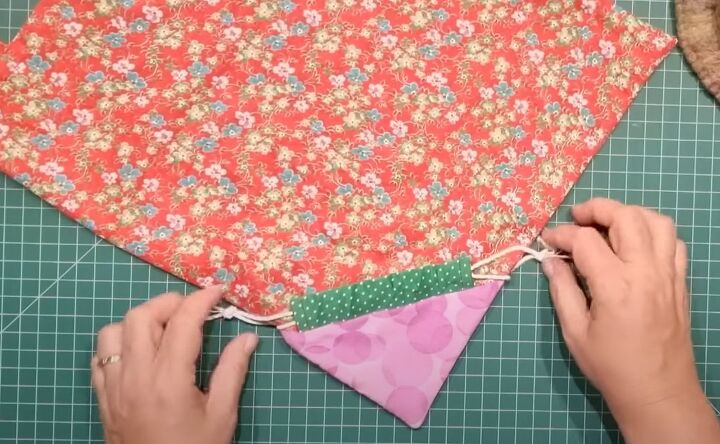
Feed the two pieces of cord through both the green casings, in opposite directions. Tie the ends of each cord in a knot.
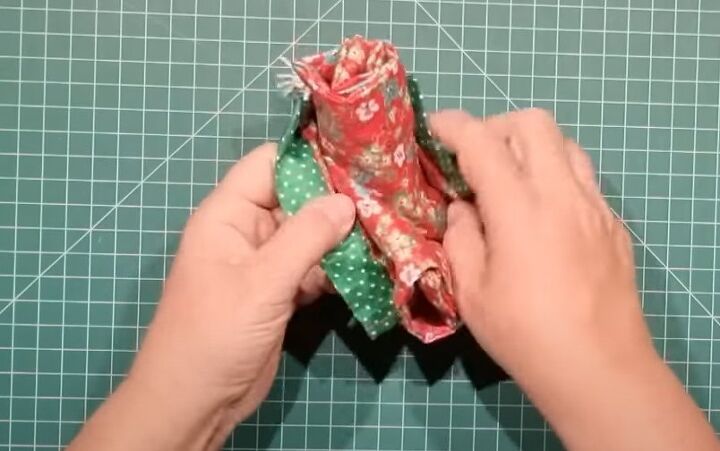
Fold the bag up and push it into the pocket, then pull both ends of the cords.
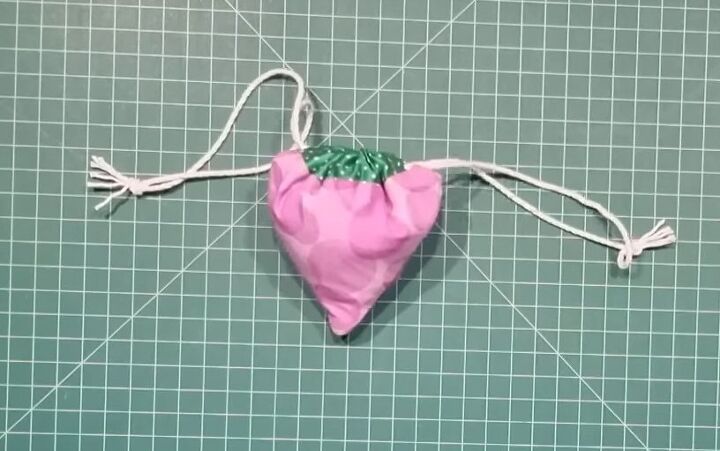
The “strawberry” is easy to tuck away into your purse.
Just open the cords and pull your DIY reusable shopping bag out when you need it.

How to sew a simple tote bag
You don’t even need to fold it up carefully, you can just scrunch it into the strawberry and pull the cords. That’s why it’s important to use a thin fabric for the bag itself.
If you loved this, please let me know in the comments.
Next, check out my Easy Card Holder Sewing Pattern Tutorial for Beginners.
The author may collect a small share of sales from the links on this page.


Comments
Join the conversation