Easy Card Holder Sewing Pattern Tutorial for Beginners

This card holder sewing pattern is an excellent project for beginners to sew and sell.
I’m going to show you how to make a credit card holder with just a few fabric scraps and a snap fastener.
The pattern itself is very straightforward and you’ll learn a few useful sewing techniques as you put it together.
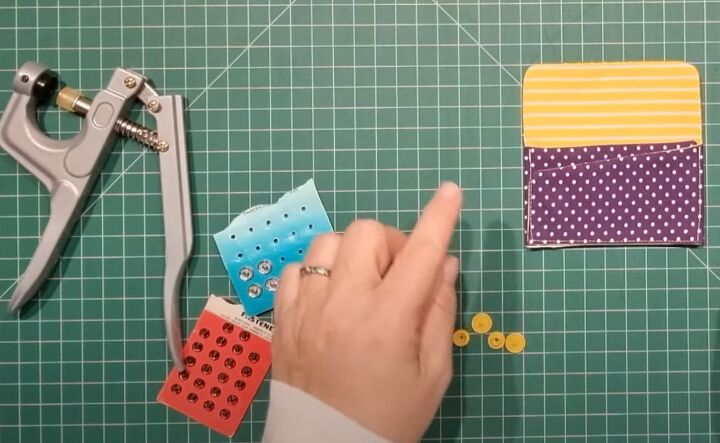
Tools and materials:
- 2 contrasting fabric scraps
- Lightweight fusible interfacing
- Snap fastener or press stud
- Awl
- Small coin or bobbin as template
- Ruler
- Pen
- Pins and fabric clips
- Scissors
- Sewing machine
- Iron
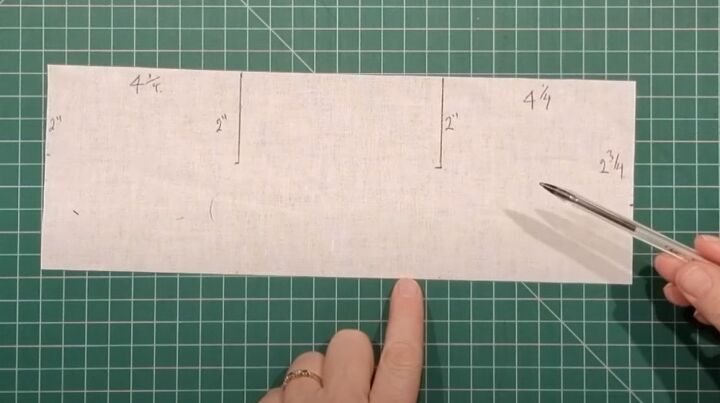
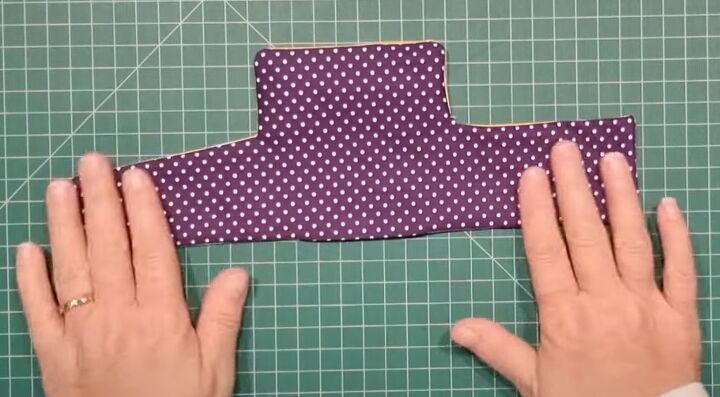
1. Draft the pattern
Cut two pieces of contrasting fabric each 13.5 inches long by 5 inches deep.
You’ll also need a piece of lightweight fusible interfacing measuring 13 inches by 4.5 inches.
On the non-adhesive side of the interfacing, measure and mark 4.25 inches in from each side along the top edge.
Draw a vertical line 2 inches long down from each mark.
Place a mark 2 inches down along the left side edge and another mark 2.75 inches down the right side edge.
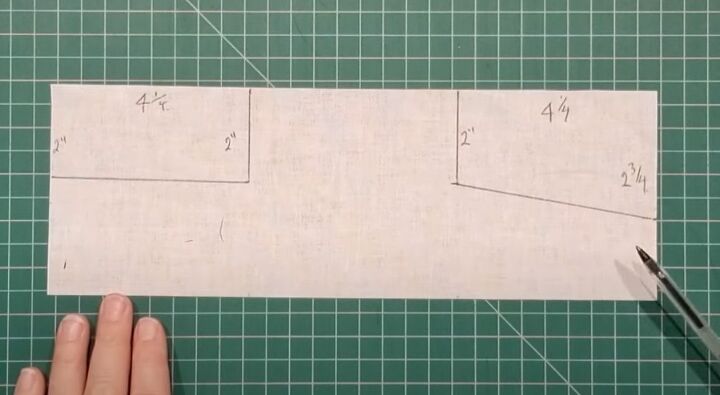
Join the ends of the vertical lines to the marks on the outer edge.
Cut away both the marked sections.
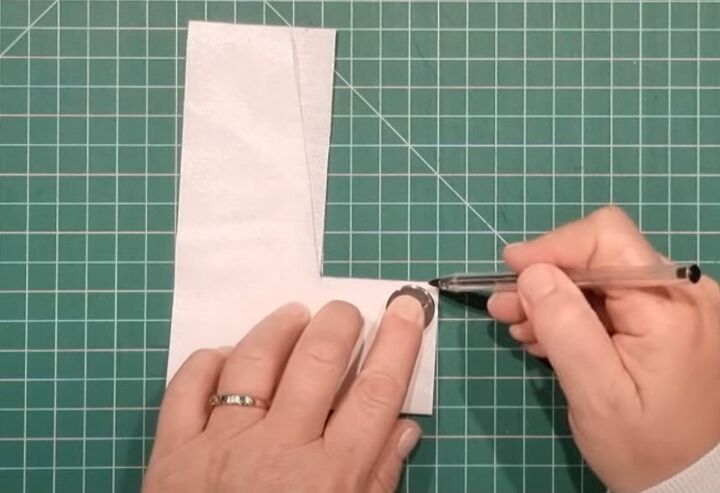
Fold the interfacing in half widthways and use a coin or similar to mark and cut a small curve on the top corners.
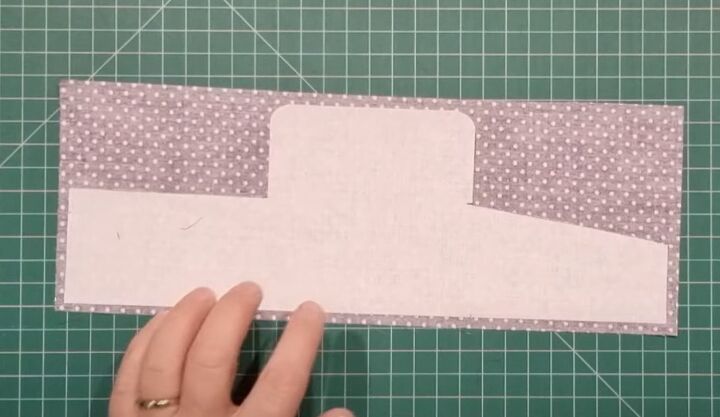
2. Cut out the pattern
Decide which of your fabric pieces will be the lining and which the outer.
Iron the interfacing to the wrong side of the outer fabric, leaving a quarter inch free around the lower side and bottom edges.
Pin the lining fabric to the outer, with the right sides together.
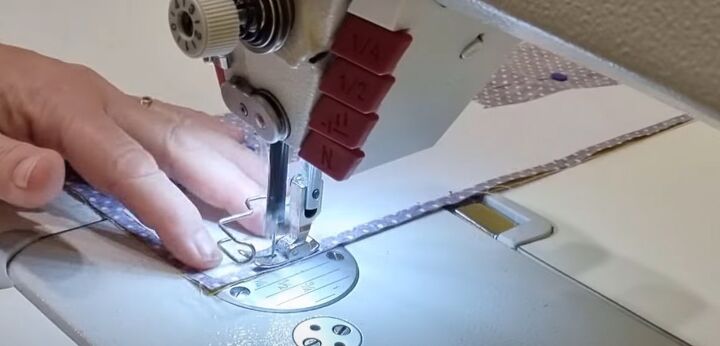
Sew the interfacing to the two layers of fabric.
Stitch along the very edge of the interfacing and leave a 3 inch opening in the center of the lower edge.
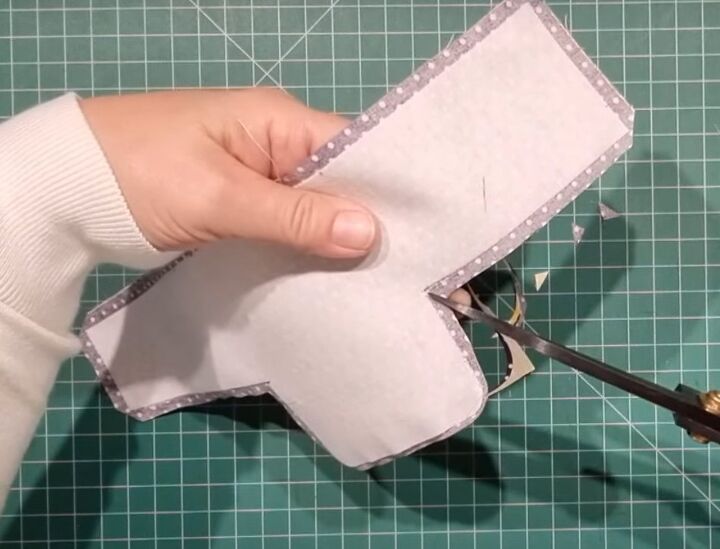
Cut the fabric pieces a quarter inch from the interfacing.
Trim the outer corners and snip into the seam allowance at the inner corners.
Trim around the curves close to the edge of the interfacing.
3. Assemble the DIY card holder
Press the seam open along both sides of the lower edge.
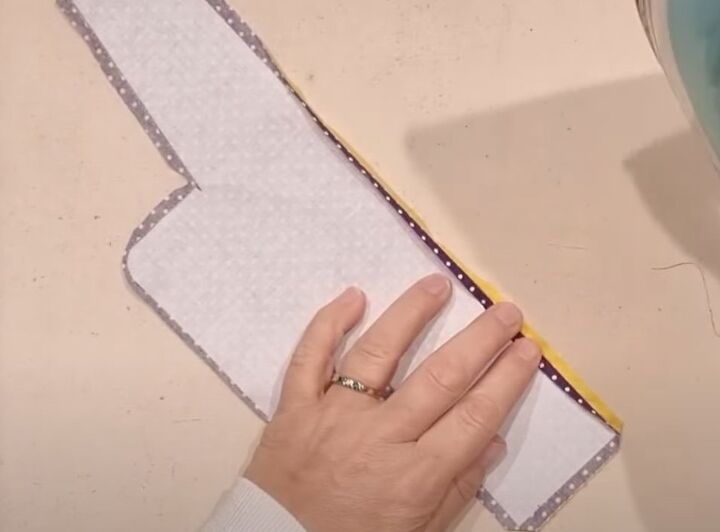
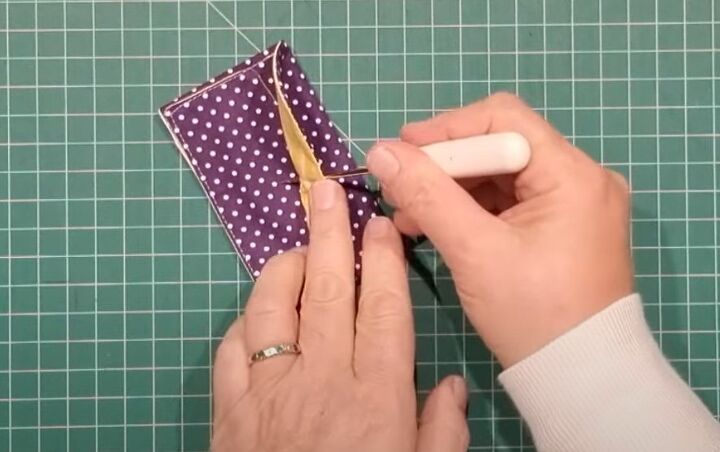
Turn the card holder right side out through the opening.
Push out the corners and curves with your fingers or a knitting needle.
Press well, folding the edges of the opening to the inside.
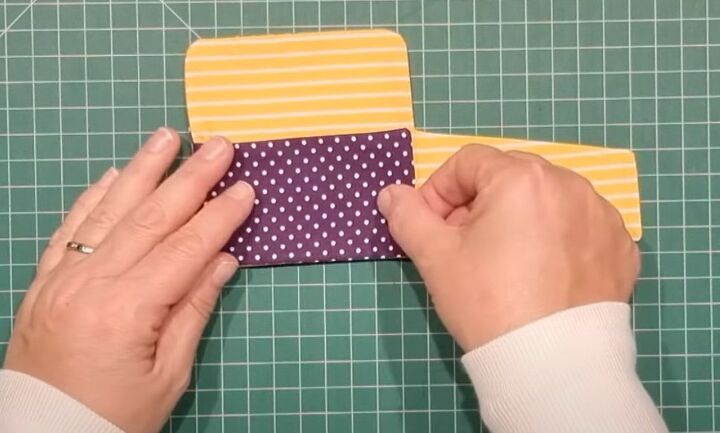
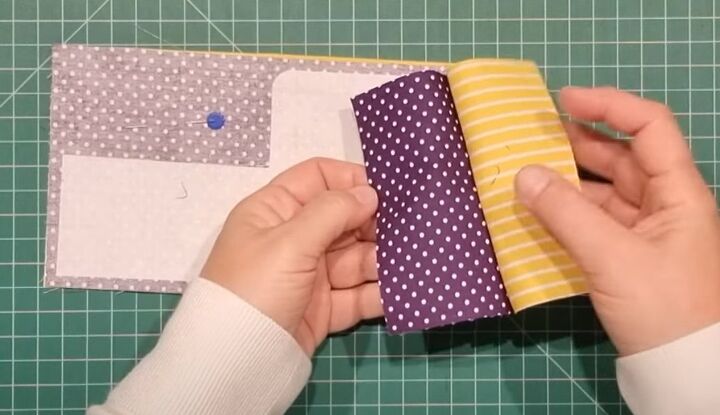
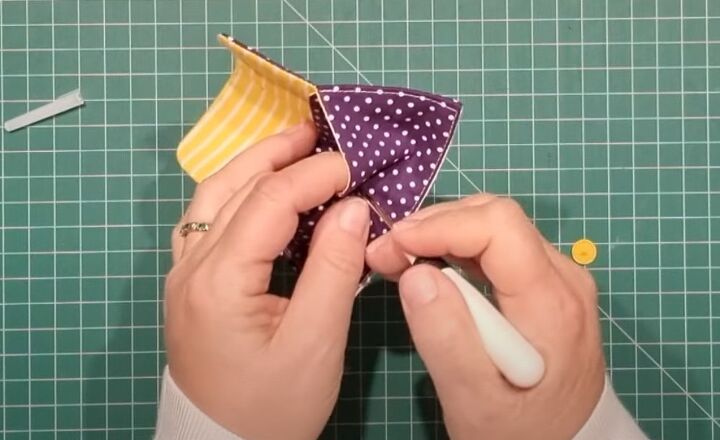
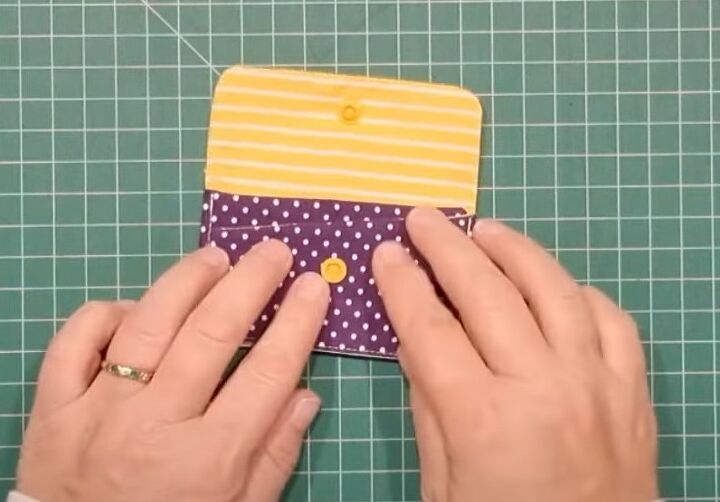
With the wrong side uppermost, fold the straight edged side section across the central section. Line it up with the edge of the flap.
Fold the diagonal side piece over it and line up the lower edges.
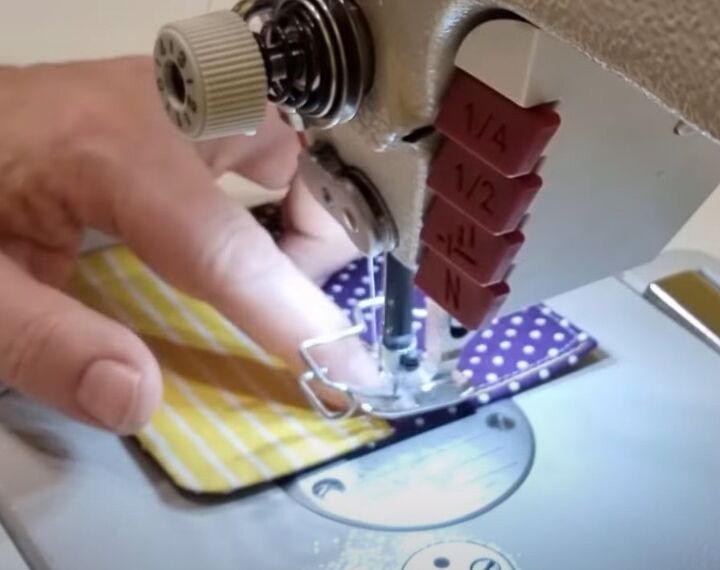
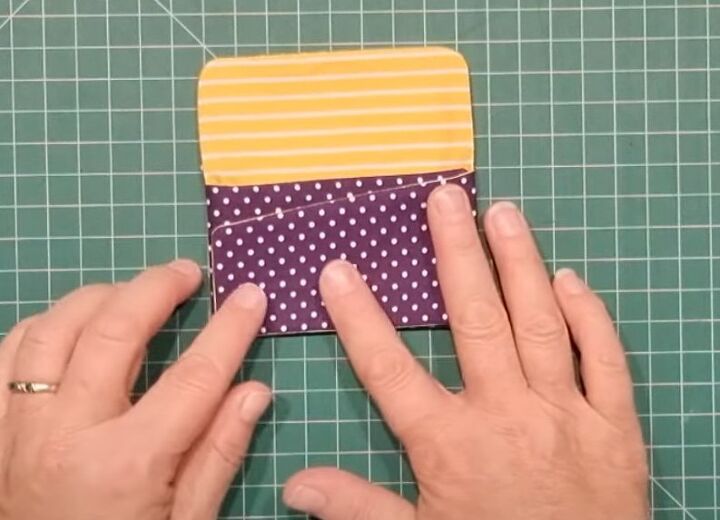
Topstitch all the layers together along the bottom and side edges.
Optionally, you can top stitch around the edges of the open flap as well.
4. Attach the closure
Fold the cardholder in half lengthways and mark the center of the flap.
Fold the flap down over the cardholder.
Place the point of your awl on the center line of the flap about half an inch from the edge.
Push it through to make a hole in the flap and mark the top layer of the cardholder.
Make a second hole at the mark through the front section of the card pocket only.
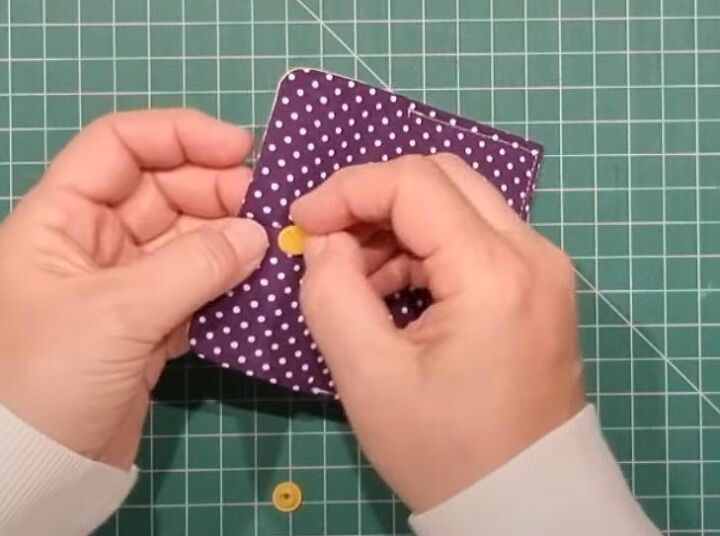
Attach the first snap fastener to the flap, with the cap on the outside and the “hat” on the inside.
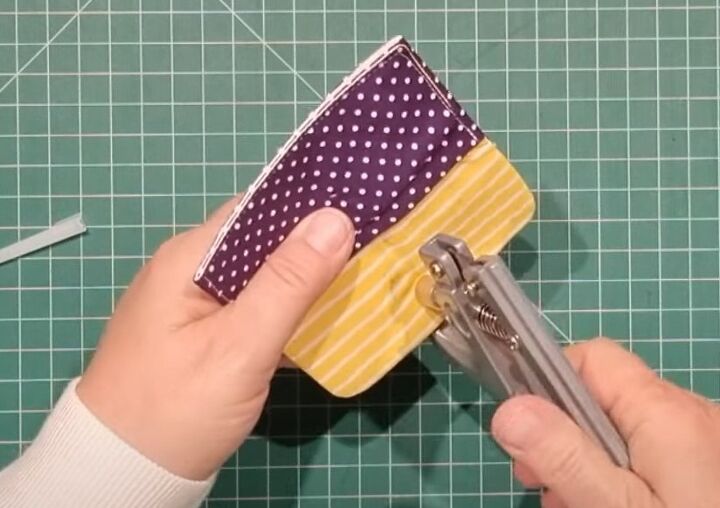
Press them together.
Place the second fastener through the hole in the card pocket, with the cap on the inside.
If you’re using press studs, hand sew the top part to the lining of the flap, so it’s invisible from the outside.
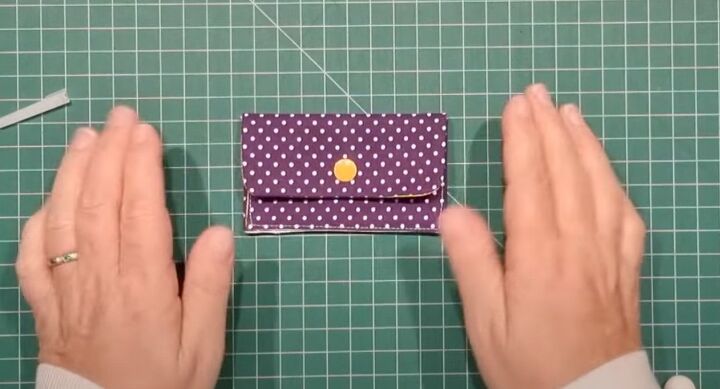
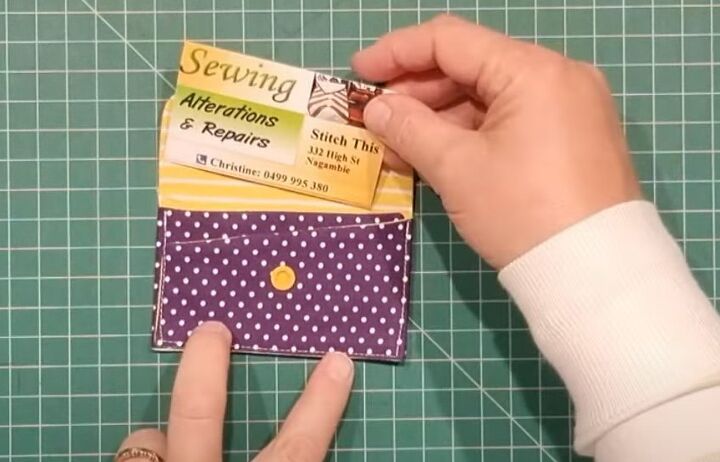
DIY card holder
If you make tote bags or purses to sell, these DIY card holders would be excellent add-ons for them.
Make them as stocking stuffers for Christmas in sports team colors or as holders for gift cards and vouchers. They’re so quick and easy to sew and everyone loves them!
I’d love to know how you use them in the comments below.
The author may collect a small share of sales from the links on this page.


Comments
Join the conversation