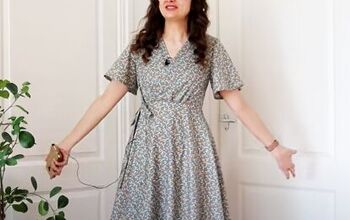
Simple Knit Dress Sewing Pattern & Tutorial For Beginners

In this tutorial, I’m going to show you how to sew a maxi knit dress with a necktie, a collar, puffy cuff sleeves, and a side slit. If you’ve been looking for a knit dress sewing pattern, you’ve come to the right place.
For my fabric, I am using brushed cotton which has a one-way stretch, it has a medium weight and a bit of structure.
Tools and materials:
- Sewing pattern
- Pins
- Knit fabric
- Fabric scissors
- Paper scissors
- Measuring tape
- Ballpoint needle
- Regular needle
- Tailor's chalk
- Matching thread
- Tape
- Iron
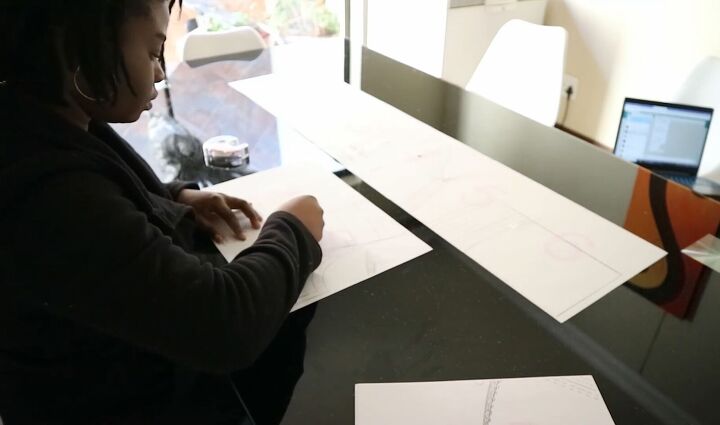
1. Cut the pattern
Cut the bodice from the pattern, tape the pattern pieces together, and cut out your desired size.
Check the size chart and the finished garment measurements to know which size to cut. Or, if you want to keep the full pattern intact, you can trace out the size you want on tracing paper.
Then cut out all the other pattern pieces; the pattern already has half an inch seam allowance included.
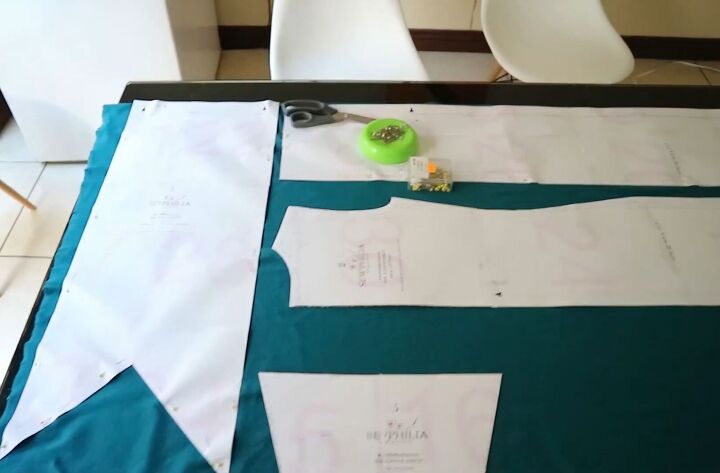
2. Pin to fabric
Place the pattern on your fabric using the pattern layout in the sewing manual as a guide and pin them into place. Make sure you consider the stretch direction of your fabric. Also, do not forget to mark out the notches that are indicated.
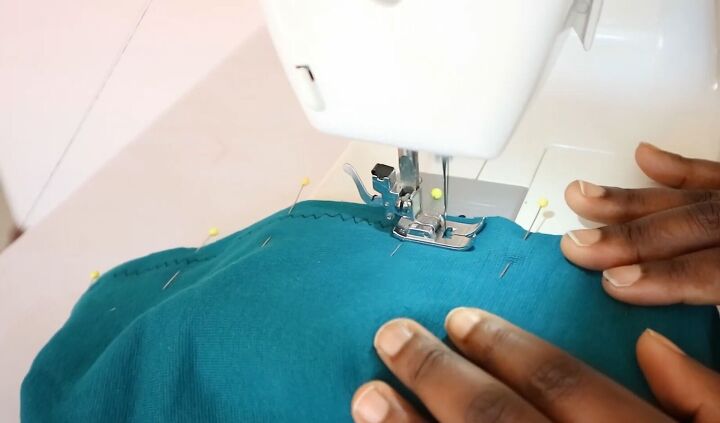
Before you start sewing: change the needle in your sewing machine to a ballpoint one as we are working with a knit fabric, and this will not poke holes through it.
I also recommend using a zigzag stitch on your knit fabric to accommodate the stretch. Test your zigzag stitch to find the perfect length and tension for your fabric.
3. Sew center back seam
Place the two back pieces right sides together and pin along the length of the center back. Sew up the center back seam, leaving the half-inch seam allowance. Then, press the seam open with an iron.
4. Sew the shoulder seam
Align the front and back pieces with the right sides together at the shoulder seam. Pin the shoulders and stitch in place. Do this for both shoulders and press the seam open after sewing.
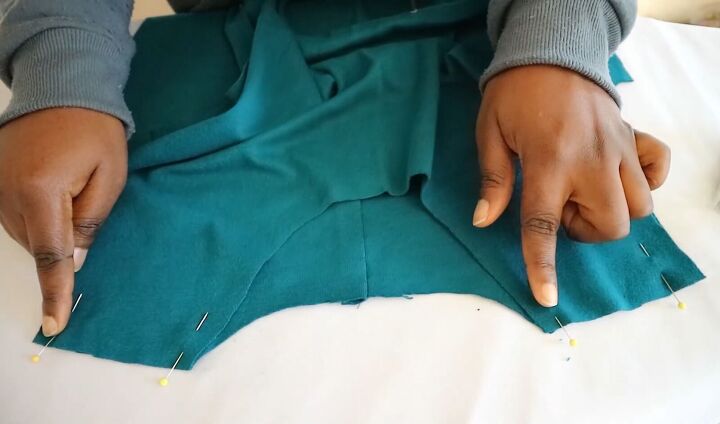
5. Sew side seam
With the right sides together, align the front and back pieces at the side seam. You will not sew all the way to the hem. Make sure you’ve marked where the seam stops and where the sleeve starts. Proceed to sew the side seams but stop at the mark.

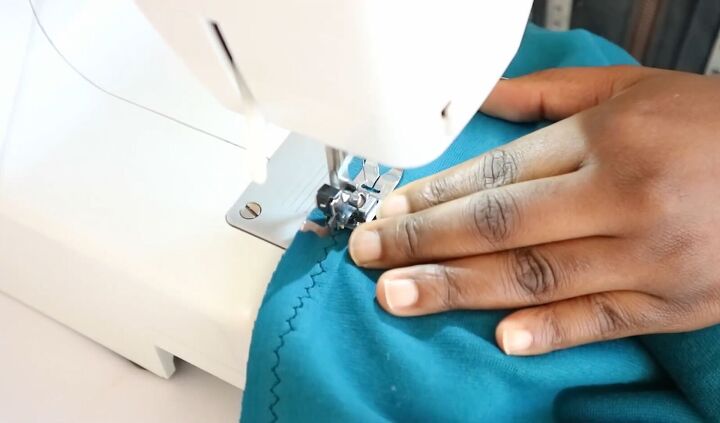
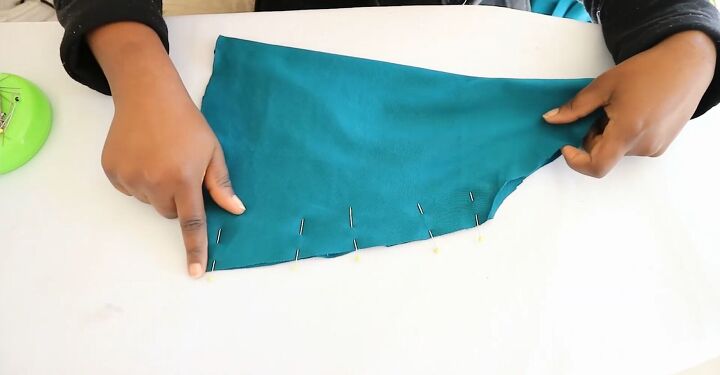
6. Sew the side slits
Press the seam open and continue pressing so that the unsewn part close to the hem is pressed inward on both sides. Be sure to maintain a consistent seam allowance all the way down to the end of the slit.
Pin each side of the seam allowance in place. Mark 0.5 inches (1.3cm) up from where the slit starts.
Starting at the hem, topstitch one side of the slit as close to the edge as possible. Once you reach the first corner at the top, pivot and stitch across. Then pivot at the second corner and continue down the other side of the slit.
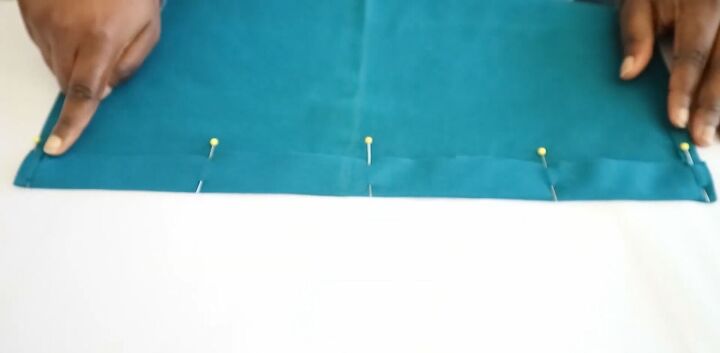
7. Hem the dress
Now sew the hem of the dress. Fold up the fabric by 1 inch (2.5cm) and topstitch it in place.
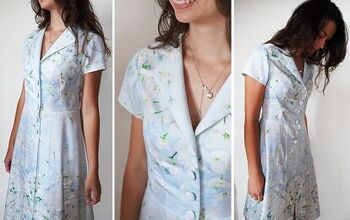
8. Sew the collar and necktie
Place one necktie piece on one end of the collar, right sides together, by matching the notches and pinning. Mark 0.5 inches (1.3cm) at the top and bottom of this piece and then sew them together.
Next, fold the necktie part in half lengthwise and pin along the edges. Sew with a straight stitch and stop at the opening. Trim the seam allowance and tips of the necktie.
Turn both tie pieces right side out by passing them through the collar piece and pressing. The seam allowance left on the collar should be on the outside.
9. Attach the collar and neckties to the neckline
Place the collar inside the dress, matching the center of the collar to the center-front of the dress, and pin it to the neckline right sides together.
Pin the ends of the collar to the center-back; you can overlap this part a little bit. Then pin the rest of the collar to the neckline and sew around the collar leaving a seam allowance.

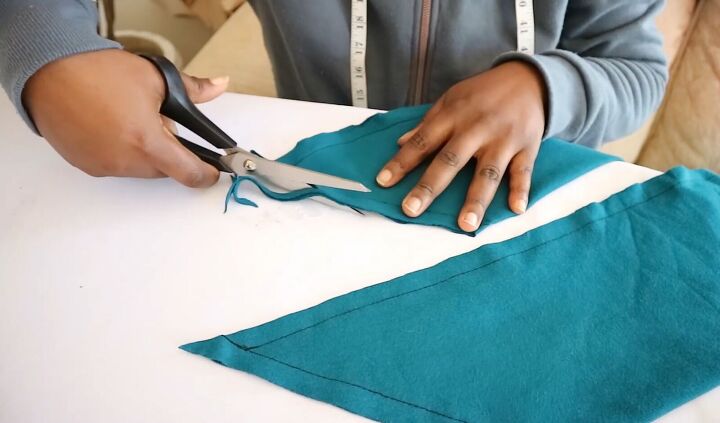
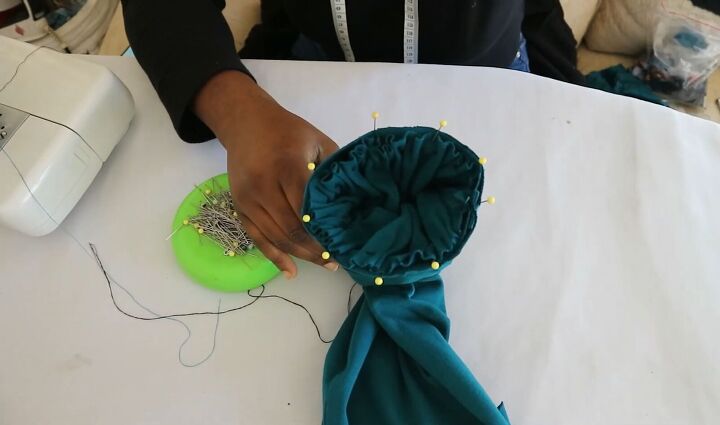
10. Sew the cuffs
Create each of the lower sleeves by folding the pieces in half, right sides together. Pin along the v-shaped edge and sew to create a long tube.
Clip the midpoint of the fabric to remove the excess fabric and turn the cuffs right sides out. Then press the cuffs flat.
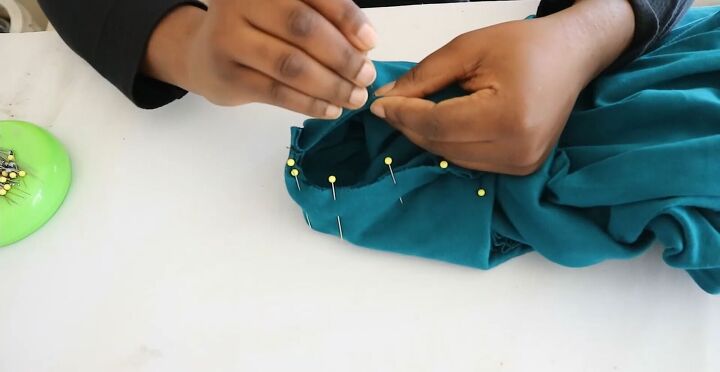
11. Sew the sleeves
Fold the sleeves widthwise and sew up the inseams, adding a seam allowance. Once sewn, press the seams open.
Next, gather the bottoms of each sleeve to fit the cuff. You can gather by sewing a long-distance stitch with your sewing machine, but because this is a rather short hem, I decided to hand-sew running stitches and then gathered this until it fit the cuff.
12. Join the cuff to the sleeves
Place the cuffs over the sleeves, making sure the right sides are together, and pin the threaded edge along the raw edge of the lower sleeve.
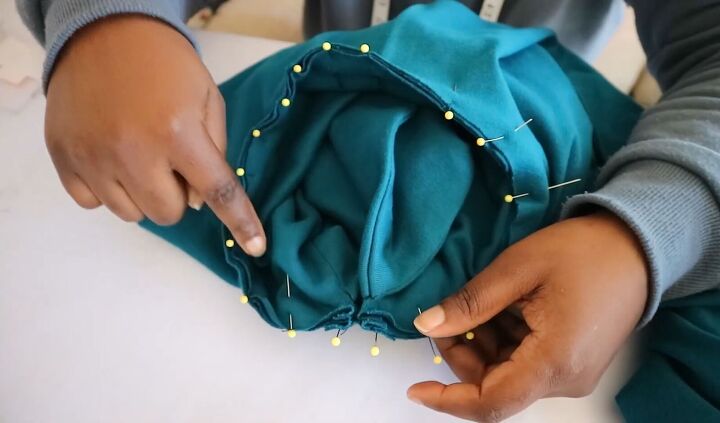
13. Sew the sleeves to the armhole
To attach the sleeves to the dress, place them inside the dress with the right sides facing, and then match up all the notches. Pin in place and then sew together.

Knit dress sewing pattern and tutorial
If you followed along with this tutorial, congratulations; you now have yourself a beautiful dress. It is such a simple and elegant piece that looks great with heels. This knit dress sewing pattern is really easy to follow and a very worthwhile sewing project!

The author may collect a small share of sales from the links on this page.


Comments
Join the conversation