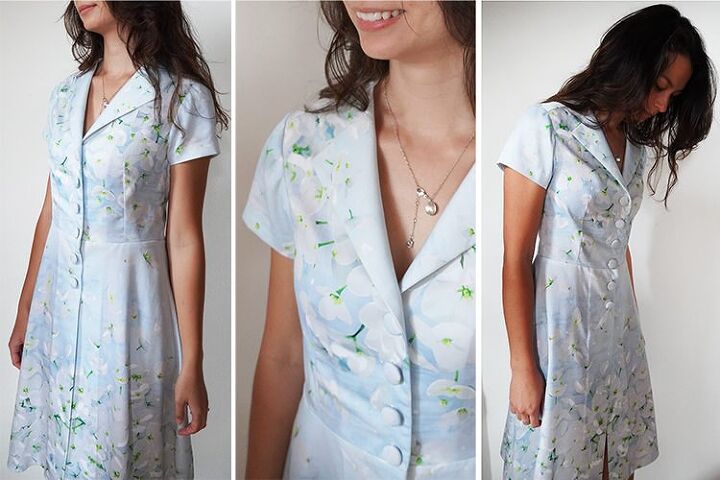
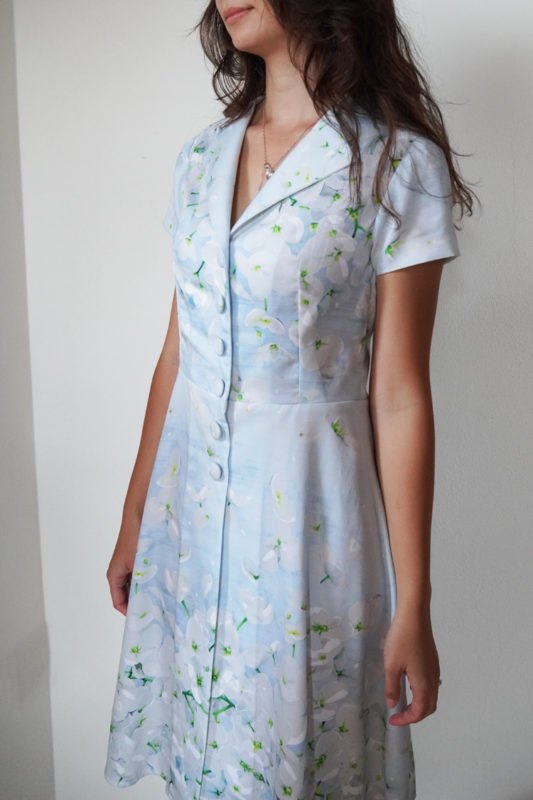
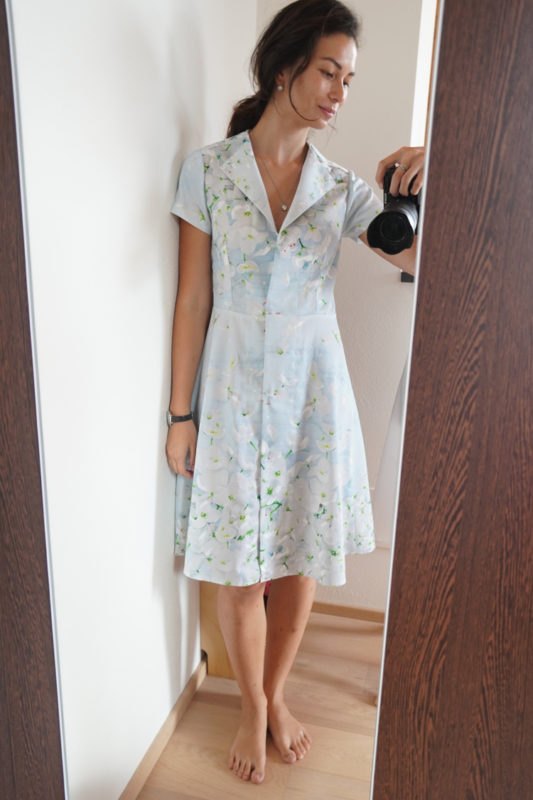
Pattern for Simple Women’s Retro Dress (+ Sewing Instructions)

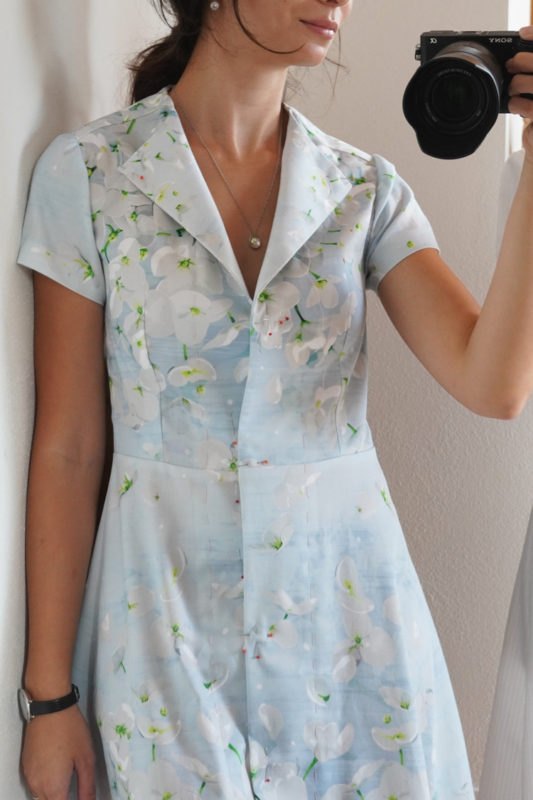
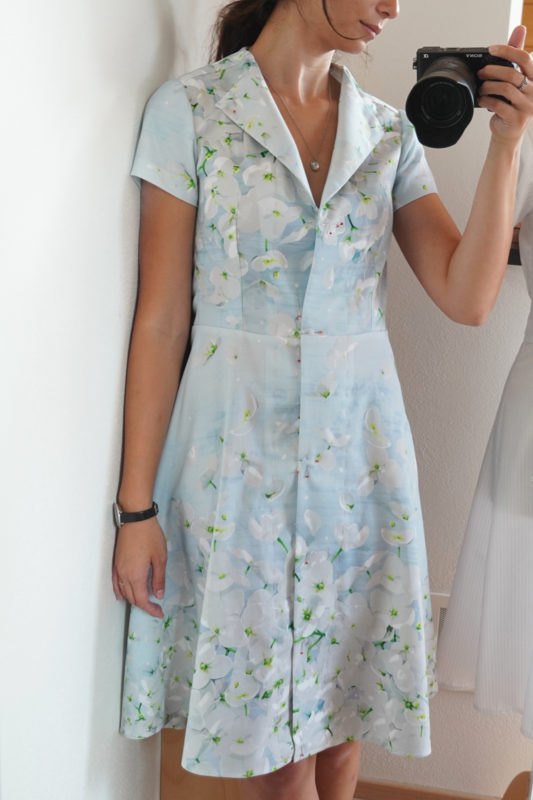
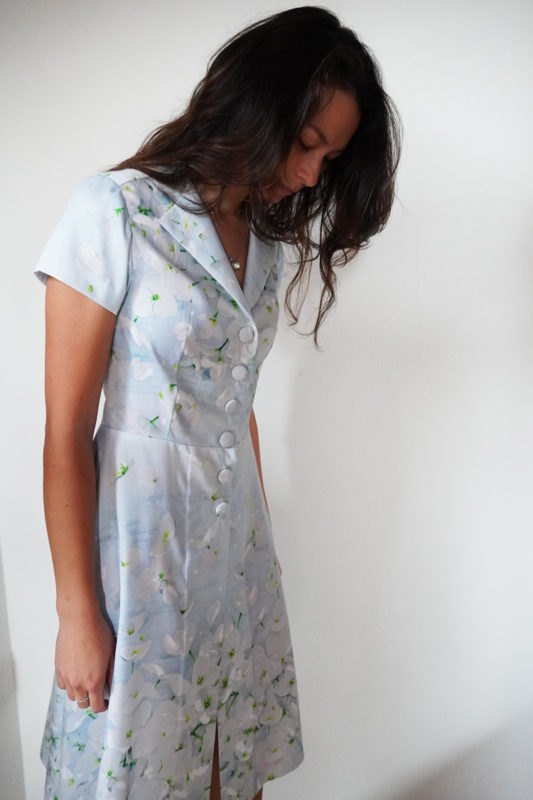
I’ve created a new pattern for a simple women's retro dress. This pattern is for a shirt-type dress and it’s surprisingly simple to sew, so I can recommend it to intermediate sewers and enthusiastic and courageous beginners.
You can get pattern for dress BACKYARD in our online store:
Pattern for simple women’s dress BACKYARD
Recommended material
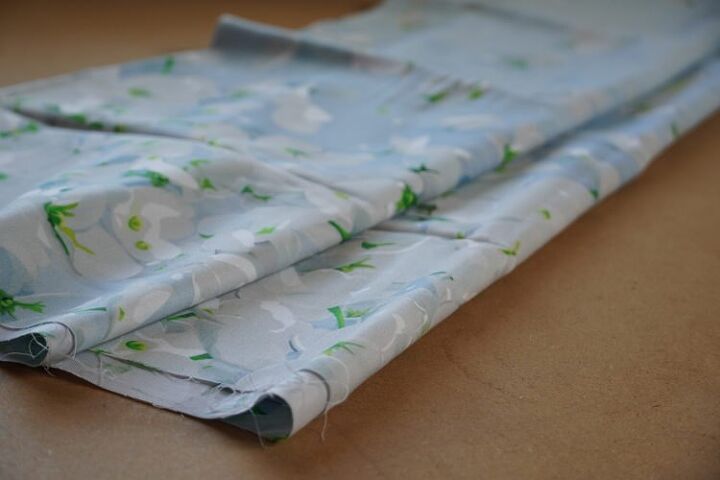
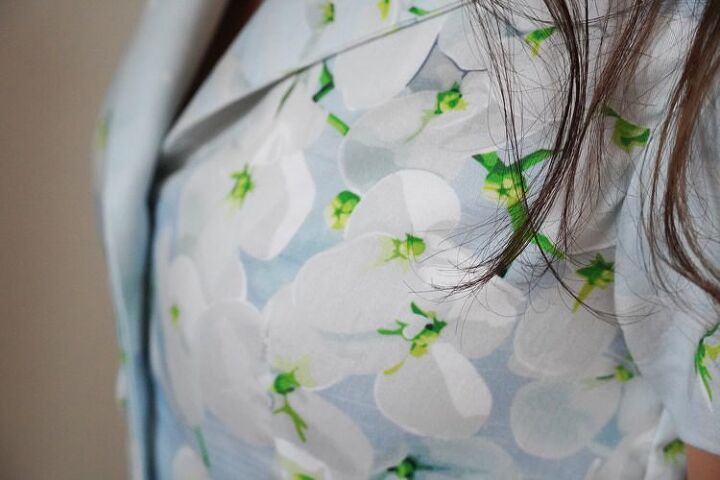
I’ve bought fabric for this dress at Tufka.cz, it is cotton satin with hydrangea print:
Suitable materials are fabrics of medium thickness such as shirt fabrics and poplin. You can also use light viscose or other blouse fabrics for a light and flowing version:
What else do you need
- Fusible cotton canvas– for front piece facing and inner yoke reinforcement
- Thinner one-sided fusible facing– for reinforcement of the front piece center and inner yoke
- Buttons: You are going to need about 6-12 pieces (depends on their size and density of placement). You can have buttons along the whole length of the dress if you want to.
How to sew retro dress BACKYARD step-by-step
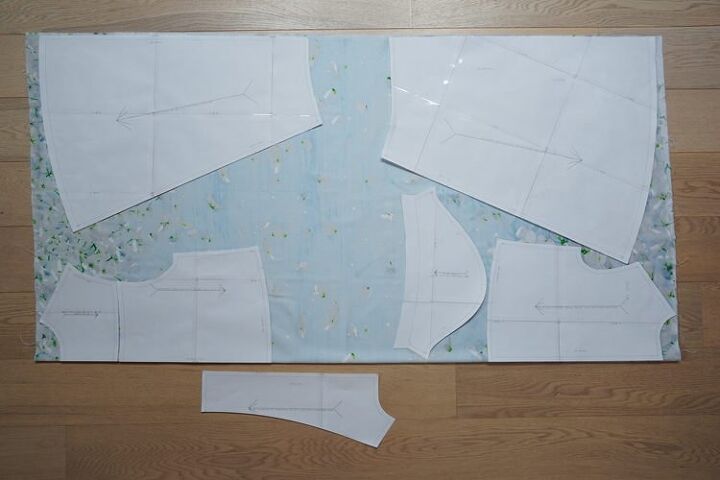
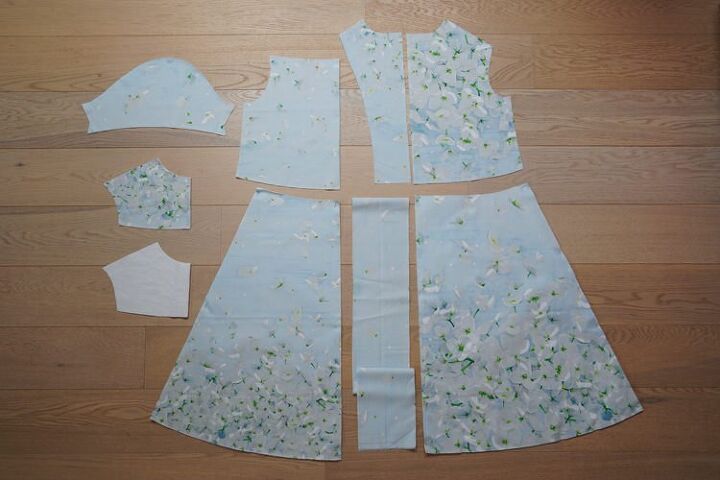
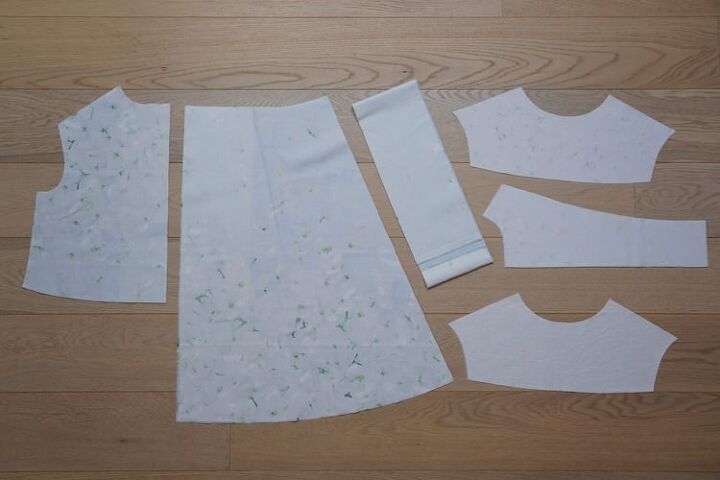
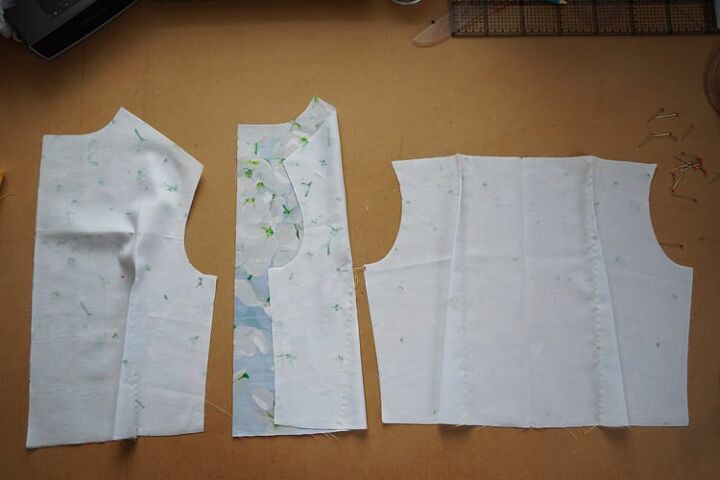
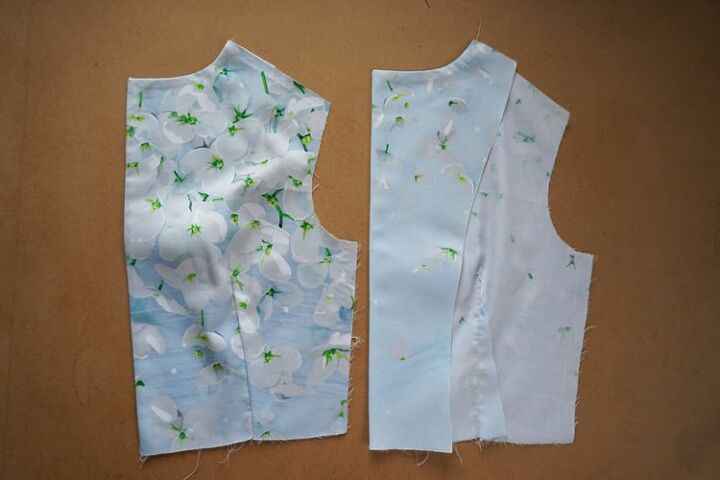
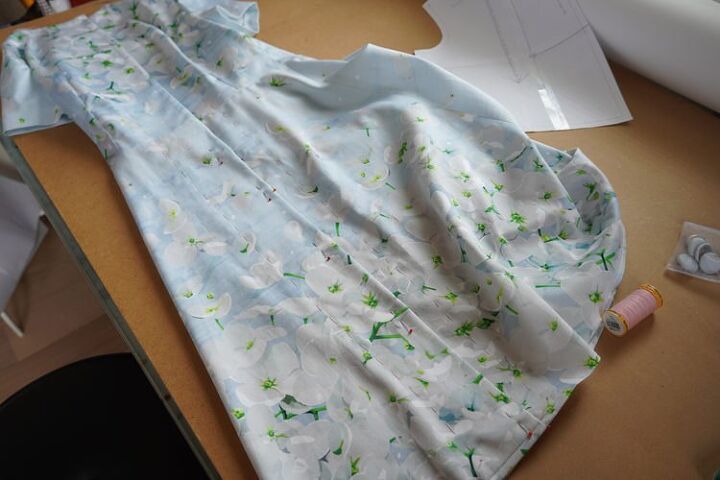
According to the paper pattern prepare following pieces from the top fabric:
- 2x front skirt piece
- 2x back skirt piece
- 2x front bodice piece
- 1x back bodice piece (folded fabric cut)
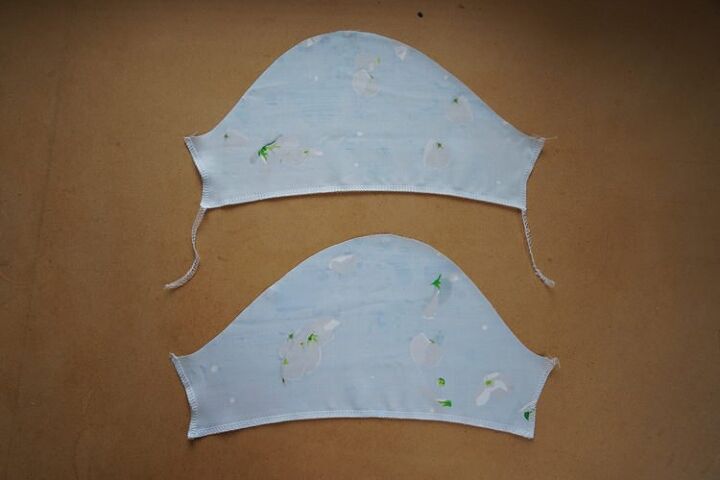
- 2x sleeve piece
- 2x front piece facing (I have no idea why I put this piece next to the fabric when I was taking the picture :D )
- 1x yolk (folded fabric cut)
You are going to need one more yolk piece - if you have a patterned fabric that is slightly translucent, I recommend cutting this part out of some monochromatic lining fabric.
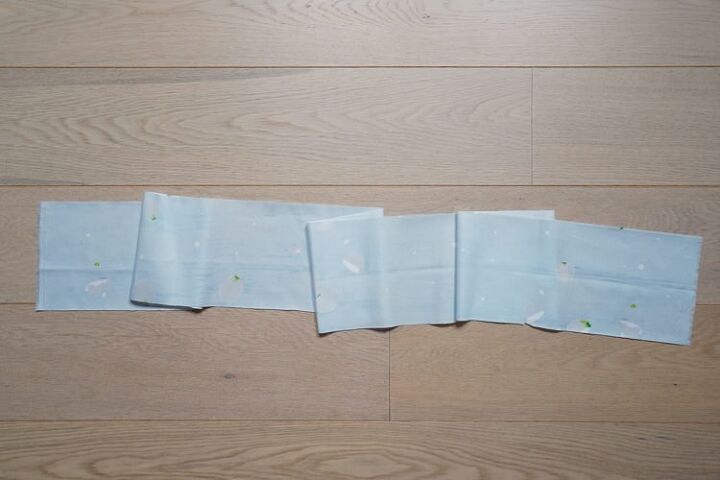
You can also sew a fastening ribbon for this dress. If you want to do this, you need to think about it while positioning the other parts on the fabric, so that you can cut 140 cm long (full width of the fabric) and about 8-14 cm wide strip (width depends on how wide do you want to make your ribbon).
Reinforcing the pieces
First you need to reinforce some pieces.
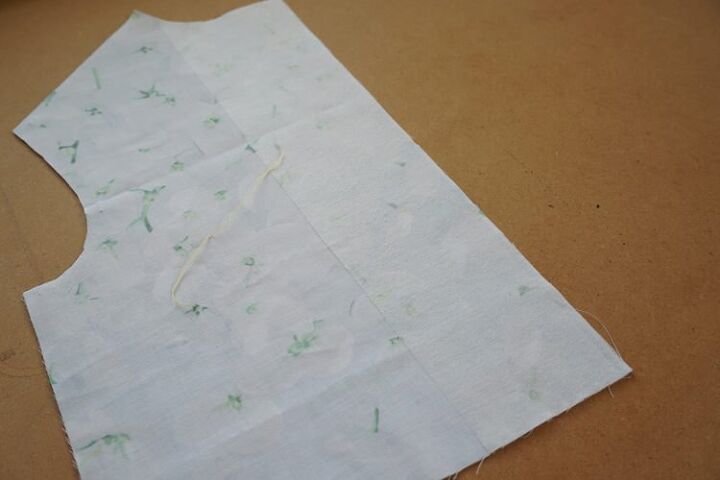
Reinforce both front bodice pieces along the button plackets with thinner one-sided fusible facing. Reinforced strips should be about 9 cm wide.
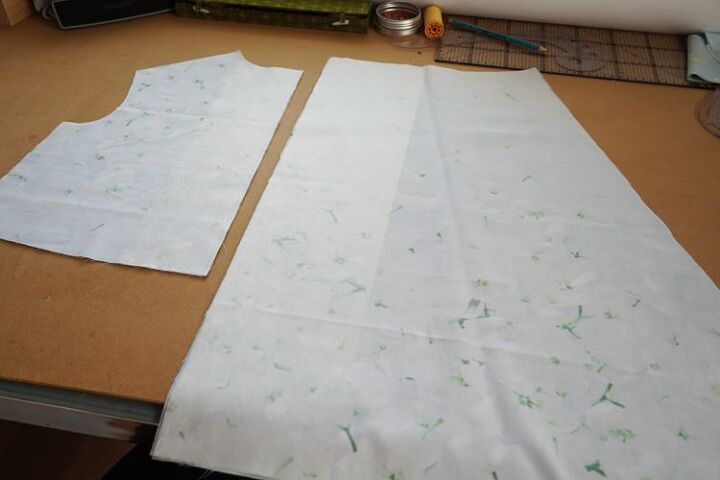
Reinforce the front skirt pieces in the same way. Use about 12 cm wide strips here.
Use fusible cotton canvas to reinforce outer yoke and both pieces of the facing for the front pieces.
Use thinner one-sided fusible facing to reinforce inner yoke (and fastening ribbon if you are sewing one).
Bodice
It should be noted that you are sewing from woven fabric, so it is really important to try the dress on at times and adjust it if needed to make it fit perfectly. You are going to be using a lot of temporary stitching to do these tests.
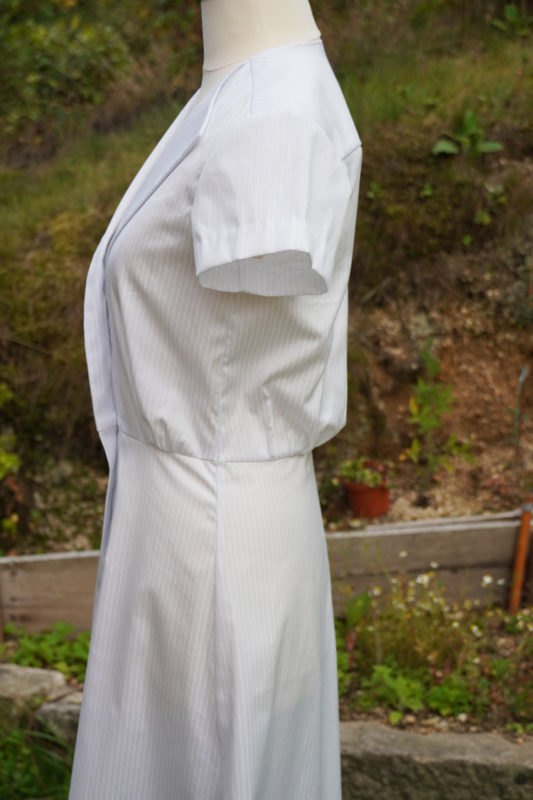
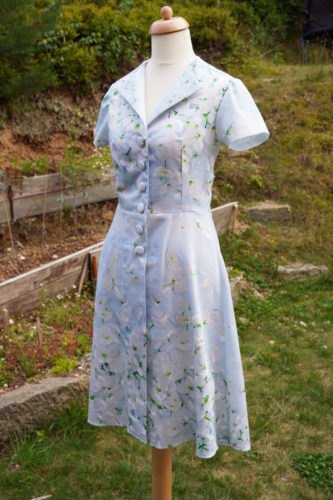
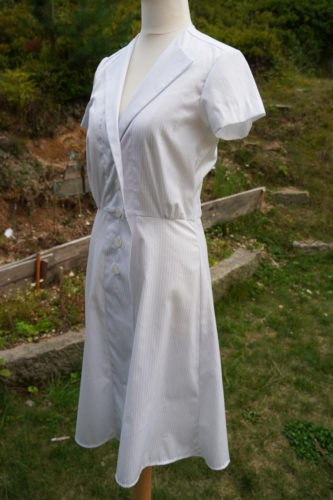
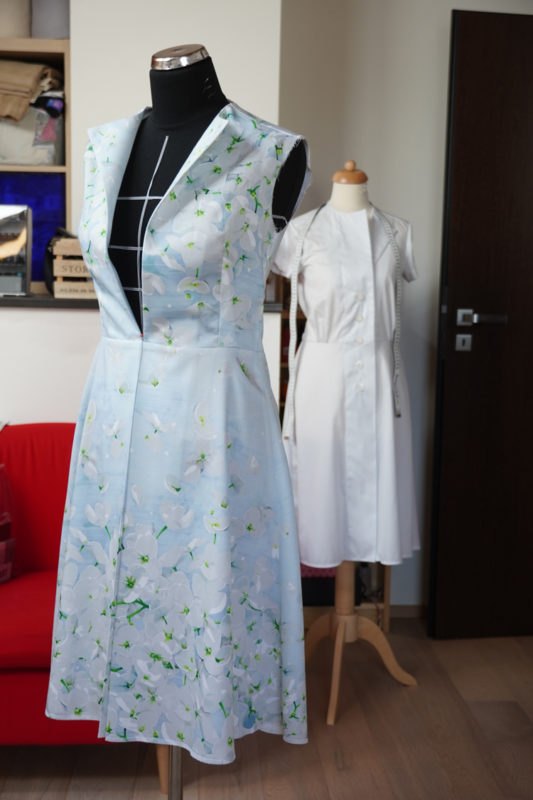
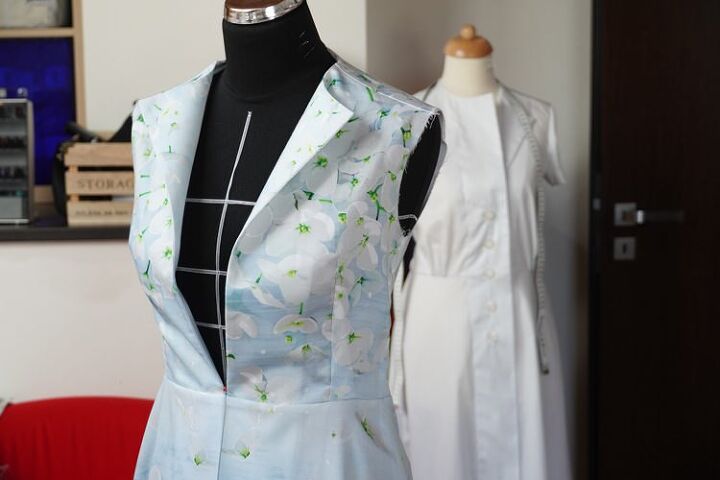
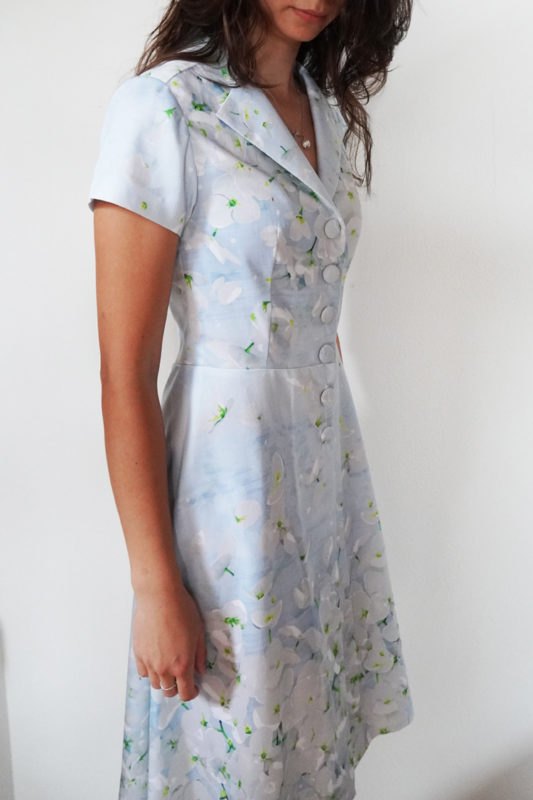
You have two options when sewing the bodice. Either sew the darts to create a tight bodice (blue dress with flowers) or you can drape the bodice to the waist and create a looser version (white dress).
If you are sewing a looser version, then simply drape the front and back bodice pieces along the lines marked on the paper pattern. You can read more about how to drape the fabric in this article:
I’m going to show you how to sew version with darts.
Sew all the darts first. To be precise, the darts should be temporarily stitched first (on the front and back pieces).
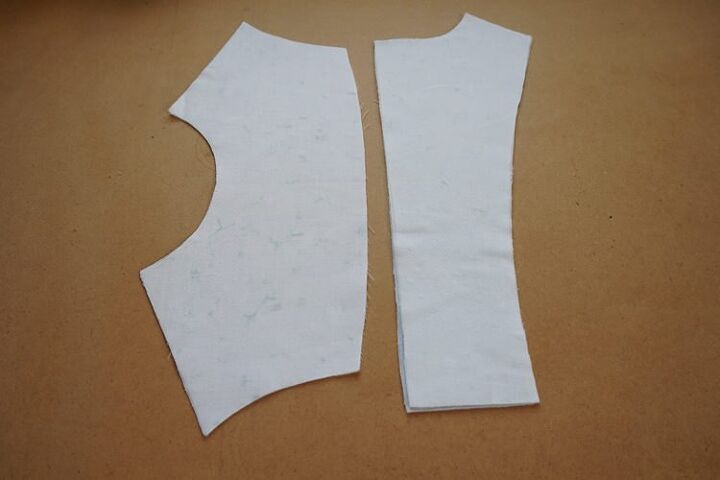
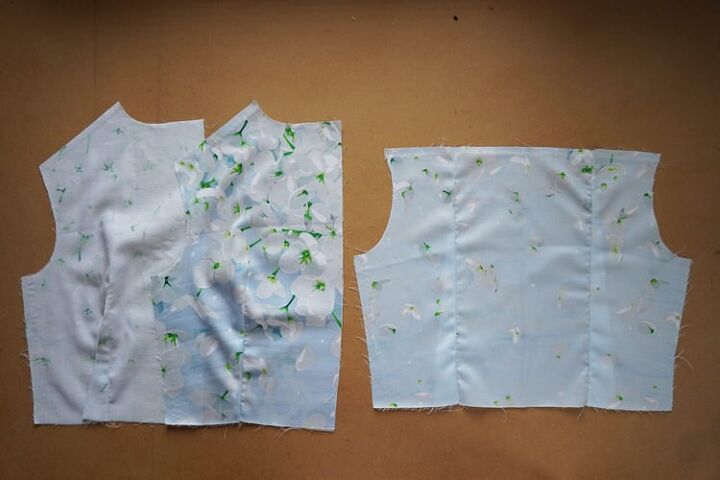
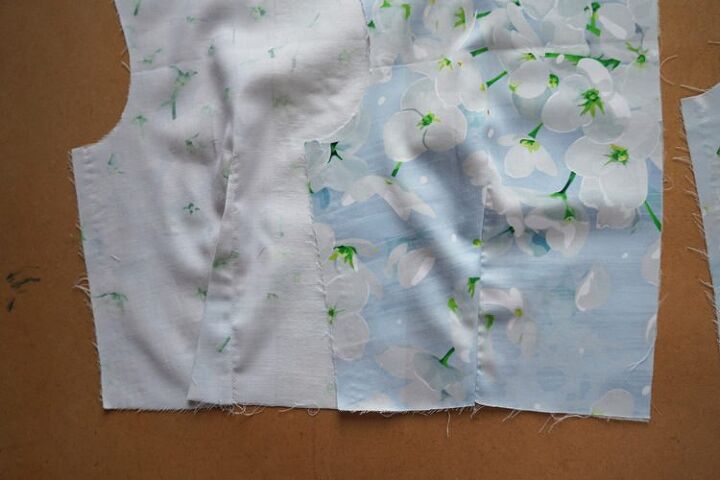
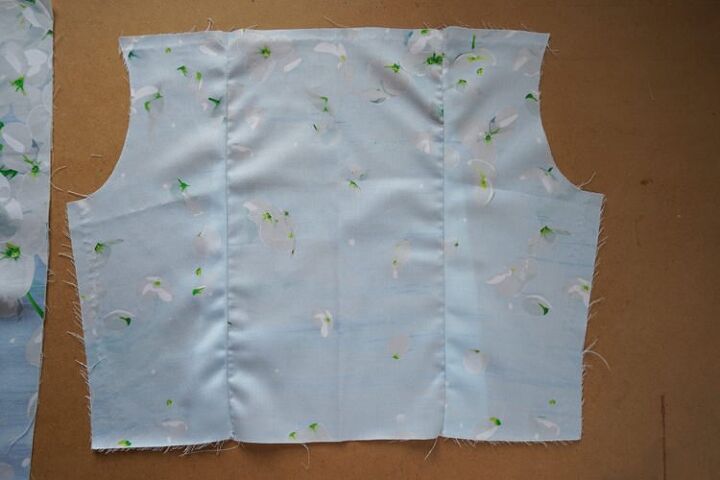
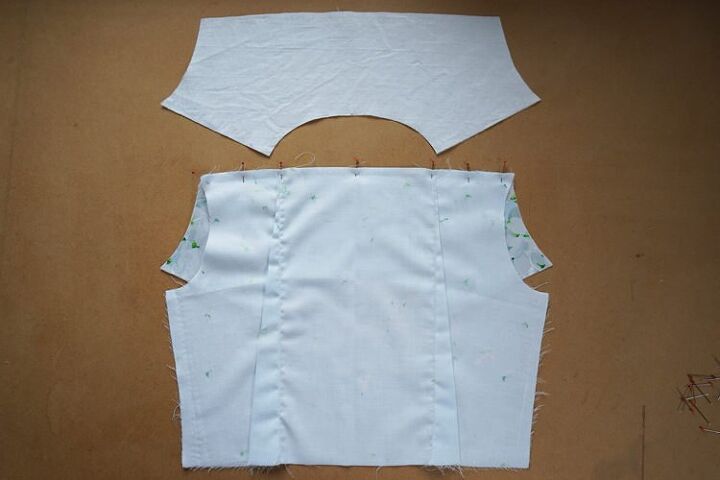
Stitch the yoke to the back bodice piece.
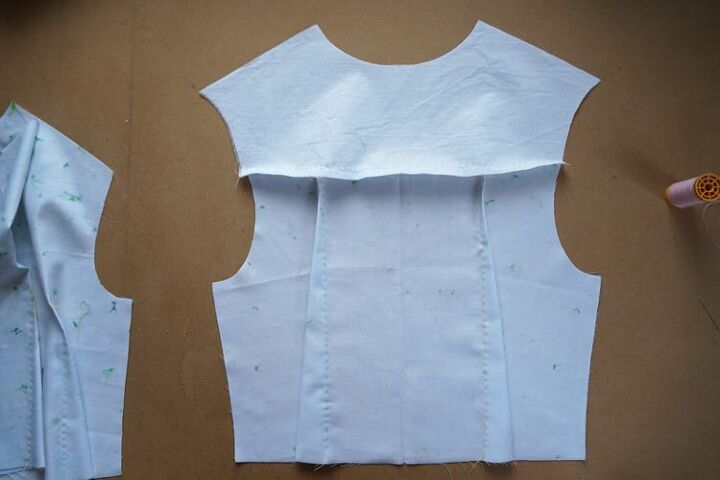
Stitch the front bodice pieces to the yoke (in the shoulder seams).
Stitch the side seams too.
First test
Now is the time to perform the first test.
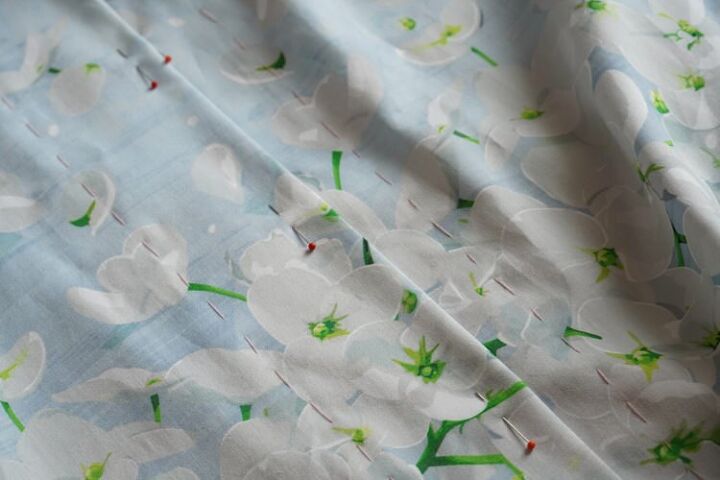
- Take a good look at where the center line of the front pieces is on the paper pattern and pin the bodice along this line.
- During the first test, take a good look at the chest darts placement. Think about their top ends and whether you need to make them looser or tighter.
- Take a good look at the overall silhouette too. See if the bodice fits well (chest and waist). It should not be too tight or loose.
- Then check the size and shape of the armholes.
- Take a look at the shape and size of the neck opening (note that it now also includes a seam allowance and therefore may be slightly tight).
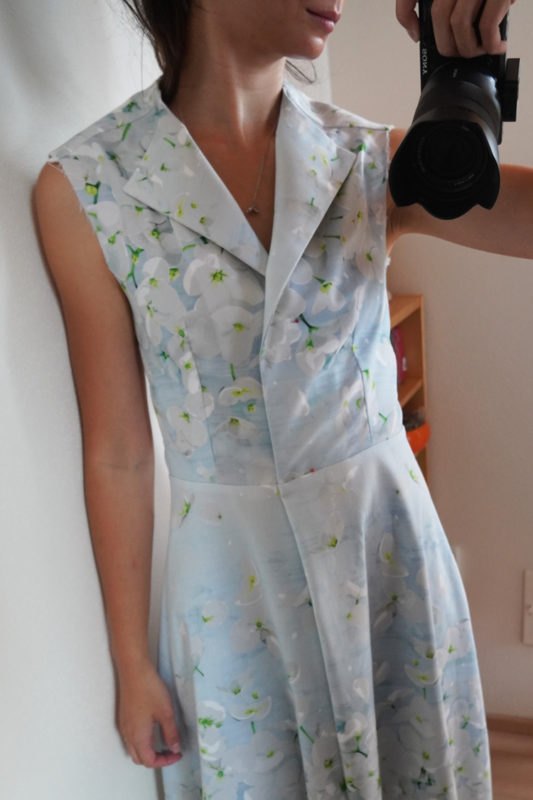
- Last but not least, look at the shape and size of the lapels - whether they are too wide or narrow for your figure, etc. Remember that you need to have a button in the chest line (to prevent opening of the bodice in its widest part). You can pin this place to see the real shape of the lapels and how this part of the bodice fits you.
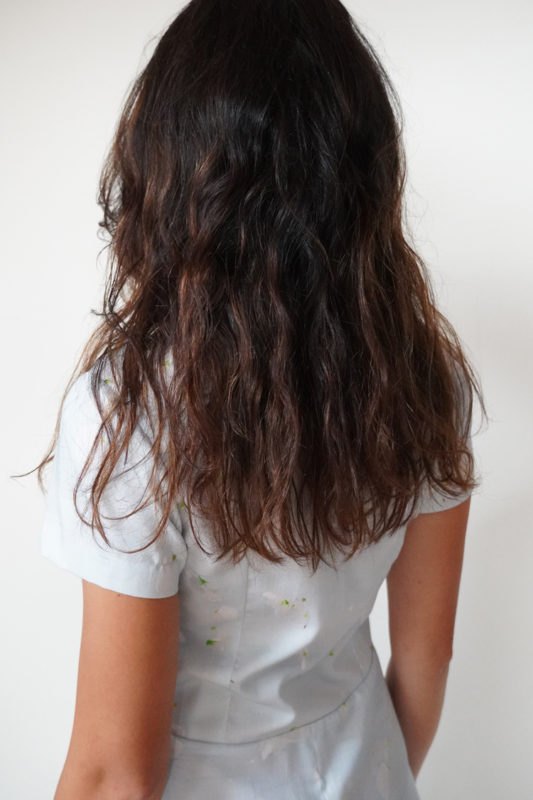
- Look at the back area too. The bodice should be neither too long nor short. And the yoke should nicely follow the shape of your back.
Frequently adjusted areas:
- Shoulder seamsNowadays many people have a problem with forwardly rounded shoulders (so called “mom posture”) because of sedentary work. If this is your case, it is necessary to slightly reduce the armhole of the front piece and to enlarge the armhole of the back piece. This shifts end of the shoulder seam towards the front piece. At the same time, it is necessary to adjust the sleeve similarly, the top of the sleeve should be moved more towards the front (extend its rear part and shorten the front part). Rear parts of the sleeves will be larger after these adjustments.
- Yoke and darts of the back piece: If you needed the above-described adjustment, you will probably also going to need to adjust the back piece of the bodice (and yoke). Because the “mom posture” is often associated with the rounded back. In this case, it will be necessary to “round” the yoke more along the connecting seam (extend it by 0.5 - 1 cm). It may be necessary to round the back piece of the bodice in the same way. It is important to keep the length of the connecting seam same on both parts (back piece & yoke), so it is possible to sew them later. If you have a very round back, it may be necessary to shorten the darts of the back piece - to move their tops a little lower.
Be sure to mark all the adjustments in the paper pattern, so that you do not have to deal with it again while sewing the next model.
Now pull out temporary stitches and sew the darts of the front and back pieces. Press the darts towards the side seams.
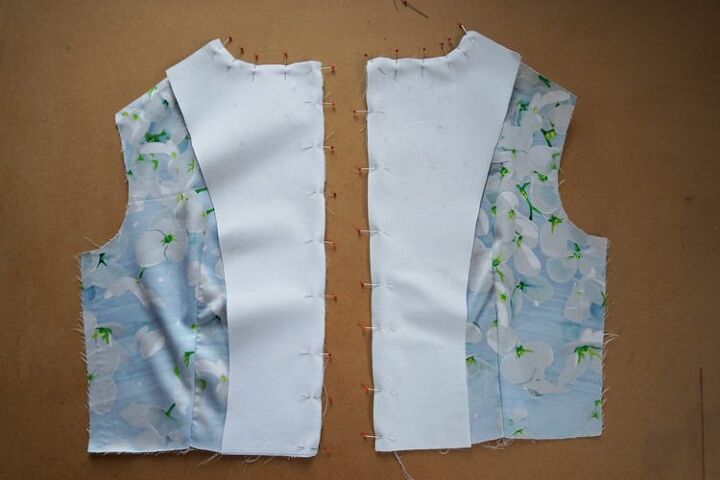
Pin (or stitch) the yoke to the back piece next. Do the outer yoke first (face side to the face side of the bodice).
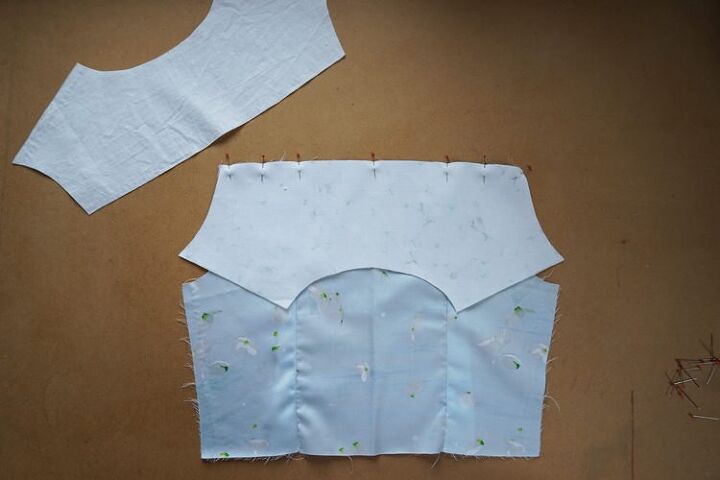
Then flip those parts and pin the inner yoke. Face side of the yoke is facing reverse side of the bodice this time.
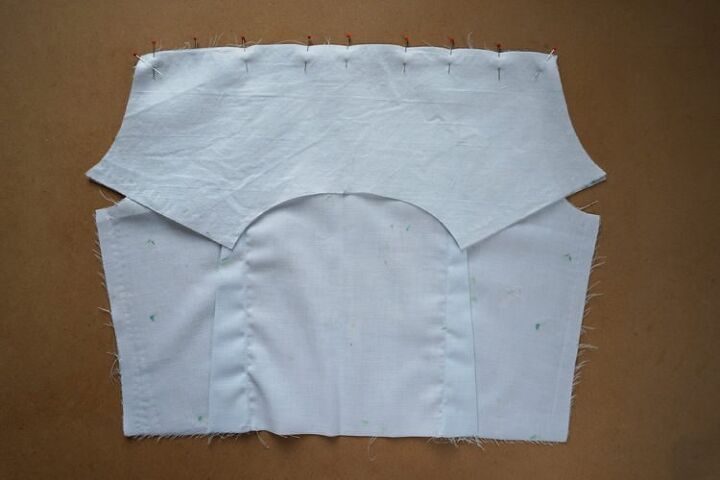
Now you have back piece pinned in between two yoke parts along the connecting seam.
Sew the connecting seam.
Iron the seam thoroughly.
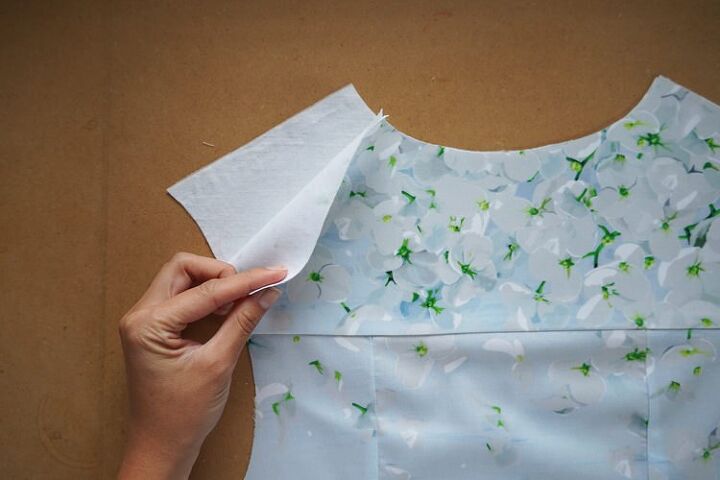
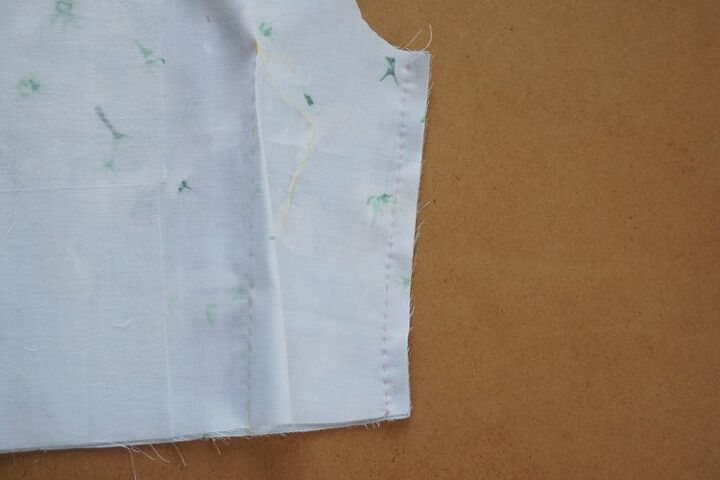
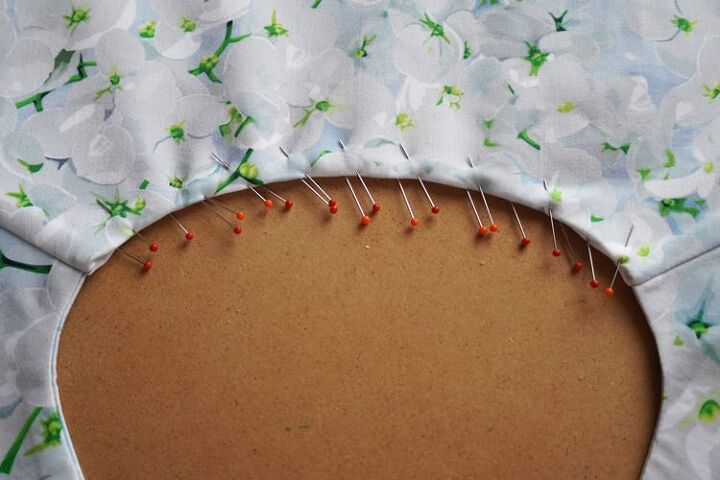
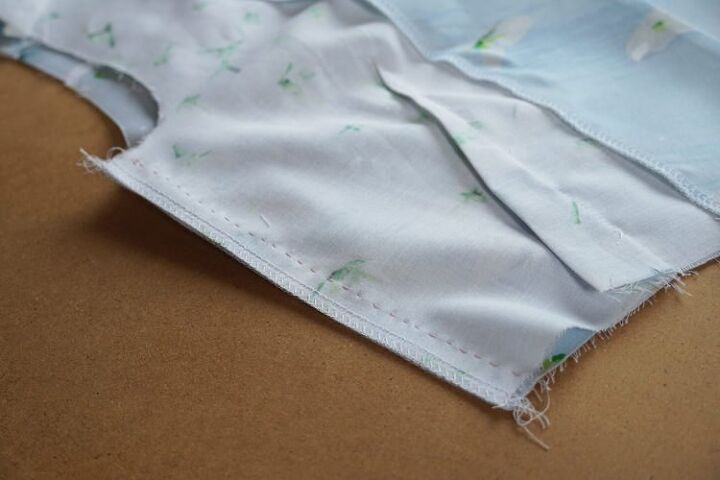
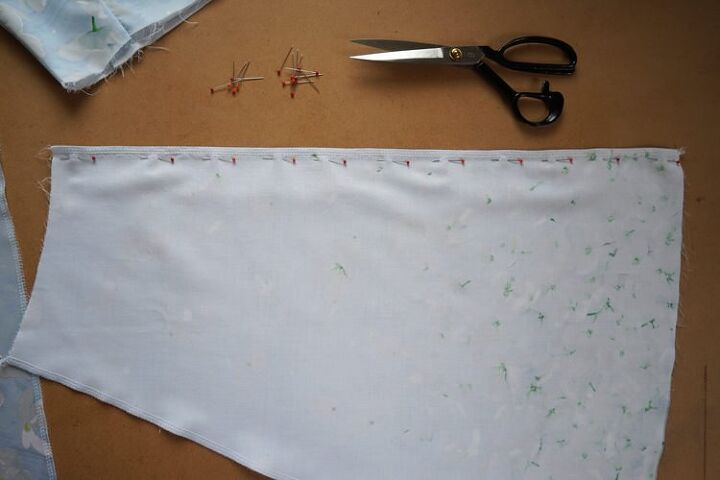
Let’s prepare front pieces now. Lay facings over the front pieces and pin them in the neck opening and along the center line.
Sew the facings to the front pieces. It is necessary to cut seam allowances in the neck opening (every centimeter or so) perpendicular to the seam to make the neck opening looser. Then cut off the corners of the seam allowances in the neck opening. This will help you to turn the facing to the reverse side of the bodice easier.
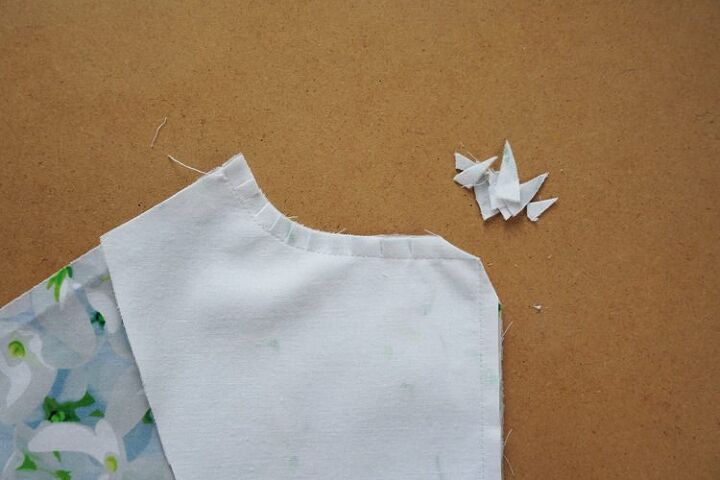
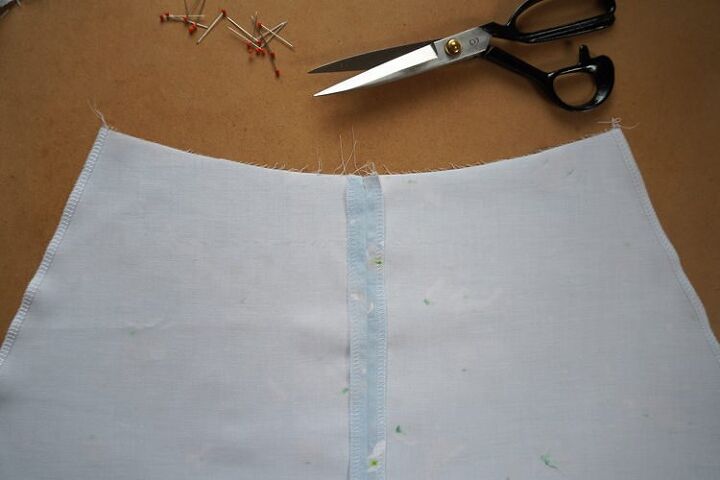
Turn the facings to the reverse side of the bodice and iron the seams thoroughly.
Clean the free edges of the facings on the overlock (or with zigzag seam / overcast ‘pinking’ seam)
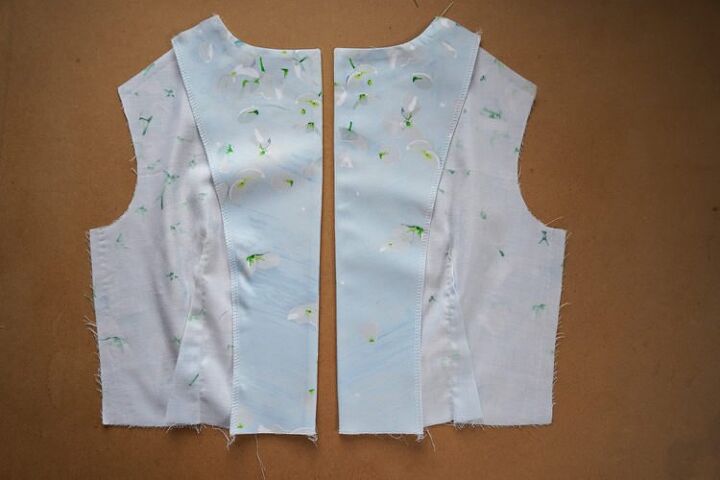
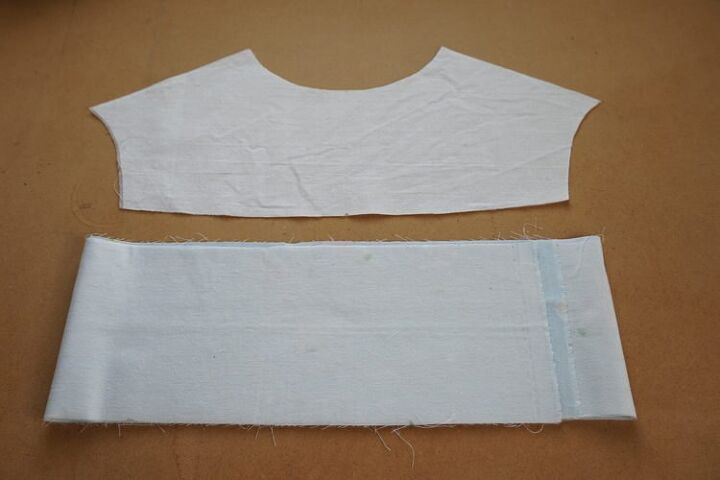
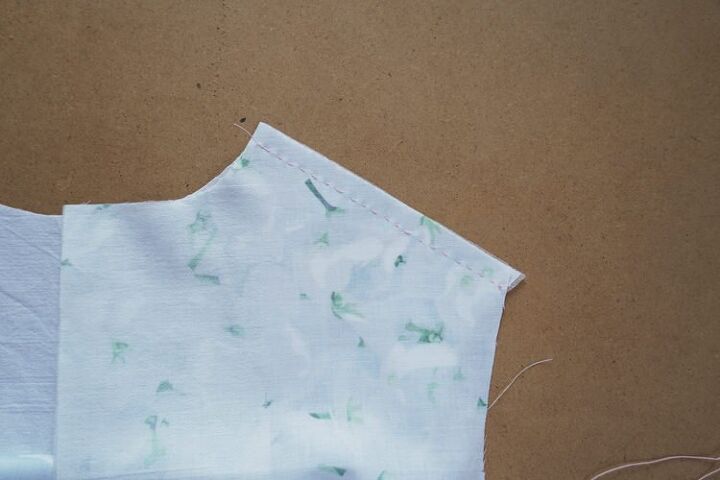
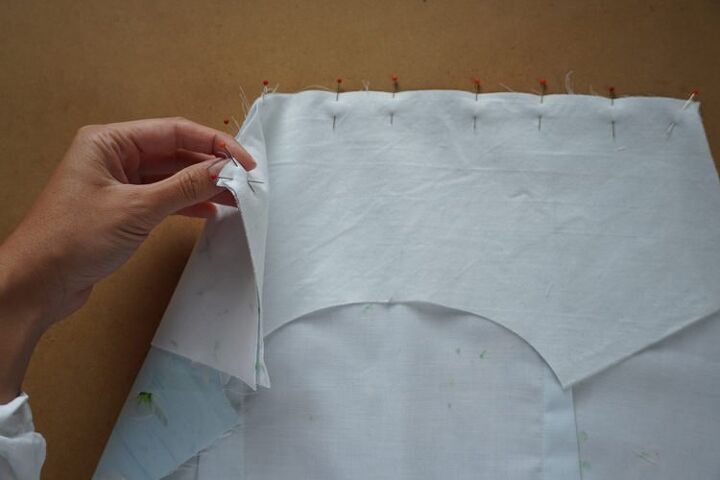
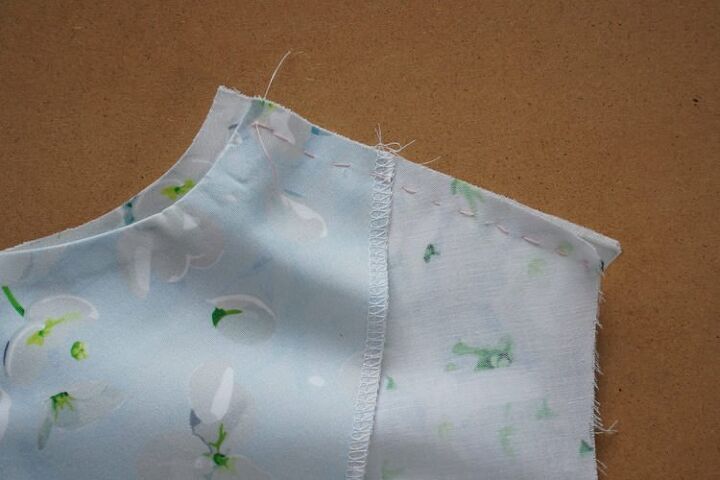
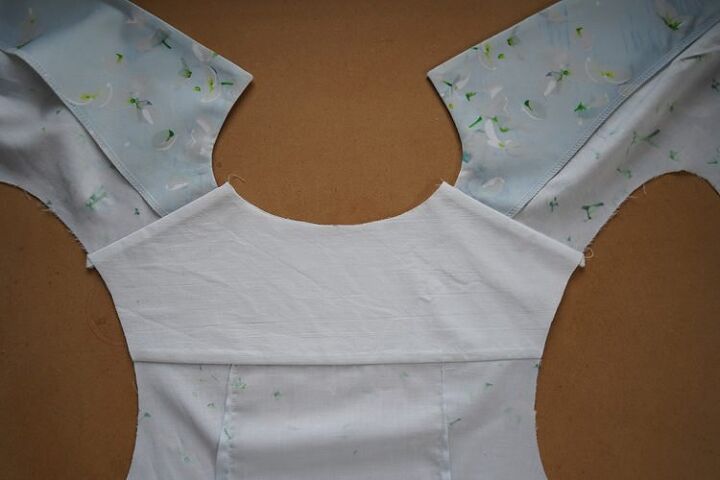
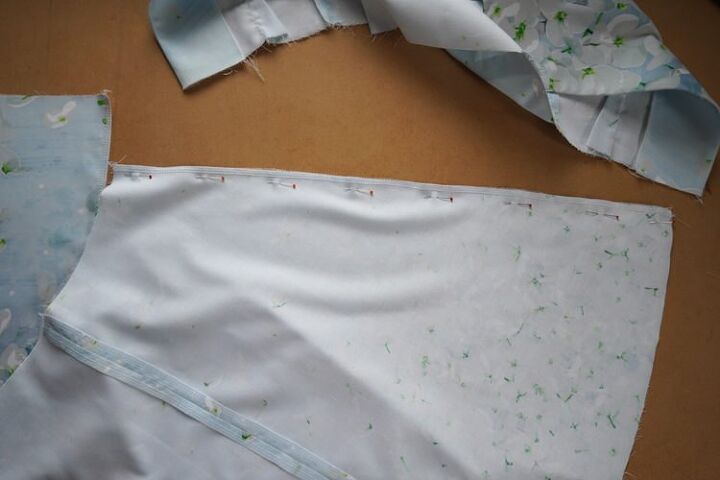
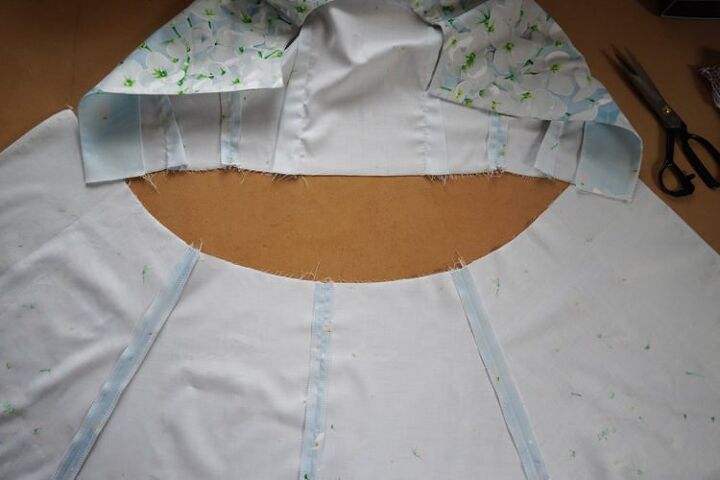
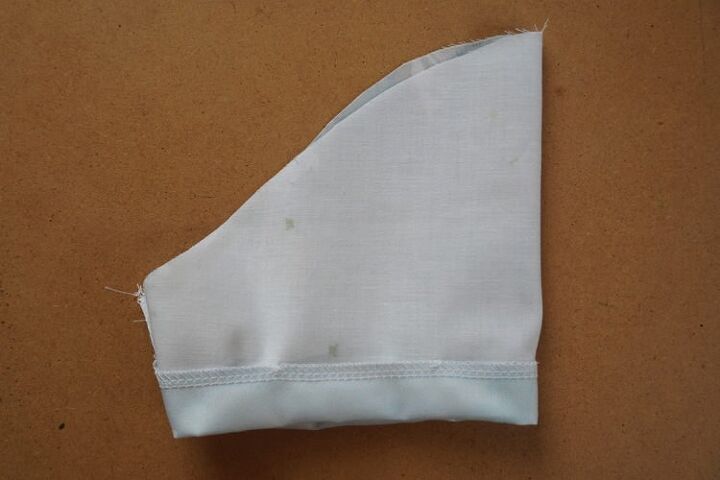
Lay both front pieces over the back piece (face sides to face side). Temporarily stitch the outer yoke to the front pieces (through the facings). Yoke should extend 1 cm over the front pieces in the neck opening area (size of the seam allowance).
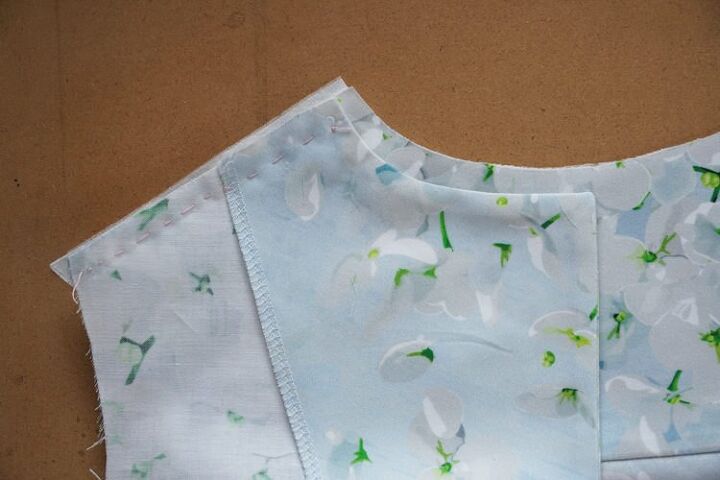
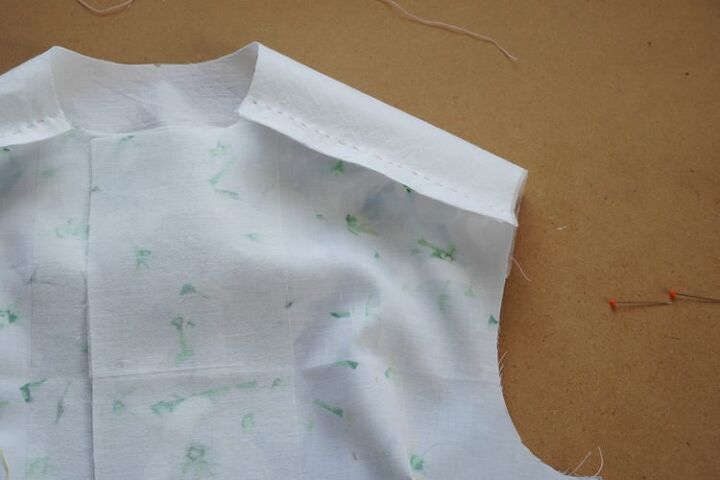
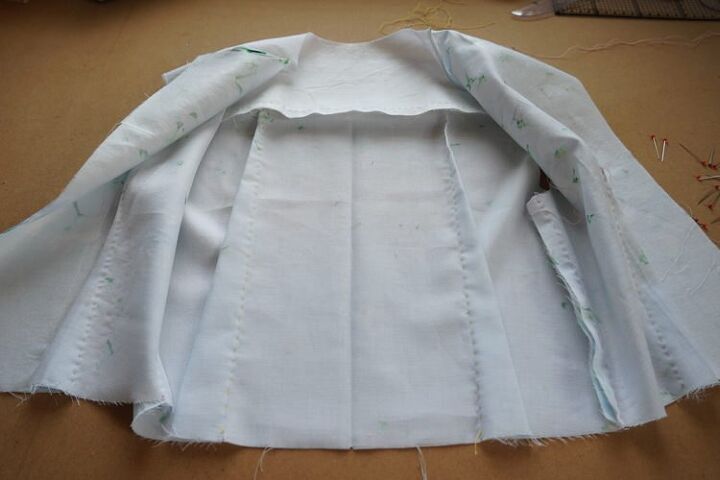
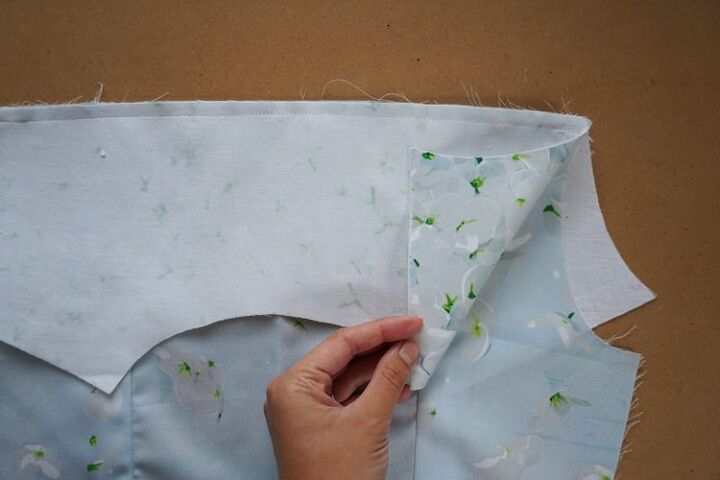
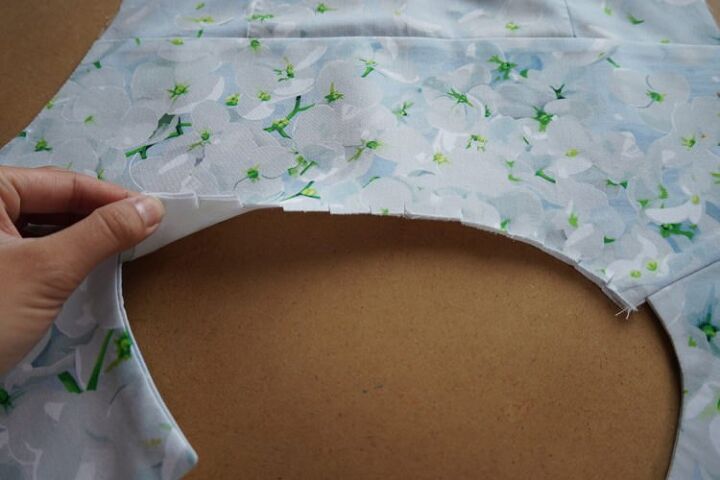
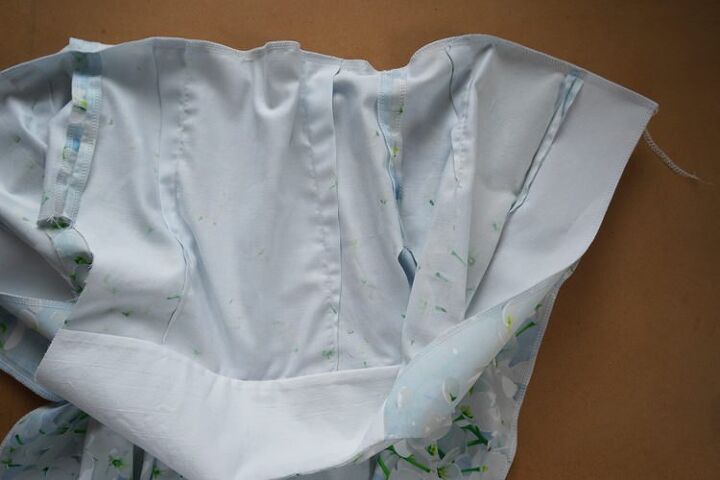
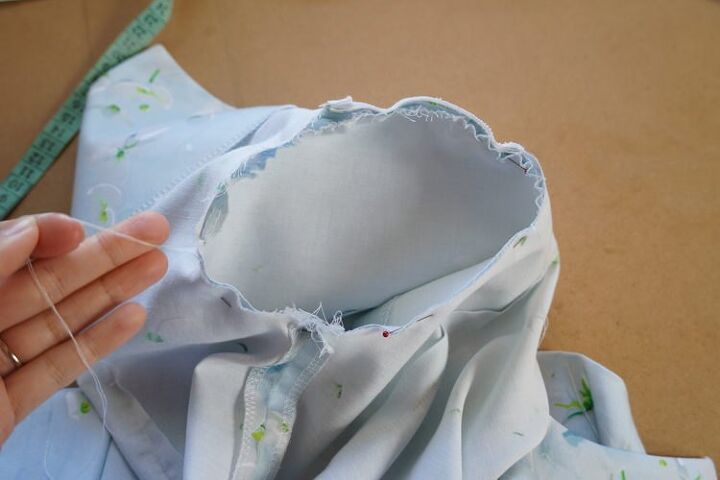
Now hold the outer yoke and the front piece in one hand and the inner yoke in the other hand.
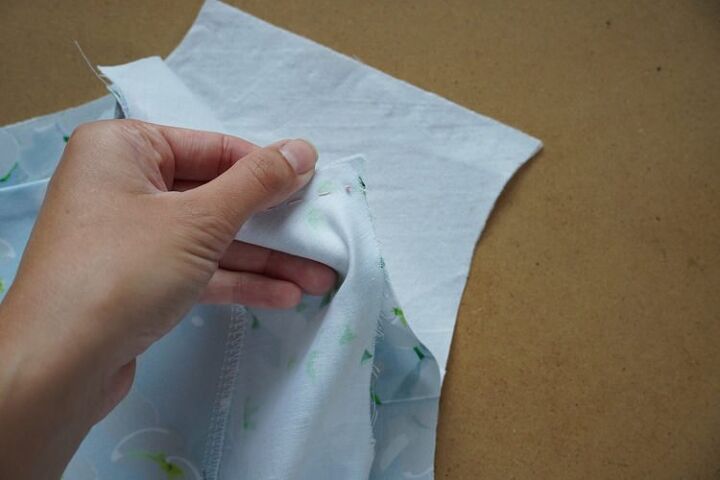
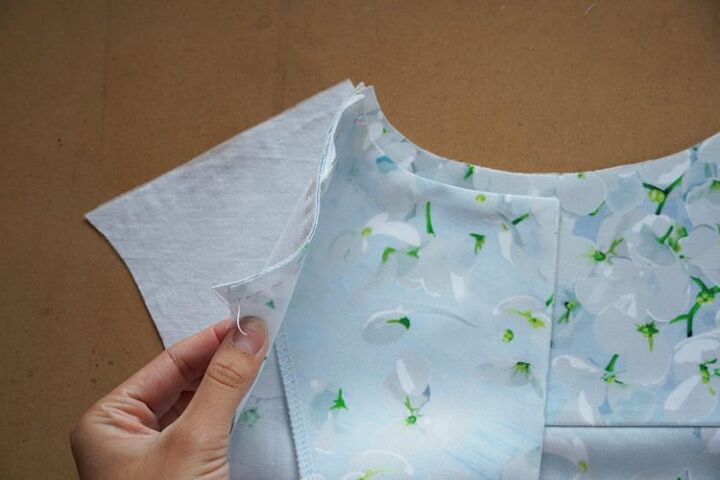
Turn the inner yoke along the armhole so you can pin its face side over the front piece.

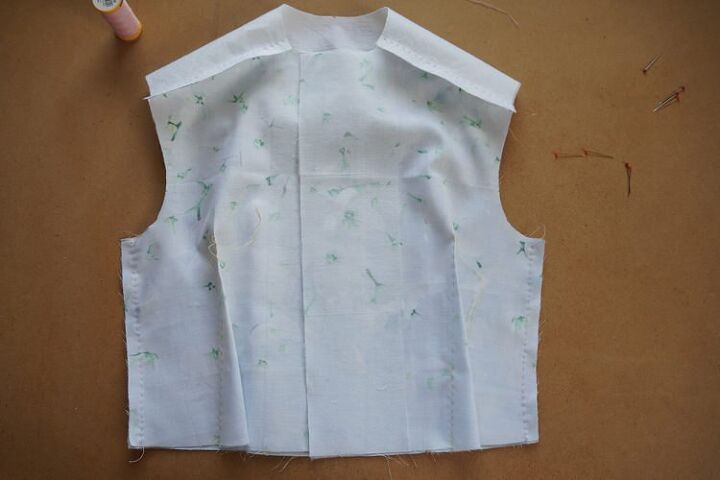
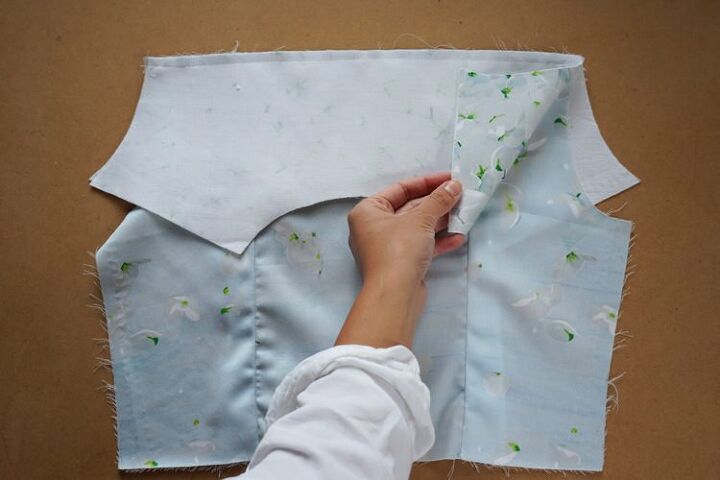
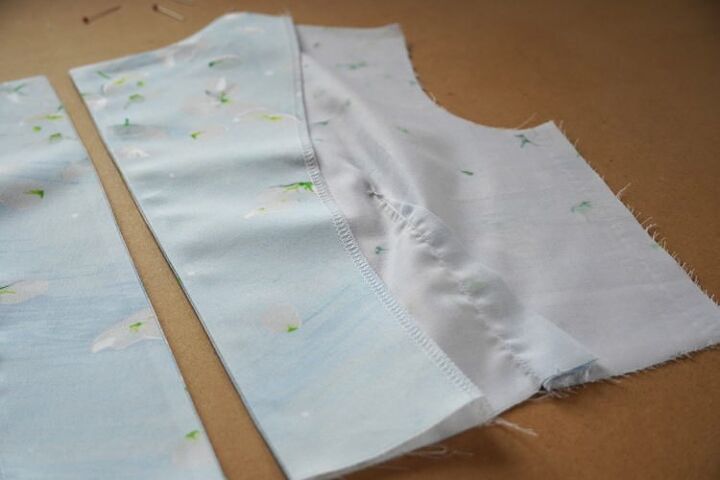
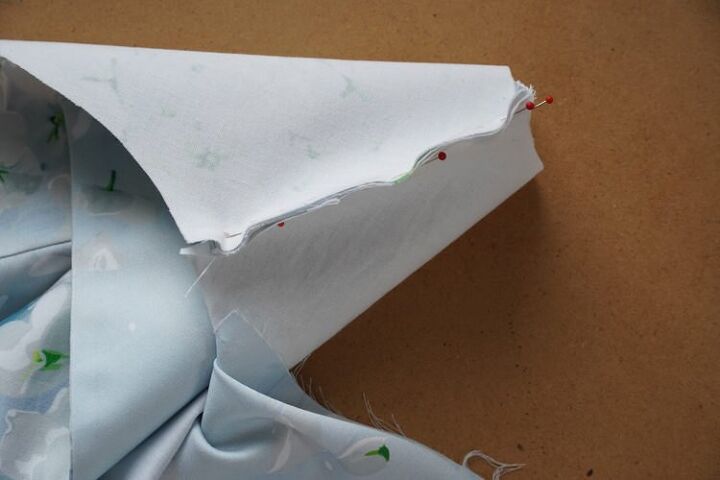
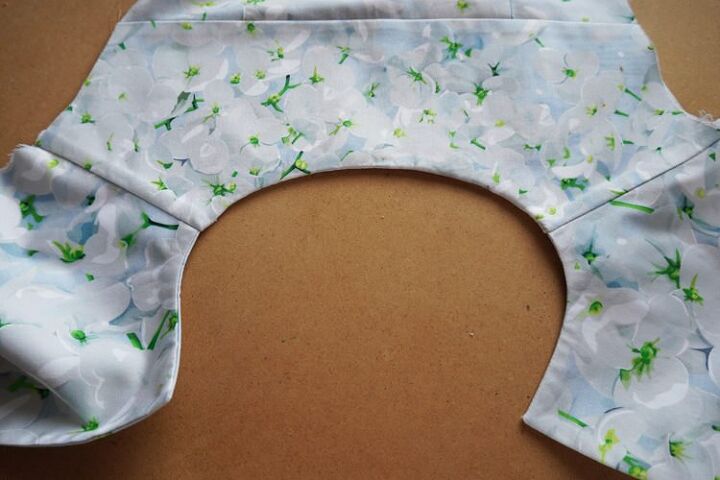
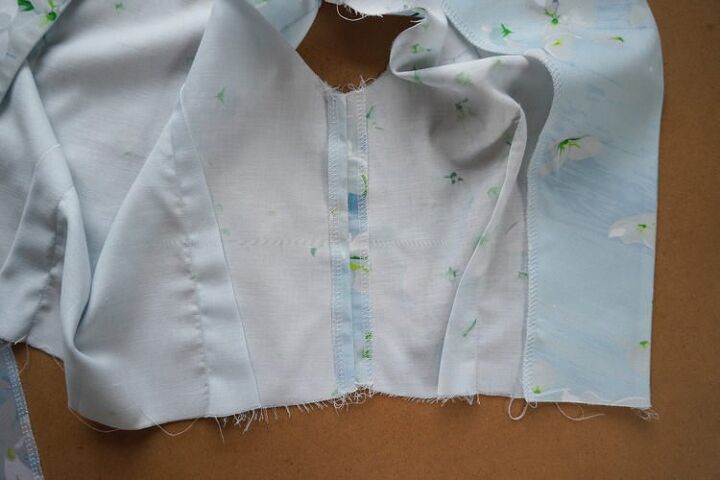
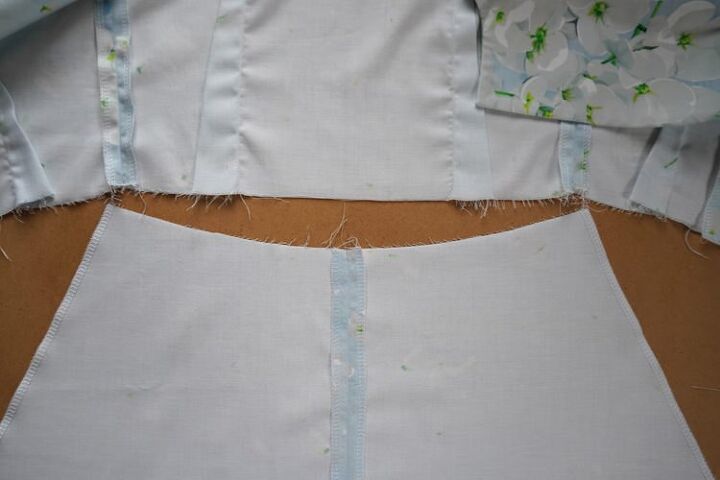
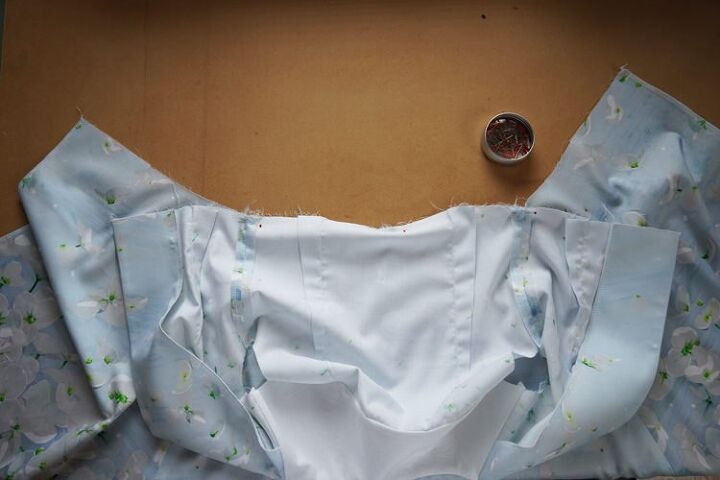
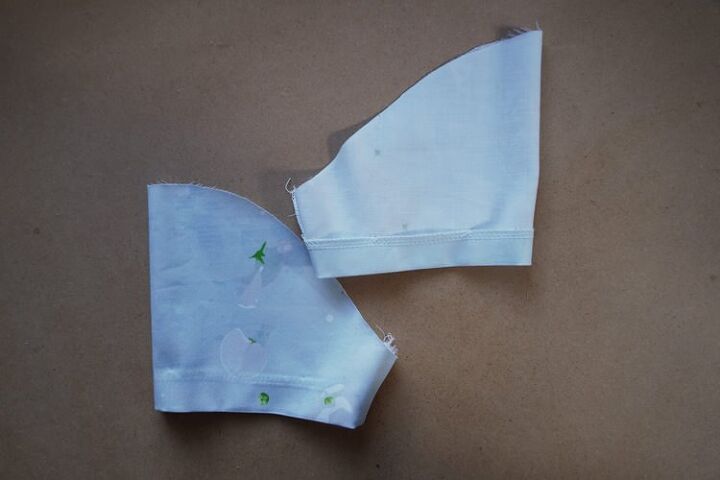
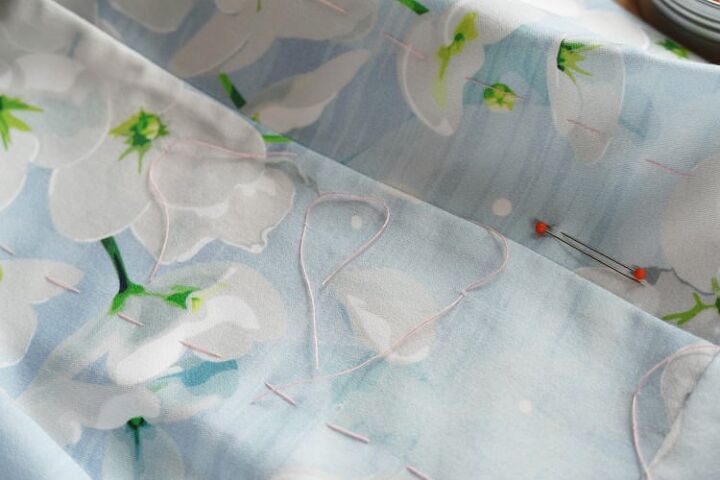
This is how it should look like - in the upper part of the picture is the outer yoke, in the lower part of the picture is the inner yoke. Face sides of the yokes are facing each other. There is the stitched front piece between the two yokes. Face side of the front piece is facing the face side of the outer yoke and the face side of the inner yoke is facing the face side of the front piece facing... Just to be sure.
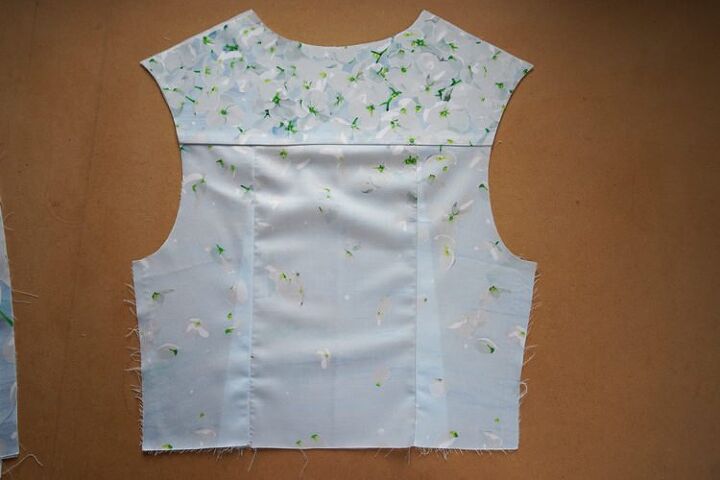
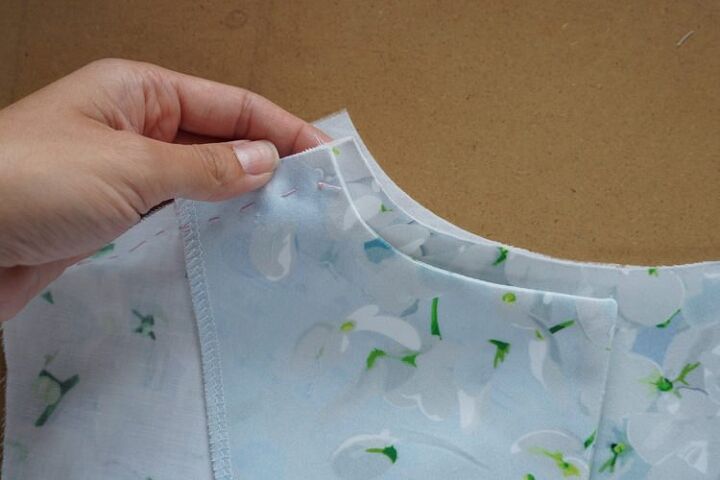
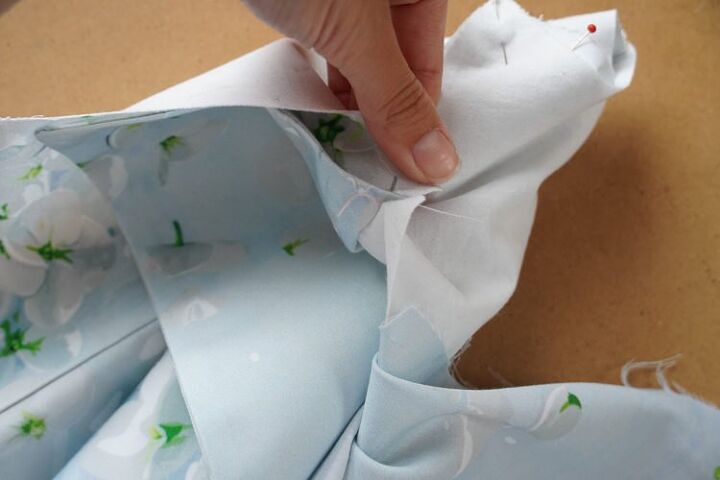
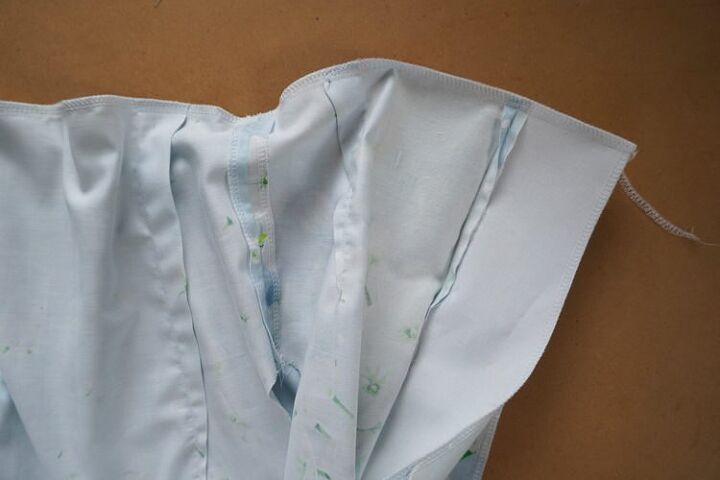
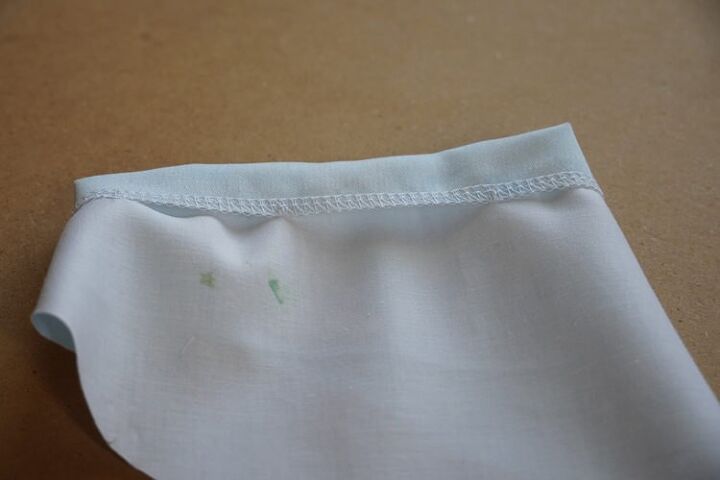
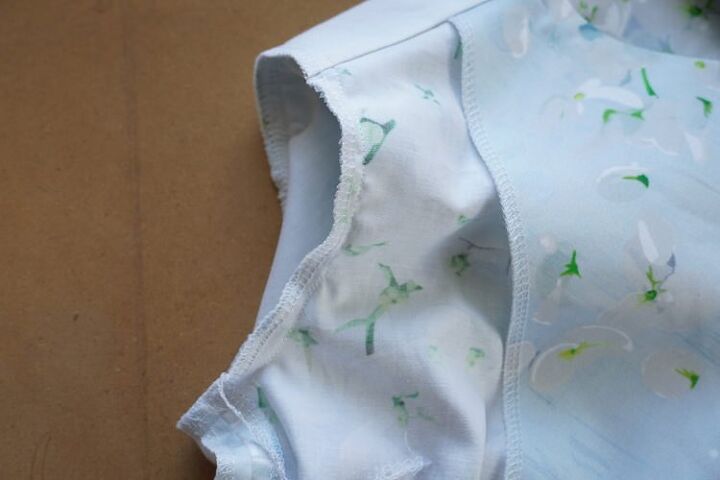
The picture below shows the front piece, which is stitched between the two yokes.
If you just can't do it right, check out my tutorial on how to make a shirt. You can skip to about thirteenth minute and take look at how I sew the yokes.
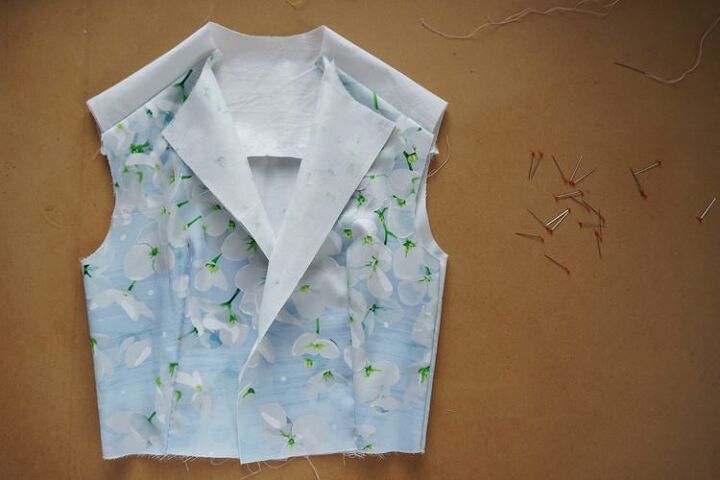
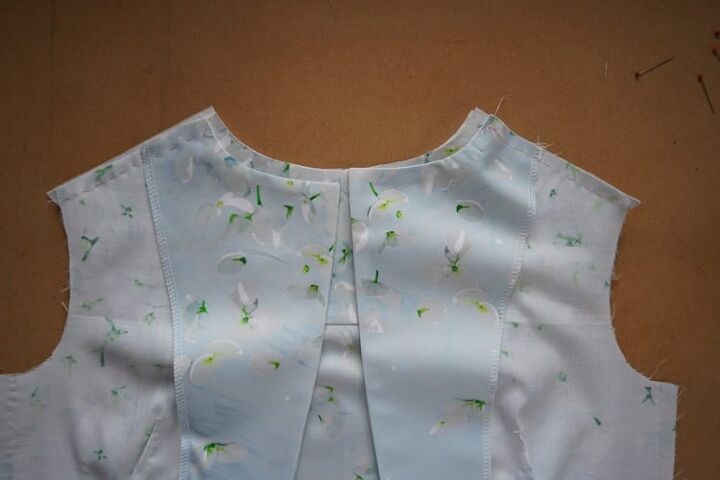
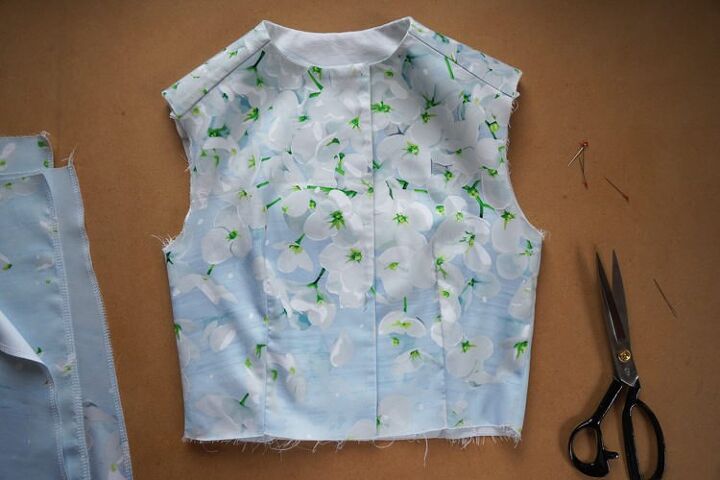
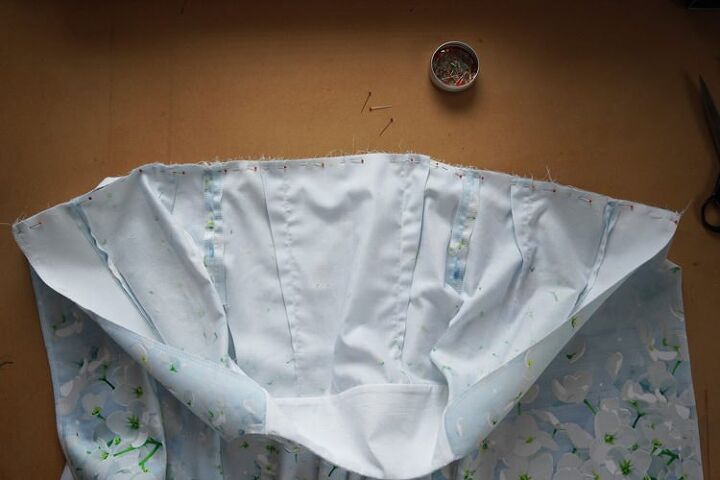
Sew the pieces and turn the bodice face side out. The puzzling procedure above will make all the seams hidden.

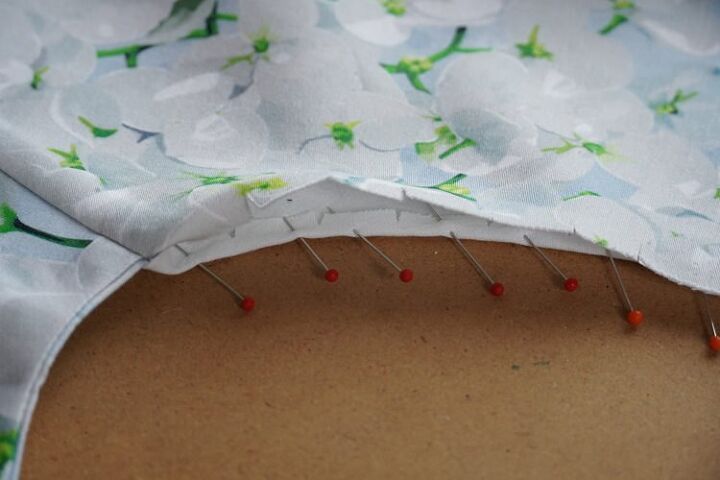
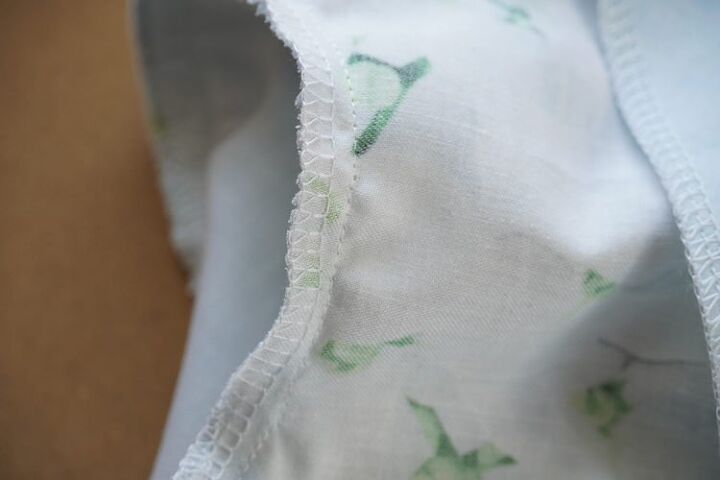
Cut seam allowances of both yoke pieces in the neck opening area (every 0.8 cm or so).
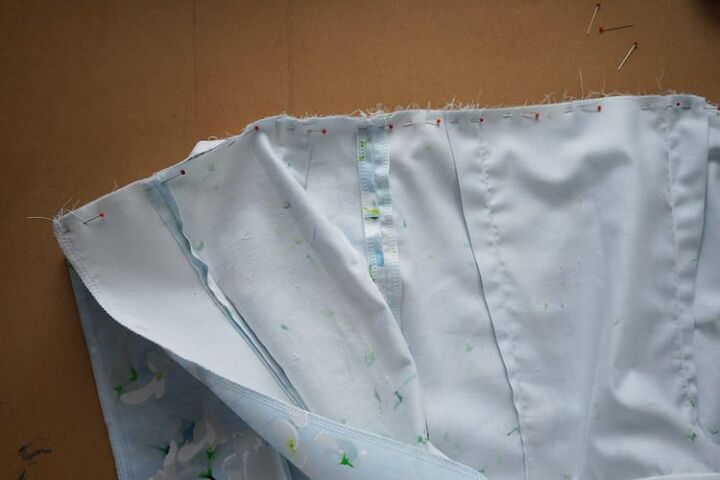
Then press the seam allowances of the yokes towards the reverse sides and iron them. You can fix the seam allowances in place with pins.
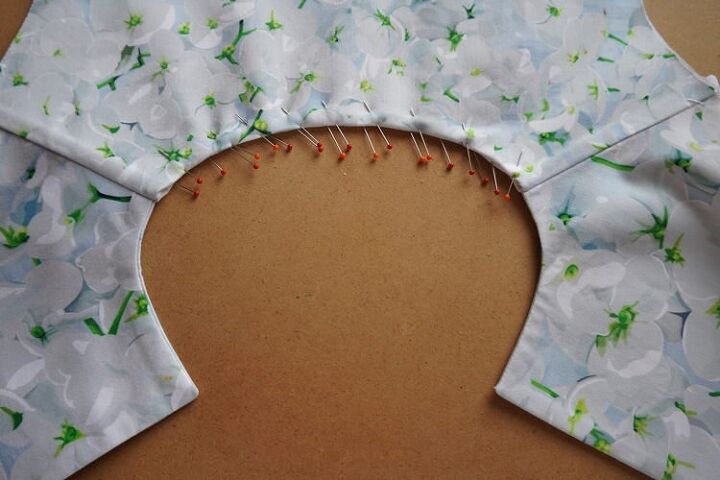
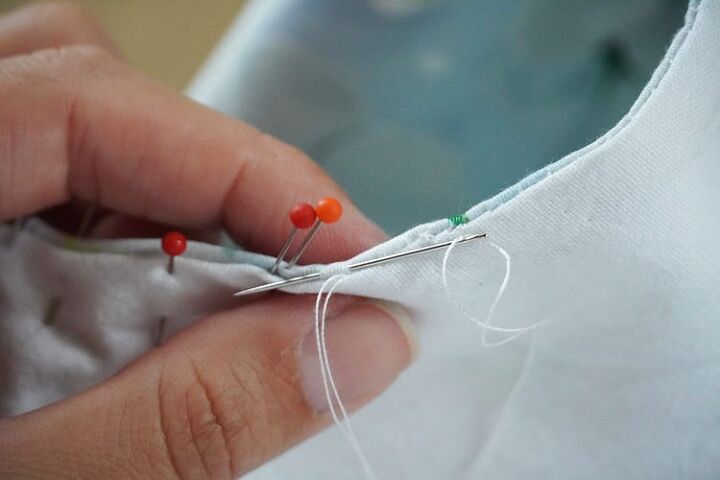
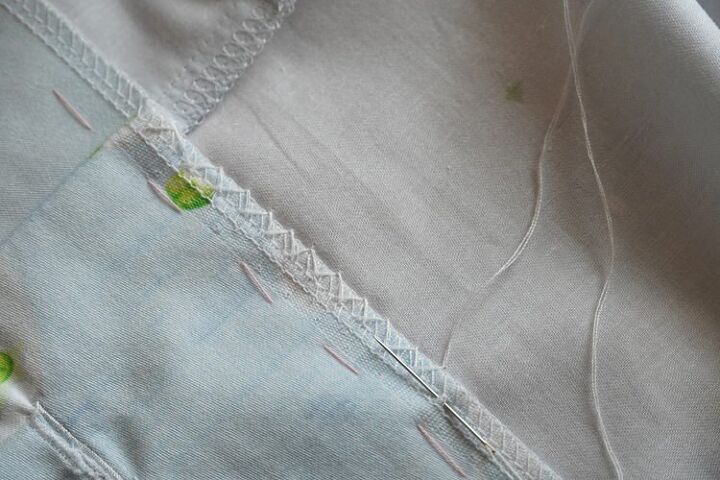
Use small stitches to connect yokes by hand.
Now clean sides of the front and back bodice pieces.
Stitch the side seams temporarily to perform the second test.
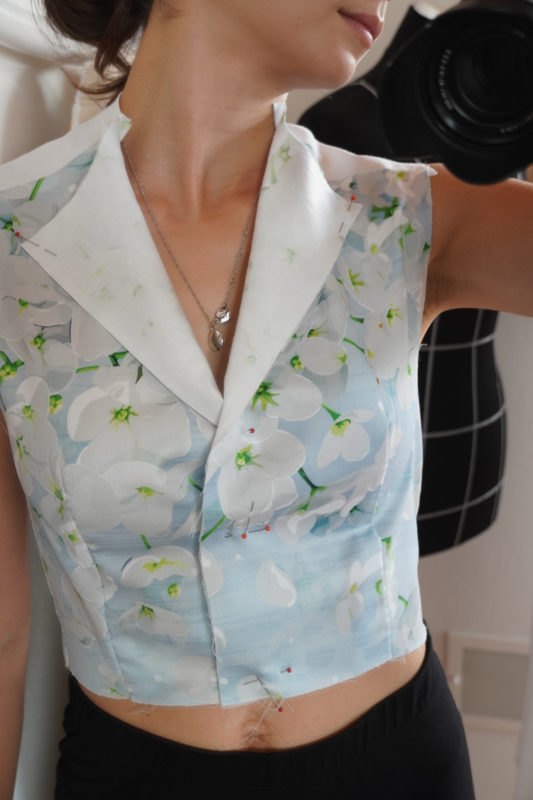
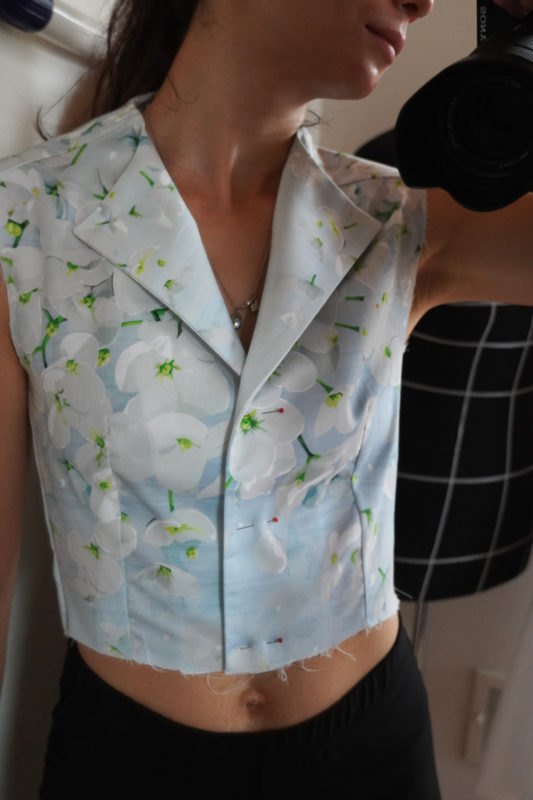
Second test
Put on the bodice with side seams stitched.
This is just to be sure. If you sewed precisely and made all the necessary adjustments after the first test, there should be no further problem. But still - take a good look at the bodice.
Lapels, chest darts, neck opening, armholes... Everything should fit comfortably. Check once more whether the bodice does not need to be tighter or looser in the side seams.
If everything is all right, sew the side seams and iron them.
The bodice is almost finished, and you can now concentrate on other parts of the dress.
Skirt
Clean all vertical seams of all four skirt pieces (center lines and side seams) on overlock (or with overcast ‘pinking’ seam).

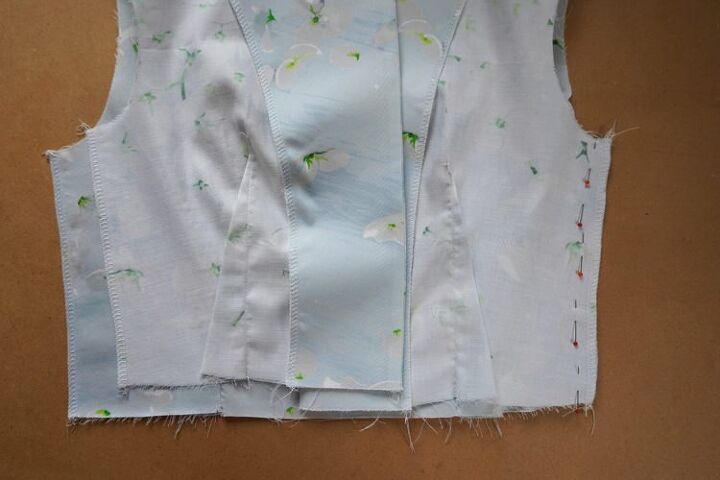
Pin and then sew both back pieces of the skirt in their center line seam.
Press the seam allowances open.
If you have made any adjustments to the bodice in terms of its overall width, then you need to adjust the skirt too. Compare back piece of the skirt and the back piece of the bodice - the connecting seams should be about the same length, so you can later sew both parts together.
Pin and sew front pieces of the skirt to the back piece of the skirt.
Press the seam allowances open. Compare the lengths of the connecting seams again. Don’t forget to include bodice facings. Skirt pieces already contain facings, so you must include bodice facings in the comparison…
If everything is all right, then simply pin the bodice to the skirt (face side to face side) and don't forget to pin the facings too.
Sew the bodice to the skirt and clean the seam allowances.
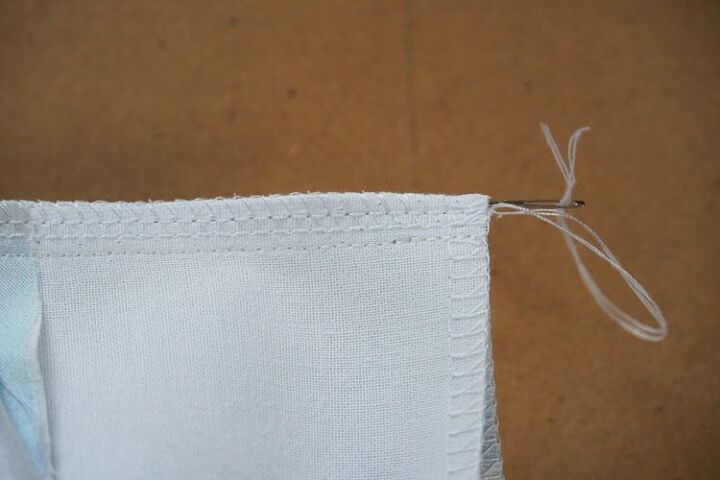
Pull free ends of thread chains under the loops when sewing on the overlock.
Third test
Now is the time for the third test. Given that the skirt is an A-line skirt, it should be fine, but it is better to be on the safe side. Look at the length of the bodice to see if your skirt really starts at your waistline (not higher or lower).
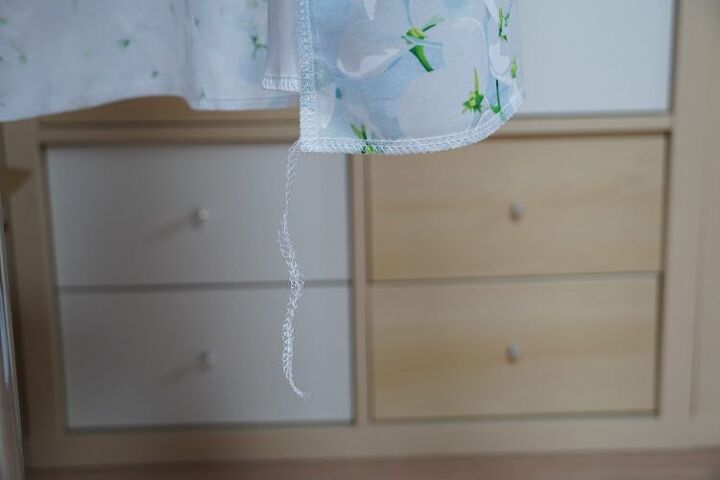
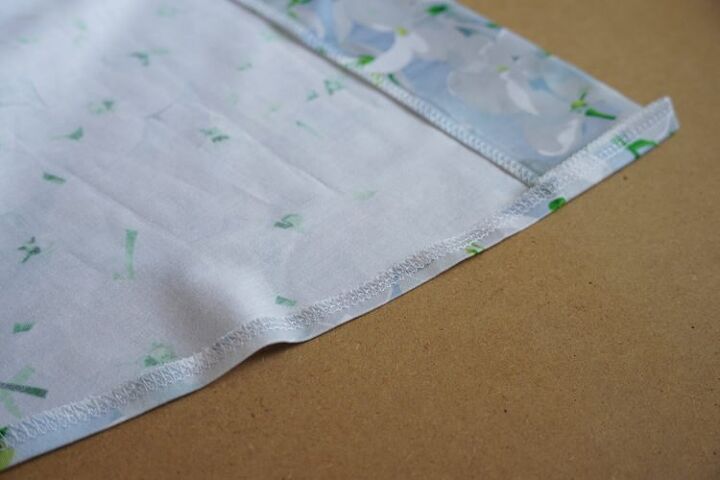
Clean the bottom edge of the skirt. Pull free ends of thread chains under the loops when sewing on the overlock.
Now fold the bottom edge to the inside of the skirt and iron entire length of it.
Sew through the bottom edge with classic straight seam. Your skirt (dress) now has its final length.
Sleeves
“Body” of your dress is ready, now you need to do the sleeves. Clean the sleeve seams and the bottom edge of the sleeves.
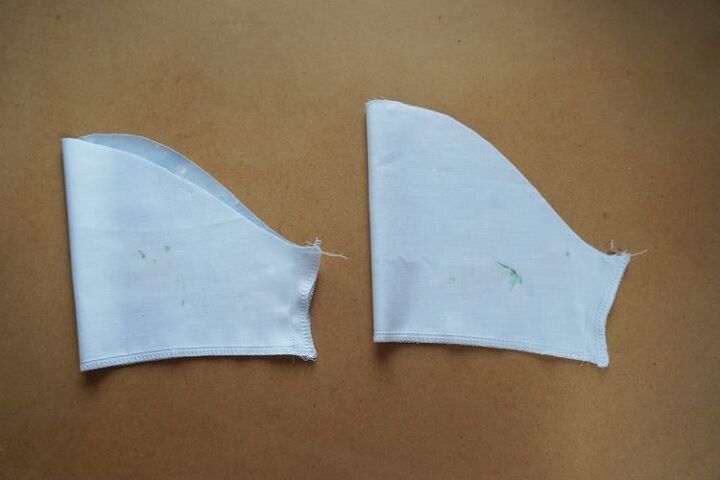
Fold the sleeve pieces face side in and sew the sleeve seam.
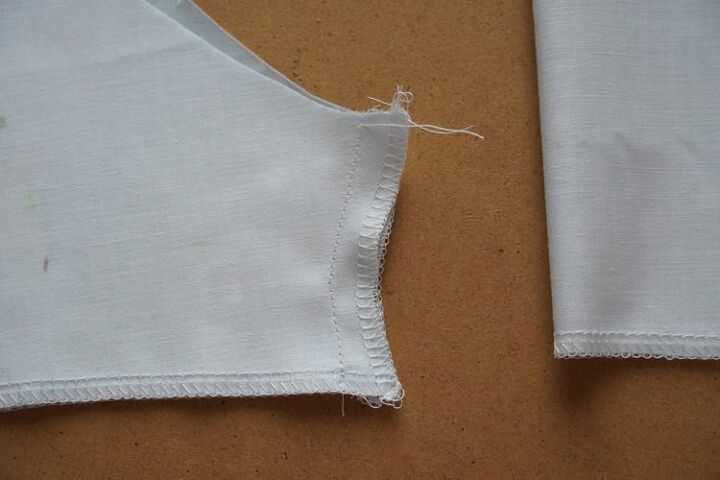
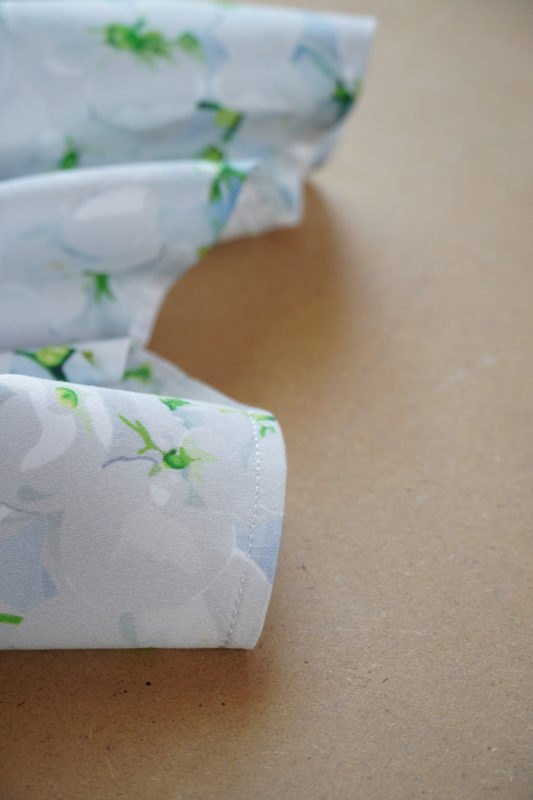
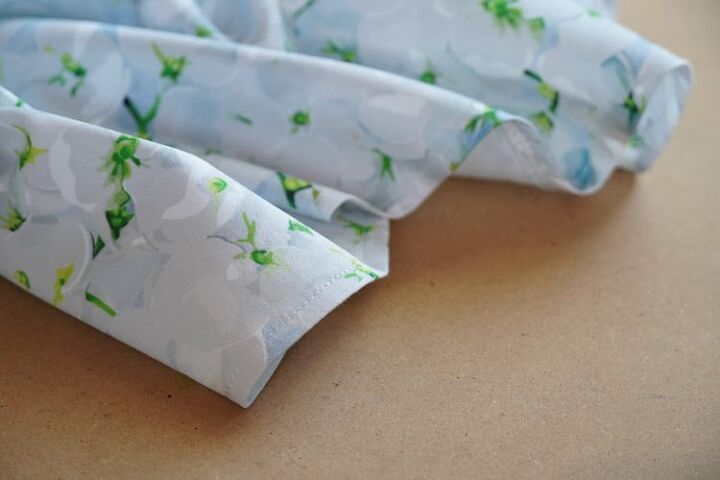
Fold the edge to the inside of the sleeve and iron the fold.
Use small stitches to fix the hem in place in several points along the circumference.

The hem may look small now, but it should be fine after ironing.
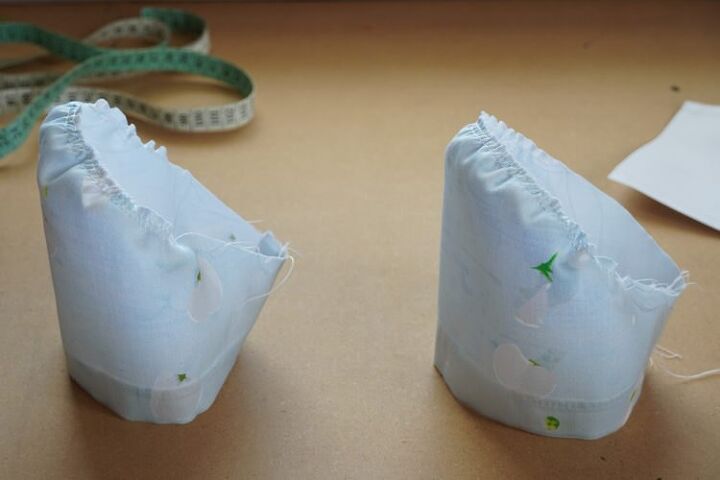
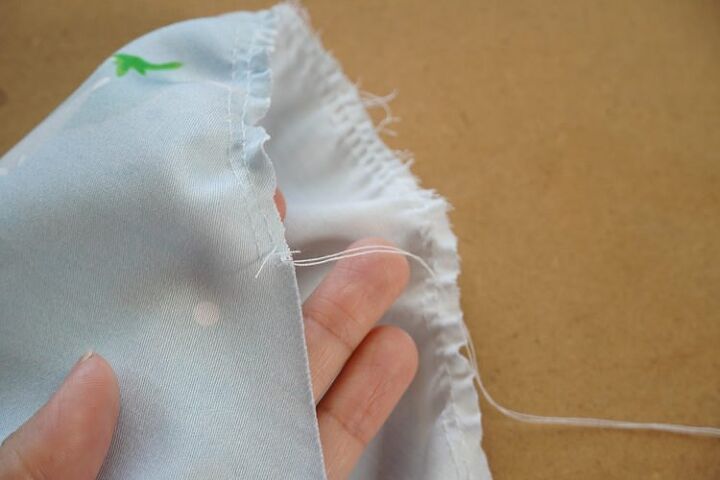
You need to easestich the sleeves before sewing them to the armholes. Do this with two straight parallel seams (without lock stitching their ends). The stitch length should be about 4 mm and the lower thread (bobbin) tension must be reduced. Sew both seams from the face side of the sleeve. More detailed description can be found in the aforementioned video about sewing the shirt.
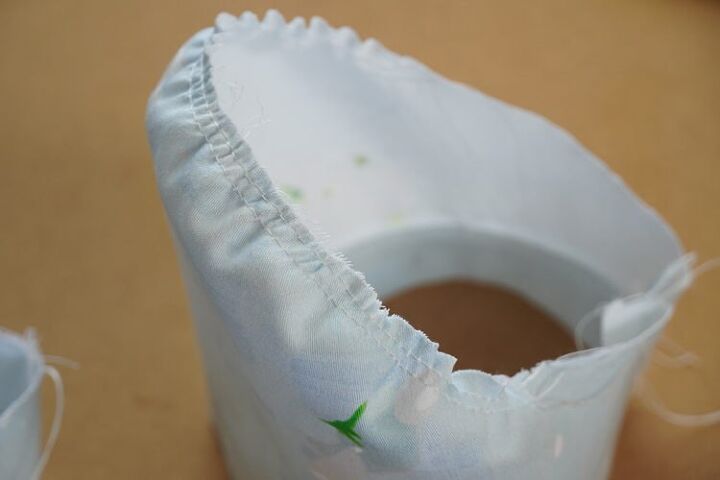
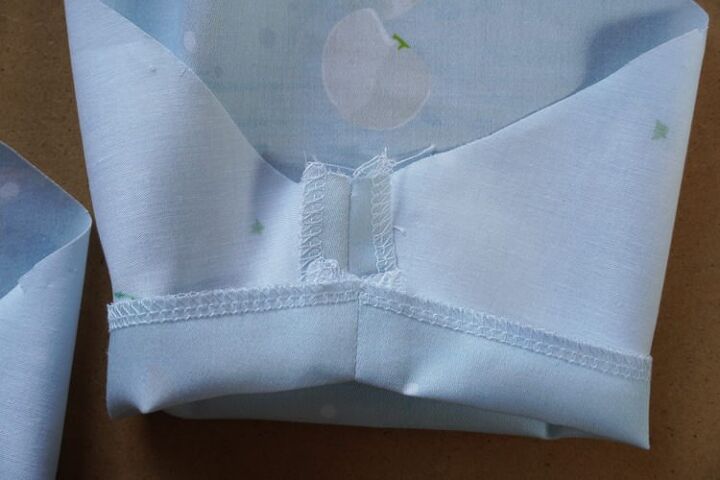
Pin and sew easestitched sleeves to the bodice.
Clean the seams.
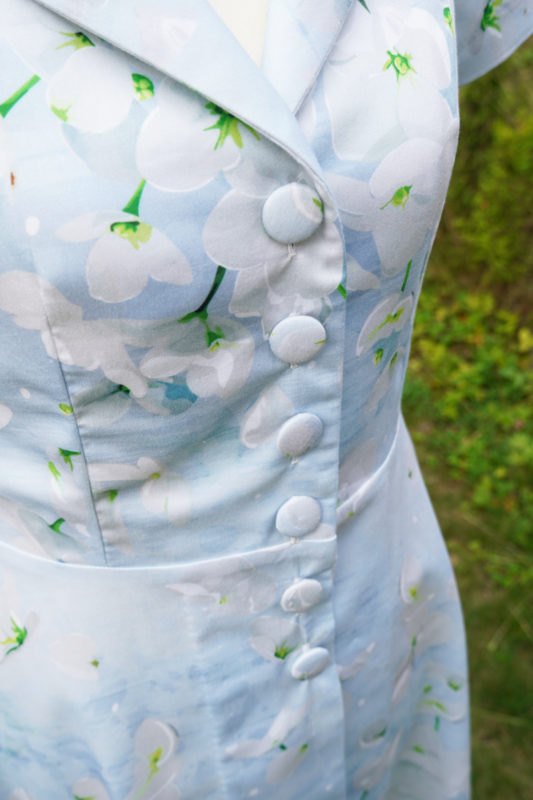
Button plackets
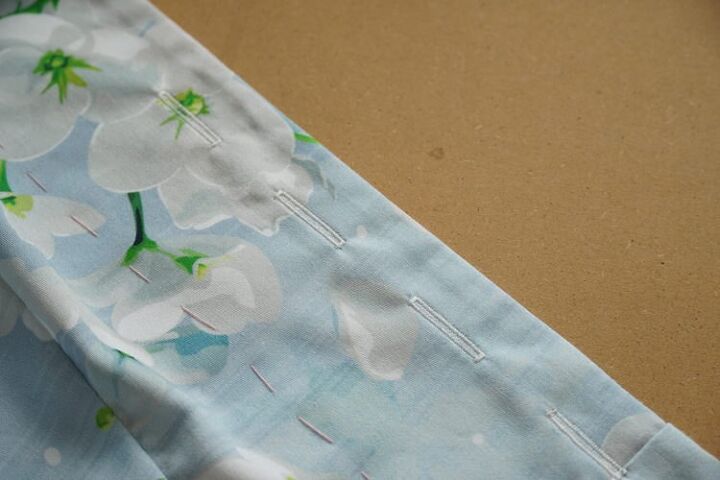
The last thing you need to do is sew the buttons and the buttonholes.
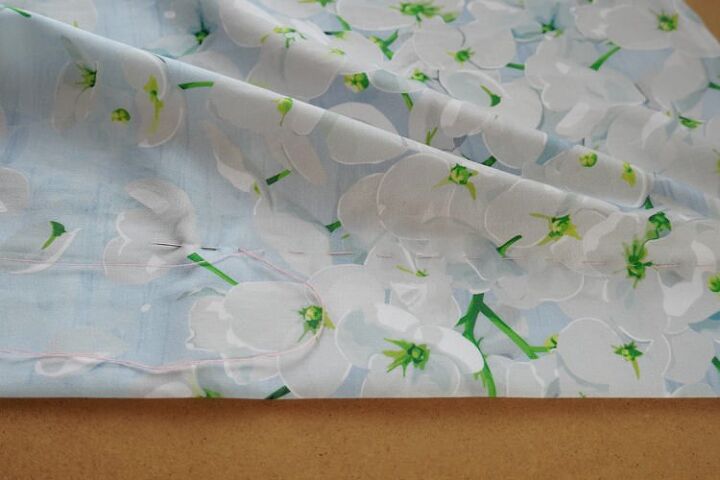
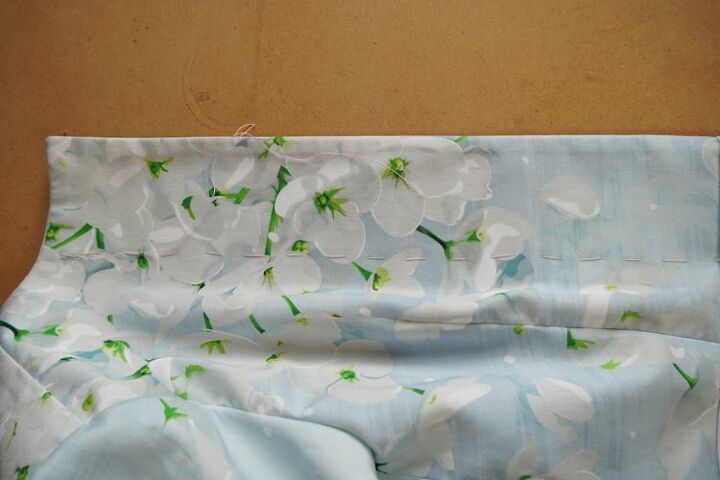
Fold the “facing part” of the skirt pieces to the inside (along the center line) and iron the fold. Stitch through the facing to keep it in place.
Do the same thing with bodice facing.
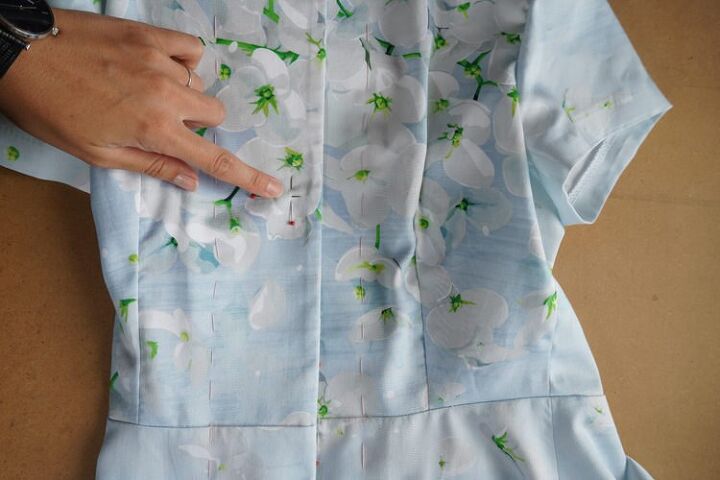
Centerline of the front pieces is 2 cm away from the edges.
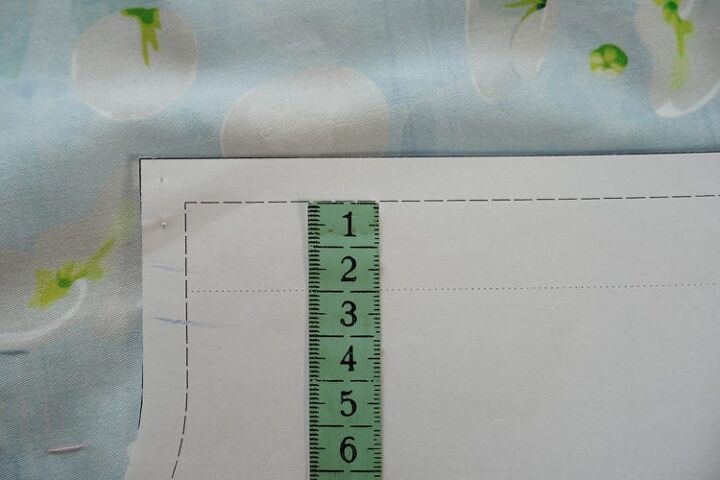
This means that the front pieces will overlap by 4 cm. Use pins to mark the line on one of the sides at this distance (along the entire length - from the neck opening to the hem of the skirt).
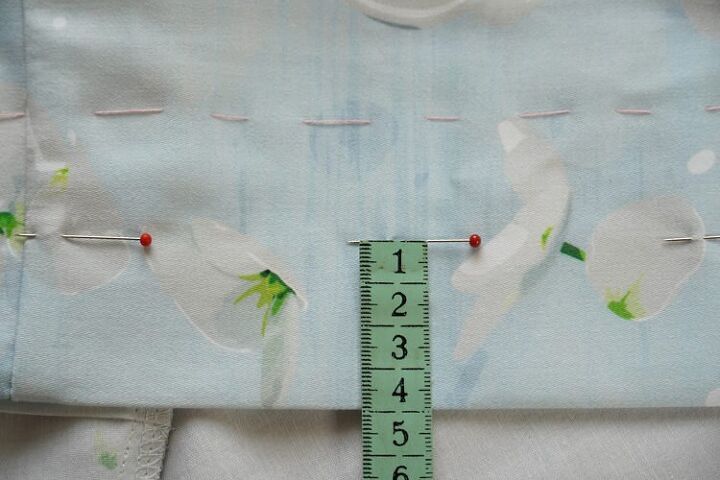
Align the other side (the other front piece) of the dress with this line.
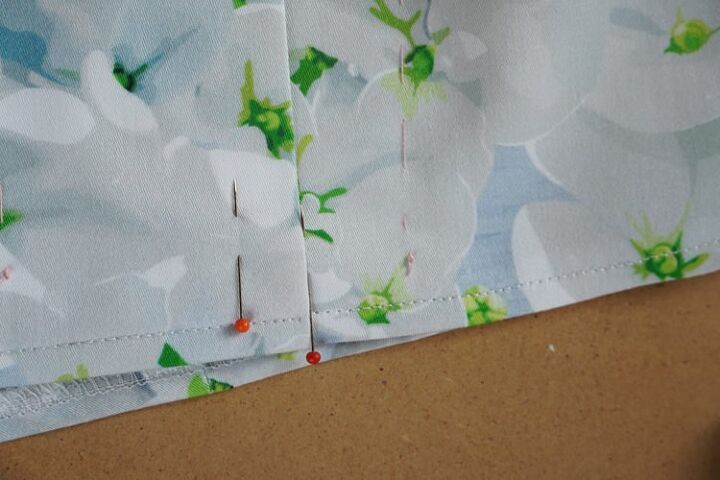
Pin overlaid sides in the skirt area. Start about 15 cm down from the waistline and continue up to bottom hem.
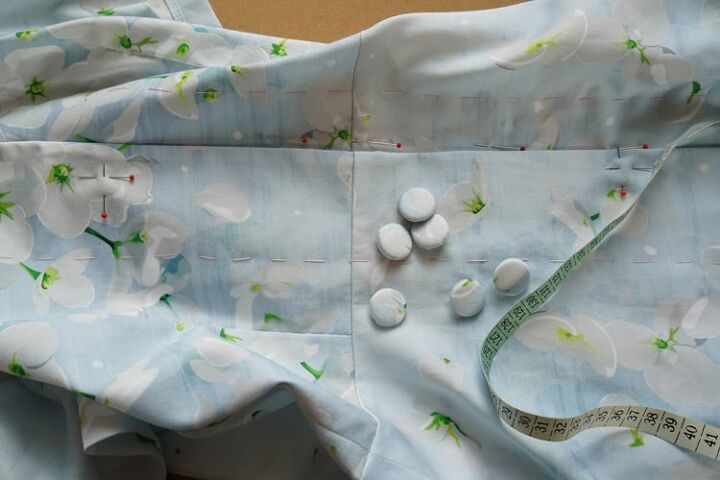
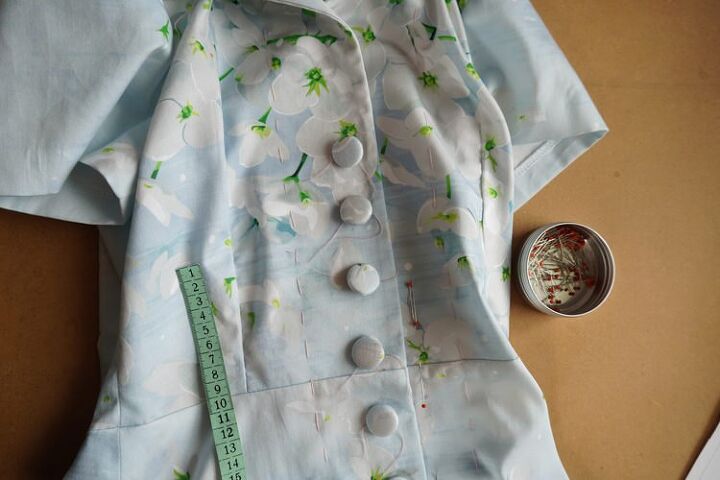
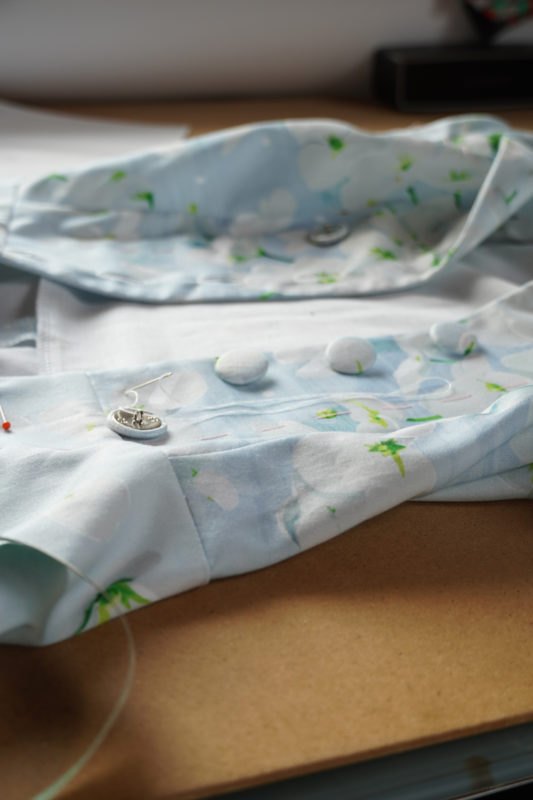
Think about the button placement. It depends on the size of the buttons, where you have the chest line (where the button definitely must be) and how wide your hips are (that is, where the skirt still has to have buttons in order for you to be able to put it on).
As I mentioned, there must be button on the chest line to prevent the dress from opening itself. You can start placing buttons above the chest line but not bellow it. One of the buttons should be placed in the bodice just above the waistline. The last one should be where the skirt still has to have buttons in order for you to be able to put it on easily. Calculate how many buttons you need and then distribute them evenly.
You can also place the buttons along the whole length of the dress if you like sewing buttons and buttonholes.

Mark the spots for the buttons with pins and try the dress on. Check that it is comfortable to wear, and that the bodice does not open over your breasts or in the waist.
And if everything is OK, you can sew the buttonholes and then the buttons.
Now just attach the lining (from the inside) with a small herringbone stitch so that it stays in place.
Just to remind you… You can get pattern for women’s dress BACKYARD in our online store:
Pattern for simple women’s dress BACKYARD
All articles with sewing instructions can be found here:
Have a nice day, Peťa
PS: Did you know there are also free patterns on my blog? You can find free to download patterns here:


The author may collect a small share of sales from the links on this page.


Comments
Join the conversation
I cannot get to the pattern, the link is broken.
Hi, the correct link is: https://www.picolly.com/product/pattern-for-womens-retro-dress-backyard-sizes-32-60
Sorry for the problem with url. Cheers, Peta, Picolly.cz