How to DIY a Summer Dress: Cute Wrap Dress Sewing Pattern Tutorial

Wrap dresses are my favorite style. I feel they really suit my body type and I've wanted to make one for a while.
I decided to use an indie pattern too and went for the Designer Stitch Pippa DIY wrap dress pattern. It comes in three different lengths and has set-in butterfly sleeves.
The pattern designer suggests this is suitable for intermediate levels, due to the techniques required.
I found that I only needed half of the fabric suggested for the knee-length style in my size, so you may well get away with less too.
Tools and materials:
- Pippa wrap dress pattern
- Paper for pattern
- Light to medium-weight woven, non-stretch fabric
- Snap button
- Safety pin
- Pins
- Scissors
- Sewing machine
1. Cut out the fabric
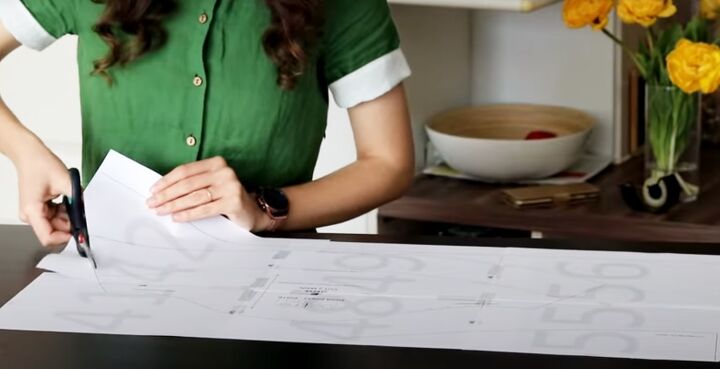
Print out the pattern sheets (there's an option to only print out your size) and tape them together.

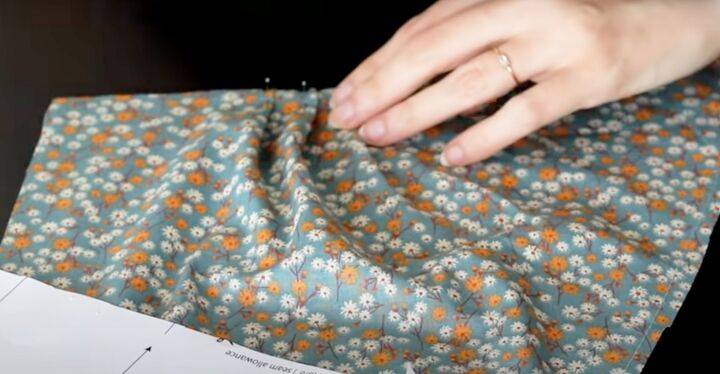
Pin the pattern pieces to your fabric and cut them out.
I only had 2.25 yards (2 m) of fabric and the recommendation for my size was double that, but I managed to cut all the pieces from what I had.
I was even able to cut my bias tape from it.
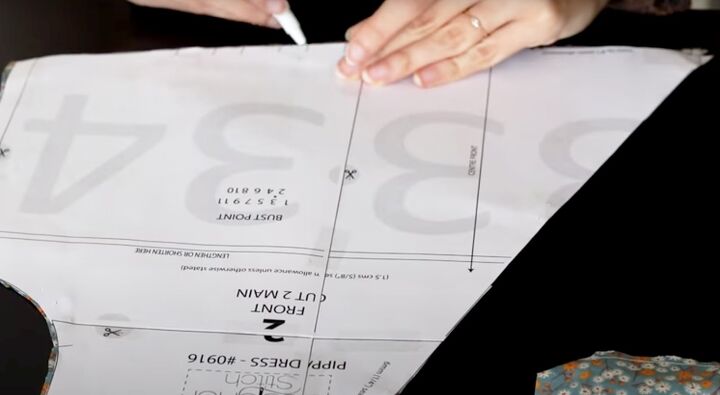
2. Bodice
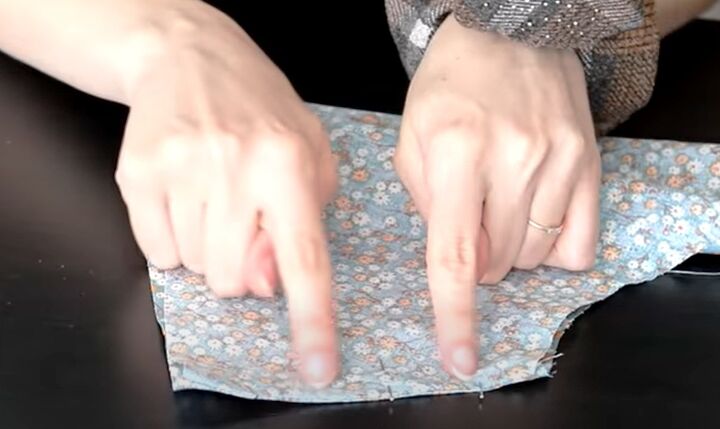
Transfer the pattern markings to the fabric.
Sew the darts and stay stitching.
Join the shoulder seams and press. I used French seams throughout.
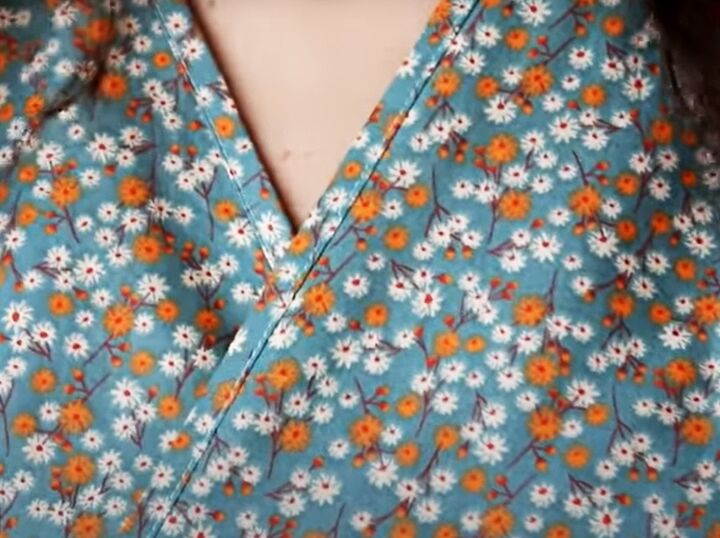
Pleat the front edge at the markings and sew in place.
Bind the neckline with the self bias strip.
3. Sleeves
Join the sleeve seams.
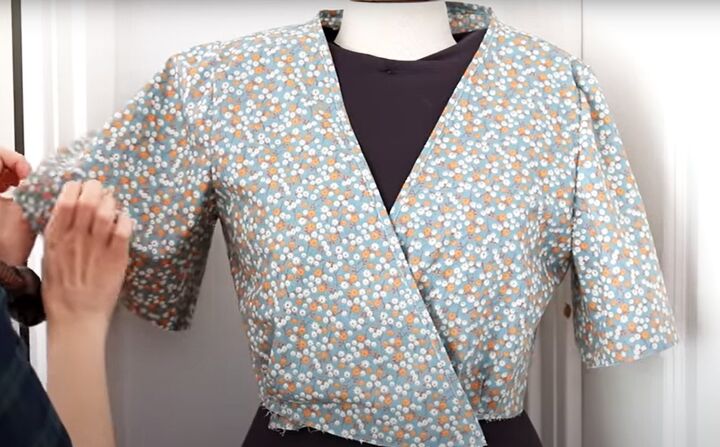
Gather the top of the sleeves to fit the armholes and set them in.
Hem the edge of the sleeves.
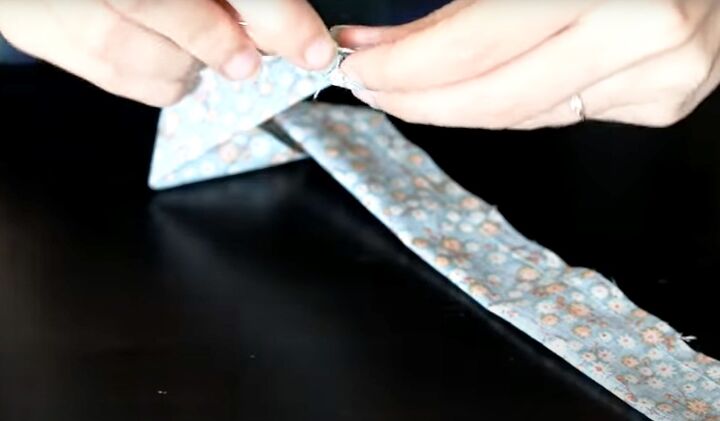
4. Ties
Fold the ties lengthways with the wrong sides together and sew the long edge.
Use a safety pin to turn them right side out.
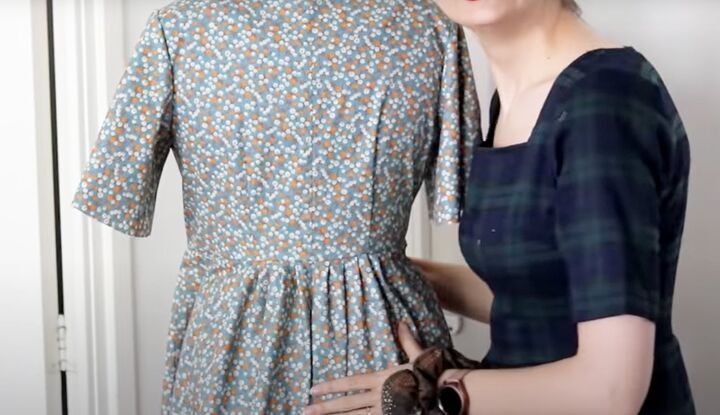
5. Skirt
Attach one tie to the front wrap of the skirt.
Join the front skirt pieces to the back at the side seams, enclosing the second tie.
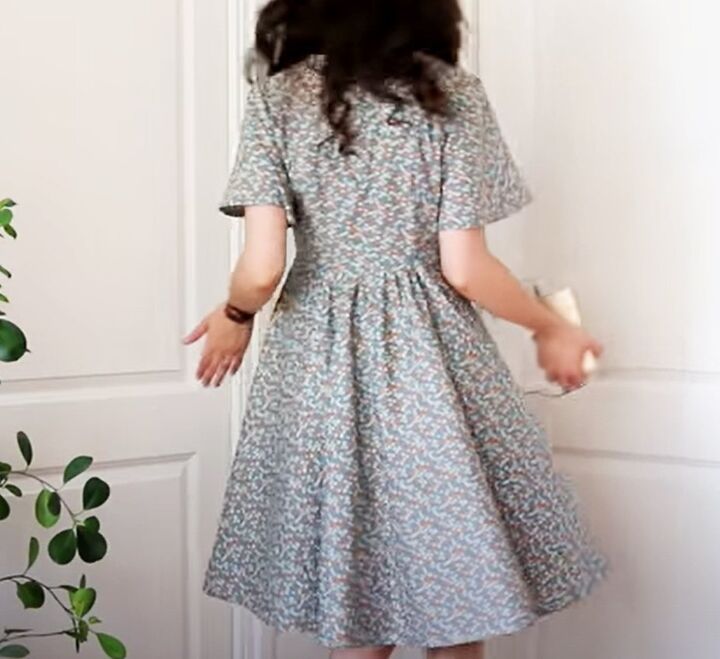
I have a confession to make! I didn't print out both the front and back skirt pieces, but cut the front piece on the fold as the back.
They did look identical but apparently they're not! The back of the skirt turned out to be much larger than I expected. This is probably because the front wraps over, of course.
I decided to repeat the pleat pattern on the bodice at the center of the back skirt until it was the right size, and I hope it won't look too odd.
Attach the skirt to the bodie with the right sides facing, wrapping where indicated on the pattern.
Hem the skirt.
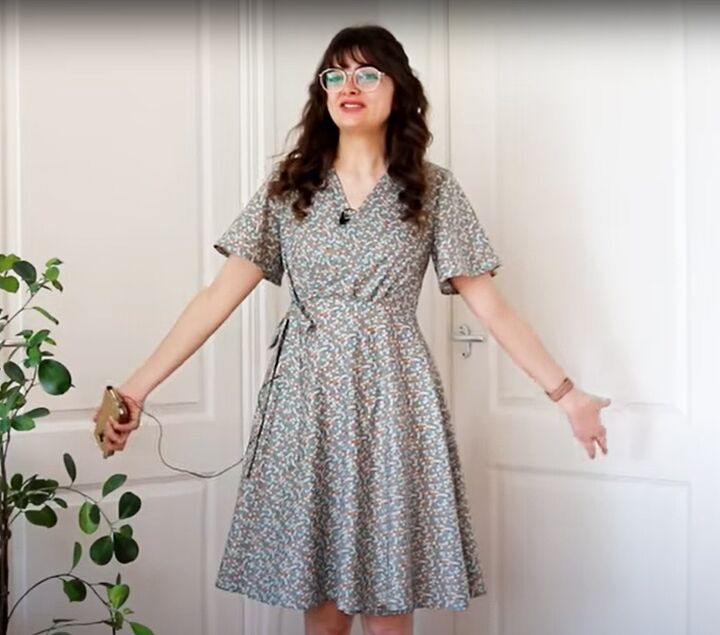
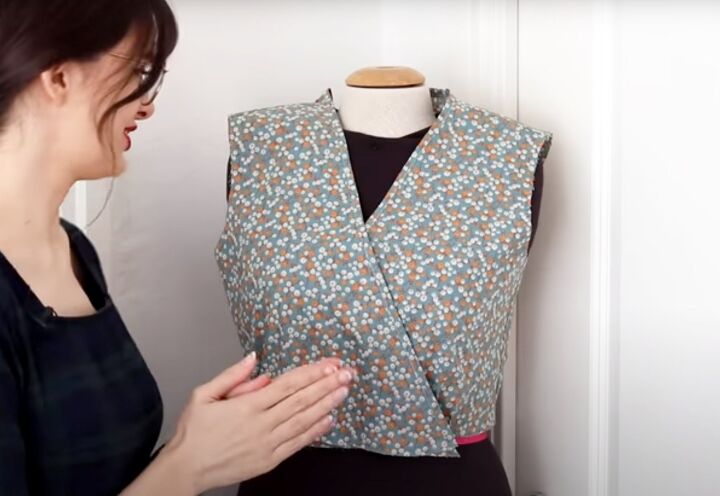
DIY floral print wrap dress
I still need to attach the inner skirt wrap to the bodice with a snap button, but I'm so excited at how my first wrap dress turned out. I think it's adorable.
I love everything from the fabric, the cut, the pattern to how I put it together. I'm really pleased I decided to do French seams because the inside looks amazing.
I think the back of the skirt looks really good as well, even though it was a happy accident.
I would have liked to make the longer tea dress length, but that's the result of my fabric shortage.
The next time I make this pattern, I will definitely do the longer length, but for a summer dress this is great. Based on this, I definitely recommend indie patterns.
What do you think? I'd love to know in the comments below.
Next, Learn How to Rock a Peasant Blouse With These Five Different Styles.
The author may collect a small share of sales from the links on this page.


Comments
Join the conversation