Easy Faux Fur Bag Sewing Pattern Tutorial

It can be hard to find easy bag patterns to sew. I have a DIY bag for you to make today that’s beginner friendly.
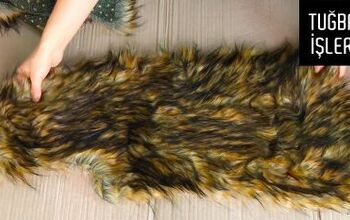
It needs very little fabric. I made it up in faux fur and lined it with wool.
The pattern is very easy to make and I’m giving you all the dimensions, so let me show you how to sew a bag that you’ll love to use.
Tools and materials:
- Faux fur fabric
- Wool lining fabric
- Gold button
- Paper for pattern
- Sticky tape
- Pencil
- Ruler
- Fabric marker or tailor’s chalk
- Pins
- Scissors
- Hand sewing needle and thread
- Sewing machine
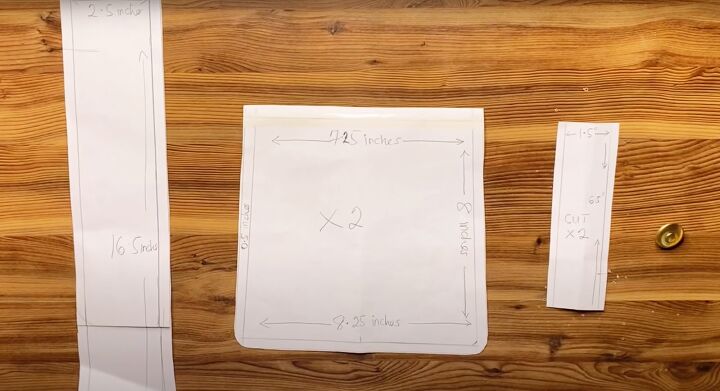
1. Make the bag sewing pattern
Tape two pieces of paper together where necessary.
For the handle, draw a rectangle 16.5 inches (42 cm) long by 2.5 inches (6.4 cm) wide.
The flap is another rectangle, 6.5 inches (16.5 cm) long and 1.5 inches (4 cm) wide.
For the main part of the bag, you’ll be drawing a trapezoid shape that’s 8.25 inches (21 cm) wide at the bottom tapering to 7.25 inches (18.4 cm) at the top and 8 inches (20 cm) long. Add a small curve to the lower two corners.
Cut out the pattern pieces, adding a half inch (1 cm) seam allowance to all the measurements given.
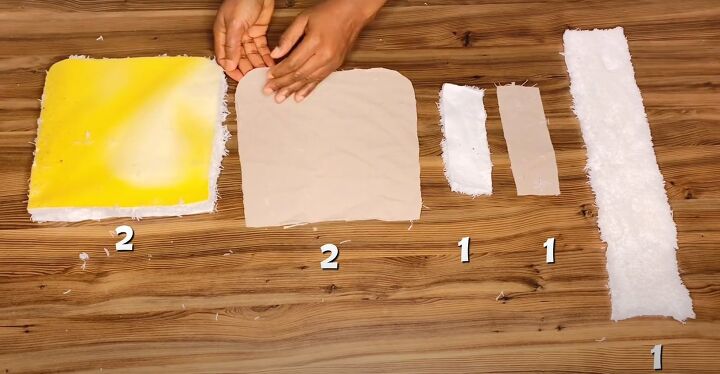
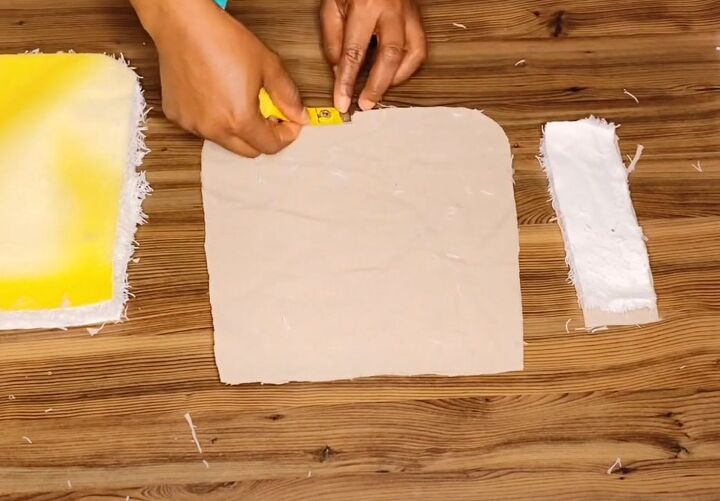
2. Cut out the fabric
Cut two of the main bag pieces and one strap from both the faux fur and the lining.
Cut one handle for the faux fur only.
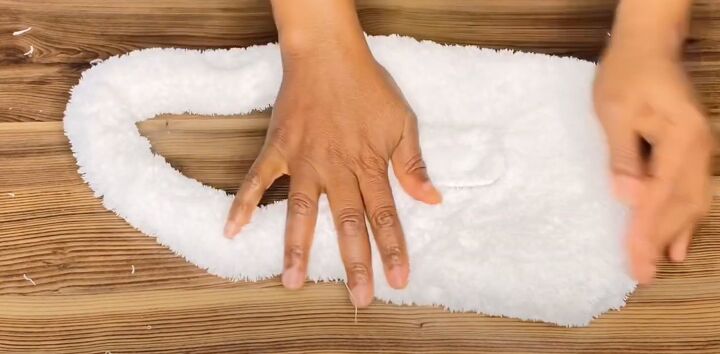
3. Sew the main bag pieces
Fold the main lining pieces in half lengthways and notch the center of the lower edge.
Mark 1 inch (2.5 cm) either side of the notch.
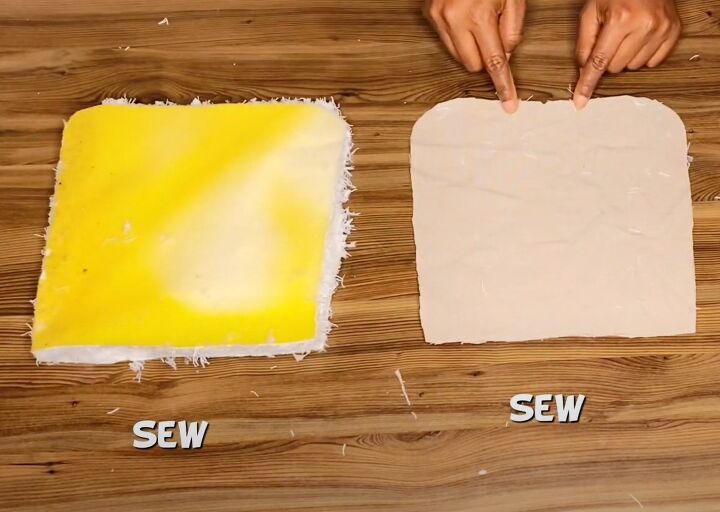
Sew the sides and lower edge of the lining pieces together with the right sides facing. Leave an opening between the marks either side of the notch.
Sew the main parts of the bag together in the same way but without leaving an opening.
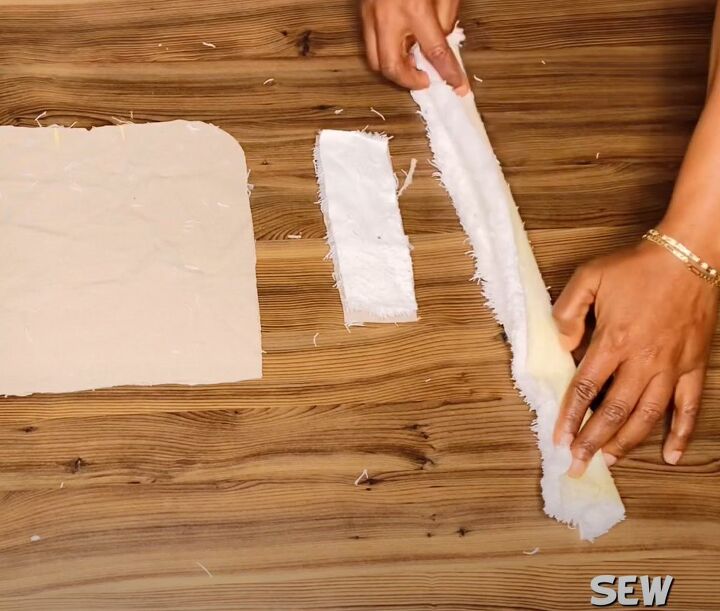
4. Sew the strap and handle
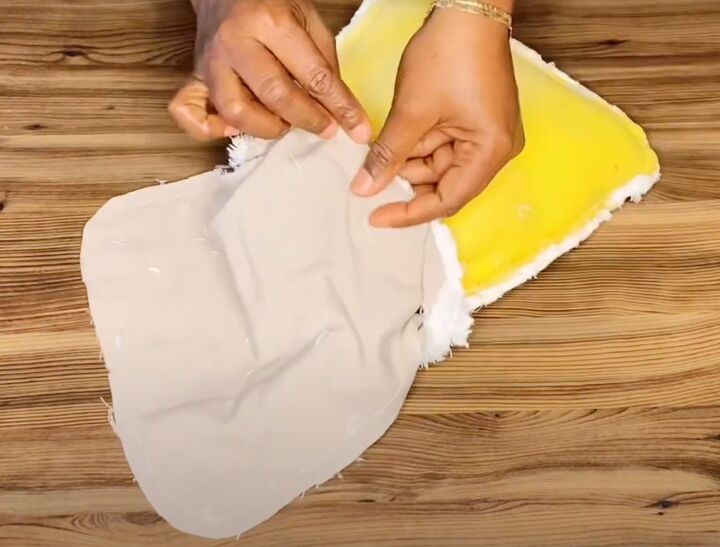
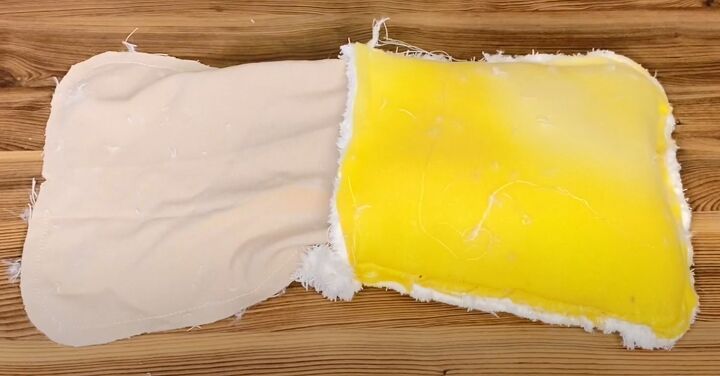
Sew the strap fur and lining piece together with the right sides facing, leaving one of the short ends open.
Fold the handle in half lengthways with the right side inside and sew the long open edge together.
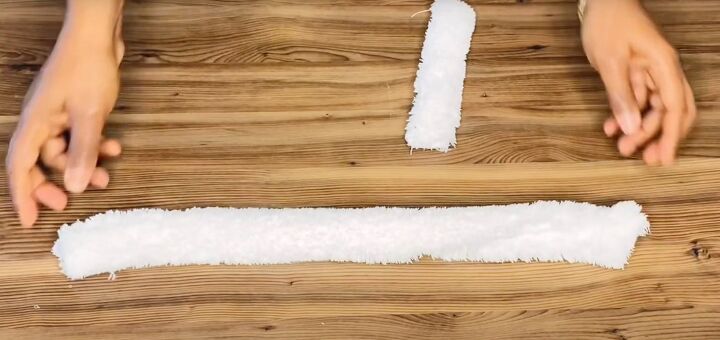
Turn the strap and handle right side out.
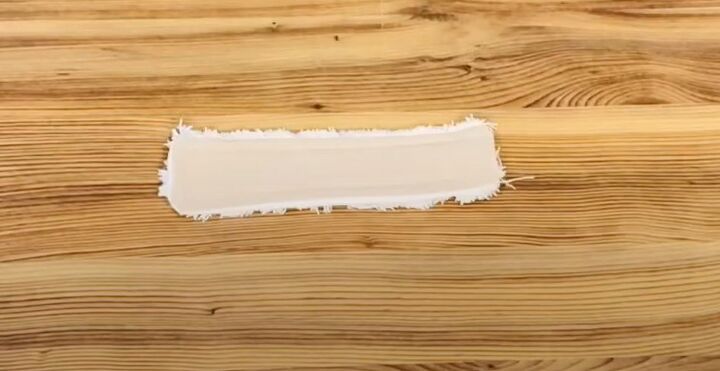
Top stitch the strap around the three sides.

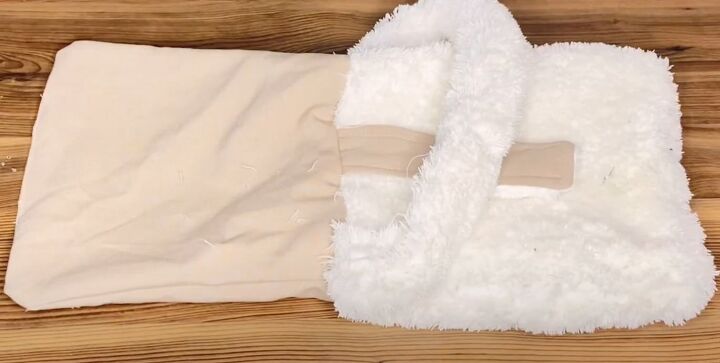
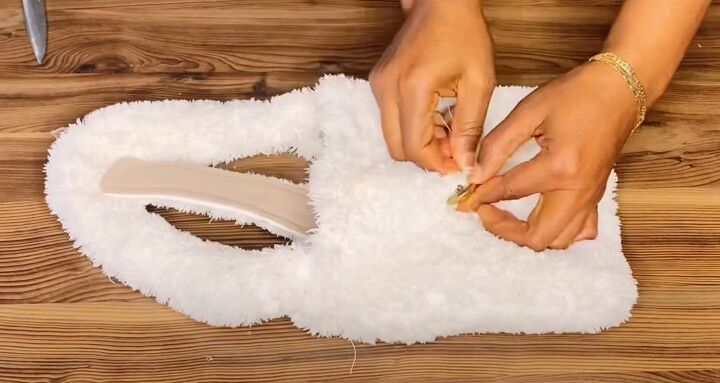
5. Attach the strap and handle
Notch the center top edge of one side of the bag and the center of the open end of the strap.
Place the strap inside the bag and pin them together at the notches, with the right sides facing.
Pin the ends of the handle centrally over the side seams of the bag, with the right sides together.
Be careful not to twist the handle as you do this.
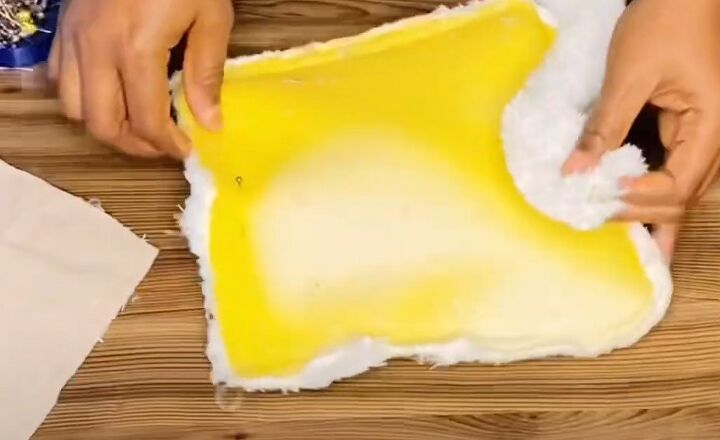
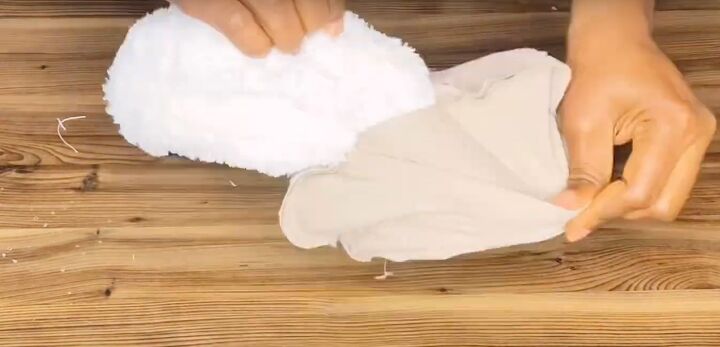
6. Attach the lining
Matching the side seams, pin the top edge of the lining to the top edge of the bag, with the right sides facing.
Sew 2 rows around the top edge.
Pull the bag through the 2 inch (5 cm) opening in the lining.
Turn in the edges of the opening and sew it closed.
Tuck the lining inside the bag.
Top stitch around the top edge of the bag to hold the lining in place.
7. Attach the button closure
Place the flap in position and mark the position of the button on the bag.
Hand sew the button in place.
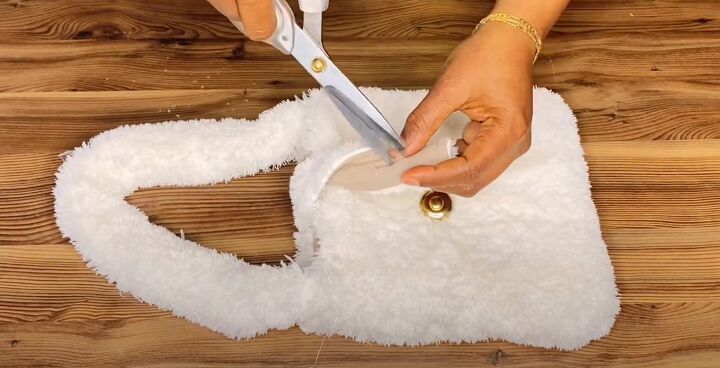
Mark the position for the buttonhole on the strap.
Snip a hole in the center of the strap large enough for the button to go through.
The faux fur fabric won’t fray so you don’t need to sew around the buttonhole, unless you want to neaten the lining.
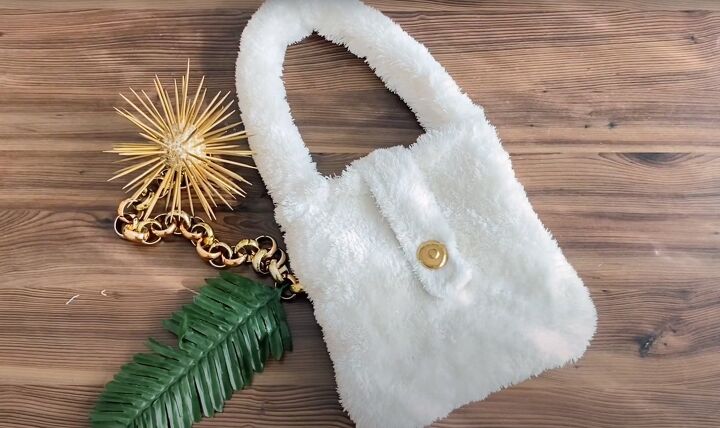
Bag sewing pattern tutorial
And now you have a beautiful, lined mini bag in about an hour and a half!
I bought my faux fur fabric very cheaply because it was marked on the wrong side. You can use a silky lining instead of wool if you prefer.
Now you have the basic pattern, you can make it in a larger size as well.
I’m going to make up several of these DIY bags in different colors. What do you think of it? I’d love to hear from you in the comments below.
The author may collect a small share of sales from the links on this page.


Comments
Join the conversation