How to Make a Faux Fur Vest: Pattern, Sewing Tips & Detailed Tutorial

Want to look chic and cozy in winter? You need to learn how to make a faux fur vest! Depending on the type of faux fur you get, this DIY faux fur vest can look very expensive and ultra-sophisticated.
I’ll show you a faux fur vest sewing pattern and have some pro tips so you can learn how to sew a faux fur vest today. Let’s get started.
Tools and materials:
- 1 yard of faux fur
- 1 yard of lining fabric
- Sewing machine with 110/18 or 110/16 universal needle
- Walking foot
- Polyester or poly-cotton blend thread
- Needle and thread
- Razor
- Scissors
- Comb awl or pick
- Pins
- Pattern paper
- Pen
- Measuring tape
- Ruler
Pro tips for sewing with faux fur:
- Expect to spend at least 20 minutes prepping the fabric for sewing.
- Pin and cut on the wrong side.
- Use very sharp implements when cutting faux fur.
- You may need to use a hinge seam.
- Mark the nap direction.
- Use a heavy-duty needle and a walking foot.
- Depending on the weight of the faux fur, you may need to increase your stitch length.
- Keep a vacuum around as this type of fabric sheds quite a bit.
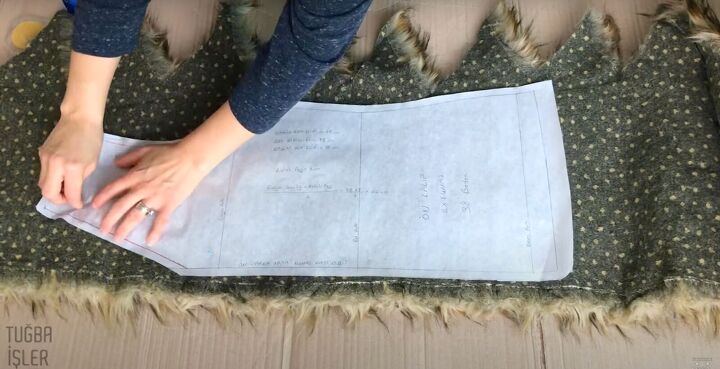
1. Make the faux fur vest sewing pattern
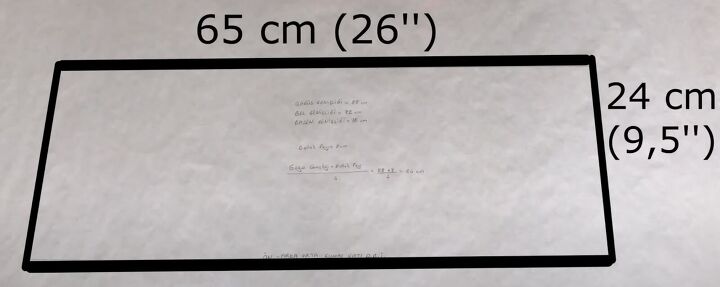
Use the paper to make the pattern. Measure out a rectangle that is 26 X 9½ inches.
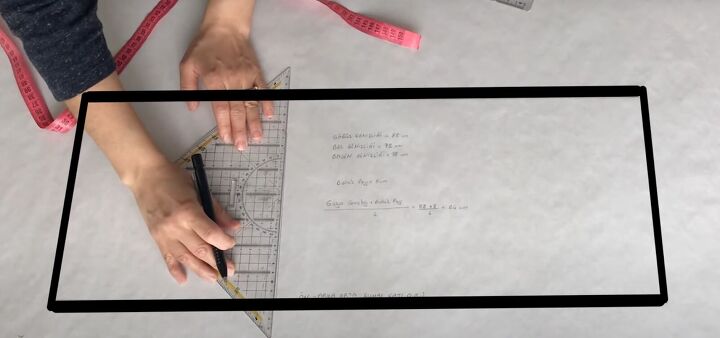
On the bottom left, go in the rectangle 9½ inches. Measure across and mark.
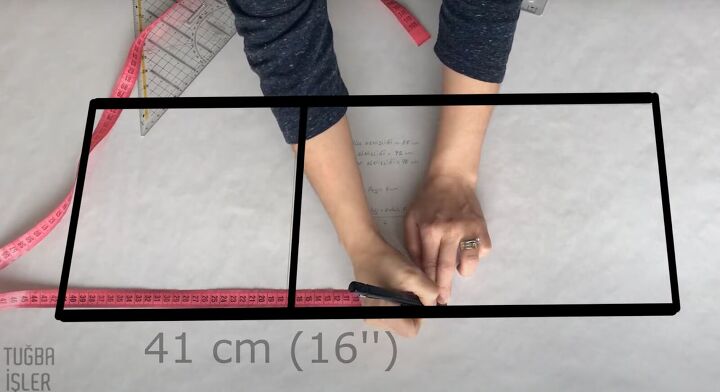
Measure down from the top 16 inches and mark across as well.
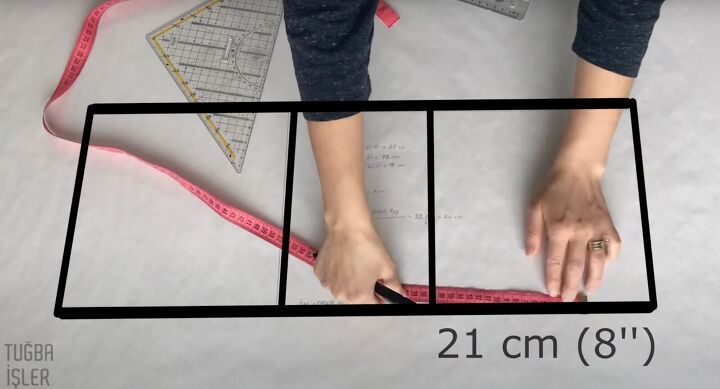
From that mark, measure down another 8 inches.
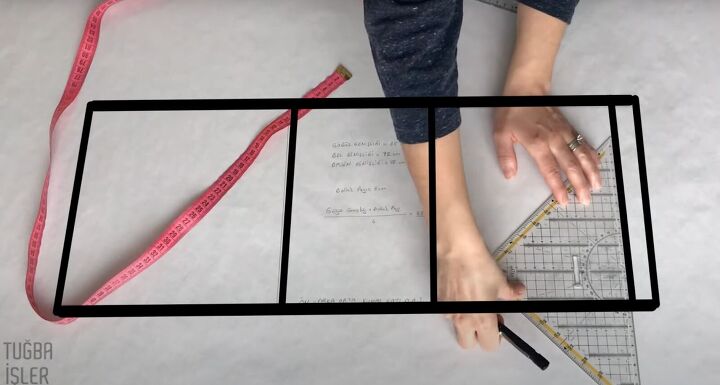
It should have these markings.
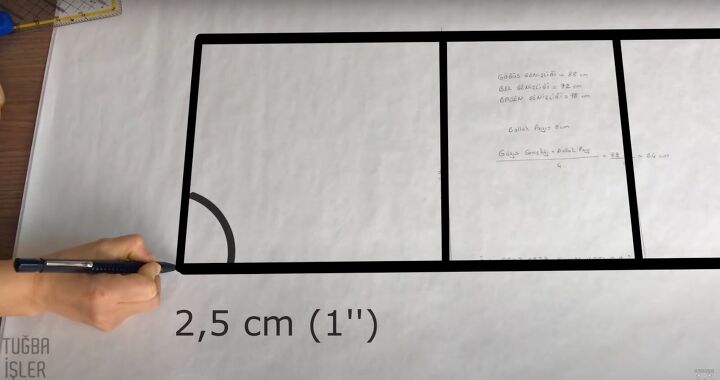
At the bottom left mark an arc at 1 inch. You’ll cut two of these to make the back. Cut the armholes as shown below.
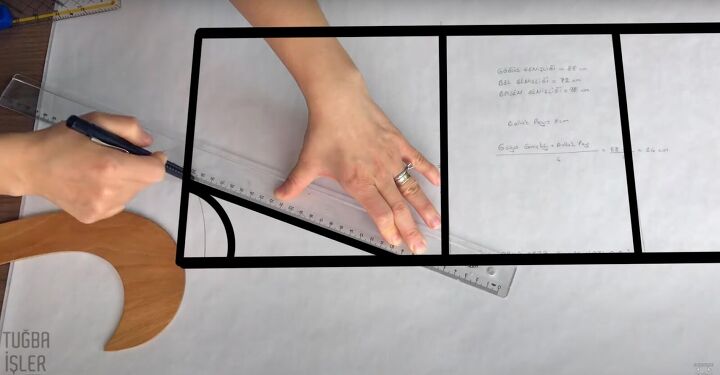
To make the front panels, measure 3.2 inches and mark that spot. On the bottom left, measure 8 inches across. Draw a diagonal line to connect those two points.

From that point, go in the other direction up 4 inches.
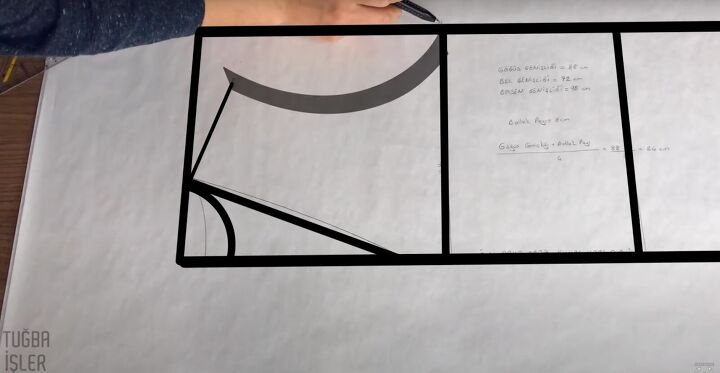
Then draw the armhole as shown. Add ½-inch seam allowance to the entire pattern.
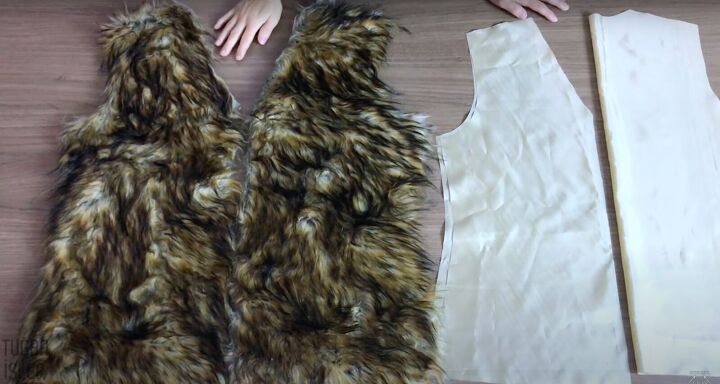
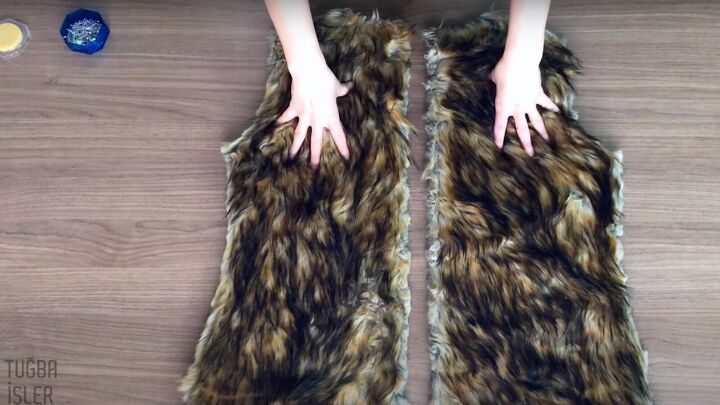
2. Cut the faux fur
Lay the pattern on the faux fur on the wrong side. Pin the pattern in place. Cut in the direction you want the fur to go. Cut 2 front panels and 2 back panels.
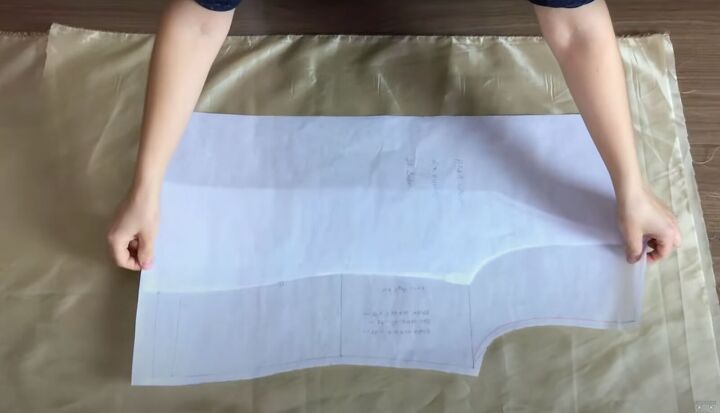
3. Cut the lining
Fold a piece of the lining fabric in half to cut the back. Pin the pattern and cut the back in one piece.
Cut the two front panels.
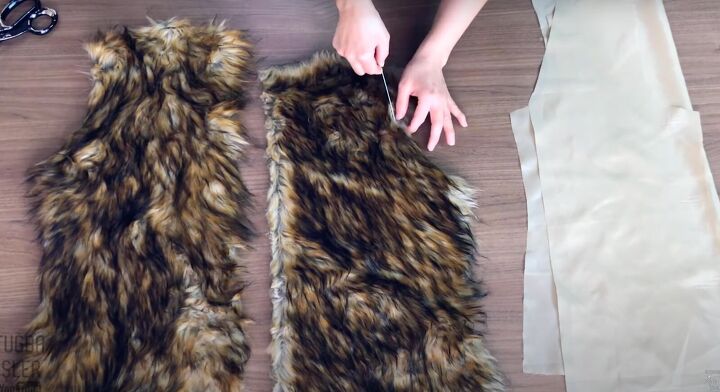
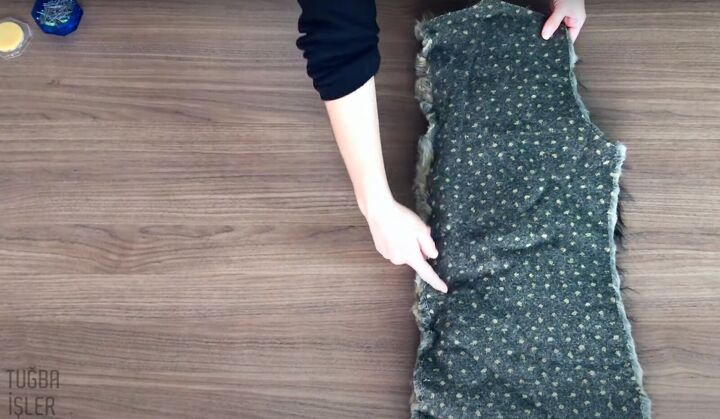
4. Prep the faux fur
Straighten the edges of the faux fur with a sharp implement like a comb awl. You’re basically trimming the fur out of your seam allowance before sewing.
This step is very important when using faux fur that’s long napped or thick like I’m using in this tutorial. If your faux fur has a short nap or is lightweight, you can skip this step.
After you’ve pulled the fur away, use very sharp scissors to cut even straight edges. Faux fur is basically a knit fabric so the edges don’t usually fray. though they may stretch.
Do this to all the panels, side seams, and armholes.
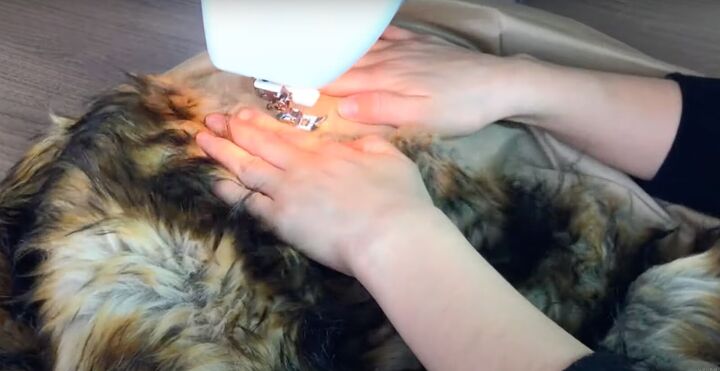
5. Sew the vest
Pin the center seam of the back on the wrong side. Sew the back together.
Make sure when you sew, sew each seam with the nap of the fur pressed away from the seam. You don’t want to catch the fur in your sewing.
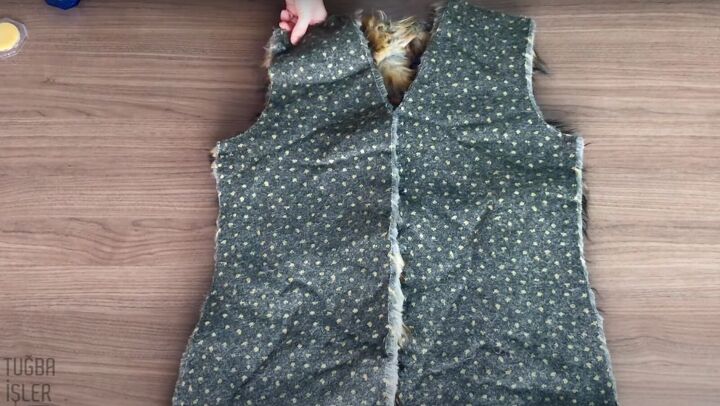
Lay the back of the vest with the right side facing up. Lay the two front panels down so the right sides are together. Pin the shoulder and side seams. Sew these seams together.
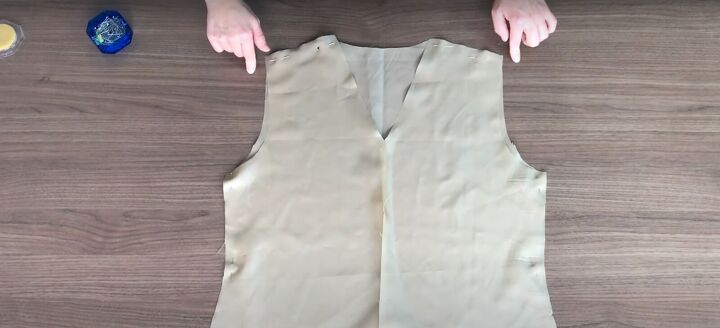
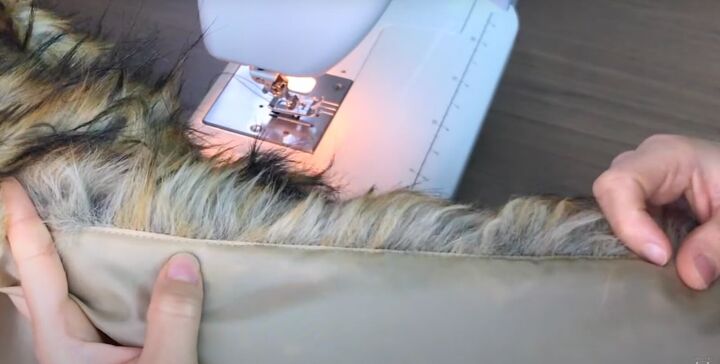
6. Sew the lining
Lay the lining pieces right sides together. Pin them in place and sew.
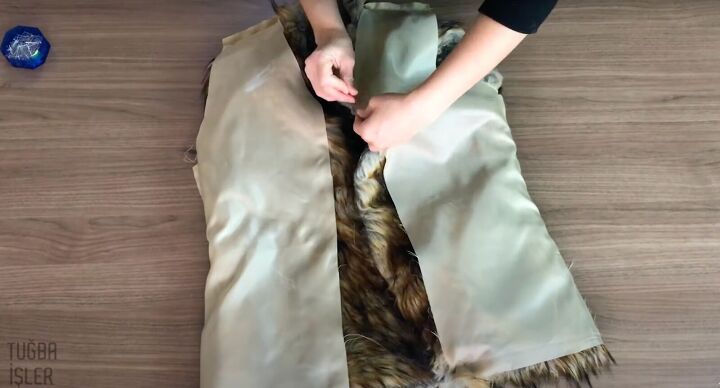
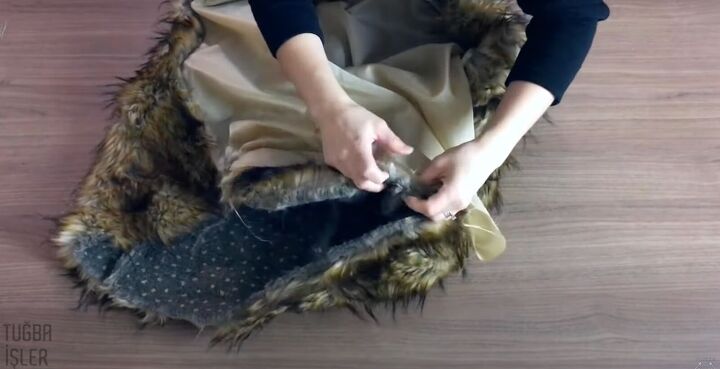
7. Attach the lining to the vest
Lay the lining down with the right sides facing up. Lay the faux fur vest on top, with the right sides facing up. Pin the lining to the vest.
Sew the front panels and the neckline. Then, flip the lining to the inside of the vest.
Add a catch-stitch to sew the seam allowance to the lining side to act as understitching.
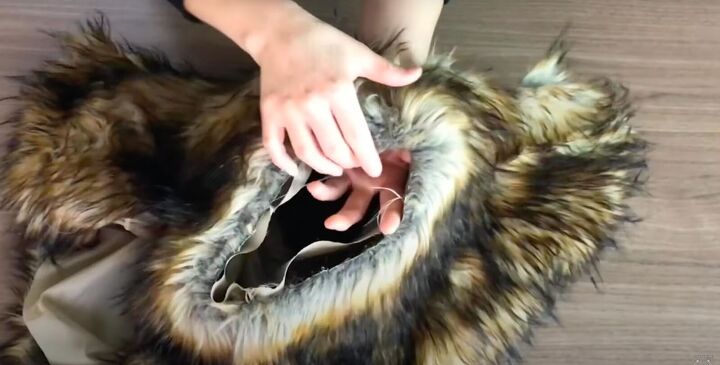
Match up the seams at the armholes. Stitch the lining into the inside of the armholes.
Pin the shoulder and side seams. Sew them together.
Pin the lining to the hem so that the edges of the lining reach the edges of the vest by pinning into the corners.
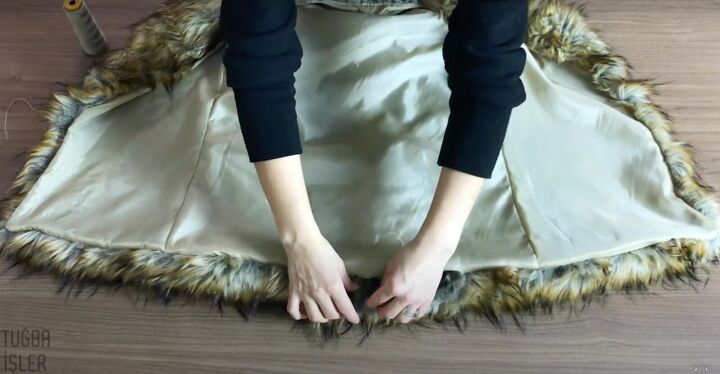
Hand-stitch the lining in the center closed.
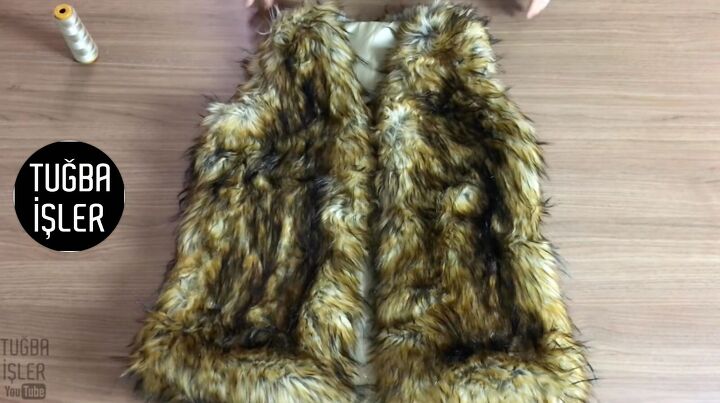
How to make a faux fur vest tutorial
I hope I help you learn how to make a faux fur vest! Please let me know in the comments if you made this beautiful DIY faux fur vest to keep warm, cozy, and chic this winter. Thanks for joining me.
To see more of my DIY sewing tutorials, follow me on TikTok @tugbaisler.
The author may collect a small share of sales from the links on this page.


Comments
Join the conversation