How to Sew a Tote Bag in 3 Different Ways

Looking for a tote bag sewing pattern or how to sew a tote bag? This is the definitive fabric tote bag tutorial for you! I’ll show you three DIY tote bags you can make today! Let’s get started!
Tools and materials:
- Fabric - use medium weight
- Ruler/measuring tape
- Erasable pen or tailor’s chalk
- Rotary cutter or scissors
- Pins
- Fabric weights
- Iron
- Sewing machine
- Serger (optional but highly recommended)
- Cutting mat (again also optional)
- Cardboard box (optional)
Pro tip: When making a tote, it's easiest to have the folded edge of the fabric as your bottom. Before cutting patterned fabrics, make sure your fabric pattern is in the correct position before cutting.
DIY basic tote bag

1. Make the tote pattern
Fold the fabric in half, right sides together. Measure a 16 X 17-inch square. This size includes the seam allowance.
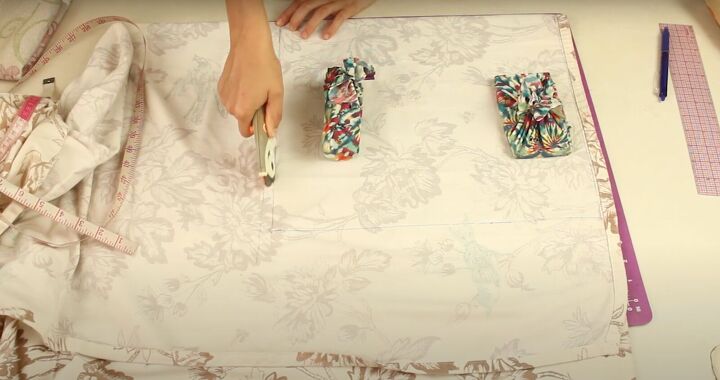
Place the weights on top of the fabric to keep it in place so it doesn’t slip when cutting. Cut the fabric.
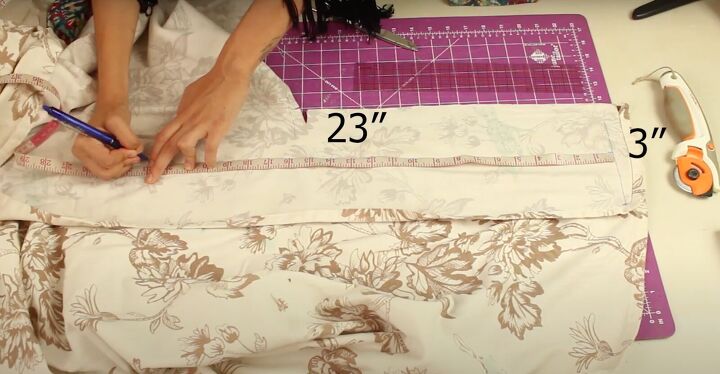
2. Make the strap pattern
Measure, mark, and cut 2 pieces that are 3 X 23 inches long.
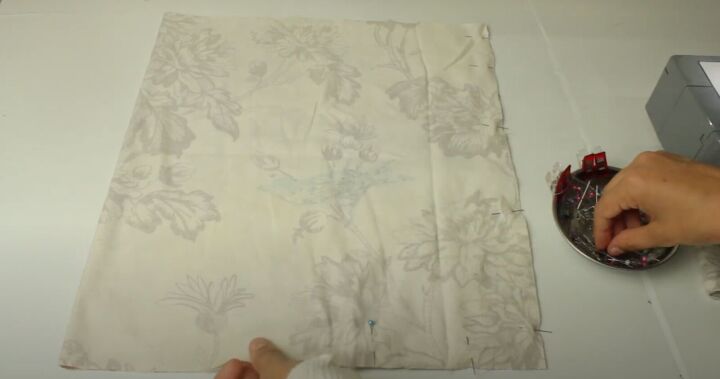
3. Sew up the sides of the tote
I realized the bird wouldn’t be in the correct position if I used the folded edge as the bottom of the tote. So, I switched it around.
Pin the sides, leaving the top of the bag open. Sew the pinned sides using a straight stitch. Leave a ½ inch seam allowance.
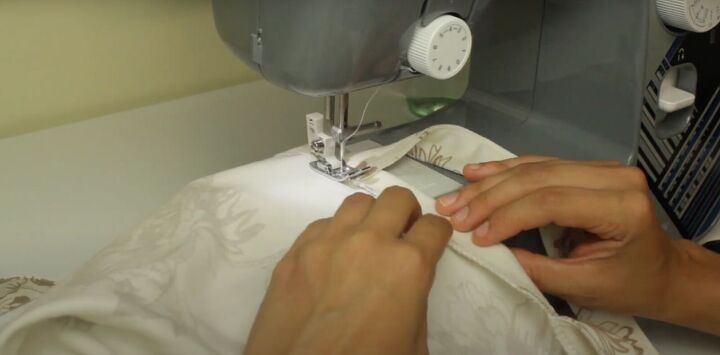
4. Attach the straps
Press the straps. Fold in ½ inch on either side of the strap towards the wrong side and press again.
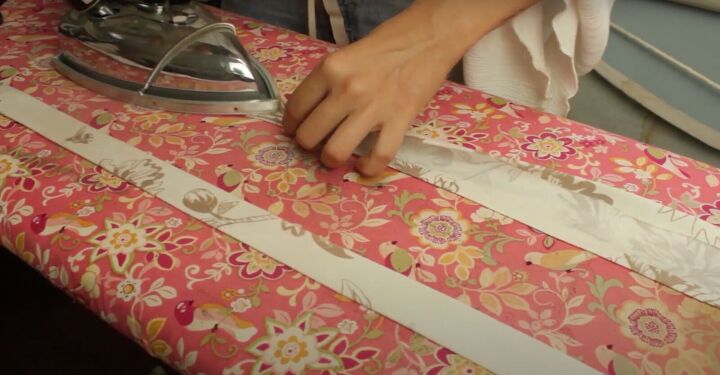
Then fold the strap in half and press again. Press both straps. Pin in place. Sew as close as possible on the open edge of the fold.
When pinning, make sure the straps are facing the correct side of the fabric. Place the straps about 3 inches away from the side seams.
Once you’ve pinned the first strap, pin the second strap lining it up with the first so everything is even.
5. Finish the bag
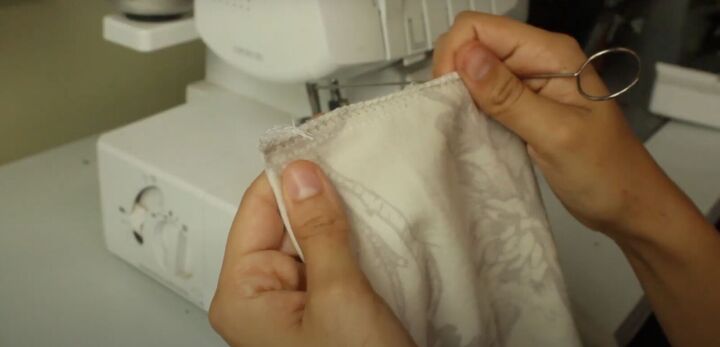
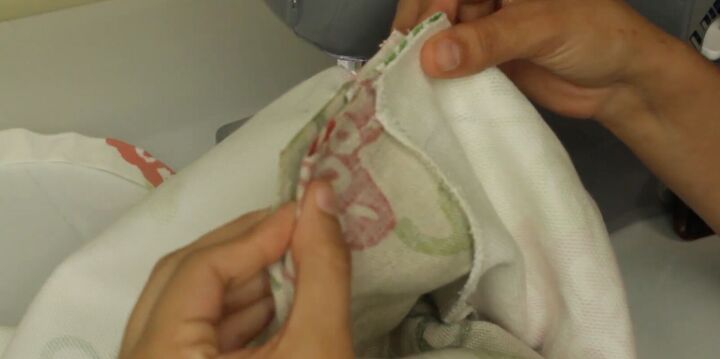
Clean up all the raw edges of the bag by serging the seam allowance. If you don’t have a serger, use a zigzag stitch or french seam.
Serge the sides first. Then serge the top edge with the straps pinned in place. This way the straps are sewn in. Remove the pins.
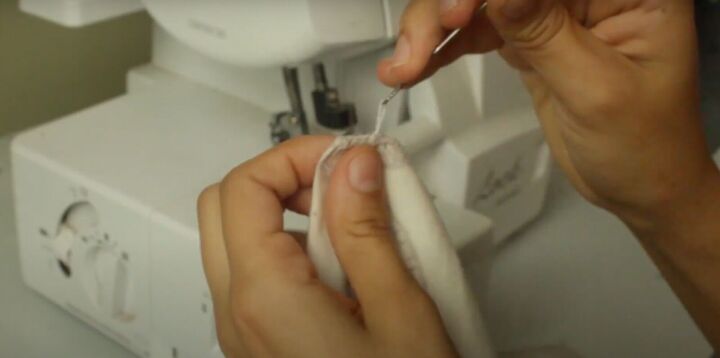
I like to leave an inch of extra serge thread when finished so I can tuck it away and it doesn’t unravel. Use a loop turner, tunneling it through. Hook the end of the serge thread and pull it back under. Trim any excess.
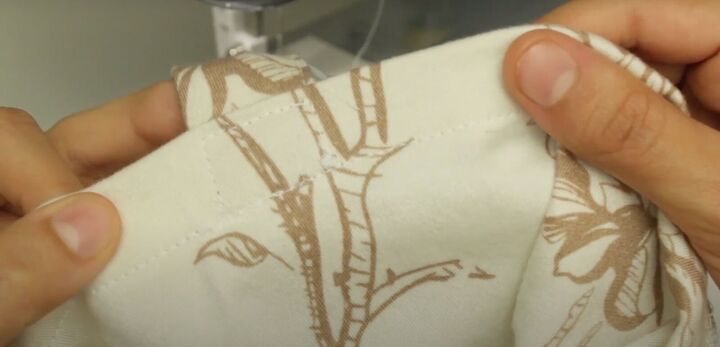
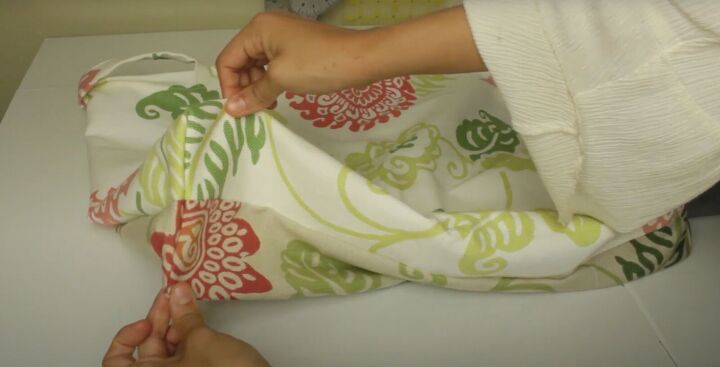
Fold the top of the bag down 1 inch towards the wrong side. Sew a topstitch along the wrong side as close as possible to the serged edge all around the bag.
To set the straps in place, sew a rectangle around the strap ends.
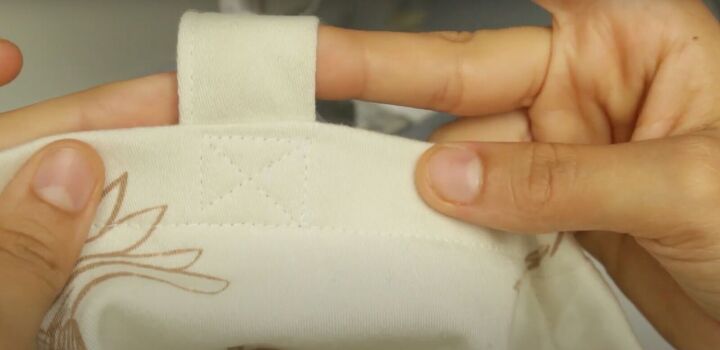
For extra security, add an X on all 4 sides.
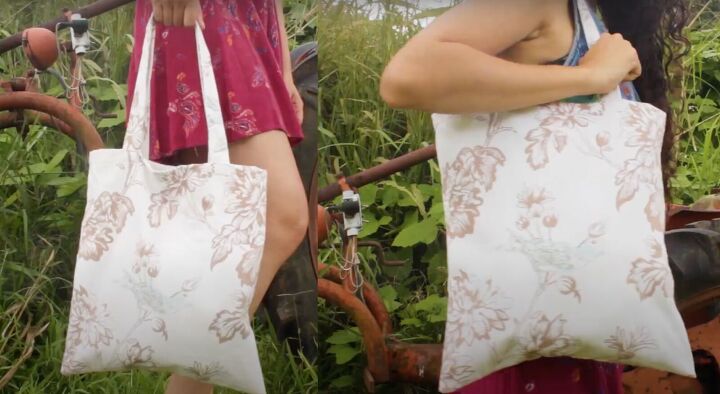
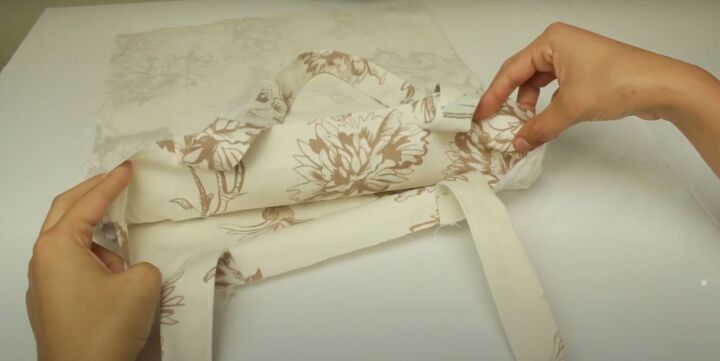
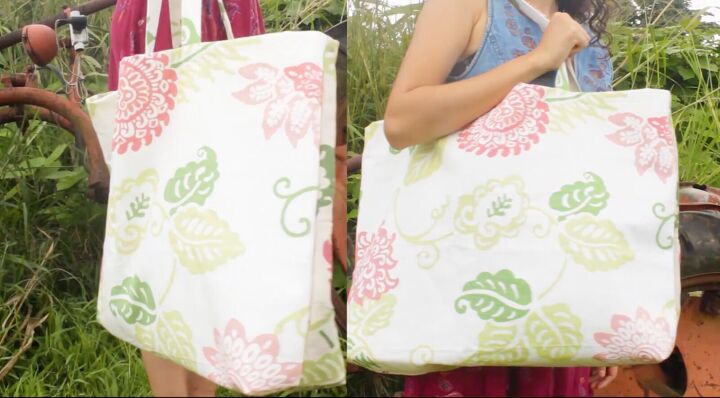
Flip the bag inside out for your beautiful magazine tote!
DIY flat-bottom tote bag
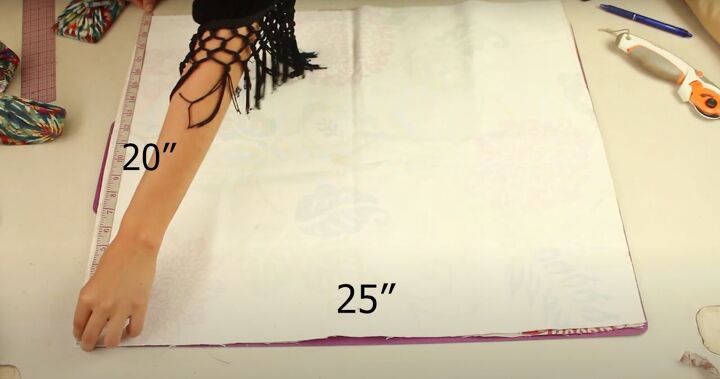
1. Make the pattern
This is a larger tote and the measurements are up to you! Here, I cut out 2 separate pieces of fabric that are 20 X 25 inches.
I didn’t have a large enough piece of fabric to fold in half but if you do, you can do that instead. If using folded fabric, sew up 2 sides. If using 2 pieces of fabric, sew up 3 sides.
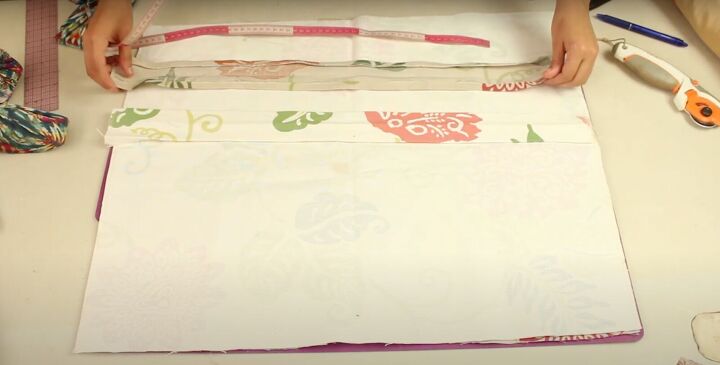
2. Make the straps
Follow the same technique as above using the same measurements.
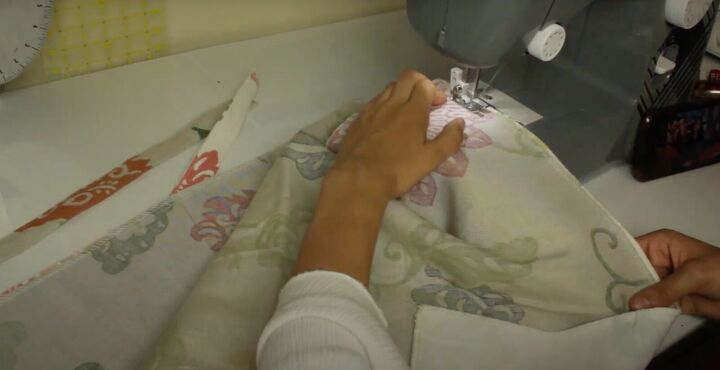
3. Sew up the tote
After pinning the sides of the tote, sew with a straight stitch, leaving a ½-inch seam allowance.
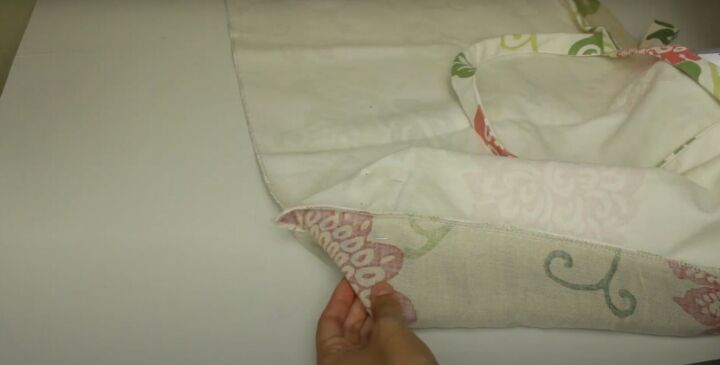
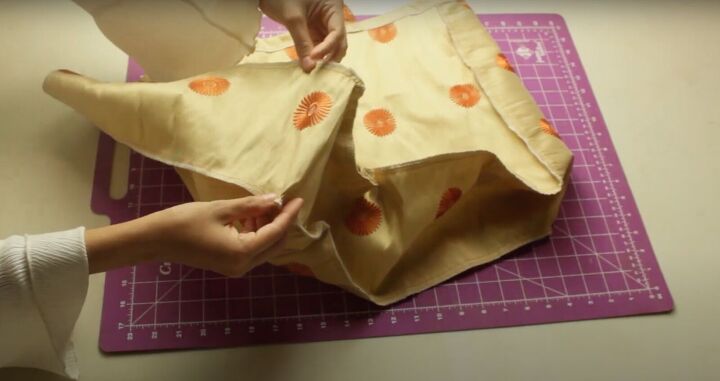
4. Make a flat bottom
Grab the bottom of the bag at the corner. Separate the fabric and fold it to a point so the seam on the side and the bottom meet up in the center. Pin this into place. Repeat for the other side.
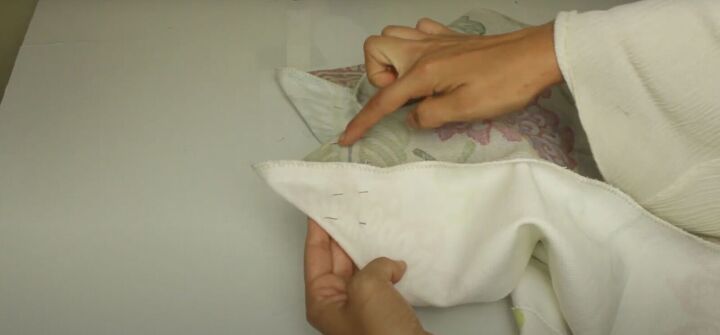
From that corner, measure up about 3 inches. Sew a straight stitch across at that measurement.

Cut off the point, leaving ½ inch away from the new seam you just sewed.
Make sure both sides are even.
5. Finish the bag
Serge all the raw edges. Attach the straps using the same technique as in the first bag.
Turn the bag right side out.
DIY large tote bag
This tote is the largest and also has a flat bottom.
1. Make the tote pattern
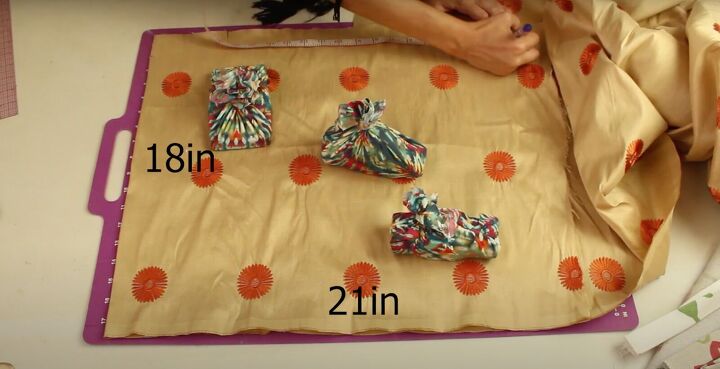
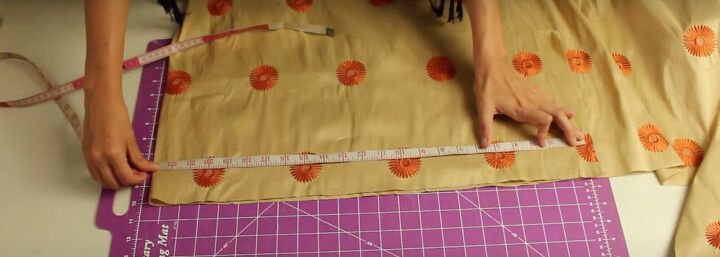
Cut 2 separate pieces of fabric that are 18 X 21 inches.

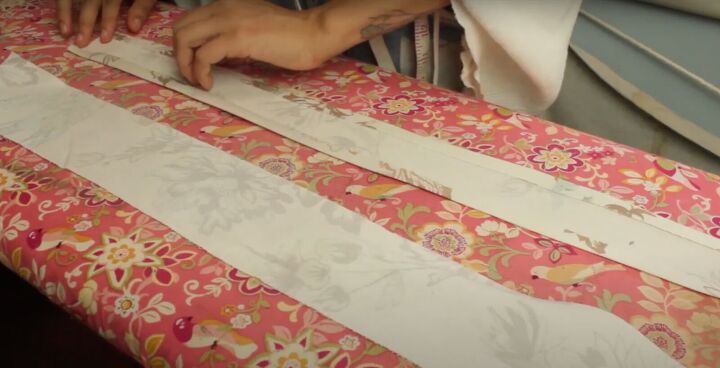
Once those are cut, fold a piece of fabric in half and measure 27½ inches X 7 inches. Cut this into a long rectangular piece that's about 55 inches when opened.
2. Make the straps
Follow the same technique as the first tote.
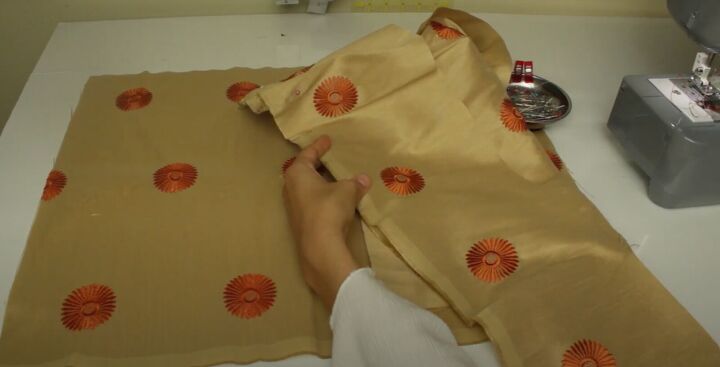
3. Assemble the tote
Align the top edge of the long rectangle to the top of the one of the square pieces. Make sure the correct sides of the fabric are facing each other.
Begin pinning the long rectangle to the square on the wrong side, working your way down, across the bottom, and up the other side.
Then, attach the second square on the other edge of the long rectangle, using the same technique, aligning the top edge.

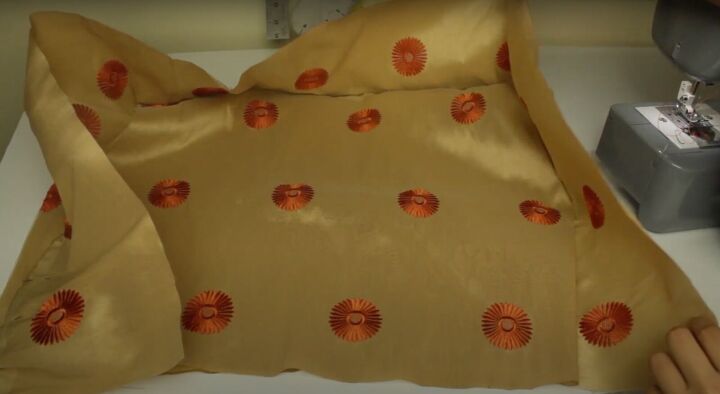
You’ll end up with a 3D rectangle with a flat bottom and flat sides. If you have extra fabric on the long rectangle, trim any excess.
Sew all the pinned areas, leaving a ½-inch seam allowance. Take it slow at the corners and adjust the fabric as needed so it stays flat and the fabric doesn’t gather.
4. Finish the tote
Once all the seams are sewn, clean up all the raw edges by serging. Attach the straps using the same technique as the other tote.
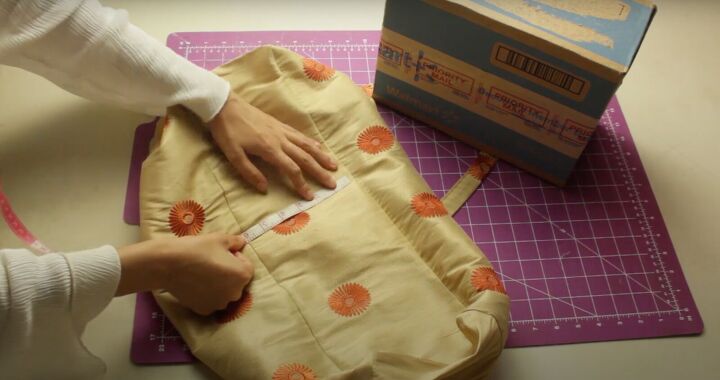
If your bag needs more structure, measure the bottom.
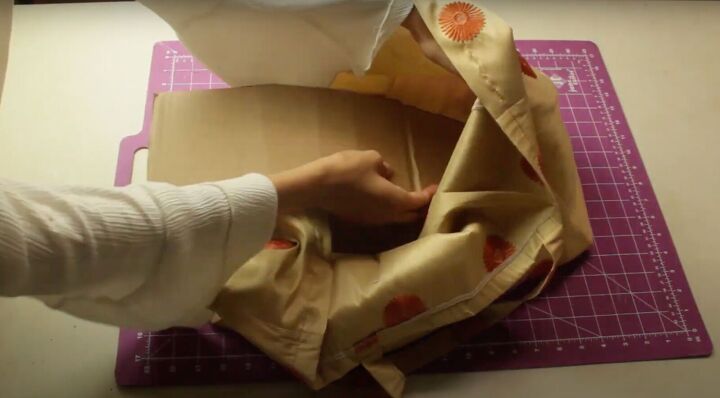
Cut a piece of cardboard to those measurements and insert inside the bottom of the bag. You can do this to any bag with a flat bottom.
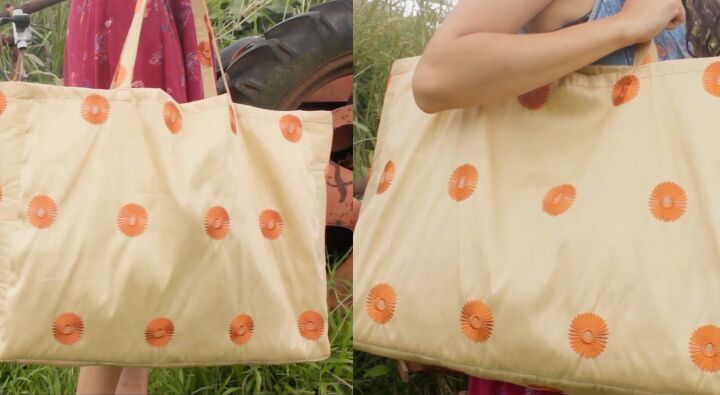
Your beautiful large tote!
How to sew a tote bag
Please let me know in the comments if you’ve made one, two, or all three of these totes! These are perfect for yourself and to give as gifts!
The author may collect a small share of sales from the links on this page.


Comments
Join the conversation