How I Make My Own Clothing Labels

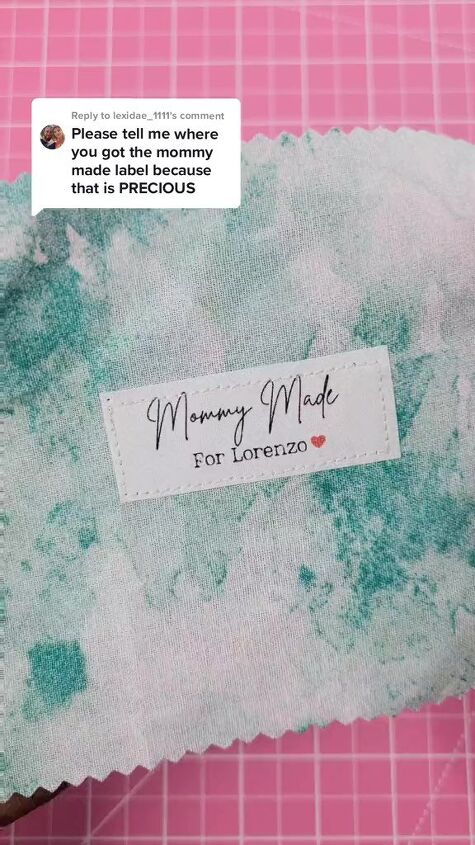
Lots of you asked me where I got my “Mommy Made” labels. Actually I design and print them myself. It’s a lot easier than you think!
Tools and materials:
- Copy paper
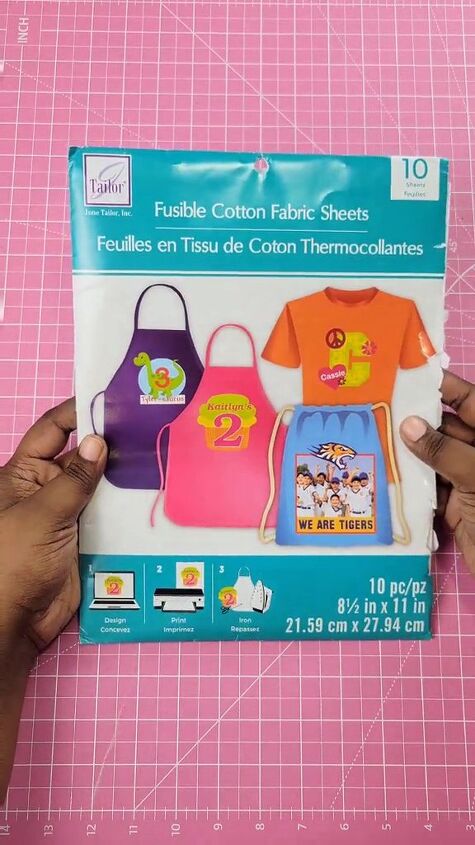
- Fusible cotton fabric sheets
- Printer
- Rotary cutter
- Ruler
- Iron
- Sewing machine (optional)
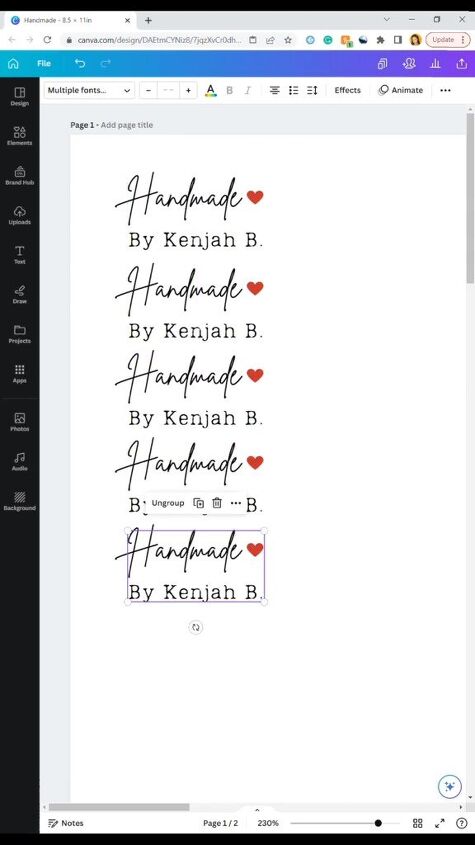
1. Design
I use a free account at Canva.com to design the labels. They have a good selection of fonts and little symbols.
I duplicate the design until it fills the sheet.
2. Test print
I print the labels onto a sheet of copy paper first, to make sure they fit and look good.
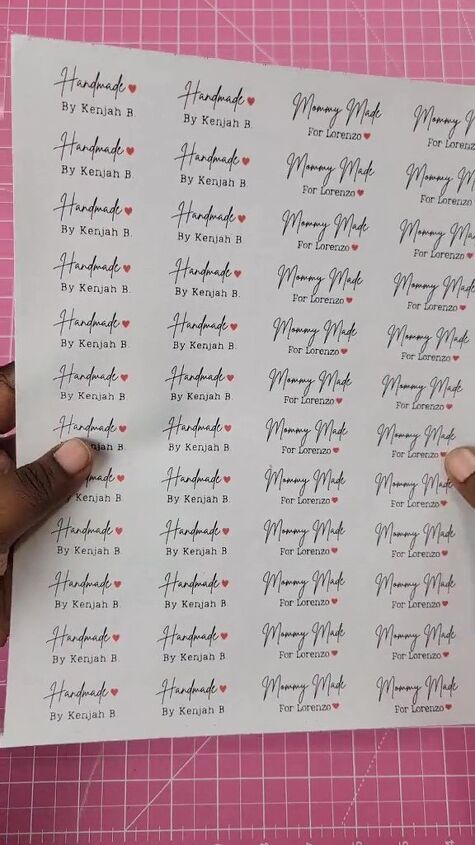
3. Final print
I print the labels onto fusible cotton fabric sheets that go through my regular printer.
You print on to the non-fusible side, just as you would onto regular paper.
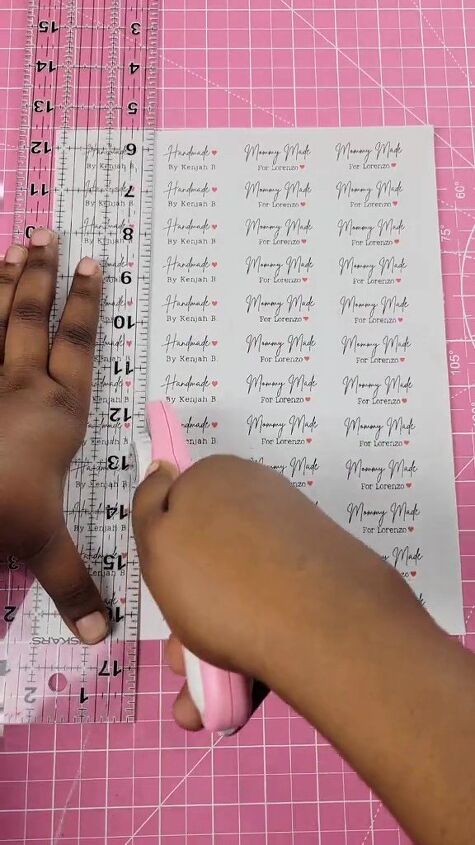
4. Cut
You can use a guillotine if you have one. I find my rotary cutter and a ruler are quick and easy to use to cut out the individual labels.
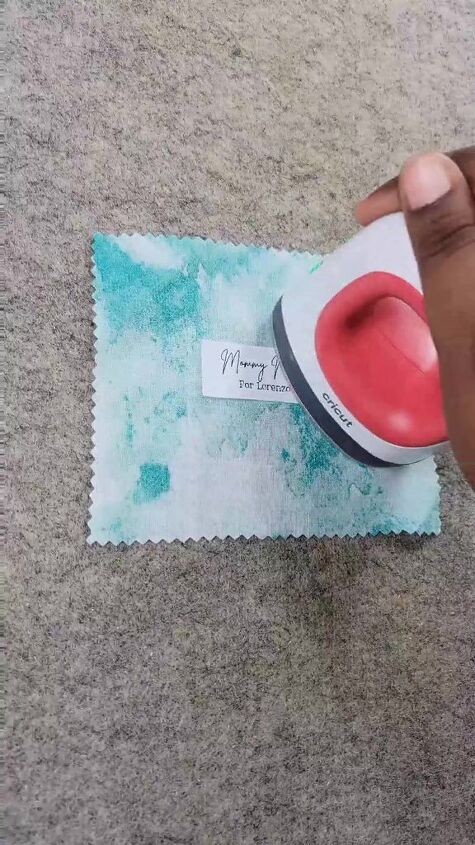
5. Attach
Use a non-steam iron for 15 to 20 seconds to press the labels on to the fabric.

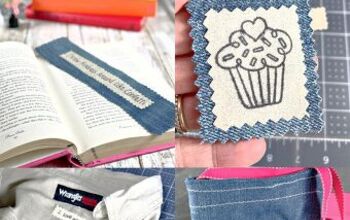
I then stitch all round the label for greater security and a more professional look.
How I make my own clothing labels
My labels have gone through many wears and washes and have never come off. I think they give my garments a nice extra touch. I can be as creative as I want with them.
Do you like them? Comment down below.
Next, learn How to Add Pockets to a Sewing Project.
Follow me on TikTok: @kenjahb
The author may collect a small share of sales from the links on this page.


Comments
Join the conversation