How to Add Pockets to a Sewing Project

It’s the easiest thing ever to add a pocket to a sewing project!
If your pattern doesn't come with a pocket, you can cut out 4 squares to substitute. You can also find free pocket patterns on Pinterest.
Tools and materials:
- Self or contrast fabric
- Pins
- Scissors
- Sewing machine
- Iron
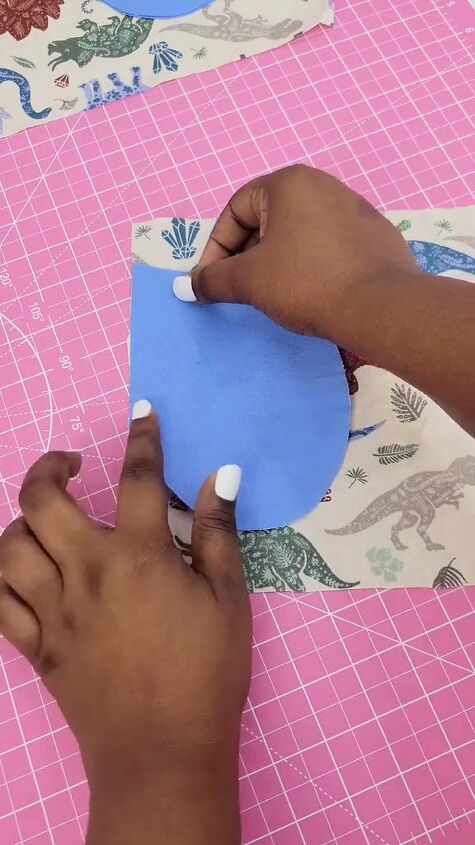
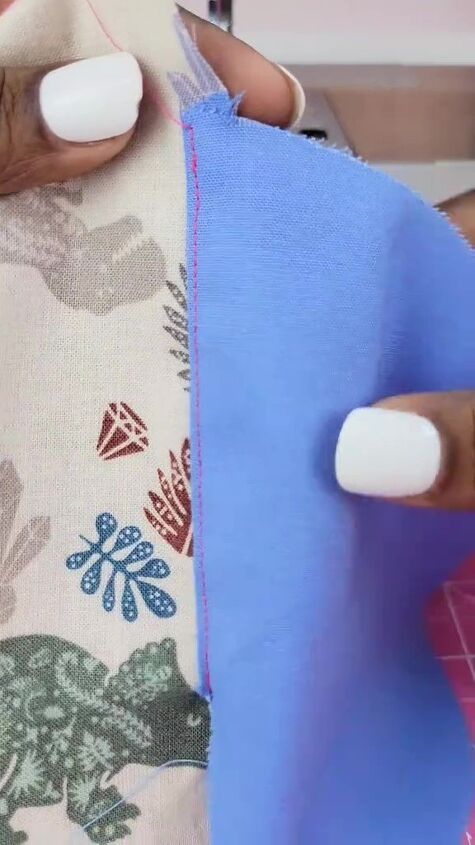
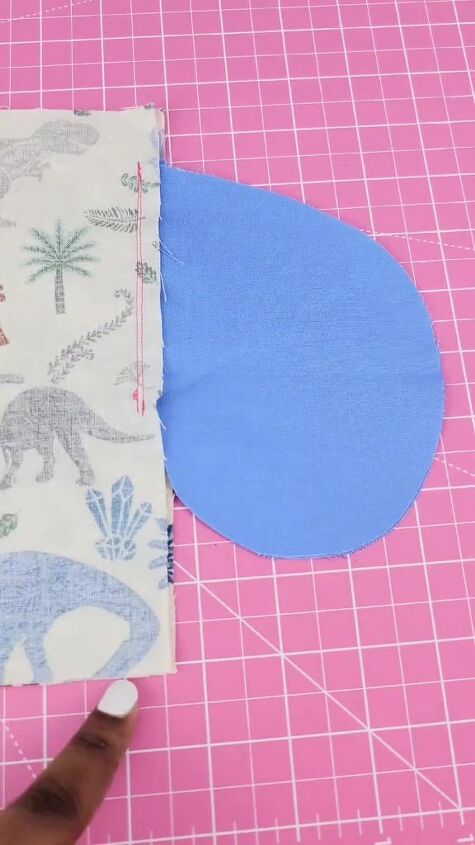
1. Attach the pocket pieces
Pin each pocket piece to the right side of your skirt or pants, at the side seams.
Most patterns will show you where to place them but if not, about 8 inches (20 cm) from the waist works most of the time.
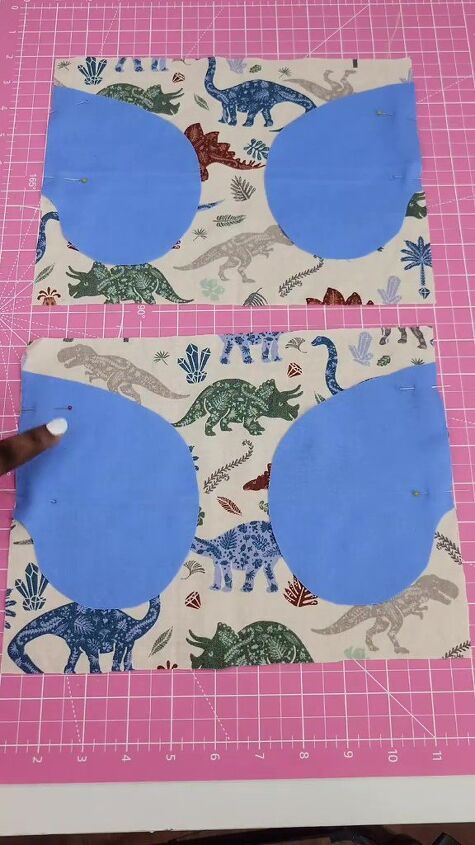
Pin them to both sides of the back and front of your garment.
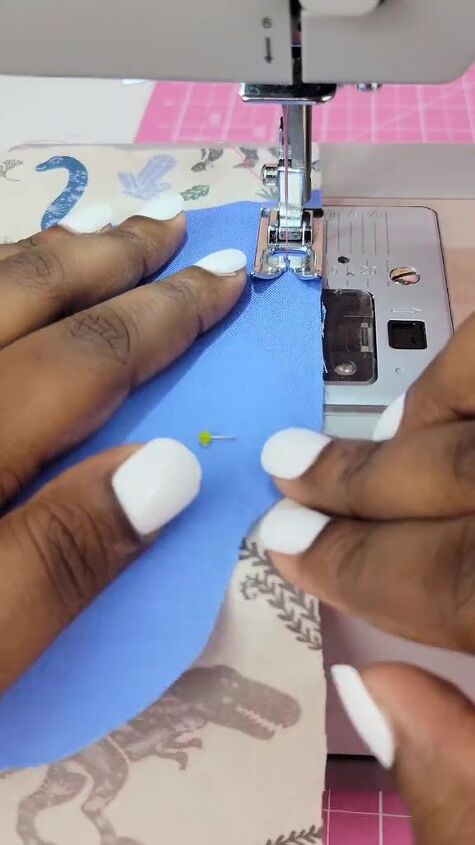
Sew them in place within the seam allowance.
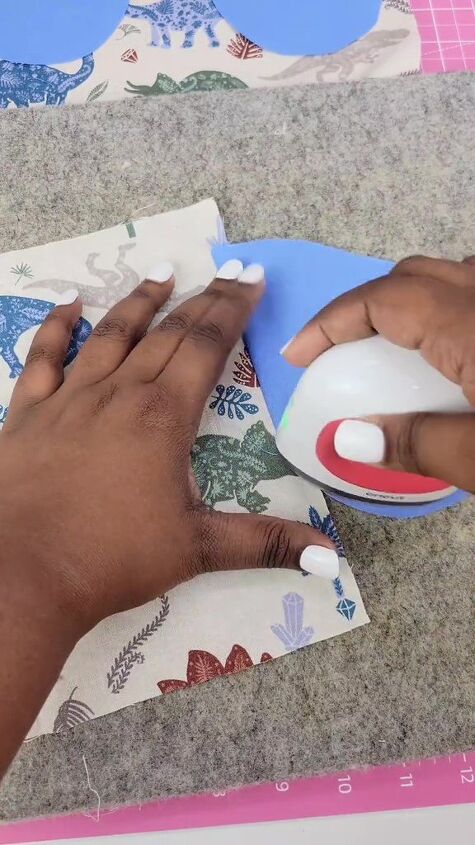
2. Top stitch
Flip the pieces outwards and iron them flat on the right side.
Top stitch as closely as possible to the edge.
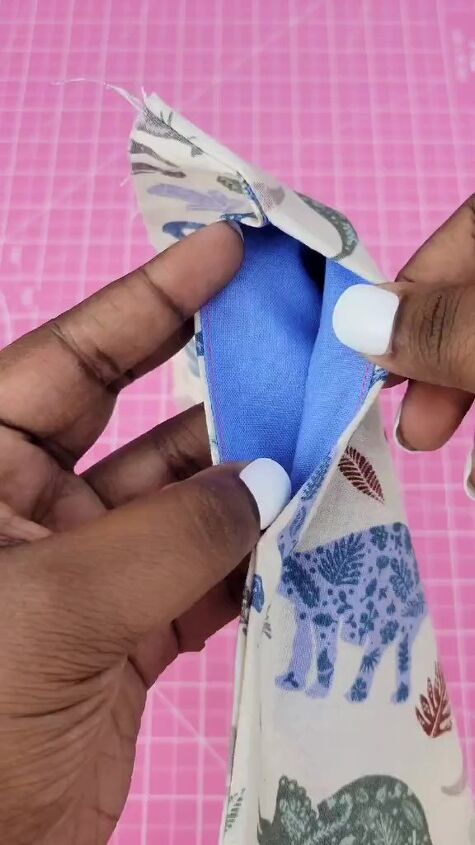
3. Join front and back
Place the two garment pieces together with the right sides facing.
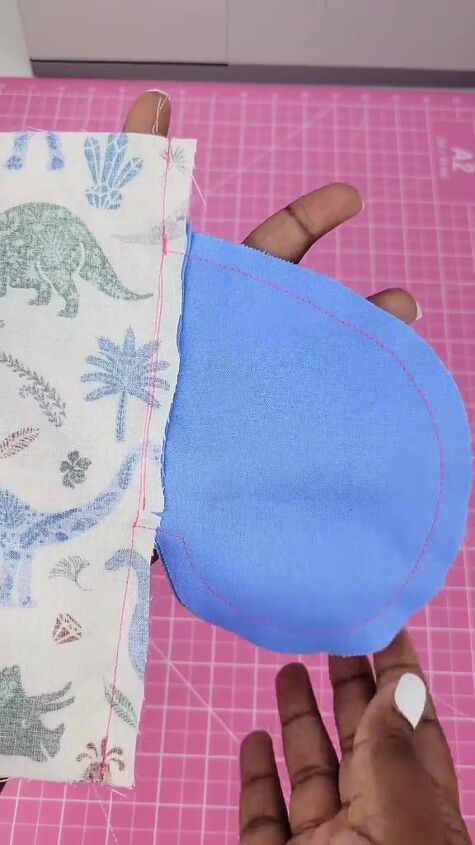
Sew down each side seam as far as the top of the pocket.
Sew around the pocket pieces and complete the rest of the side seam.
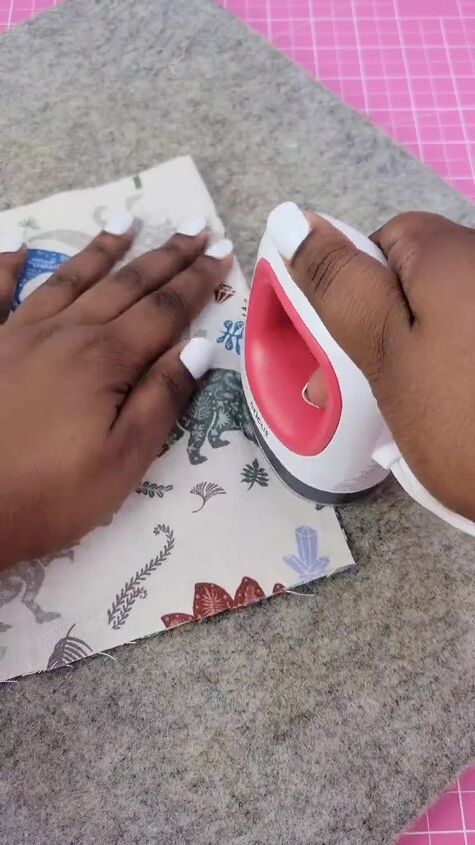
Turn your garment right side out and press the seams flat.
How to add pockets to a sewing project
And you’re good to go!
You can use the same method to add pockets to an existing garment. Just open part of each side seam and insert the pocket pieces, then sew them together.
Do you feel confident you could do this now? Let me know if you have any questions.
Next, learn how to DIY a Ruffle Bonnet.
For more sewing content, follow me on TikTok: @kenjahb
The author may collect a small share of sales from the links on this page.


Comments
Join the conversation