DIY Sewing Project - Facemask With a Filter Pocket

This DIY is the perfect project for both long time sewers and beginners! Everyone needs a facemask these days, so why not learn how to sew your own, with a filter pocket? Let me show you a step-by-step to making a facemask from drafting the pattern to sewing in the elastics.
Tools and materials:
- A4 paper
- Marker
- Ruler
- Scissors
- Fabric
- Clips
- Elastic
- Sewing machine
- Iron
Make a pattern
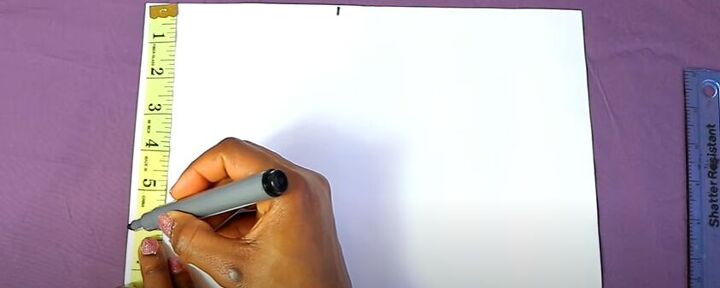
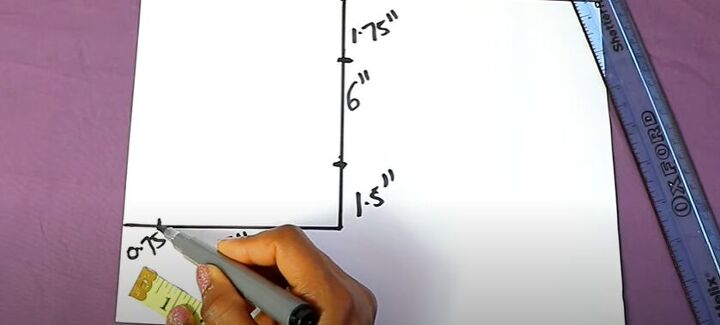
The first step is drafting a quick and easy pattern. Start by marking a 5-inch point across from the corner and a 6-inch point down. Then mark another 6-inch point, down front the 5-inch point you made before.
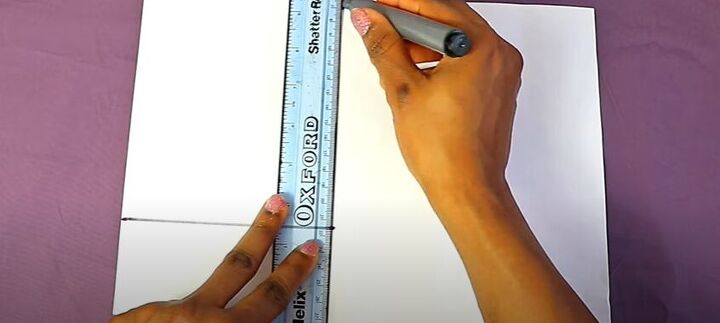
Grab a ruler and connect the 3 points, creating a rectangle.
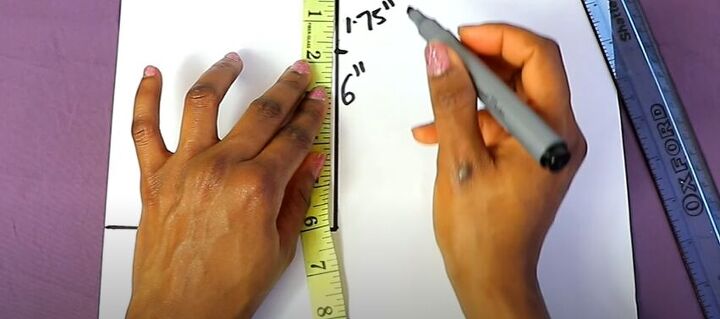
Write down the measurement of each line and then measure and label 1.75 inches from the top of the 6-inch line.
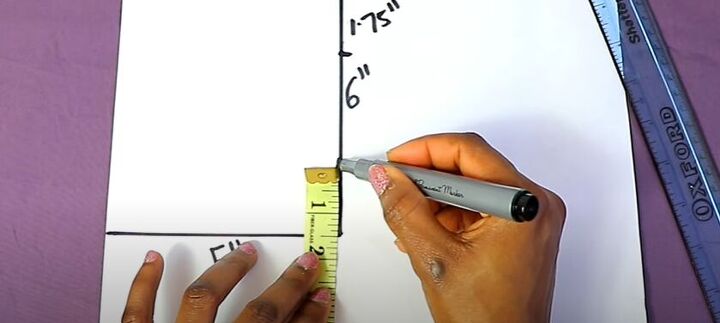
From the bottom of the 6-inch line, measure and mark 1.5 inches.
Next, move to the 5-inch line and mark 0.75 inches from the edge of the paper. Repeat this at the top of the piece of paper.
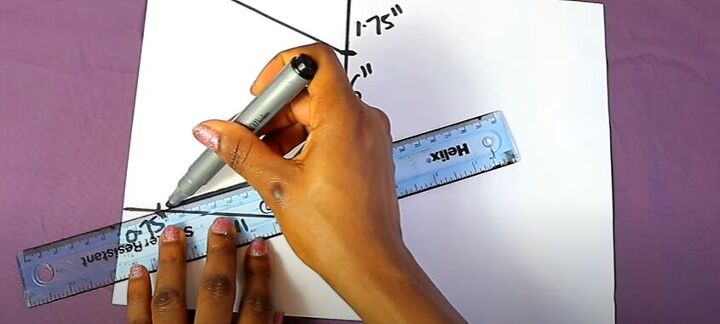
Take your ruler and connect the 4 newest markings with straight, slanted lines.
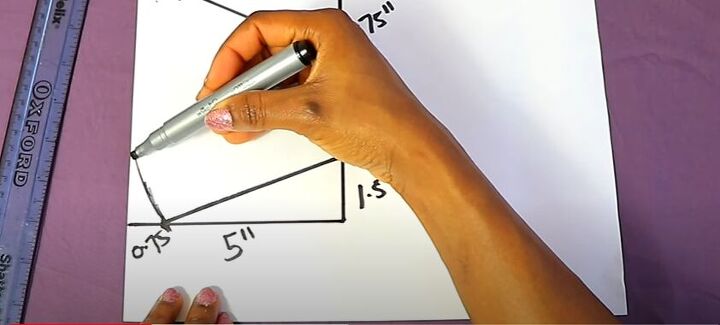
Then carefully draw a curve, joining your two newest markings at the top and bottom of your pattern.
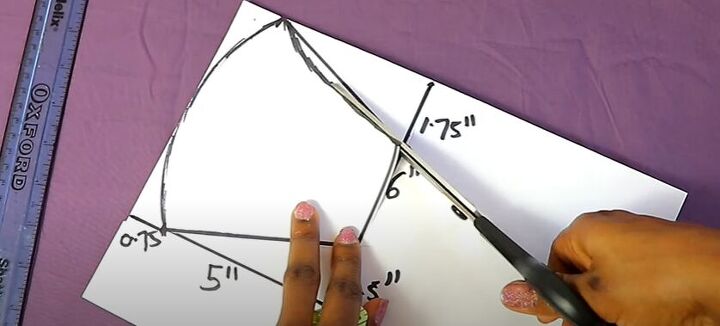
Cut the pattern
Draw another slightly curved line from the top to the 1.75-inch marking. Finally, grab your scissors and cut out your new pattern piece.

Cut out the fabric
Use your pattern to trace and cut out 6 pieces of fabric. To make this DIY easier I used 4 pieces of the same fabric and 2 pieces of orange fabric. Feel free to use any fabric color or design you like. For the sake of this tutorial, I will refer to the fabrics I used as patterned fabric and orange fabric.

Sew the curved edges
Make 3 pairs of fabric and then sew along the outward curve of each pair.
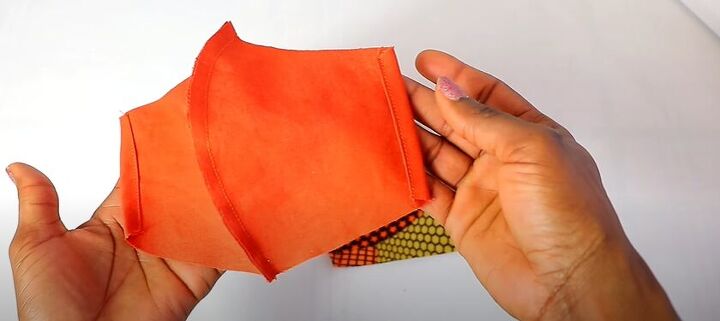
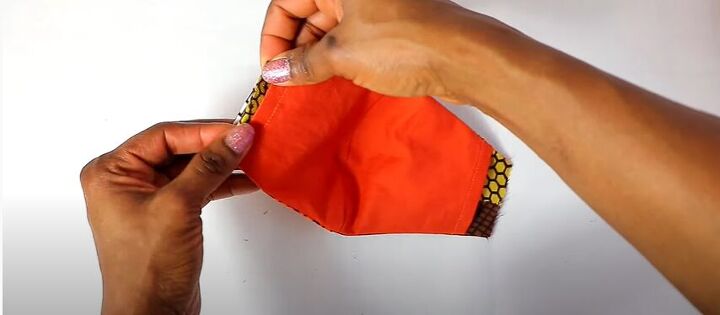
Make a filter pocket
Next, take your orange fabric and double fold one layer of the unsewn end, and clip the folds in place. Repeat the same for the second layer of fabric.
Head over to your sewing machine and sew the folds in place.
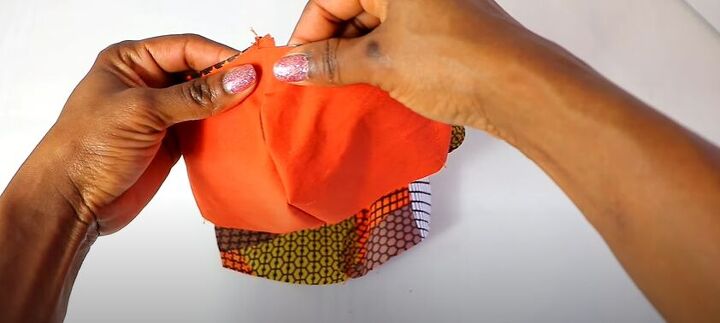
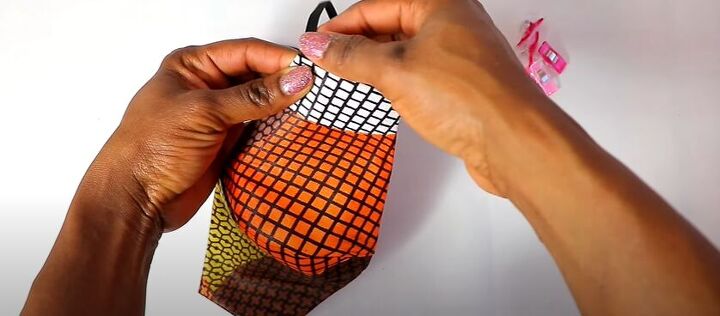
Put the mask together
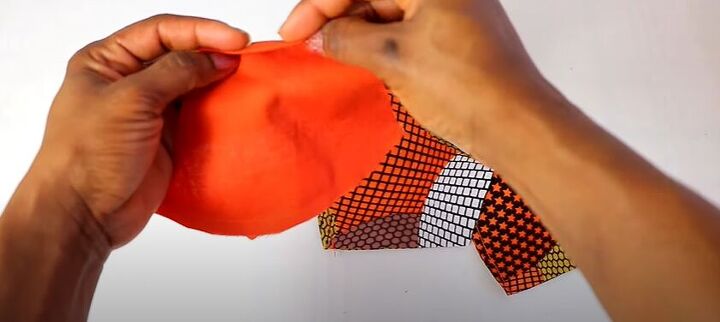
Match up the seams of the orange fabric and one patterned fabric piece so that the right side of the patterned fabric is facing the wrong side of the orange fabric.
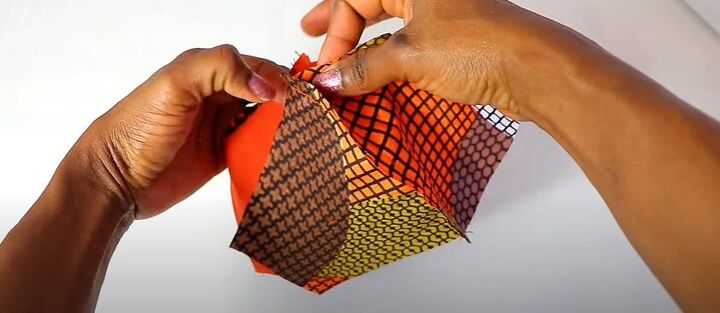
Then take the other piece of patterned fabric and place it right sides together over the orange piece, matching the seams as well.
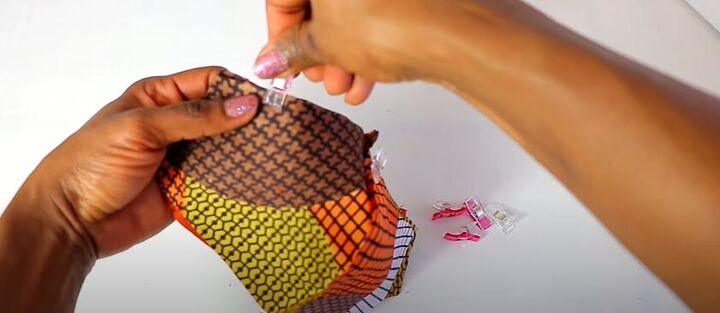
Go ahead and clip the 3 layers in place.
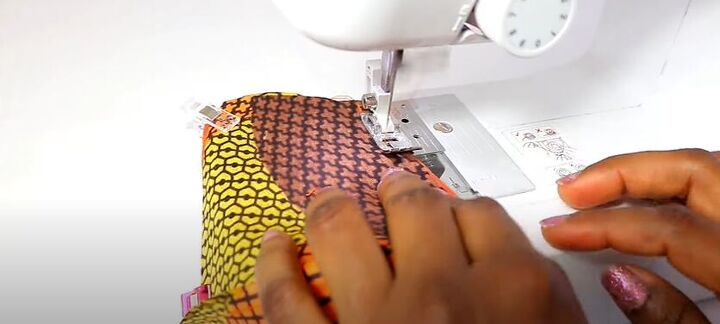
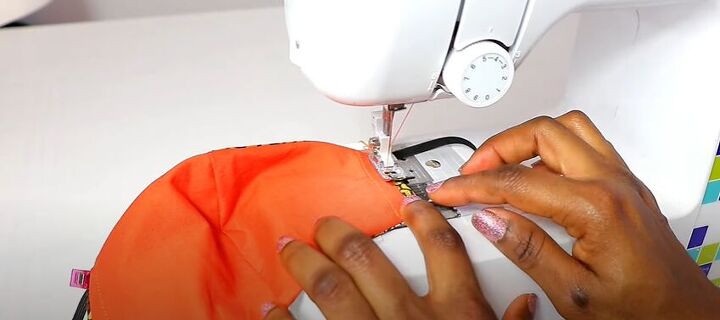
Sew the top and bottom of the face mask, sewing the 3 layers together as you go.

Trim the excess fabric
Grab a pair of scissors and trim the excess fabric from the edges.
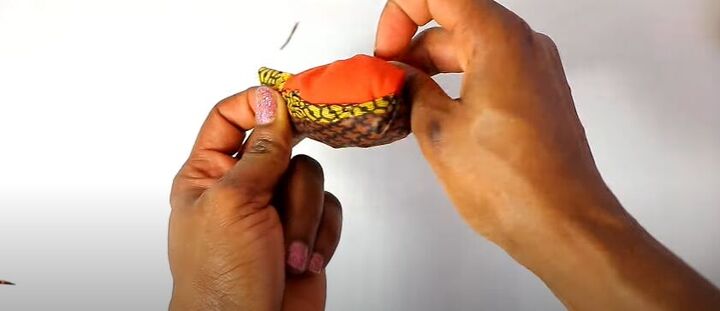
Turn the mask right side out
Through the open side, pull the mark right side out.
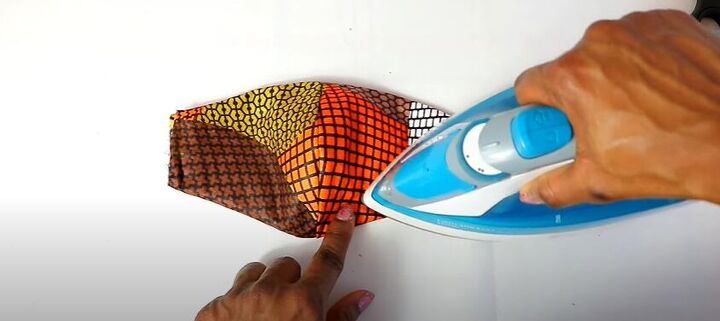
Give it a quick press to get the seams flat.
Add the elastics
Fold the top two layers of the mask inwards so that they are folded into the gap but still slightly above the orange layer.
Next, cut two pieces of elastic about 7 inches long. Take the elastic and put each end between the folds you just made on the sides of the facemask.
Lastly, sew your folds and elastics in place, by stitching along the sides of the mask.
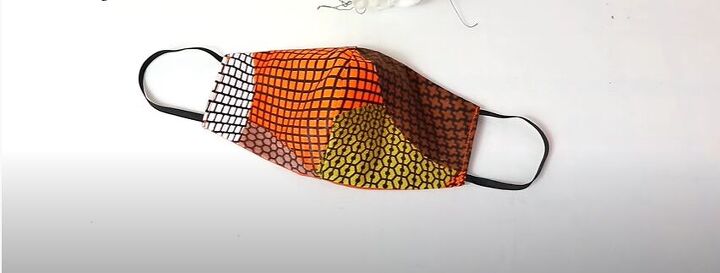
There you have it! A facemask with a filter pocket in just a few simple steps! What color fabrics would you use? Let me know in the comments below!
The author may collect a small share of sales from the links on this page.


Comments
Join the conversation
What do you use as the filter piece to put into the pocket?