Quick Understitch Tutorial

If you’ve attached a lining to a garment, you’ve probably come across an issue where the lining rolls to the right side and shows at the edges. This is not a good look!
Understitching is a really quick and easy technique to prevent that from happening.
Tools and materials:
- Lining or facing
- Main fabric
- Sewing machine
- Iron
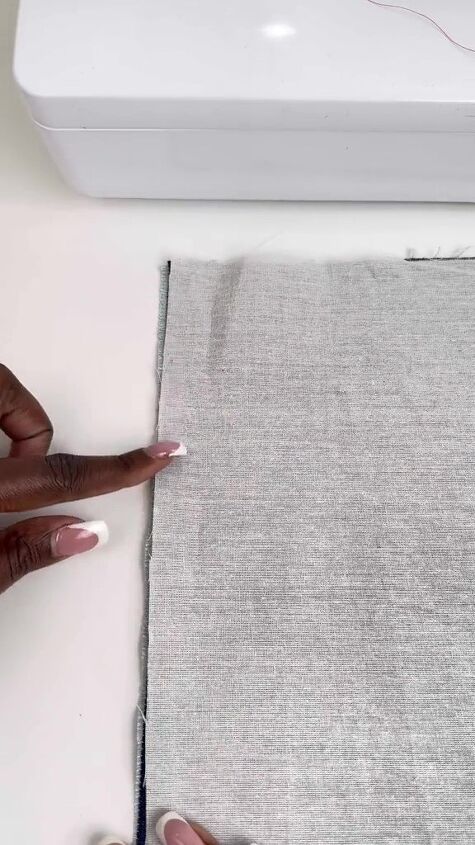
1. Attach your lining
Place the right sides of your lining and fabric together and line up the edges.
Join them with a regular seam.
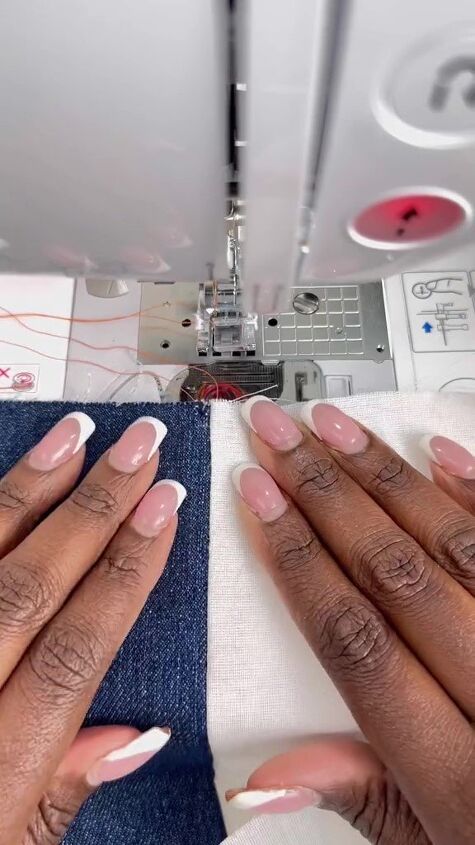
2. Press
Open the seam.
Press the seam allowance flat towards the lining.
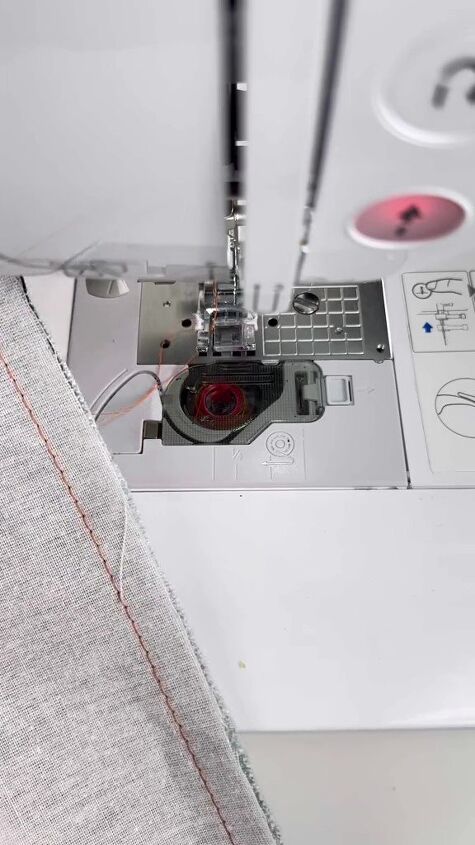
3. Line it up
Place the opened out fabric under your presser foot.
Line it up so the inner edge of the left side of the foot is lined up exactly over the seam.
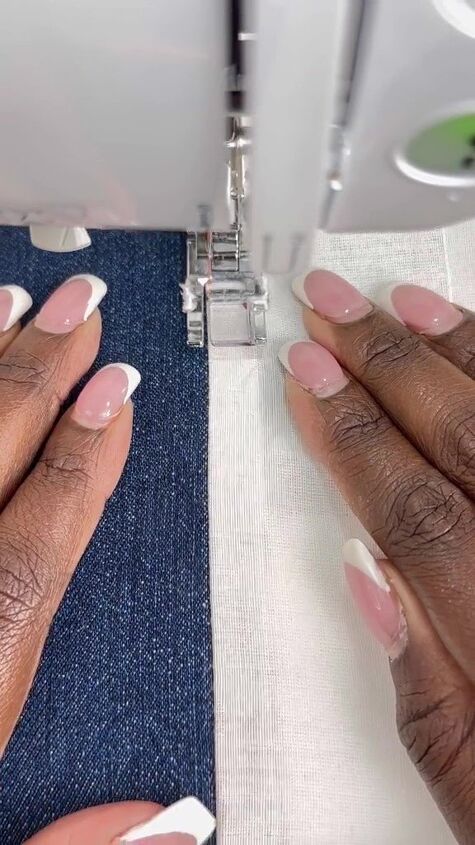
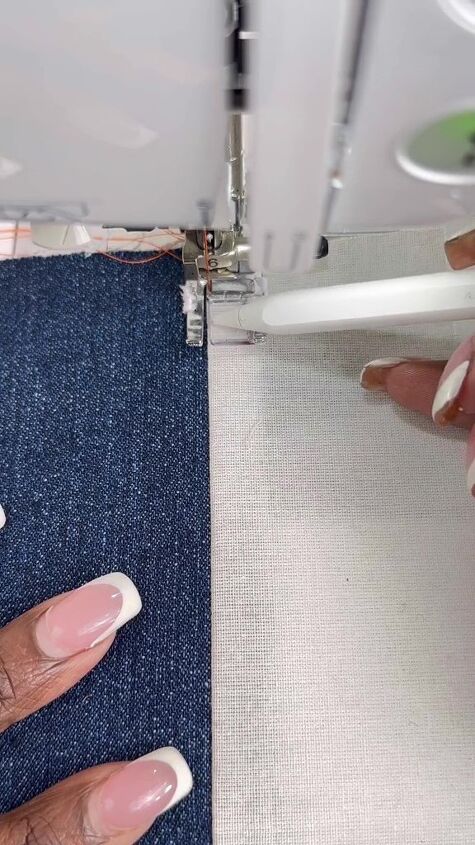
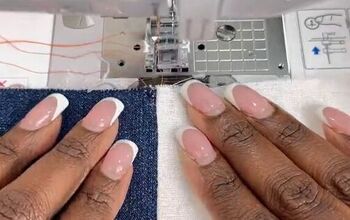
4. Sew
Sew a straight line.
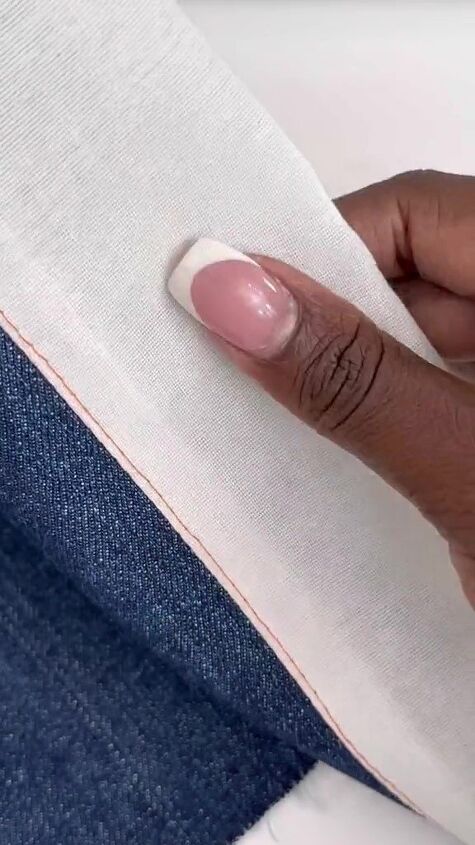
Your needle should be stitching about one-eighth of an inch (0.3 cm) from the seam line on the lining side.
Quick understitch tutorial
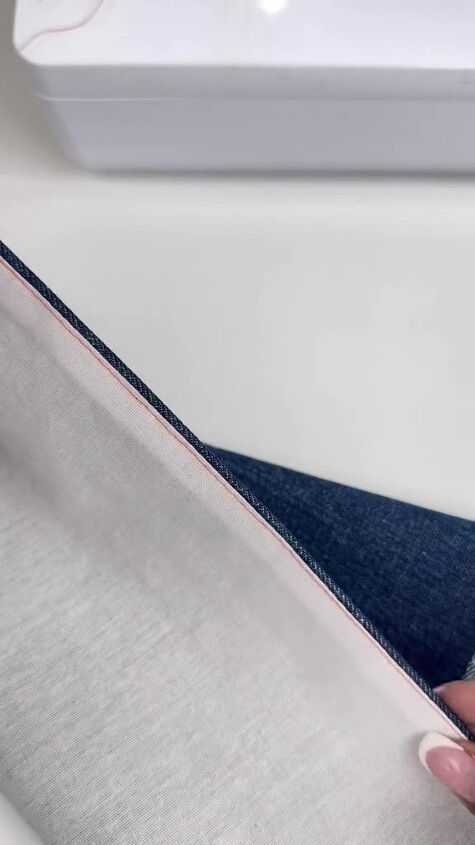
When you press the lining to the wrong side, this stitch line is what’s going to keep it there so it won’t show from the outside.
The exact same technique works for keeping facings in place too.
Are you going to give it a try? Let me know how it works for you.
The author may collect a small share of sales from the links on this page.


Comments
Join the conversation