The One Hour Dress: Day 1
One of my summer goals has been the improvement of my sewing-the-right-way-from-a-real-pattern-instead-of-winging-it skills. Accordingly, I researched patterns know for simplicity and raided my fabric stash. A week, many youtube videos, lots of clipped thread, and a certain amount of sweat later, I had learned a lot! I even completed several garments before officially needing a sewing hiatus! Thankfully, I finished my first project (in all of it’s incarnations) before I reached that point…
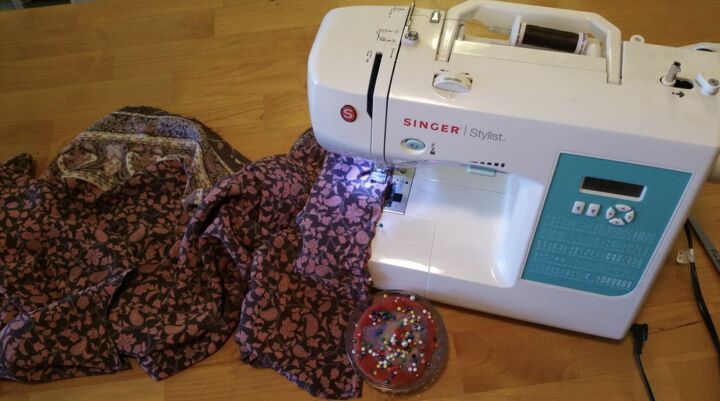
I had long been curious about the “One Hour Dress,” a pattern from the early 1920’s. Many of my favorite bloggers had tried this vintage, draft-your-own dress pattern with great success! I read as many of these blog posts as I could, including the awesome articles found here and here. I then purchased the pattern (with modernized directions!) from this Etsy seller. The directions showed how to use your own measurements to draw a personalized pattern onto your fabric. With only 2 pattern pieces and no zippers, the pattern promised simplicity. However, many bloggers mentioned the NECESSITY of making a practice dress to test the pattern and make modifications for each body type. Accordingly, I found a non-stretchy, somewhat drapey, inexpensive(!) fabric from my stash and prepared to embarked on Dress #1. I could only assume that it would take me more than an hour…
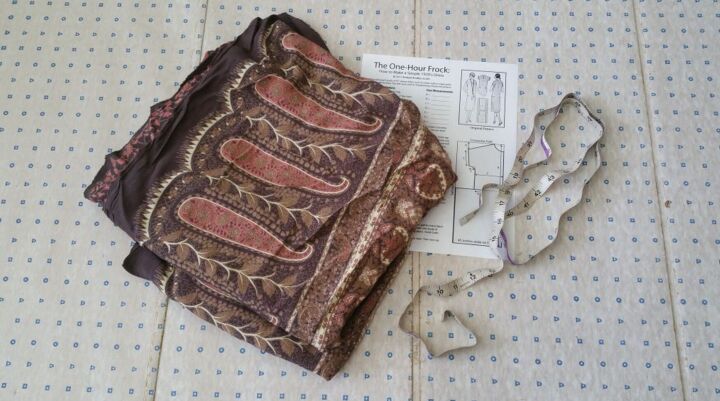
I first appeased the sewing gods by dutifully washing and ironing my fabric before drafting the pattern. Next, I folded the fabric according to the directions and readied my pins, rulers, and tailor’s chalk. I then followed the directions and accompanying pictures to create a dress pattern according to my own measurements. I had enough fabric for the dress and some extra at the bottom for a belt.
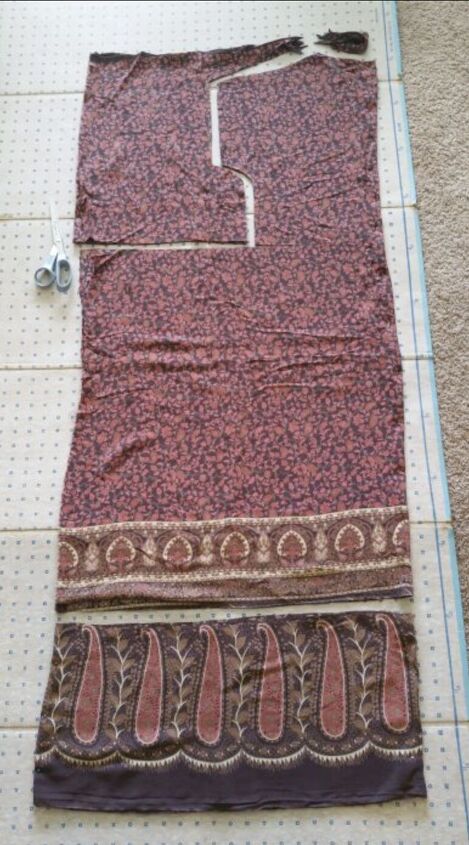
Here are the pieces unfolded. There are two dress pieces, a front and a back, stacked on top of each other.
Directions consulted again, it was time to pin and sew.
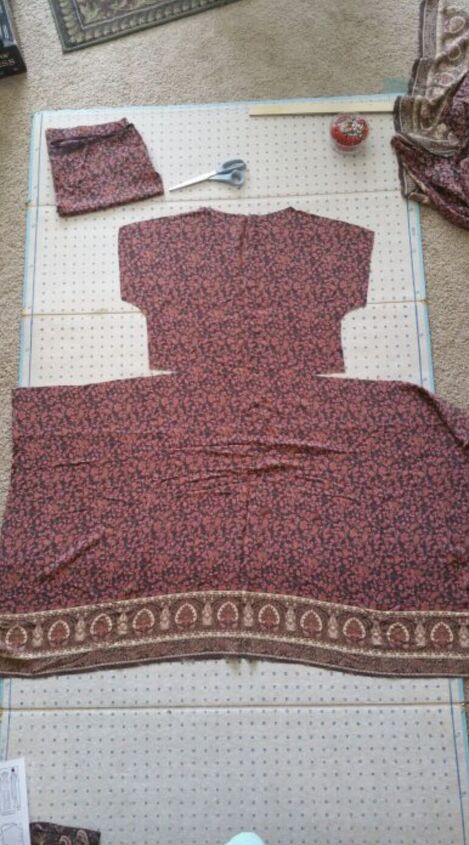
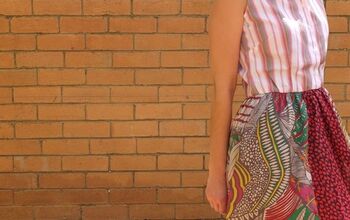
The most interesting feature of the dress came from the extended skirt sides that were gathered to fit into that little cut between the skirt and bodice. The gathered skirt was then sewn to the bodice.
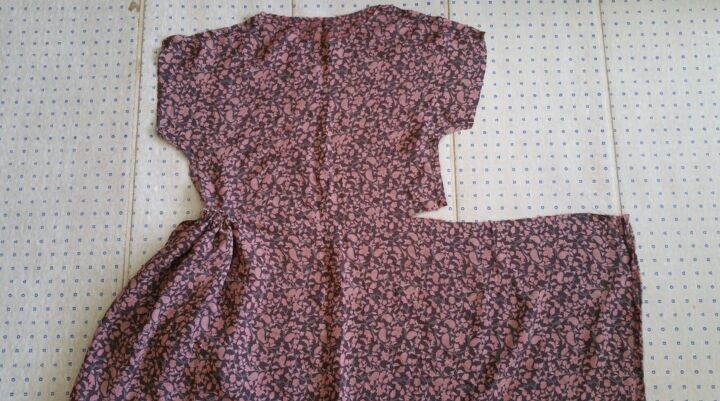
At this point, it became obvious that the “test dress” had much to teach me! The amount of fabric in the skirt extension was WAY too much compared to my bodice size! It was very hard to gather and sew that much skirt to such a small slit in the bodice… I tried twice and still got uneven, bunched results. I also discovered that I had taken one of my measurements incorrectly! The proscribed measurement from the top of my shoulder to my “hip,” should really have been taken from the top of the shoulder to the BOTTOM of my hip bone (or lower). This would have created a dress with a drop waist, but Dress #1 hit at my natural waist…
Obviously, Dress #1 needed some work. The skirt was too full, while the incorrectly raised waist prevented me from creating a 1920s drop-waist. I could (should?) have stopped Dress #1 at this point and begun another dress with the corrected measurements. Never one to choose the easy way, however, I instead determined to make Dress #1 wearable. I first removed the stitches holding the gathered skirt to the bodice. Next, I cut that stupid skirt extension down by about half! (Note: this is the method I used to make the pattern work for my body. Every person will be different, so I’m afraid you’re doomed to make your own test dress and see what works for you!)
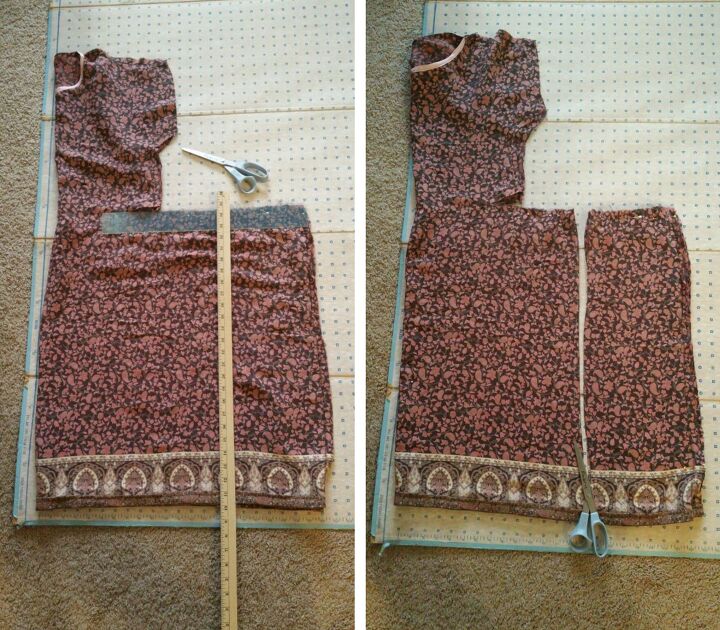
Instead of gathering the (stupid) skirt into the dress, I chose to make pleats. (Those gathers were too hard for me to make even on both sides of the dress- Sheesh!) Here are my pinned pleats.
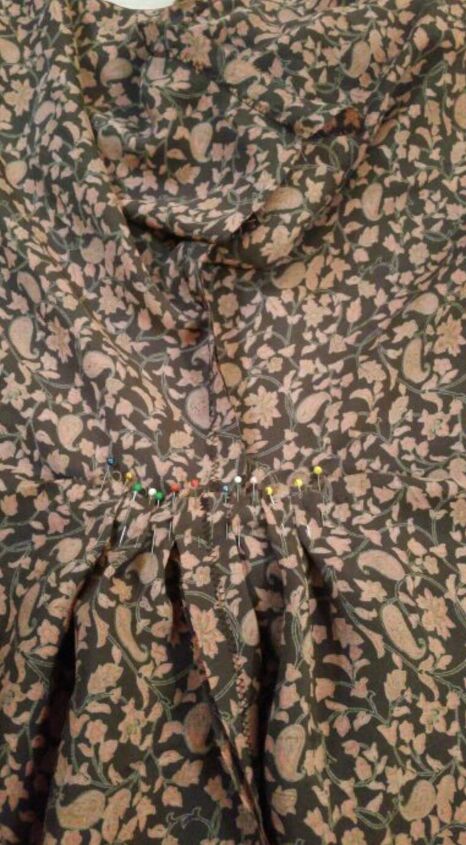
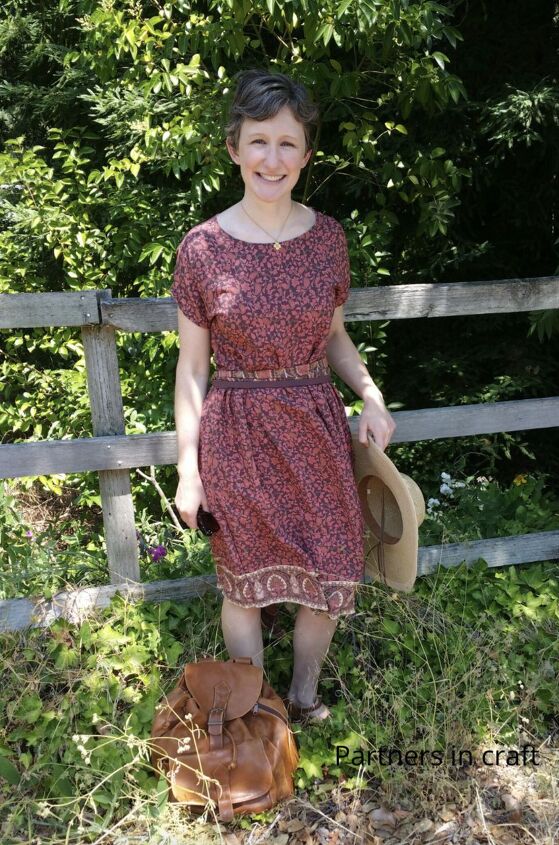
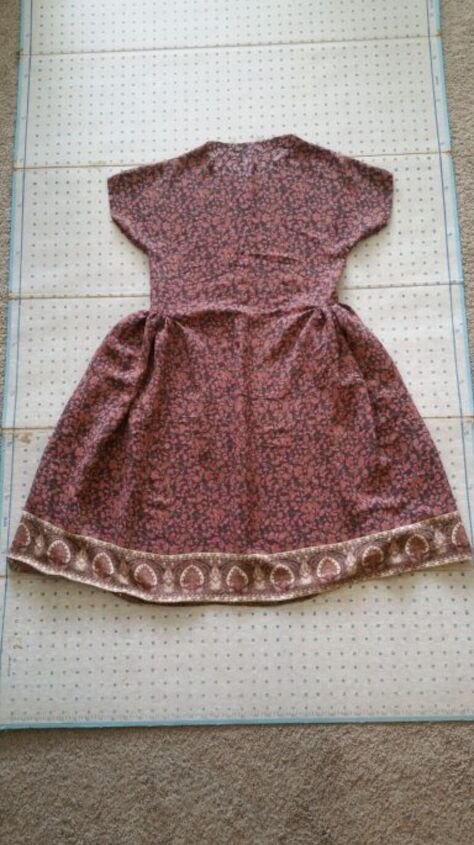
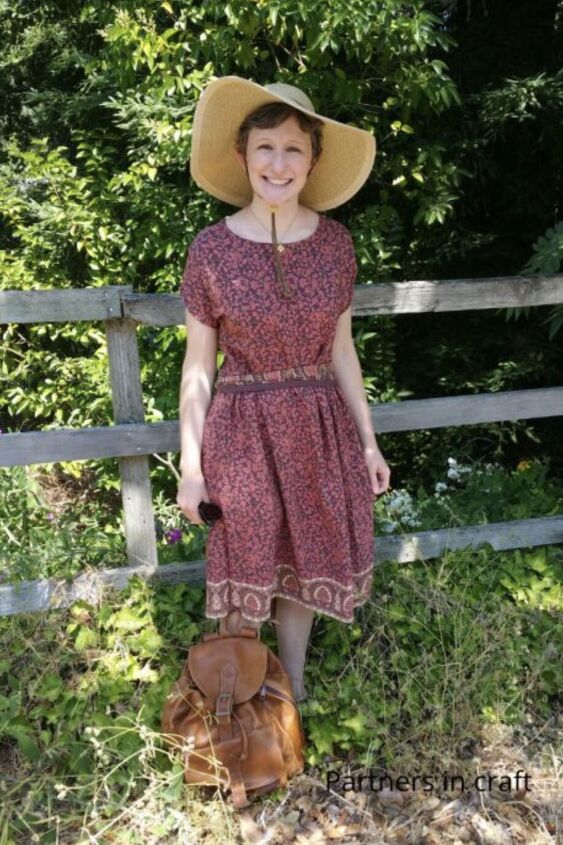
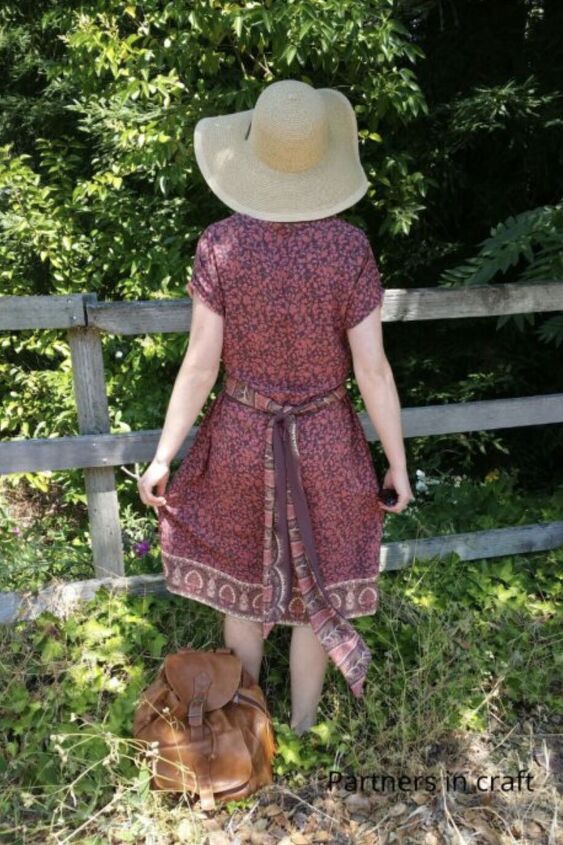
After pinning and sewing, I tried the dress on again. The newly-reduced skirt looked much better, while the pleats were less (obviously) uneven. I enlarged the neckline slightly before finishing the neck and arm holes with single fold bias tape. (Bias tape was NOT in the supply list at the beginning of the pattern, might I add!) I sewed the large strip of extra fabric into a sash for my accidentally modified/modernized dress. Time to stop sewing and go for a walk!

At the end of the day, my One Hour Dress #1 took me most of a day. On the plus side, the finished dress was surprisingly comfortable and breezy, despite its lack of 1920’s style. I particularly liked the easy, pull-over nature of the dress and want to use this style for future projects!
I knew I would have to make a second dress in order to reach 1920’s perfection. However, the remaining fabric in my sewing stash demanded special sharp pins and sewing machine needles! (Aw man!) Until those arrived, I would live to fight (sew) another day…
The author may collect a small share of sales from the links on this page.


Comments
Join the conversation
Really like the pleats and natural waist in your modification!
😅 I was so relieved that those things worked out in the end! Lol!