Turn a Men’s Shirt Into a Super Cool Jumpsuit With This Tutorial

I love upcycling and I love jumpsuits. So it was only natural for me to upcycle a unique jumpsuit. I decided to use a men’s button-down shirt, and the results are mind-blowing! Wait until you see the completed jumpsuit—it’s hard to believe it started off as a shirt! In this tutorial, I’ll show you exactly how I did this project so that you can try it out for yourself.
Tools and materials:
- Men’s shirt
- Shorts
- Seam ripper
- Scissors
- Sewing pins
- Sewing machine
- Marker
- Safety pins
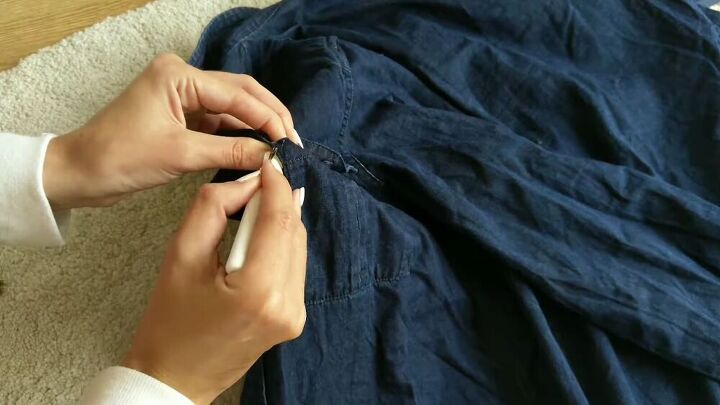
The first thing you’ll need to do is get rid of the pockets on the front of the shirt. So take your seam ripper and take apart the necessary seams to remove the pockets.
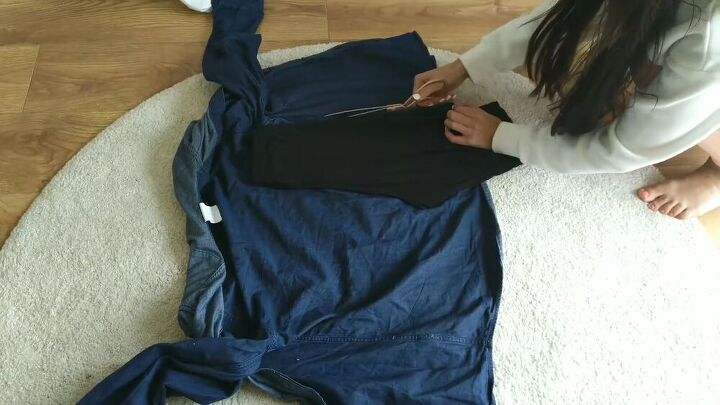
Take a pair of shorts that you already own and use them as a reference to cut out the lower part of the jumpsuit. Make sure to give a lot of seam allowance, especially if the shorts you’re using as the reference are stretchier than the material of the shirt. Once you’ve cut out one piece, flip it over and cut a second mirrored piece.
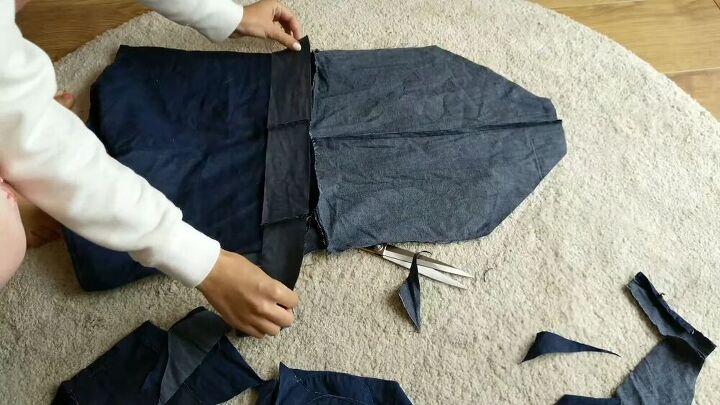
Since you’ll have used up most of the back of your shirt, you’ll need more fabric. So cut off the sleeves and cut up the inner seam to give you one big piece of fabric. Then flip your reference shorts to the front, as the front is much steeper, and cut out around them. Cut a mirror piece out of the second sleeve.
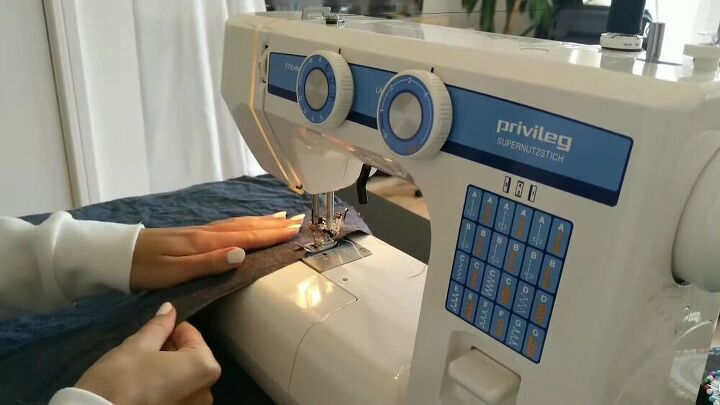
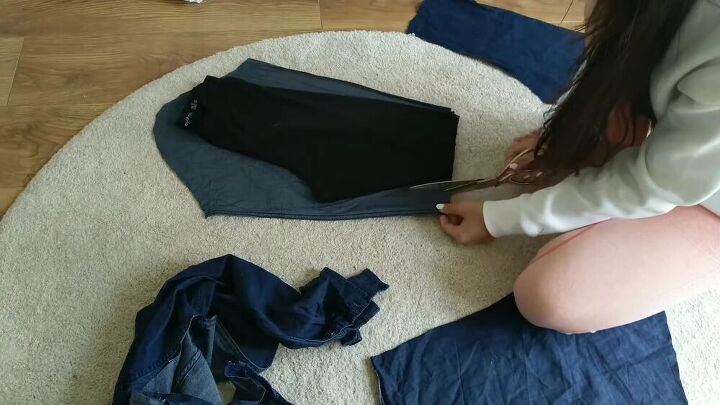
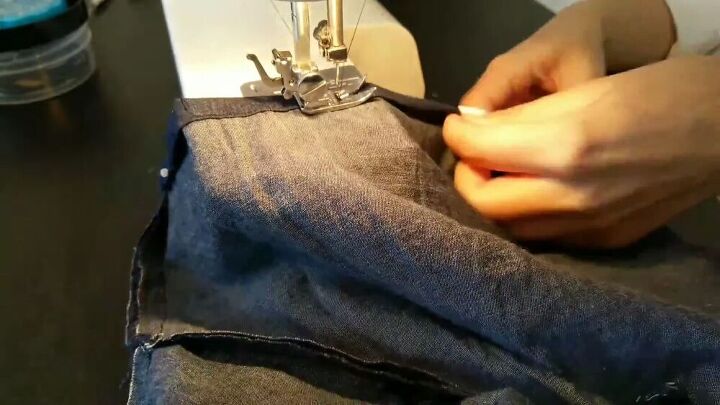
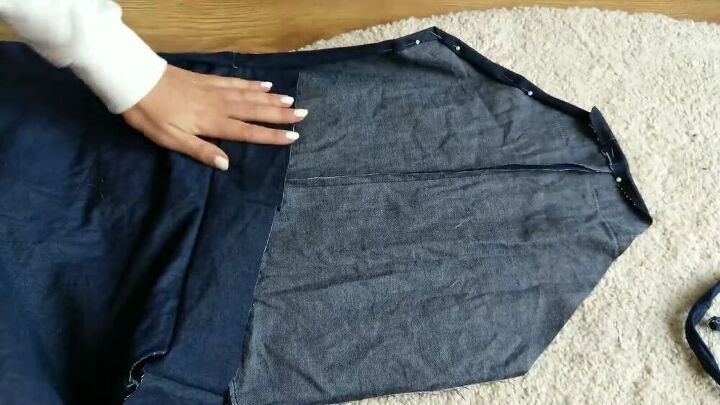
You should now have four pieces of fabric: two fronts and two backs. Head over to your sewing machine, and sew them together, down the sides and middle. Leave a 10 cm (3.9”) gap on the right side for the closure. When sewing along the curves, finish the seam at the tip of the curve. Then take the shorts and fold them so that the middle seams are touching, and sew up the inner leg.
Once the shorts are sewn, try them on and determine what you want their length to be. Cut them down to your desired length, leaving some room for seam allowance. Then hem the edges of the shorts with a rolled hem.
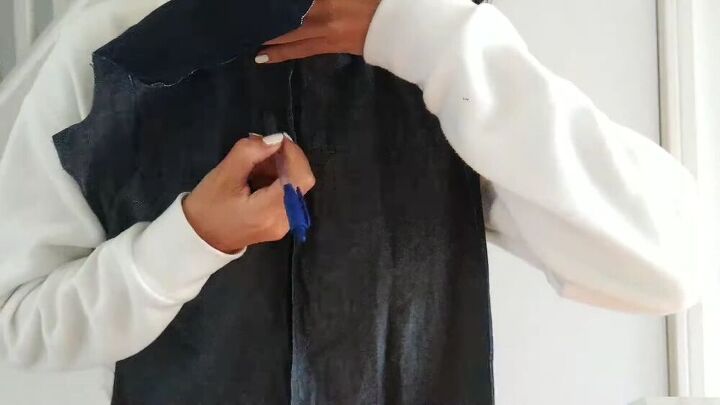
Take apart the rest of the shirt, and sew the front pieces of the shirt right sides together. Then hold it up to your body and trace the shape of the neckline with a marker. Now cut out the new neckline and sew the top piece to the shorts, right sides together. You can also trim off the ends of the top to make a smoother neckline.
To create a waistband, you’ll need to cut out several rectangles out of the remaining fabric. The rectangles should be about 8 cm (3.1”). Then take the rectangles and sew them together to create one big strip and attach the waistband to one side of the top and the back of the shorts.
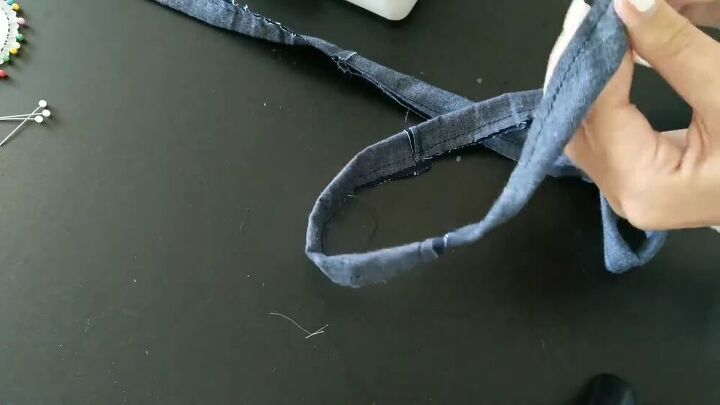
Cut out some of the remaining fabric into 3 cm (1.2”) wide rectangles, and connect them together to create one very long strip of fabric. This is going to be for the tie at the back, so you want it to be as long as possible. Fold the strip lengthwise and sew it right sides together, then use a safety pin to turn it right side out.
Now you’ll need to hem the edges of the top. When you get to the neckline, fold the edges over. This will create a channel to feed the top strap through. Make sure it’s wide enough for the strap you created.
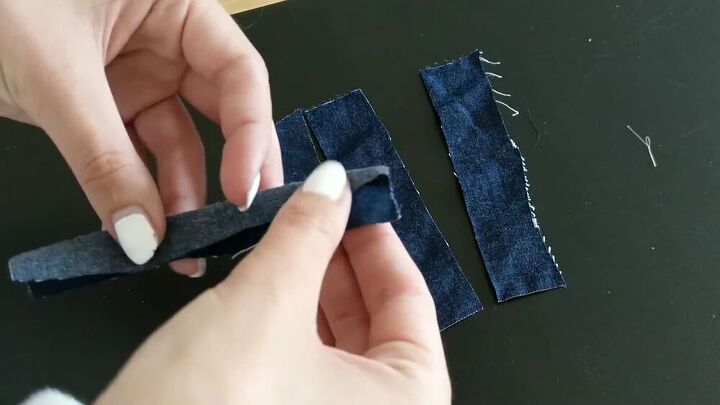
Use some of the remaining fabric to cut out four short rectangles that are about 4 cm (1.6”) wide. You’re going to be using these as loops for the back tie. Fold each one over lengthwise and sew them right sides together. Then turn them inside out with a safety pin.
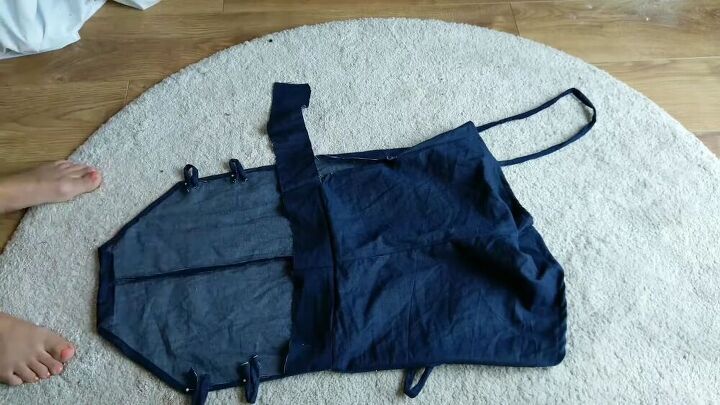
Fold the strips over to create loops and pin two loops on each side of the top of the jumpsuit. Then sew them each in place. Now try on the jumpsuit to see how long you need the waistband to be. Cut off any excess fabric, and use that to create a strap to hold up the top. Then feed it through the channel with a safety pin.
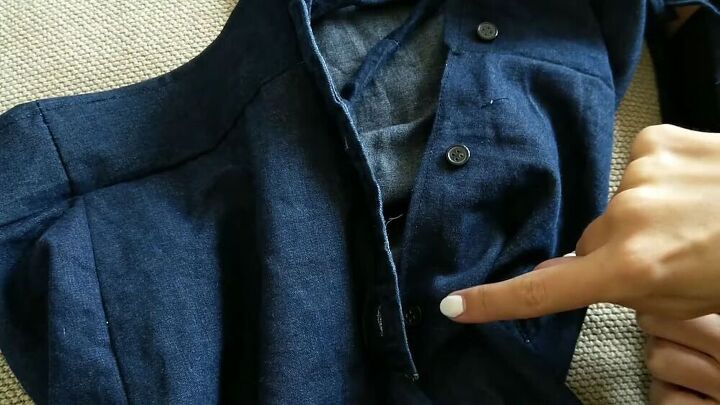
Take the strip of buttonholes from the shirt and cut it down to the length of the shorts’ opening. Attach it to the shorts by sewing it right sides together. Then hem the other side of the opening as well as the top of the waistband. Now attach the buttons to the other side of the opening, spaced out to fit the buttonholes. Lastly, tie a knot at the end of all the straps, and your jumpsuit is officially complete!


You guys, I love how this turned it! I can not believe this used to be an ordinary men’s shirt! It’s so cute and I’m just obsessed with how it looks! One thing I will say is that it’s definitely going to be a pain when using the bathroom, but if you ask me it is totally worth it. What do you think? Are you going to give this project a shot? Be sure to show me your results in the comments!
The author may collect a small share of sales from the links on this page.


Comments
Join the conversation
Too cute! My daughter would love it!